Working with electrical wiring can be a confusing and intimidating process for the novice DIYer, but with the right instructions, it doesn’t have to be! Many homeowners find that replacing or adding a combination light switch outlet is simpler than they might think. Having an outlet located near your lights looks sleek and makes powering up electronic devices much more convenient.

Plus, because you don’t need to call in an electrician or hire someone else to do the work – this is a great way to save money while improving your home all at once. In this blog post, we will provide comprehensive tips on how to wire a light switch outlet combo safely and effectively.
Is It Difficult to Wire a Light Switch Outlet Combo?
Wiring a light switch outlet combo isn’t as difficult as you might imagine. Before getting started, it’s important to remember that safety should come first and foremost. Make sure the power is turned off at the breaker box before attempting any wiring work. Always double-check this step to ensure that no one will be injured or shocked while you’re working.
Required Items
To wire a light switch outlet combo, you will need the following items:
- An outlet box
- Standard single-pole light switch
- Wire nuts
- Electric drill and bits
- Flathead and Phillips head screwdrivers
- Electrical tape
- Voltage tester or meter
10 Ways How to Wire a Light Switch Outlet Combo
1. Determine
Determine if the circuit is already wired for a switched outlet. If it’s not, you will need to run new wiring to add the light switch and the outlet. Also, double-check that the power is turned off at the breaker box before starting.
2. Cut Hole
Use an electric drill to cut a hole in the wall for the outlet and light switch combination cover plate. Cutting the hole should be done from both sides and use an appropriate drill bit size.
3. Install Outlet Box
Install the outlet box into the wall. Use a flathead screwdriver to secure it in place with screws. While installing the outlet, be sure to check the wiring connections for any loose wires or improper connections.

4. Connect Wires
Connect the neutral, hot, and ground wires in the outlet box. Use wire nuts to securely hold them together, then wrap electrical tape around each one for added protection. Wires will always be connected in the same order: white (neutral), black (hot), and green/bare copper (ground).
5. Attach Outlet
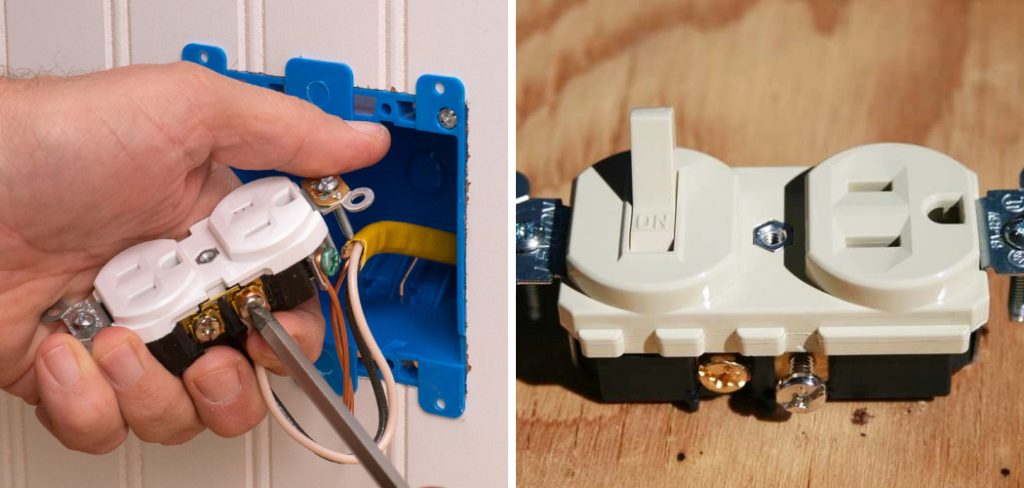
Attach the outlet to its mounting bracket using a flathead screwdriver. Make sure that it is snugly fastened. The outlet is now ready to be wired.
6. Connect Wires
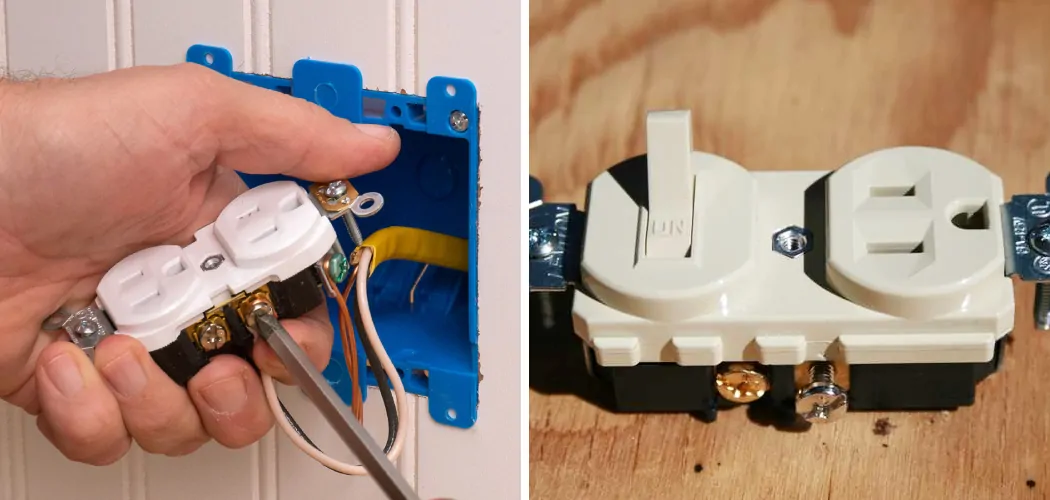
Connect the wires from the switch box to the outlet. Use wire nuts to secure them together, and then wrap electrical tape around each one for added protection. The black (hot) wire will connect to the hot terminal, while the white (neutral) wire will connect to the neutral, and the ground wires will connect to the ground terminal.
7. Attach the Outlet Cover Plate
Attach the outlet cover plate and secure it with screws using a Phillips head screwdriver. The cover plate should fit against the wall, and all wiring should be hidden behind it. Also make sure that it is properly sealed so that dust and debris won’t get inside.
8. Connect Switch Wires
Connect the wires from the switch box to the light switch. Use wire nuts to secure them together, then wrap electrical tape around each one for added protection. The black (hot) wire will connect to the hot terminal, while the white (neutral) wire will connect to the neutral and ground wires will connect to the ground terminal.
9. Attach the Light Switch Cover Plate
Attach the light switch cover plate and secure it with screws using a Phillips head screwdriver. The cover plate should fit against the wall, and all wiring should be hidden behind it. Also make sure that it is properly sealed so that dust and debris won’t get inside.
10. Test Light Switch Outlet Combo
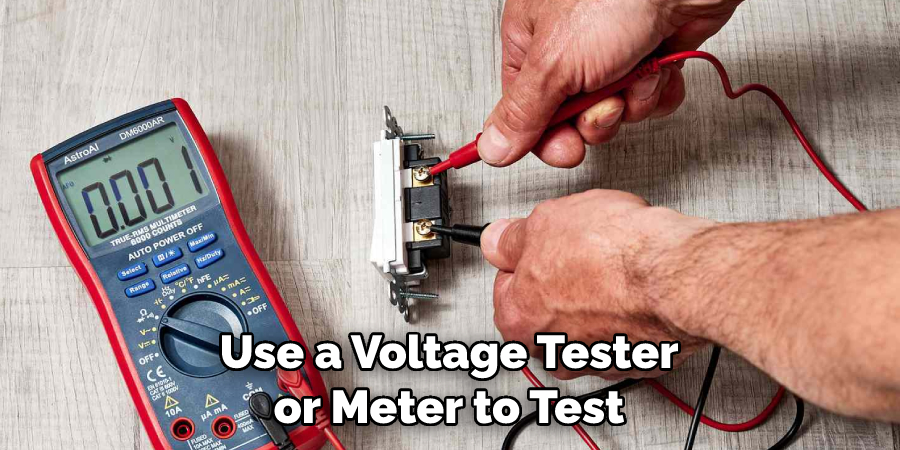
Once all the wiring is connected, use a voltage tester or meter to test the light switch outlet combo for proper operation. Make sure that everything works as expected before turning on the power again.

That’s it, congratulations! You’ve successfully wired a light switch outlet combo. Make sure to regularly check your connections for any loose wires or improper connections, and always double-check that the power is turned off before beginning any wiring work.
8 Safety Reasons to Follow
When you decide to tackle a project such as wiring a light switch and outlet combo, it’s important that you take the time to read through the instructions and make sure you understand them before beginning. There are several safety considerations that can be avoided by following directions carefully.
Here are 8 reasons why it’s important to follow directions when wiring a light switch and outlet combo:
1. Any time you are dealing with an electrical project, there is the potential risk of fire. When not done correctly, wire connections can become loose, creating sparks that could result in a fire. If instructions are followed carefully and all safety precautions taken, this risk can be minimized greatly.
2. Improper wiring can also result in a tripped circuit breaker or blown a fuse, both of which can be dangerous and cause extended power outages.
3. It is important to shut off the power to any outlet you are working on before starting work, as it can be dangerous if the voltage is present while working on an outlet. While it is possible to begin work without shutting off the power, it is not recommended.
4. Wires should also be connected properly and secured with wire nuts that are tight enough to prevent them from coming loose over time.
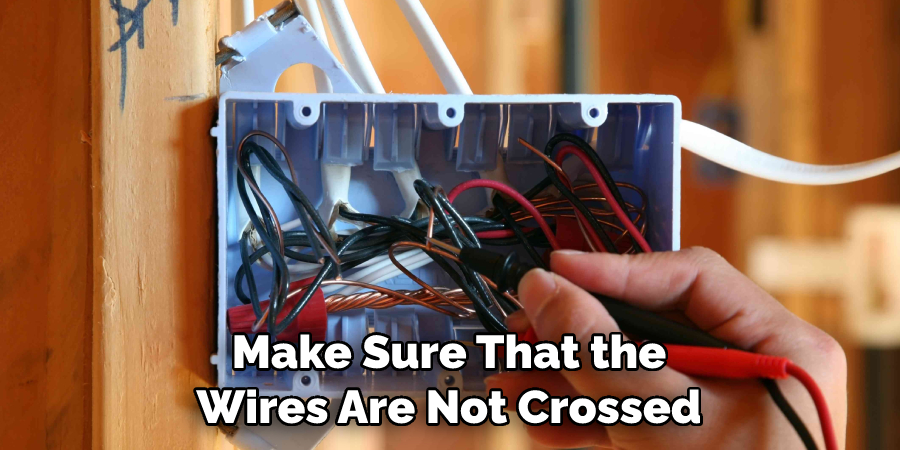
5. When connecting wires, make sure they are labeled correctly so they are connected in the right configuration. It is also important to make sure that the wires are not crossed, as this can cause a short circuit and potentially create sparks.

6. Any exposed electrical wiring should be covered with electrical tape or conduit for added protection. This will help ensure that no one accidentally touches any of the wires while working in the area.
7. After all work is complete, it is important to test each outlet and switch to make sure they are working properly. Also, make sure all outlets have been properly grounded and that each outlet has a Ground Fault Circuit Interrupter (GFCI) installed, as this will protect anyone using the outlet.
8. Finally, it is important to make sure that you dispose of all debris in a safe manner by either bagging or recycling any old wiring or parts. While it is necessary to be mindful of safety during the wiring process, it is also important to think about the environment before disposing of any materials.
By taking the time to understand and follow directions when wiring a light switch and outlet combo, you can ensure that your project will be done safely and correctly.
It’s important to remember that electrical projects should only be done by a trained electrician or someone with the necessary experience. If you do not feel comfortable taking on such a project, please contact a professional to complete the job.
Frequently Asked Questions
How Long Will It Take to Finish the Project?
The project will vary in duration depending on the complexity of your electrical system and the level of experience you have as an electrician. Generally speaking, it should take no more than two hours to wire a light switch outlet combo. However, if you are inexperienced or feel uncomfortable working with electricity, it is best to contact a professional electrician and have them complete the job.

How Much Will It Cost?
The average cost for wiring a light switch outlet combo is around $180 for materials and labor. However, the price can vary depending on several factors such as the type of light switch outlet combo you are installing, the complexity of your electrical system, and any additional components that may need to be installed. It is best to contact an electrician to get an exact quote.
Conclusion
By following the steps outlined in this article, anyone with basic electrical wiring knowledge can successfully wire a light switch outlet combo. However, if you don’t feel comfortable doing it yourself, then call an electrician to help you out and get the job done correctly and safely. Remember, electrical wiring can be dangerous, so it’s best to always use caution.
If you take your time and ensure your safety when working with electricity, even a complicated task such as this should go relatively smoothly. Now that you’ve completed the project and know how to wire a light switch outlet combo, you should be proud of your accomplishment!
It’s important to remember that practice makes perfect and learning how to decorate to properly do home repairs or improvements helps make the process much simpler down the road. Happy DIY-ing!

