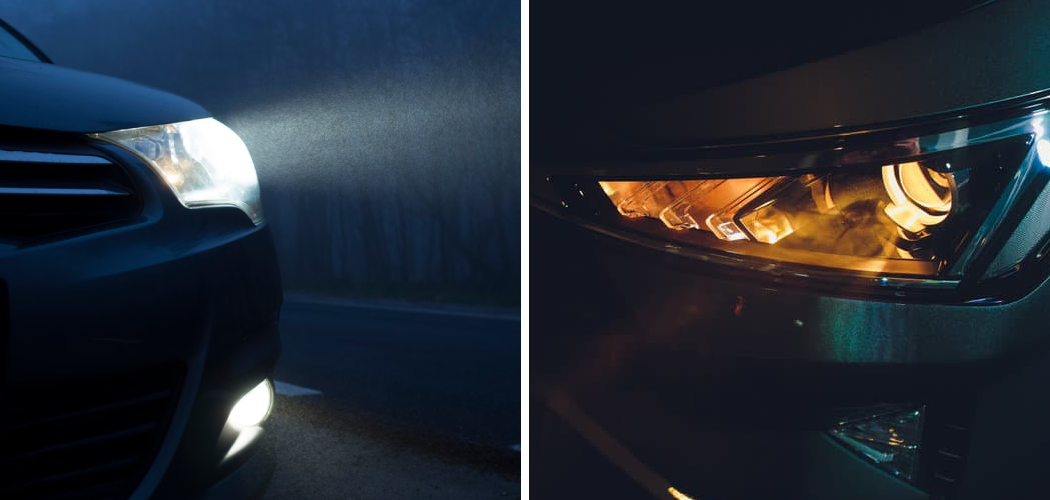
Are your headlights flickering? Don’t skip this easy fix, as flickering lights can be caused by a variety of problems and could lead to unwanted attention from the police, potential hazards on the road due to decreased visibility in dark areas, or worse. In any case, knowing how to repair your headlights is essential for keeping yourself safe while driving at night.
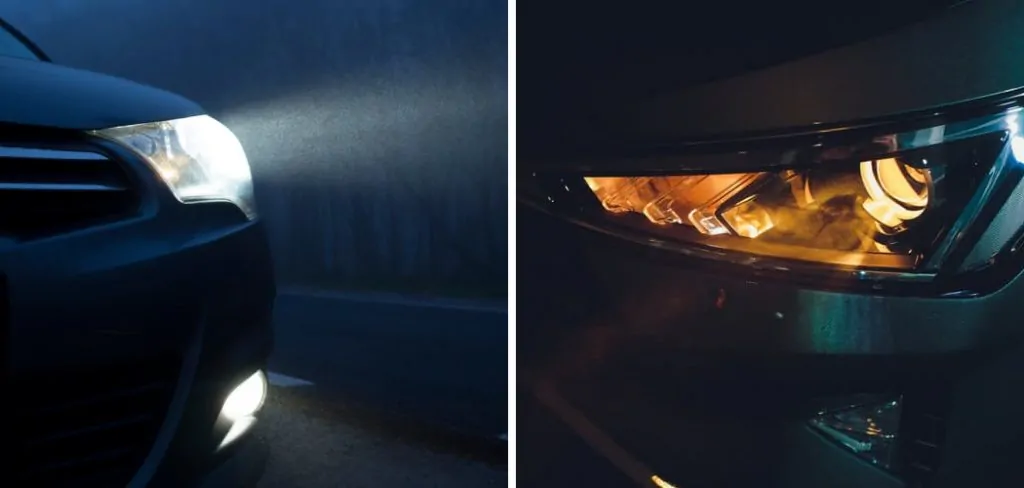
Whether you think it’s just a simple bulb replacement or something more complex like corroded wires causing electrical faults, today, we’ll break down everything you need to know about fixing flickering headlights with ease. We’ll look at the most common causes and offer helpful tips on how to fix flickering headlights that will have you back on the road safely in no time!
What Causes Flickering Headlights?
Headlight flickering is often caused by a few different factors, such as faulty wiring, worn-out bulbs, or voltage issues. In any case, it’s important to identify what’s causing the issue and address it head-on in order to ensure your safety while driving at night.
1. Faulty Wiring
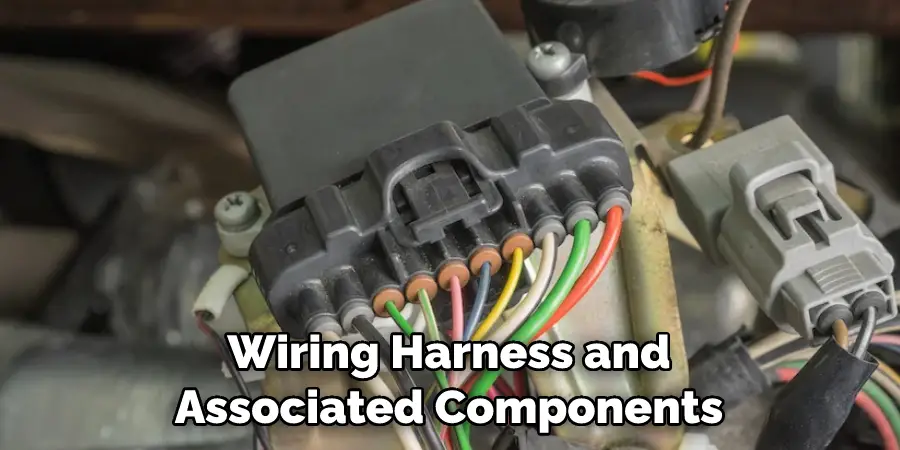
A loose connection in the wiring harness can cause a short circuit, resulting in the headlights flickering on and off. If you notice that this is occurring every time you turn on your car, it’s likely due to a defect in the wiring system.
2. Worn Out Bulbs
Another common cause of headlight flickering is worn-out bulbs. As time passes and the bulb ages, its filament weakens, causing a decreased amount of light output and intermittent flickering.
3. Voltage Issues
Finally, voltage issues can cause headlights to shimmer as well. If your vehicle’s alternator is failing to provide adequate power to run all of the electrical components inside your car, it may result in insufficient voltage being sent to the headlights, causing them to flicker.
Required Items
In order to repair your flickering headlights, you’ll need the following:
- New bulbs
- Wire cutters/strippers
- Electrical tape
- Wiring harness (if needed)
10 Instructions on How to Fix Flickering Headlights
1. Turn Off
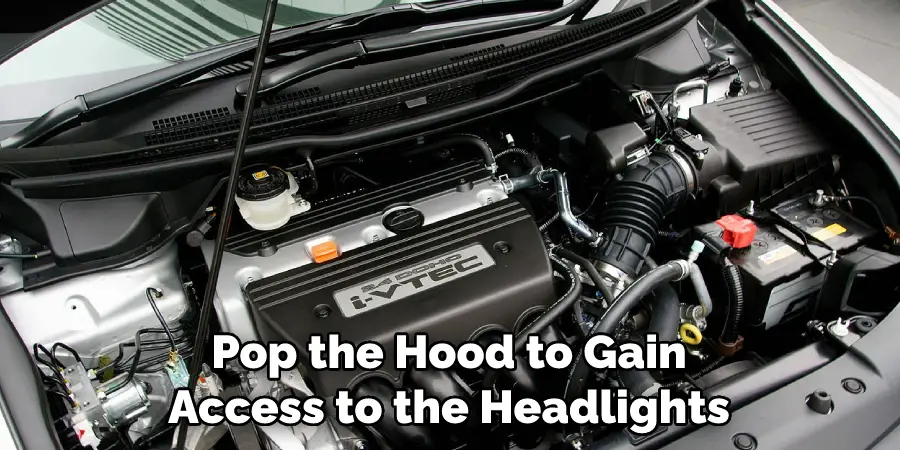
Turn off your car and pop the hood to gain access to the headlights. Also, make sure that the headlights are off. If you don’t have a direct switch, you can do this by turning off the car’s ignition and disconnecting the battery cables.
2. Inspect the Wiring Harness
Carefully inspect your wiring harness for any signs of damage or corrosion. If needed, use wire cutters or strippers to remove any frayed or corroded wires and replace them with new ones.
3. Replace Old Bulbs
Once you’ve inspected the wiring, it’s time to replace any old bulbs. Use a pair of pliers to carefully remove the bulb from its socket and install the new one in its place. Make sure that it is firmly secured before moving on to the next step.
4. Secure New Bulbs
Once the new bulbs are in place, use electrical tape to secure them and make sure that they won’t come loose during operation. New bulb connectors are also available if you want to ensure a secure and reliable connection.
5. Reconnect Wires
If you had to replace any wires, use electrical tape or wire crimpers to connect them back together. If the wiring harness is faulty, it may be time to purchase a new one. Reconnecting the battery cables should be your last step.
6. Test Lights
Once you’ve finished all of the above steps, it’s time to test out your work. Turn on your headlights and make sure that they are no longer flickering. If they are still flickering, double-check all of the connections and try again.
7. Check the Voltage
Check the voltage with a multimeter to make sure that it’s running at the correct levels. If it is, then you have successfully fixed your flickering headlights! However, if it isn’t, then you may need to replace the alternator or other electrical components in order to get things back up and running smoothly.
8. Clean Headlights
Finally, don’t forget to clean the headlights with a damp cloth and some glass cleaner. This will not only make them look better but also ensure that they are able to generate enough light output.

9. Check Fuse Box
In addition to checking the voltage, you should also check the fuse box for any blown fuses. Replacing a blown fuse is an easy fix that could solve your flickering problem right away. The box is usually located under the hood or in the cabin of the car.
10. Get A Professional Inspection
If all else fails, it may be time to get a professional inspection on your vehicle. A qualified mechanic will be able to pinpoint exactly what is causing your headlights to flicker and provide you with an effective solution.
By following each of these steps, you should be able to fix any flickering headlights without too much difficulty. However, if the problem persists or you don’t feel comfortable handling electrical components yourself, then it’s best to contact a qualified technician for help. With their assistance, your vehicle will soon be up and running safely again!
8 Maintenance Tips
When it comes to headlights, regular maintenance is key. Here are 8 useful tips on how to maintain your vehicle’s headlights so they stay in top working condition:
1. Clean and inspect the headlight lens regularly. Dirt and debris can build up over time and reduce the efficiency of your headlights. Use a soft cloth or brush to clean the lens, being careful not to scratch or damage it.
2. Check for cracks in the headlight housing. Cracks can allow moisture and air inside the housing, causing corrosion and reducing the brightness of your headlights. If you see any signs of cracking, replace the headlight assembly as soon as possible.
3. Check for burned-out or weak bulbs. Over time, the bulbs in your headlight assembly can become dim or burn out entirely. Replace any bulbs that are not providing adequate lighting.
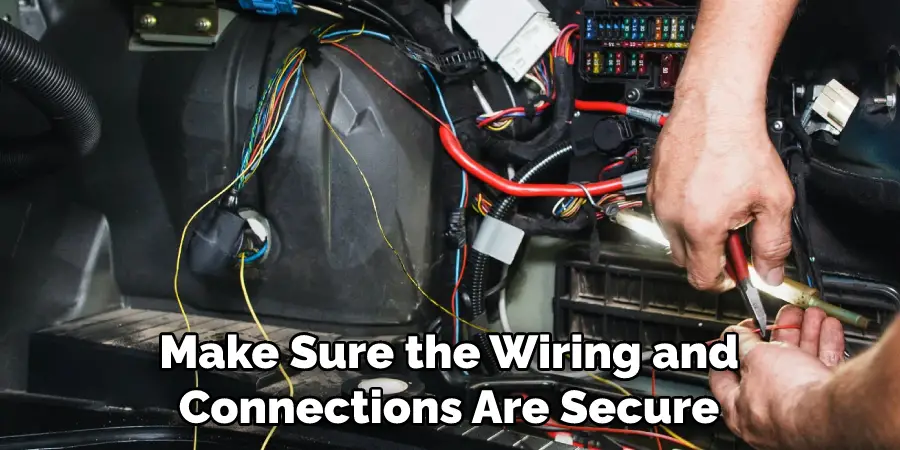
4. Make sure the wiring and connections are secure. Loose or corroded wiring can cause flickering headlights, as well as reduce their overall brightness. Inspect all of the wiring and connections to make sure they are secure.
5. Replace worn-out headlight covers. The plastic covers on your headlights can become scratched or fade over time, reducing their efficiency. If you notice any signs of wear, replace the headlight covers as soon as possible.
6. Adjust the alignment of your headlights regularly. Misaligned headlights can cause poor visibility and reduce the life of your bulbs. Make sure to adjust the alignment of your headlights periodically for optimal performance.
7. Test your headlight switch regularly. Over time, the switch may become loose or corroded, leading to flickering headlights or no power at all. Inspect the switch regularly and replace it if necessary.
8. Use headlight bulbs with a longer life span. Many manufacturers offer headlight bulbs that are designed to last longer than the standard versions. If your headlights are flickering or burning out too quickly, consider upgrading to one of these options for improved lighting and fewer maintenance issues.
Following these tips will help you keep your headlights in great condition for years to come. By regularly inspecting, cleaning, and replacing parts as necessary, you can ensure that your headlights are always providing the best illumination possible. The next time you find yourself dealing with flickering headlights, simply refer back to these useful tips!
Frequently Asked Questions
Can Bad Ground Cause Headlights Flicker?
Yes. A bad or loose ground connection to the engine, chassis, or body of the vehicle can cause headlights to flicker when the engine is running. The fluctuating current in the electrical system caused by bad ground can be transferred through the headlight wiring harness and cause flickering. You can also check the lamp itself for a loose or deteriorated ground connection.
Can Damaged Wires Cause Headlights to Flicker?
Yes, damaged wires can cause headlights to flicker. Check the wiring harness leading from the battery to the headlight for any exposed or frayed wires. If there are any visible damage, replace the wire and secure any loose connections. Additionally, check the headlight wiring harness for any corrosion or worn insulation and replace it if necessary.
How Much Will It Cost?
The exact cost of fixing flickering headlights will vary depending on the vehicle and the extent of the damage. The cost to repair can range from as little as $100 to over $500, depending on the type and condition of the wiring harness and associated components. Damaged or corroded wiring can be tricky to diagnose and repair, so it may require a professional with the right tools and knowledge.
Conclusion
The very basic yet often overlooked task of replacing a headlight bulb can save you a huge headache. Not only can flickering headlights be a bother and distraction, but they can also be unsafe for you, your passengers, and fellow drivers.
If the problem is consistently present, it may be more than just a headlight needing to be replaced and should then be looked at by quite frankly, any automotive repair shop for additional and appropriate repairs. With just a little bit of know-how and time spent on diagnosing your flickering headlights, you might end up just needing to change the headlight bulb.
And with a few simple steps on how to fix flickering headlights, noted in this blog post, your headlights will soon shine bright – even during those sleepless nights! So don’t let that flickering light scare you away from getting behind the wheel because the flicker might not mean what you think it does.
After performing these simple workarounds, you’ll hopefully find great relief in knowing that your car’s basic maintenance needs were all taken care of with ease.

