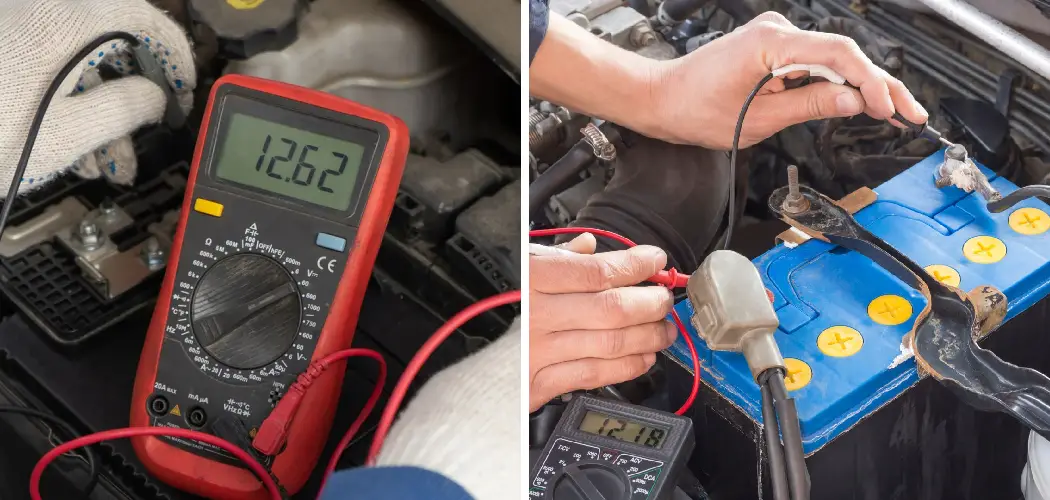
Are you having trouble with your headlights? Is only one of them lighting up while the other remains dark? This is most likely a wiring issue and should be treated seriously to avoid further electrical problems.
Fortunately, testing headlight wiring doesn’t have to be complicated. With just a multimeter and a basic understanding of wire connections, you can easily identify faulty wires and repair the issues in no time!
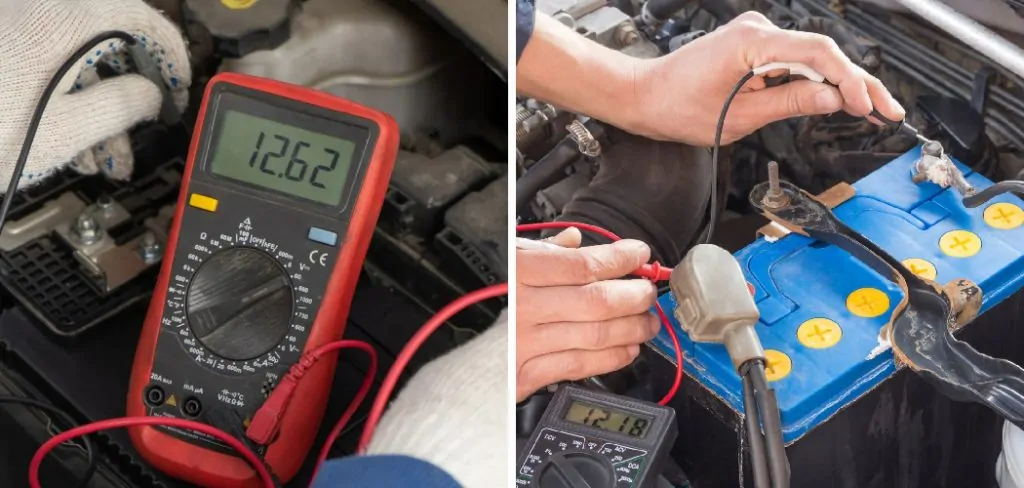
In this blog post, we’ll teach you how to use a multimeter correctly for diagnosing problems with car headlight wiring – so don’t wait any longer! Read on for more tips and advice on how to test headlight wiring with a multimeter for successful light tests.
Is It Difficult to Test With a Multimeter?
No, it isn’t! Testing headlight wiring with a multimeter is a simple task and doesn’t require complicated tools or skills. A multimeter can measure the electrical current in your headlights, which helps identify potential problems such as loose connections or frayed wires in the headlight wiring.
Required Items
Before getting started, you’ll need to gather the following items:
- A multimeter
- Electrical tape
- Wire cutters/strippers
- Electrical connector pins
10 Steps on How to Test Headlight Wiring With a Multimeter
Step 1: Disconnect
Disconnect the headlight from your car. Also, make sure to remove any covers or guards that are protecting the headlight wiring. While doing this, you should take note of where each wire is connected and how it’s held in place.
Step 2: Set Your Multimeter
Set your multimeter to “Volts DC” mode. This setting allows you to measure the electrical current running through the headlight wiring. Multimeter settings may vary, so make sure to look up your multimeter’s user manual for more information.
Step 3: Connect the Multimeter Leads
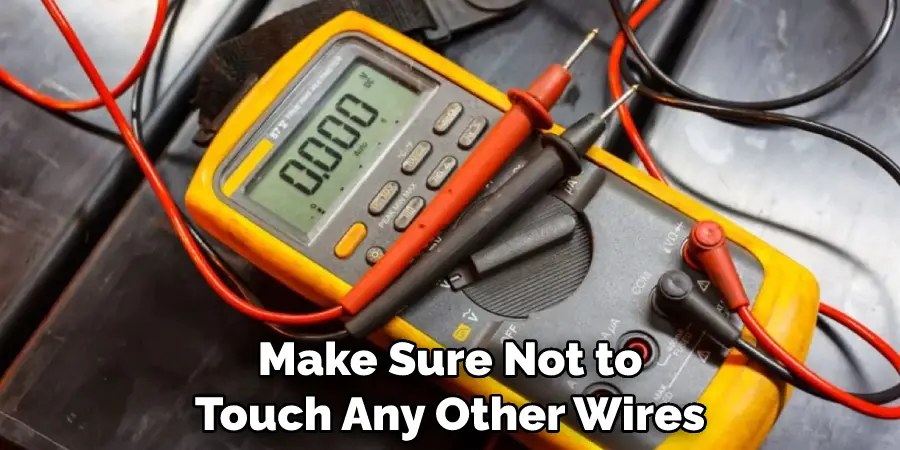
Connect the negative lead of your multimeter to the car battery’s ground terminal and connect the positive lead directly to each headlight wire. Make sure not to touch any other wires in the headlight wiring.
Step 4: Identify Low Voltage Output
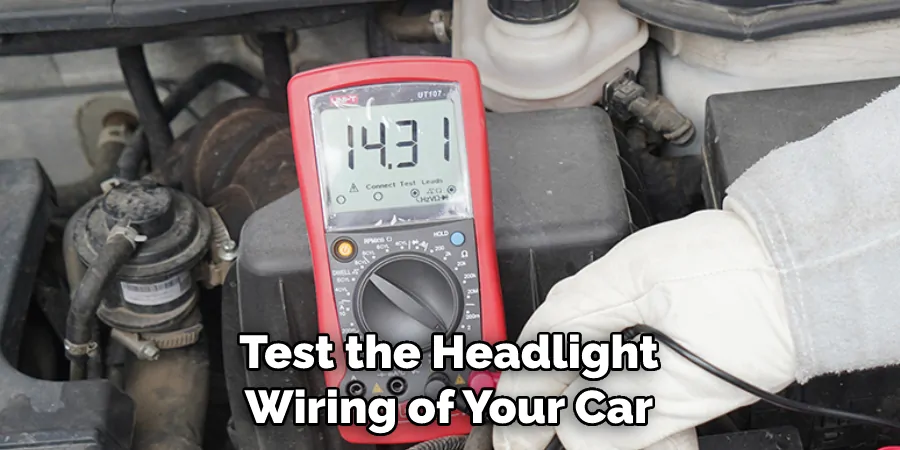
Check the voltage readings on your multimeter display. If either of the headlights has a low voltage reading (below 12V), it’s likely that there is an issue with that specific wire connection. Low voltage readings indicate a bad connection or grounding issue.
Step 5: Identify High Voltage Output
Check the voltage readings again and see if any of them are higher than the normal 12V output. If so, this indicates an excessive amount of electrical current running through that particular wire. This could be caused by a short circuit or exposed wiring within the headlight wiring.
Step 6: Check the Fuse
Check the fuse located in your car’s electrical system. If it is damaged or blown, this can cause low voltage output and should be replaced immediately. If you check the fuse and it is still intact, then there could be a loose connection in the headlight.
Step 7: Inspect the Wiring
Inspect the headlight wiring for any signs of damage, such as fraying or exposed metal. If you find any, cut off that section of wire and use electrical tape to cover it up. The wiring should also be firmly secured with connector pins or other fasteners to ensure a safe, secure connection.
Step 8: Measure the Wires
Measure each of the headlight wires individually and make sure they are within the normal voltage range (12V). If they are too low or too high, you may need to replace them with new ones.
Step 9: Replace Damaged Wires
If any of the wires are damaged or corroded, it’s best to replace them with a new one. Make sure to use the same type and size wire for your replacement in order to ensure a safe connection. Replacing a damaged wire is safer and more reliable than attempting to repair it.
Step 10: Test Your Lights
Finally, test your lights by turning them on and making sure they are working properly. If the lights don’t turn on, you can refer back to the voltages that you tested earlier and look for any problems in the wiring.
By following these steps, you can easily test the headlight wiring of your car with a multimeter and identify any potential problems. This will allow you to make repairs quickly and safely before they become bigger issues down the line.
8 Safety Measures to Take
1. Wear work gloves and safety glasses for protection. It will avoid any physical injury if something goes wrong during the testing process. Also, remember to unplug the headlights from the car before starting.
2. Make sure you have a multimeter that is designed to measure volts and ohms. This will enable you to accurately test the headlights wiring because it will provide an accurate reading of how much current is flowing through the wires.
3. Connect one terminal of the multimeter to the positive terminal of the headlight wire and the other terminal to the negative terminal. The terminal of the headlight wires can be identified by looking at its insulation.
4. Ensure that the multimeter is set to measure AC volts for a 12-volt system and AC+DC volts for a 6-volt system. This will ensure that you are getting an accurate reading from the wiring being tested.
5. Start your car and turn on the headlights. This will power up the headlight wiring system, allowing you to properly test it with the multimeter.
6. Check for any short circuits by moving the multimeter terminals around the headlight wire insulation. If a short circuit is present, there should be a voltage drop across the terminals of the meter, indicating a direct connection between the two points.
7. Increase the voltage of the system by turning up the brightness of the headlights. This will help you determine if there are any open circuits in the headlight wiring.
8. After testing, make sure to turn off your car and disconnect the multimeter from its terminals before ending your session. It is important to keep the wiring in its original condition after testing.

It is advised to use extreme caution when using a multimeter to test headlight wiring. Make sure you are always aware of the voltage and current readings, as well as take proper safety measures while working with electricity. With these tips in mind, you should be able to safely and accurately test headlight wiring with a multimeter.
5 Symptoms to Detect Headlight Wiring Problem
1. Dim or Flickering Headlights
One of the most common symptoms of an electrical issue with headlight wiring is dim or flickering headlights. This could be caused by a number of problems, such as loose connections, poor ground connection, bad fuses, worn-out wires, and more to help diagnose the issue, use a multimeter to test the headlight wiring for continuity.
2. Headlights That Flicker at Idle
If your headlights flicker when you are idle or just starting up your vehicle, it could be an indication that the wire supplying power to the headlight is loose. Use a multimeter to measure the resistance in the headlight wiring harness and see if you can identify the section that is responsible for this flickering.
3. Headlights That Randomly Turn On or Off
If your headlights randomly turn on and off, it could indicate a problem with the headlight wiring harness. Using a multimeter, you can check the wiring for continuity and identify any areas where there is a break in the circuit.
4. Headlights That Stay On After Turning Off Vehicle
If your headlights remain on after turning off your vehicle, it could be an indication that there is an issue with either the ground connection or a bad fuse in the headlight wiring harness. With a multimeter, you can easily test the ground connection and detect any broken wires or bad fuses.
5. Poor Visibility at Night
If your headlights are not providing enough light while driving at night, it could be due to a poor headlight wiring harness. Use a multimeter to check for continuity in the headlight wiring, and see if the wiring has been damaged or is not providing the proper amount of electricity to the headlights.
Testing headlight wiring with a multimeter is an important task that can help you identify any issues with your vehicle’s headlight wiring before they become a serious problem. With a few simple steps, you can easily test the headlight wiring with a multimeter and ensure that your vehicle is operating safely and properly.
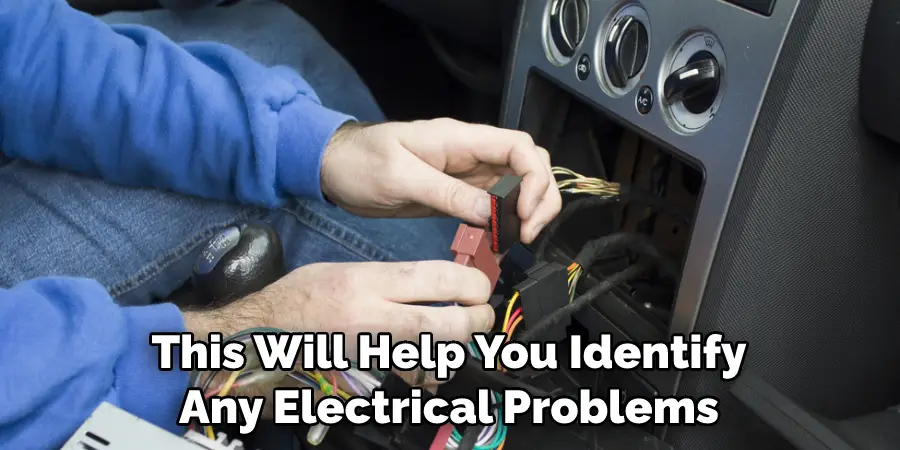
These are some of the common symptoms you should look out for to detect any potential issues with your headlight wiring. If you notice any of these signs, it’s best to test the headlight wiring with a multimeter as soon as possible. This will help you identify any electrical problems before they become a serious issue and potentially cause damage to your vehicle.
Conclusion
Testing a car’s headlight wiring with a multimeter is easy and straightforward as long as you remember to double-check your work while going through each step. While the process on how to test headlight wiring with a multimeter may seem intimidating if you haven’t done it before, most headlight wiring issues can be easily fixed with minimal effort and know-how.
When working with electrical systems and components, be sure to practice the utmost caution. This will ensure that you not only stay safe while making repairs but that they are also successful and long-lasting.
With the right skills and a helping hand, anyone can take on small tasks such as testing headlights in their own garage. Doing so will leave you feeling confident and accomplished–so give it a try today!

