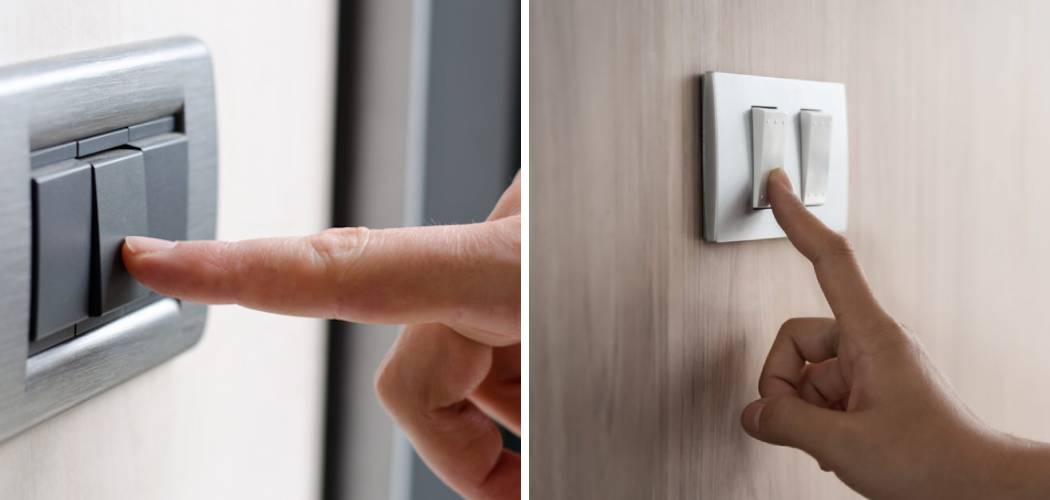
Are you tired of the same outdated light switches in your home? Are you looking for an affordable and easy upgrade to your lighting fixtures? Updating your light switches is a straightforward project that can instantly add modern style, convenience, and personality to any space.
Whether you’re replacing old switches or installing new ones, this guide has all the tips and tricks you need for updating your switch plates. Read on for helpful advice on how to update light switches and choose the right switches, remove existing ones, wire them up correctly, and more!
Should I Upgrade My Light Switches?
Upgrading your light switches is a great way to add style and functionality to your home. It can also save you money on energy bills in the long run. Not to mention, modern light switches are much easier to use than old-fashioned ones. So if you’re ready for a change, here’s what you need to know about updating your light switches.
When deciding whether to upgrade, it’s important to consider the age of your current switches and the type of switch you have. Older switches may be more prone to failure, while newer styles are more reliable and provide more features like dimming or multiple settings. Additionally, most modern light switches are designed to draw less energy and can even be connected to your home’s Wi-Fi network.
If installing a new switch yourself, it’s important to make sure you have the right tools and safety gear. Electrical work can be dangerous if not done properly, so consider calling in a professional if you’re uncomfortable handling it yourself. In addition, many local hardware stores offer installation services as well.
No matter what kind of light switch you decide on, updating your light switches is an easy way to update the look and feel of your home while potentially saving money on energy bills. With a little know-how and the right tools, you can upgrade your light switches in no time.
So if you’re thinking about updating your light switches, now is the time to do it! With a few simple steps and some new hardware, you can upgrade your switch and make your home more stylish and energy-efficient.
10 Methods on How to Update Light Switches
1. Replace the Switch Plate.
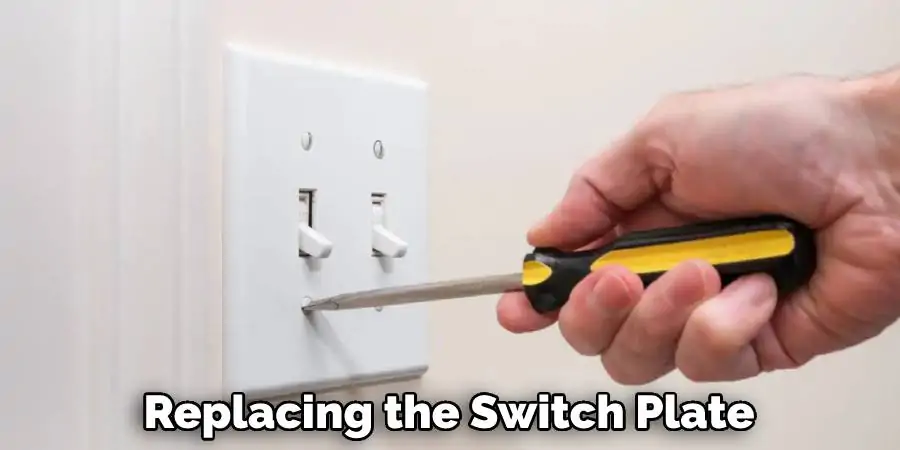
If your light switch is looking old and dingy, one of the easiest ways to give it a fresh new look is to simply replace the switch plate. You can find switch plates in a variety of colors, materials, and styles, so it should be easy to find one that fits your décor.
When replacing the switch plate, make sure to turn off the power to the light switch before removing the old plate! Although this isn’t necessary to update the switch itself, it is an important safety measure.
2. Paint the Switch Plate.
If you can’t find a switch plate that you like, or if you want to save money, you can always paint the existing switch plate. Use high-quality paint that is made for use on metal surfaces, and make sure to sand the surface of the switch plate before you begin painting.
Once the paint is dry, you can install the switch plate back onto the wall. If the switch plate has become discolored or dingy, a fresh coat of paint can make it look new. However, if you plan to use a bright color of paint, make sure that it matches the rest of your décor.
If you’re not confident in your painting abilities, you may want to hire a professional painter instead. Make sure to choose a paint that is easy to clean and won’t damage easily, such as oil-based enamel or epoxy paint.
3. Replace the Light Switch Itself.
If your light switch is damaged or not working properly, you may need to replace it entirely. This is a fairly easy task that anyone with basic home improvement skills should be able to do. Just make sure to turn off the power to the switch before you begin working on it.
Once the power is off, unscrew the switch and remove it from the wall. Attach the new switch to the wall in place of the old one. Make sure the wiring is connected properly and that the switch is securely installed.
Finally, turn the power back on and test it out to make sure it works. With a few simple steps, you can easily update your light switch and give your home a new look.
4. Add a Dimmer Switch.
Dimmer switches are a great way to add some versatility to your lighting, and they can also help to save energy. If you’re not familiar with how to install a dimmer switch, there are plenty of tutorial videos online that can walk you through the process step-by-step. Just be sure to turn off the power before attempting to install it.
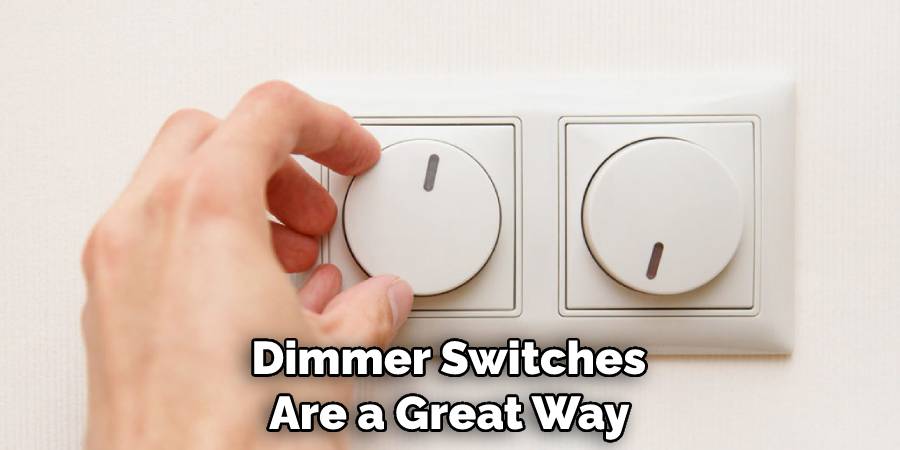
Once your dimmer switch is installed, you can adjust the lighting levels in any room to your preference. This is especially helpful if you’re using multiple lighting sources in the same space, as it allows you to easily adjust each one individually. With a dimmer switch, you can save energy while still enjoying the perfect level of light.
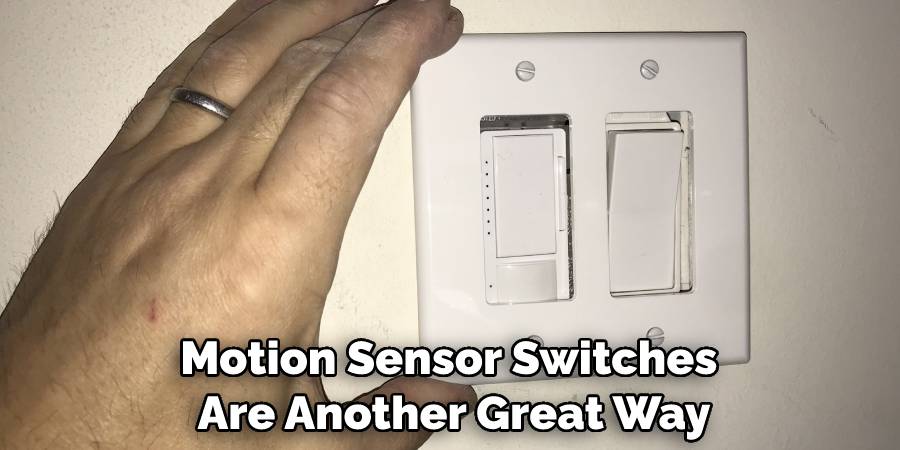
5. Install a Motion Sensor Switch.
Motion sensor switches are another great way to add some convenience and energy savings to your home. These switches will automatically turn on the lights when someone enters the room and then turn them off after a set period of time has passed without any motion being detected. These are especially convenient for areas that don’t get used frequently, such as guest bathrooms or hallways.
6. Add Some Decorative Accents.
If you want to really spruce up your light switches, you can always add some decorative accents such as stickers, decals, or even rhinestones. Just make sure that whatever you use is safe for use on electrical equipment!
You can also use these decorative accents to label the switches so everyone in your home knows which switch is for what. However, if you do choose to label your switches with decorative accents, make sure that the labels are easily removable.
7. Use Colored Electrical Tape.
If you don’t want to permanently alter your light switches, you can always use colored electrical tape to add some temporary flair.
This is a great option for kids’ rooms or for parties and other special occasions where you might want to change up the look of your décor for a short period of time. Simply take a piece of electrical tape that matches your desired color and wrap it around the switch itself, avoiding any contact with the metal parts.
This will give your switches a colorful trim that can easily be removed when desired. Just make sure to use caution when handling the tape, as it is easy to accidentally cover up important warnings and instructions on the switch itself. 8. Test Your Switch.
8. Wrap These Witches in Twine or Ribbon.
For a rustic look, try wrapping your light switch in twine or ribbon. This is an easy project that anyone can do, and it’s a great way to add some personality to your space. Just make sure not to wrap the twine or ribbon too tightly around the switch so that it doesn’t interfere with its operation. Once you’ve finished wrapping your switch, you can secure the ends with glue or tape if desired. Your light switches are now ready to use!
9. Hang Something from the Switch.
Another way to personalize your light switches is by hanging something from them. This could be anything from keychains and charms to small pieces of art or photos. Just make sure that whatever you hang from the switch isn’t too heavy so that it doesn’t damage the electrical wiring.

10. Putty over the Entire Switch.
If you really want to make your light switch blend into its surroundings, you can putty over it. Putty is a clay-like substance that comes in different colors and can be used to fill in gaps, seal off cracks, and even be used as an adhesive.
Apply a thin layer of putty over the switch, making sure to get into every nook and cranny. Allow the putty to dry completely before flipping the switch on and off. And there you have it – a light switch that looks like it’s been part of your wall for years!
Conclusion
With just a few simple steps on how to update light switches, you’re ready to update your existing light switches in no time. Have fun experimenting with different styles and designs you like best! Whatever type of switch it is, take the time to learn about the setup before delving into the process to ensure a smooth upgrade experience.
After everything is said and done, you will be left with some beautiful brand-new switches that are sure to make your home look modern and stylish -all without having to spend too much money or time on reinventing the wheel. So why wait any longer? Get out there and start upgrading those switches today!

