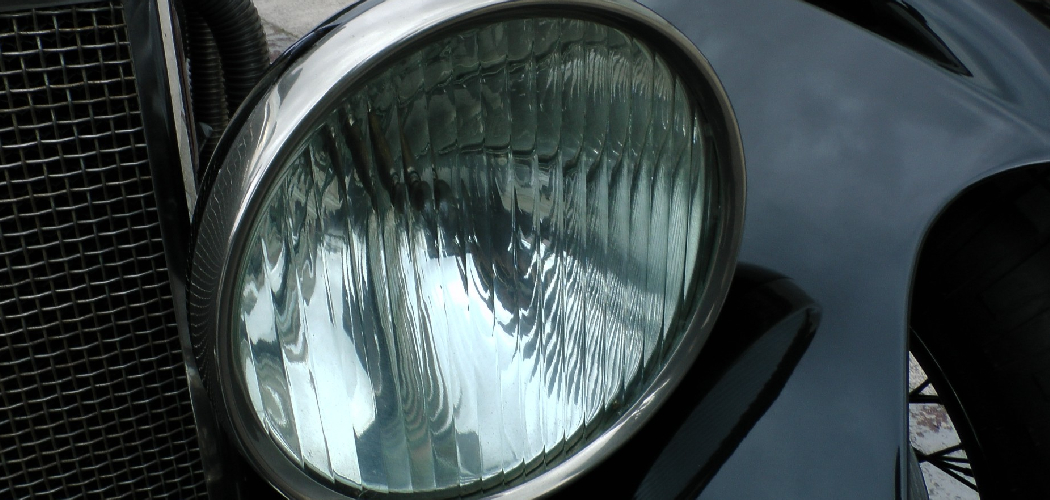
Headlight lenses are exposed to extreme elements, which can cause them to turn yellow, fog, and crack. This can reduce your visibility when driving at night and make your car look unattractive. Sealing the headlights will protect them from environmental damage, extend their lifespan and keep your car looking good.
The advantages of sealing headlights are that they can help improve drivers’ visibility, decrease the risk of moisture or dust getting inside the headlight housing, and protect your headlights from deterioration caused by UV light.
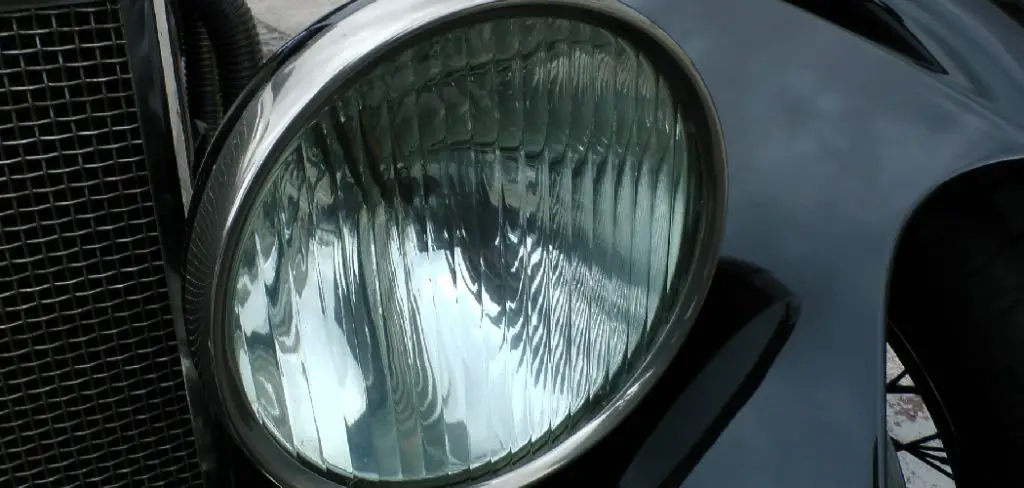
Sealing your headlights also helps to create a seal that prevents water from entering and damaging the electrical components in the headlight housing. In this blog post, You will learn how to seal headlights in detail.
Materials You Will Need
- Sandpaper
- Automotive/headlight repair kit
- Primer
- Paint
- Masking tape
- Rubbing alcohol
- Painter’s tape
- Dry towel
- A small, soft brush
- Clear coat sealant
Step-by-Step Processes for How to Seal Headlights
Step 1: Inspect the Headlights
Before you begin any work, the first step is to inspect the headlights. Look for any signs of damage or deterioration, such as cracks or chips. If there is significant damage, you should replace the headlight lenses instead of attempting to seal them.
Step 2: Clean the Headlights
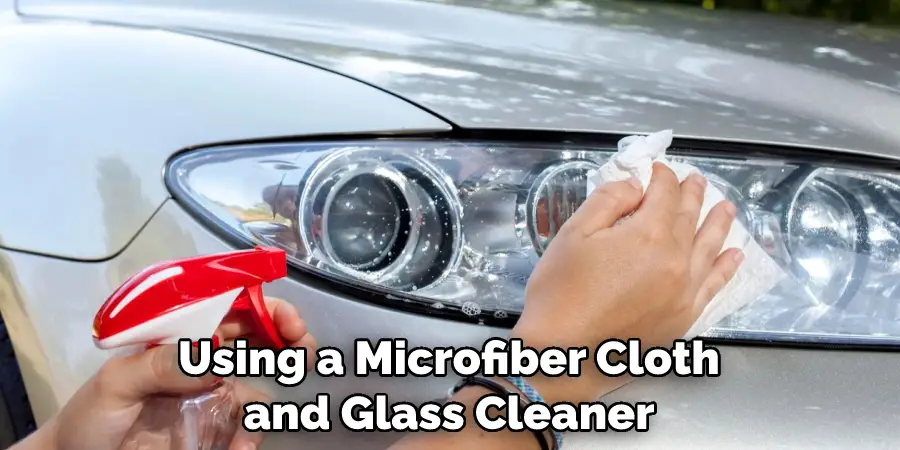
To prepare for sealing the headlights, clean them thoroughly using a microfiber cloth and glass cleaner. Make sure to get the inside lenses as well as the exterior. The next step is to apply masking tape around the edges of the headlights. This will help keep any sealant from getting on other parts of the car, such as paint or trim.
Step 3: Apply Primer
Once the headlights are taped off and cleaned, apply a primer specifically designed for automotive use. This will help the sealant adhere better to the headlight lens. After the primer has dried, it’s time to apply sealant. Most sealants come in a tube or a spray can. If using the spray, make sure to cover your nose and mouth as it is very pungent.
Step 4: Allow Sealant to Cure
For best results, allow the sealant to cure overnight before handling the headlight lens. This will give the sealant time to bond with the headlight properly. Now that the sealant has cured, carefully remove the tape and any excess sealant with a microfiber cloth. Be sure to use gentle pressure so as not to scratch the lens.
Step 5: Buff Out Headlights
Use an automotive buffing compound and a polishing pad to get a smooth finish on the headlights. This will help to remove any excess sealant or primer from the headlight lens. After buffing out the headlights, apply a clear protective coating to protect them from further damage. Most kits come with this included in your sealant kit.
Now that you have sealed and protected your headlights, enjoy the improved visibility they offer at night! You can rest assured knowing that your headlights will be well-protected for years to come.
Safety Tips for How to Seal Headlights
- Wear protective eyewear and gloves when sealing headlights. This will prevent any harmful chemicals from getting into your eyes or onto your skin.
- Ensure the area around the headlights is clean before you start applying sealant. This will ensure that the sealant adheres properly to the headlights and creates a strong bond.
- Only use a sealant specifically designed for headlights. Regular automotive sealants may not be strong enough to hold up against the heat and pressure of a headlight unit.
- Apply the sealant in thin layers and allow it to dry before applying another layer. This will help create an even, consistent seal that won’t crack or leak.
- Be sure to read the instructions on the sealant carefully before applying it to your headlights. This will ensure that you follow the manufacturer’s use and safety protocols recommendations.
- Don’t skip over any steps when sealing headlights, as this could result in a weak bond between the headlight and the sealant.
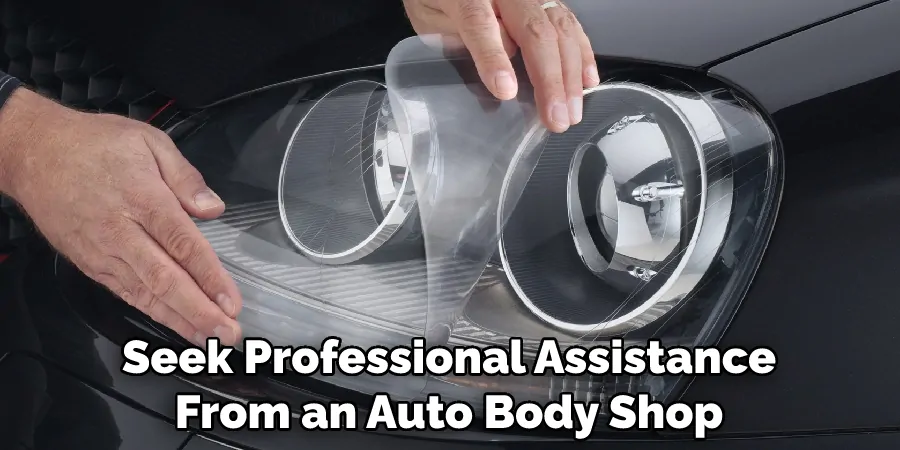
- If you are not comfortable sealing your headlights, seek professional assistance from an auto body shop or car dealership. They will have the necessary skills and tools to safely seal your headlights without causing any damage.
Following these simple safety tips can help ensure that you are properly sealing your headlights and preventing any potential hazards.
Is It Safe to Use Any Type of Sealant on Your Headlights?
When it comes to sealing your headlights, there are many sealants available on the market. However, not all of them are suitable for use with car lights, and some may even damage them if used incorrectly.
To ensure that you’re using a safe product, make sure you opt for one specifically designed for headlights or vehicle plastic surfaces. These sealants are usually made of specialized silicone or acrylic that won’t damage your lights and is designed to hold up against UV exposure, water, and other elements.
Before you buy any type of sealant for headlights, make sure it says “safe for use with vehicle plastics” on the label. When applying the sealant, it’s important to follow the instructions carefully. Most sealants must be applied in a thin layer and will require at least 24 hours of drying before they are fully cured.
Once it has dried, you can test that the seal is secure by sprinkling water on the headlights and checking for any leaks or damp spots. If you notice any of these, simply apply more sealant and let it dry before trying again.
What is the Best Way to Apply the Sealant?
The best way to apply the sealant is with a foam brush. Start by cleaning the headlight area you will seal, using a damp cloth and rubbing alcohol. Make sure that all dirt and debris are removed from the surface. Then dip your foam brush into the sealant and spread it evenly across the headlight, being careful not to get any on the paint.
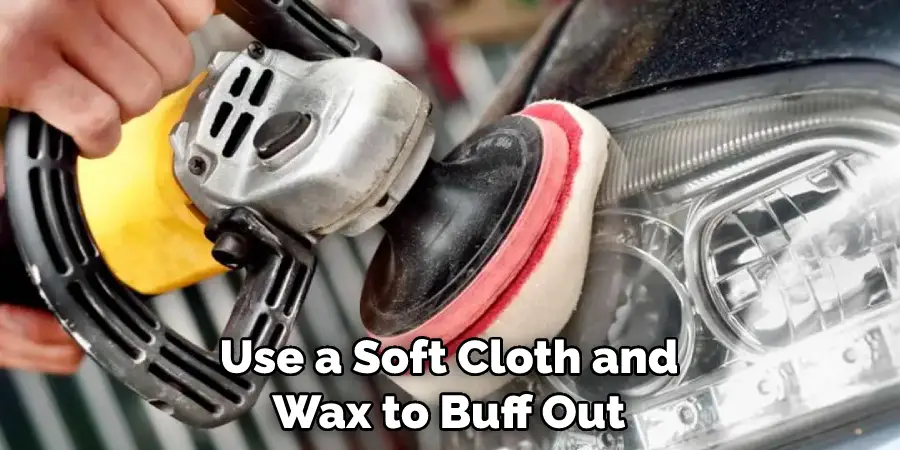
Allow the sealant to dry completely before driving. After it is dry, use a soft cloth and wax to buff out any streaks or marks left behind by the sealant. This will help protect your headlights from further damage and fading caused by UV rays and other environmental factors.
Your headlights should now be sealed and protected for years to come! When it comes time to replace your, follow the same sealing process to ensure that they remain in good condition. With the proper care, your sealed headlights should last a long time and keep you driving safely on the road.
What is the Best Way to Clean Your Headlights After Sealing Them?
After sealing your headlights, the best way to keep them looking their best is to clean them with mild detergent and warm water regularly. Use a damp microfiber cloth to gently scrub the surface of the headlight lens until all dirt and debris are removed. Rinse off any remaining residue with clean water and dry thoroughly.
Avoid using any harsh chemicals or solvents, as these could damage the sealant. Once your headlights are clean, it is important to reapply a protective coating of UV-resistant wax in order to preserve the sealant and keep your headlights looking great for years to come.
It is also important to inspect the condition of your headlights on a regular basis. Look for any signs of damage or deterioration and take steps to address them as needed. This may include buffing, sanding, or polishing to restore the lens’s clarity and protect it from further wear and tear. Regular maintenance will help keep your headlights looking great and ensure they provide optimal illumination on the road.
Are There Any Risks Associated With Sealing Headlights?
Yes, there are certain risks associated with sealing headlights. It is important to understand these risks before proceeding with the procedure. Firstly, if done incorrectly, sealing headlights may damage them or reduce their efficacy.
When applying sealant, it is vital to make sure that the headlight surface is completely clean and that all instructions from the sealant manufacturer are followed precisely. Failing to do so may damage the headlight lens and can lead to reduced visibility.
Additionally, applying sealant without proper ventilation may increase the risk of inhaling harmful chemicals released by the sealant. To minimize this risk, it is important to ensure that adequate ventilation is provided during the sealing process.
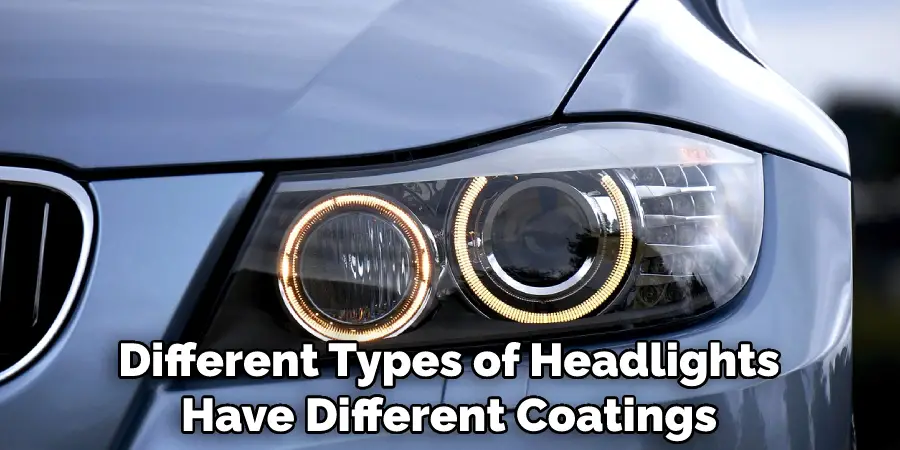
Finally, applying a sealant to the wrong type of headlight can also cause damage. Different types of headlights have different coatings and require different sealing techniques. Researching and identifying the right techniques for your headlights is important before beginning this process.
Conclusion
In conclusion, sealing headlights is important to maintaining your car’s safety and visibility. It is a relatively easy job that anyone can do with the right tools and materials. To seal headlights effectively, you will need to first prepare the surface by cleaning it properly and then applying a good quality sealant.
Make sure to use the proper amount in order for it to be effective. Once this is done, make sure to check the sealant regularly and reapply when needed. I hope this article has been beneficial in learning how to seal headlights. Make Sure the precautionary measures are followed chronologically.

