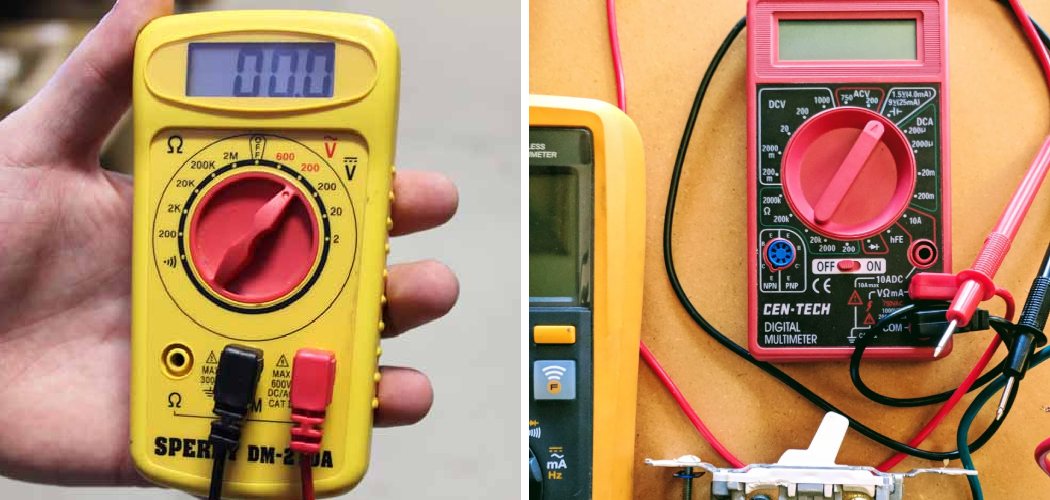
Do you dread turning on that switch in your home only to be met with a fiery jolt? Are burnt fingertips and startled surprise becoming the routine when flipping a light switch? If so, then it’s time for you to fix this pesky problem!
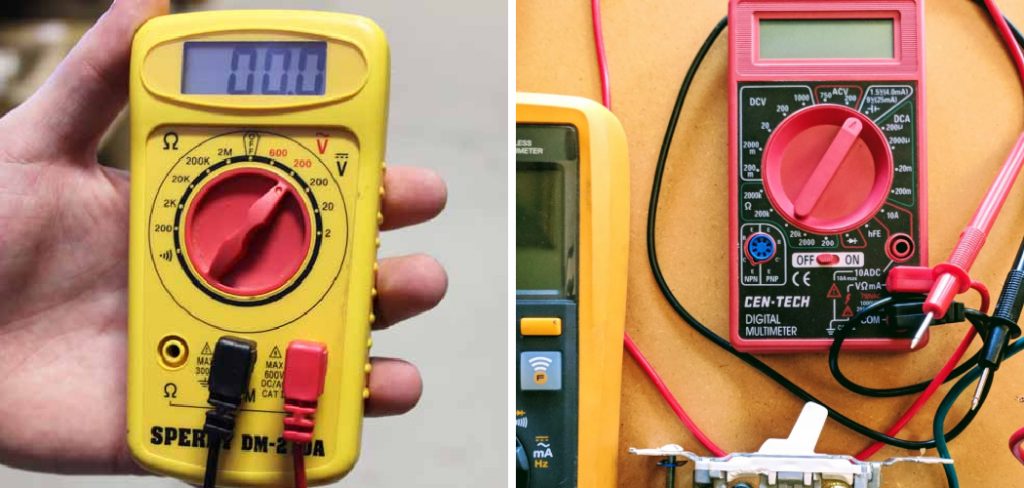
Fixing a hot light switch isn’t as daunting as it seems; there are simple steps to follow that will have your switches working like new. Read on for an easy-to-follow guide demonstrating how to check a light switch with a multimeter—no shocks or surprises included!.
How Can You Tell if a Light Switch Is Bad?
Before you attempt to check a light switch with a multimeter, it is important to be able to identify if the switch is bad in the first place. If there are any visible signs of damage, such as rust, corrosion, or other physical damage, then it is likely that the switch has gone bad and should be replaced.
In addition, if the light does not come on when the switch is flipped, then there may be an issue with the switch. In some cases, it can also be helpful to try different switches before concluding that one of them is not working properly. You may find that a particular switch does not turn on lights but another one does, which would indicate a problem with this specific switch and could save you time in the long run.
If you suspect that a light switch may be bad, then checking it with a multimeter is an easy and cost-effective way to determine if this is the case. This process can help you confirm whether or not your suspicions are correct so that you can take appropriate action, such as replacing the switch if necessary.
Knowing how to check a light switch with a multimeter can save you time and money in the long run. It is important to be careful when using a multimeter, as incorrect use may lead to electric shock or damage to the device itself. If you are unsure about how to use it safely, then it is best to seek professional advice before proceeding.
The multimeter can be used to test the switch in order to determine if it is working properly. A multimeter is a device that measures electrical current and voltage, making it an ideal tool for this type of task. The process of testing a light switch with a multimeter is relatively simple and should not take more than a few minutes.
10 Methods on How to Check a Light Switch with a Multimeter
1. Check the Light Switch for Power.
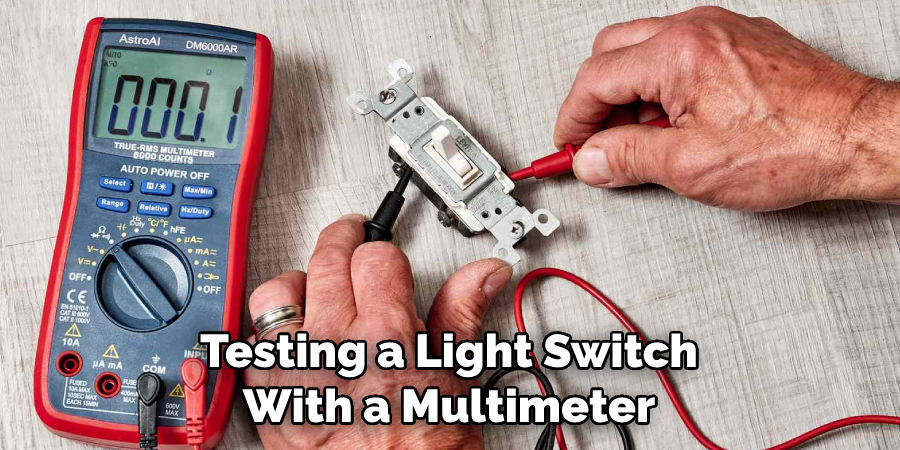
The first thing you need to do is to check whether the light switch is receiving power. You can do this by using a multimeter to test the voltage across the light switch.
If there is no voltage present, then the light switch is not receiving power and you will need to check the wiring. If there is voltage present, then the light switch is receiving power and you can move on to the next step. To check the voltage, set your multimeter to AC Voltage and then touch one lead to each of the terminals on the light switch.
2. Test the Continuity of the Light Switch.
Once you have confirmed that the light switch is receiving power, you need to test the continuity of the switch. This can be done by using a multimeter to test for resistance across the light switch. If there is no resistance, then the switch is open and needs to be replaced.
To test the continuity of the switch, set your multimeter to a low resistance or continuity setting. Attach one lead to each terminal of the switch. When you press the switch, your multimeter should read zero resistance if the switch is working. If it reads infinity, then the switch is not working and needs to be replaced.
3. Test the Current Draw of the Light Switch.
Another way to test a light switch is to measure the current draw of the switch. This can be done by using a multimeter to measure the current flowing through the light switch. If the current draw is too high, then this could indicate that there is a problem with the switch, and it needs to be replaced.
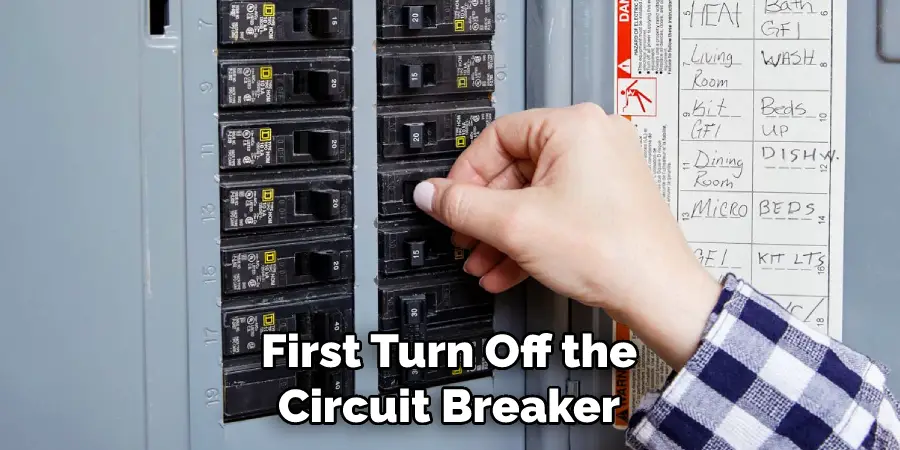
To measure the current draw, first turn off the circuit breaker control light switch. Then use the multimeter to set it to AC or DC current.
4. Inspect the Physical Condition of the Light Switch.
In addition to testing the electrical properties of the light switch, you should also inspect its physical condition. Look for any signs of damage, such as cracks or breaks in the housing of the switch.
Also, make sure that all of the connections are tight and secure. If you notice any problems, then it’s likely that you’ll need to replace the switch. If the switch looks to be in good condition, you can continue with the next step. If the switch appears to be damaged, then you should stop and replace it.
5. Check for Loose Wires at the Light Switch.
One common problem with light switches is loose wires. Over time, vibrations from opening and closing doors can cause wires to become loose at their connection points. This can eventually lead to an electrical short, which can cause serious problems. To avoid this, always make sure that all wires are tight and secure at their connection points before testing a light switch.
6. Use a Circuit Tester on the Light Switch Circuit.
If you’re not comfortable using a multimeter, then you can also use a circuit tester on the light switch circuit. Circuit testers are designed specifically for testing electrical circuits and they’re very easy to use. Simply place one lead of the tester on each terminal of the light switch and if there is continuity, then theswitch is good. If not, then it needs to be replaced
7. Replace the Light Switch if Necessary.
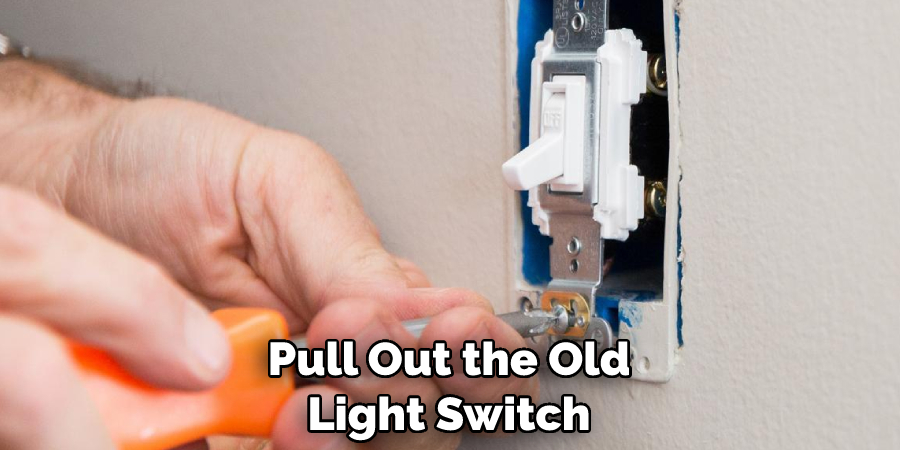
If you have tested the light switch and determined that it is not working properly, then it may need to be replaced. To replace a light switch, you will need to turn off the power to the light switch at your circuit breaker box. Once that is done, use a screwdriver to remove the cover plate and unscrew the two screws connecting the light switch to the wall.
Pull out the old light switch and then connect the new one in its place. Make sure the wires are connected properly and then secure it with screws. Finally, replace the cover plate and turn the power back on at your circuit breaker box. With a new light switch in place, you should now have a fully functioning light switch!
8. Ensure that All Wiring Is Properly Insulated.
Once you have replaced the light switch, it is important to ensure that all of the wiring is properly insulated. This will prevent any exposed wires from creating a hazard, such as an electric shock or fire. To do this, you can use electrical tape to properly cover the connections and wiring.
Be sure to wrap the tape around the wires several times in order to ensure that they are completely covered. After all of the wiring is securely insulated, replace all of the faceplates and turn on the power. Your newly replaced light switch should now be working safely and securely.
9. Test the Light Switch with the Multimeter once More.
Finally, it is a good idea to test the light switch with the multimeter one more time, just to make sure it is really in the “Off” position. Set your multimeter to the same setting you used before and double-check that both terminals are still connected to the light switch terminals.
If all is in order, then test the light switch one more time as described above. This will ensure that you have an absolute “Off” position and that you can use the light switch with confidence.
10. Switch on the Light and Check that It Works Correctly.
After you have completed all of the tests and replaced any faulty parts, you should switch on the light switch to ensure that it works correctly.
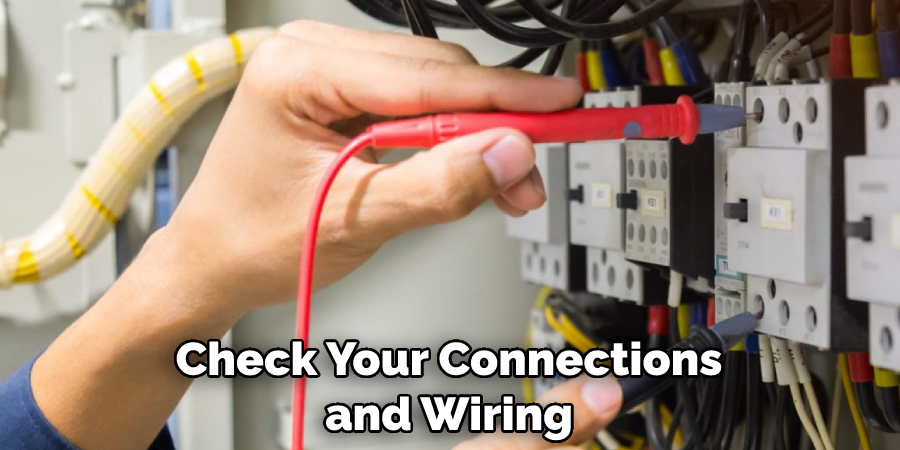
If all of your tests have been successful, then the light should turn on without any issues. If the light does not come on, then you should check your connections and wiring to make sure that everything is connected properly.
Conclusion
In conclusion, it’s important to know how to check a light switch with a multimeter. This task may seem intimidating at first, but that doesn’t mean you can’t do it. With the right tools and knowledge, this project can be done easily and efficiently.
The most important part of checking a light switch is to make sure it is off before starting any electrical work. If done correctly, this will give you peace of mind knowing that all connections are good and functioning properly.

