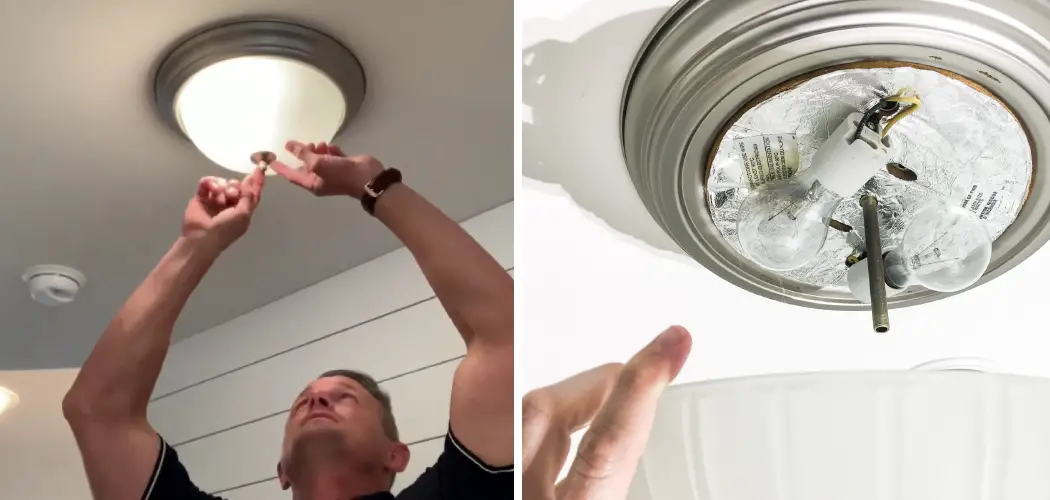
Are you tired of the ugly “boob light” hanging in your living room? Are you desperately searching for a way to update it with something more stylish and chic? If so, then don’t worry because we’ve got you covered.
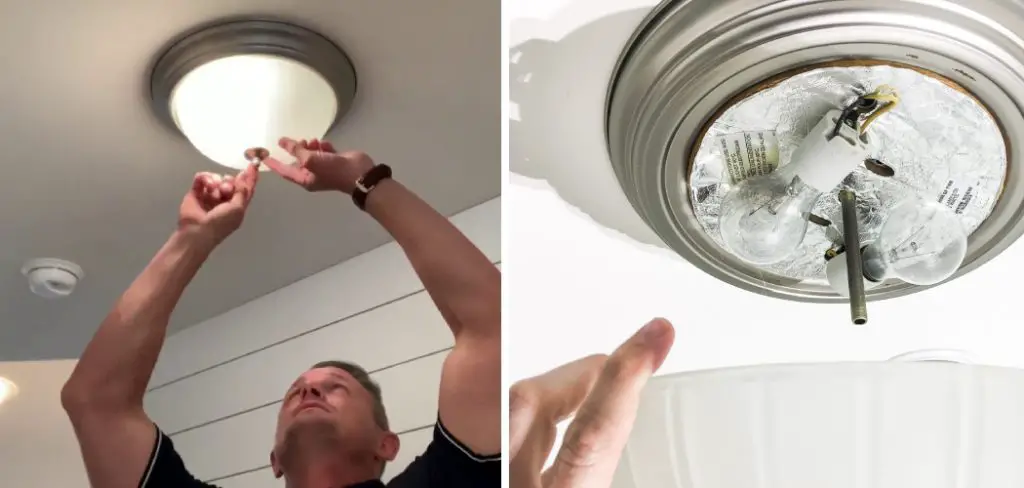
Here, we will be taking a look at how to replace boob light fixture with something more modern and appealing. We’ll go over the best materials, styles and techniques that can help transform your home lighting from drab to fab! So keep reading if you’re ready for an easy but effective upgrade.
If you’ve been living in a home that was built more than 25 years ago, chances are you’re familiar with the infamous boob light—the universal default light fixture. Boob lights are outdated and often unattractive, yet unfortunately, they remain prevalent in our homes.
You may be wondering how to replace your current lighting set-up with something modern and flattering for your space. In this blog post, we’ll provide step-by-step instructions on how to easily upgrade old boob lights with stylish new replacements.
Why May You Want to Replace Boob Light?
1. To Increase the Amount of Light in a Room
One of the main reasons why you may want to replace your boob light is if you are looking to increase the amount of light in a room. Boob lights typically do not provide enough illumination for larger rooms, and replacing them with something more powerful can make a big difference in terms of brightness.
2. To Change Up the Look of Your Home
Boob lights are a very dated look, and if you’re looking for something more modern or stylish, replacing your boob light is an easy way to update the look of your home. You can easily find various types of lighting fixtures that will meet your aesthetic needs.
3. To Be More Energy-Efficient
Replacing your boob light with a more energy-efficient option is another great reason to make the switch. Not only will you save money on your electricity bill, but you’ll also be helping the environment by using less energy.
How to Replace Boob Light in 5 Easy Steps
Now that we know why we may want to replace our boob light, let’s take a look at how to do it.
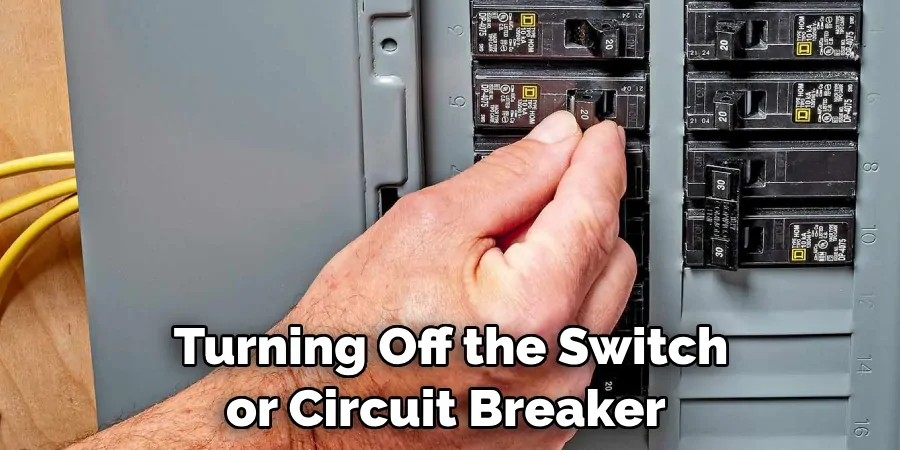
Step 1: Turn Off the Power
Before you start working on replacing your boob light, make sure that the power is off by turning off the switch or circuit breaker in your home. This will help ensure your safety while you’re working on the project.
Step 2: Remove the Existing Fixture
Once the power is off, you can start to remove the existing boob light fixture. You should first disconnect the wiring and unscrew any screws that are securing it to your ceiling.
Step 3: Install the New Fixture
Now you can install your new fixture. Start by connecting all of the wires according to their color coding before screwing the fixture into place. Also, you have to be sure to properly secure the light fixture, as it will be supporting the weight of your new boob light.
Step 4: Connect Power and Test
Once your new boob light is installed, you can go ahead and reconnect the power. You should then flip on the switch or circuit breaker to ensure that everything is wired correctly. If all looks good, you’re ready to move onto the final step!
Step 5: Enjoy Your New Boob Light
The last step in replacing your boob light is to admire all of your hard work and enjoy the new look of your room. A boob light can add a unique touch to any space, and now that you know how to replace it yourself, you can update the look of your home whenever you want.
Congrats on replacing your boob light – you did an amazing job!
Some Tips to Replace Boob Lights
1. Do Not Touch The Bulb
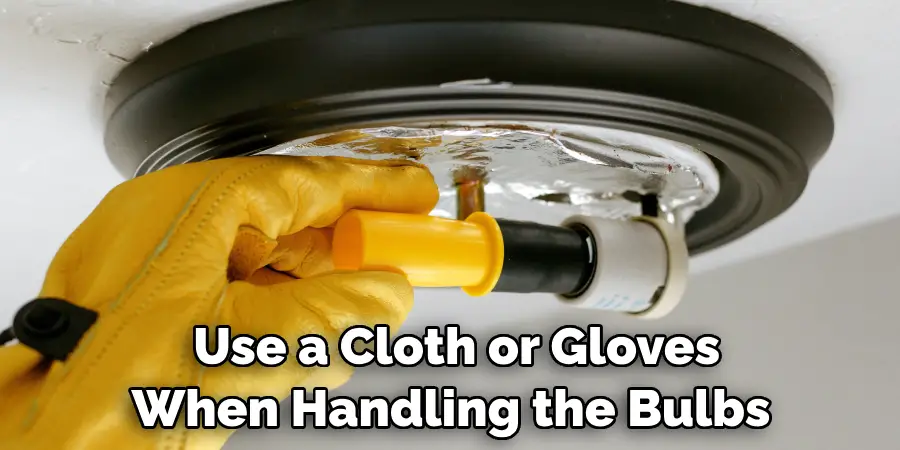
Before you attempt to replace a boob light, make sure not to touch the bulb with your bare hands. Oils and dirt from your skin can shorten the life of the bulb and cause it to burn out faster. Use a cloth or gloves when handling the bulbs.
2. Know Your Fixture Type
Boob lights come in different sizes and shapes. Be sure to note the type of fixture you intend to replace before purchasing a new bulb or light. A few common types include canopies, pendants, chandeliers, and sconces.
3. Disconnect Power
Make sure to turn off the power before attempting any kind of work on your light fixture. This will help prevent any accidents and ensure that you are safe while replacing the boob light.
4. Remove Old Bulb
Carefully remove the old bulb by loosening it from its socket. Be sure to keep hold of the bulb until it cools down, as hot bulbs can easily shatter if dropped suddenly.
5. Install New Bulb
Once the old bulb has been removed, carefully insert the new one into its place and twist it to secure it in place. Make sure that you have installed it correctly before turning the power back on.
Also make sure that your new bulb is compatible with the type of light fixture you have.
6. Check the Wiring
Before you turn on the power, make sure to double-check that all wiring and connections are secure. If any loose wires are exposed, use electrical tape to cover them up and ensure a safe connection.
7. Test Light
Once everything is secure and in place, turn on the power to check that the new bulb is working. If not, double-check all your connections to ensure that the lightbulb has been installed correctly.
Frequently Asked Questions
What Precautions Should I Take While Replacing a Boob Light?
Before replacing your boob light, it is important to make sure that the power is shut off. Make sure the switch controlling the light is in the off position and that you are familiar with how to safely disconnect electrical wiring.
What Tools Do I Need To Replace a Boob Light?
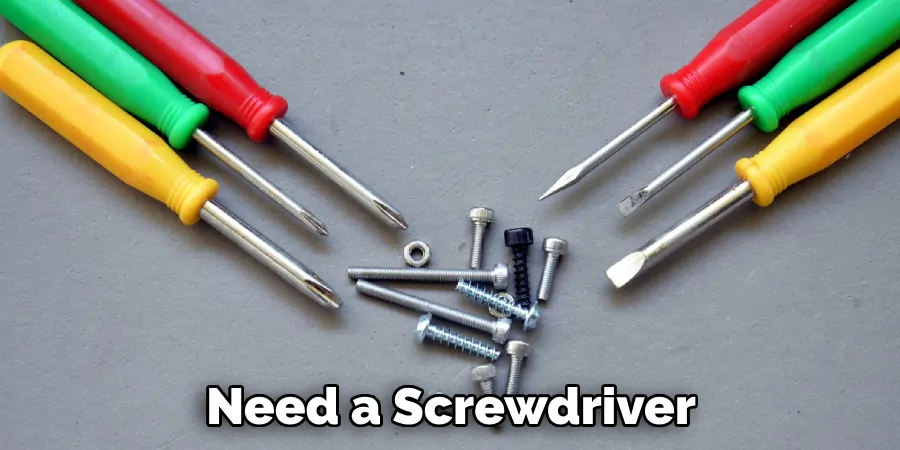
You will need a screwdriver, adjustable pliers, wire strippers and a ladder if the light fixture is up high. Depending on the type of boob light you are replacing, you may also need a voltage tester to make sure that all wires are not live.
Can I Replace a Boob Light on My Own?
Yes, with the right tools and safety precautions, you can replace your boob light yourself. Just make sure that you are familiar with all of the steps involved in the process before attempting to do it on your own.
Can I Replace a Boob Light With Another Type of Fixture?
Yes, you can replace your boob light with any type of fixture that is compatible with the existing wiring. However, it is important to make sure that the new fixture is properly secured and installed before turning on the power. Additionally, if you are installing a different type of bulb, make sure that it has the same wattage as the previous one.
Can I Install a Boob Light On My Own?
Yes, with the right tools and safety precautions, you can install your own boob light. However, it is important to make sure that all of the wiring is connected correctly before attempting to do so. Be sure to follow the instructions on the installation guide carefully when installing the light.
What Are the Benefits of Installing a Boob Light?
Boob lights are great for adding a bit of style to any space, as they come in many different shapes and sizes. They are also designed to be energy-efficient, which helps reduce your electric bill over time. Additionally, boob lights tend to last longer than traditional bulbs, making them a great investment.
What Are the Advantages of Replacing a Boob Light?
Replacing your boob light can help improve the overall look and feel of any room in your home. A new fixture can add more light to the space and help set the atmosphere for any occasion. Additionally, installing new wiring can help increase the safety of your home.
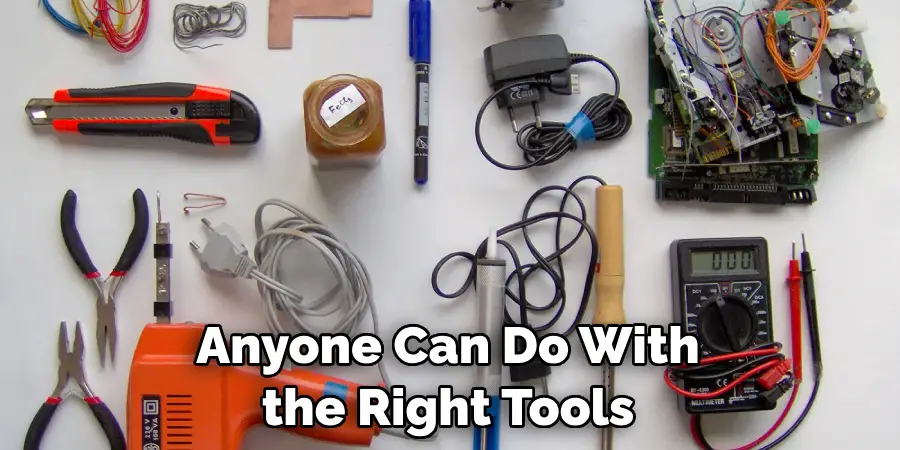
Replacing a boob light is a relatively simple task that anyone can do with the right tools and knowledge. Just be sure to take all necessary precautions before attempting to replace or install one in your home. With the right instructions, you can easily create a great looking space while keeping your home safe and efficient. Good luck!
Conclusion
Overall, replacing your boob light is an easy task that can give you a much better ambiance in the room. If you have a flush or semi-flush mount fixtures, it will cost a bit more and require minor construction work. Also, keep in mind it doesn’t have to be boring! There are many ceiling fixtures that will make the room feel stylish and custom. Don’t be afraid to step outside the box when picking out what you’d like to replace your boob light with.
Now you know how to replace boob light! Whether you pick out something bubbly and traditional or something modern and sleek, remember that having fun with it leads to great results. And best of all? You can do this yourself without having to hire an expensive professional. So why waste any more time? Get started today transform your dated boob light into an updated masterpiece!
You Can Check It Out to Hide Outdoor Christmas Light Cords

