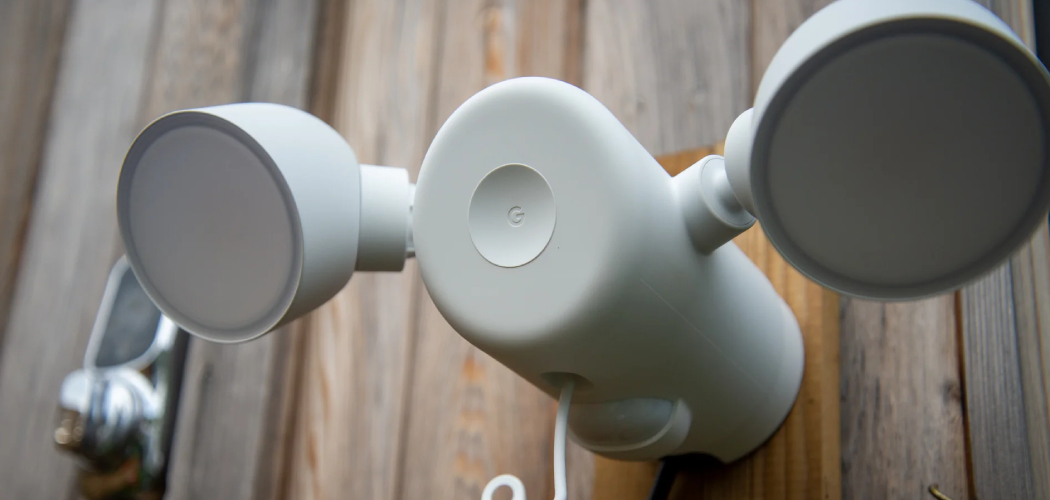
Are you looking to increase the security of your home or business without breaking the bank? Look no further than Ring Floodlight Camera—a powerful and reliable solution for keeping an eye on what’s happening outside your door. It’s easy to install and set up, so you’ll have peace of mind knowing your premises are safe from intruders.
With two ultra-bright floodlights, a full HD camera, and motion-activated notifications, it’s one of the best choices for advanced home security systems.
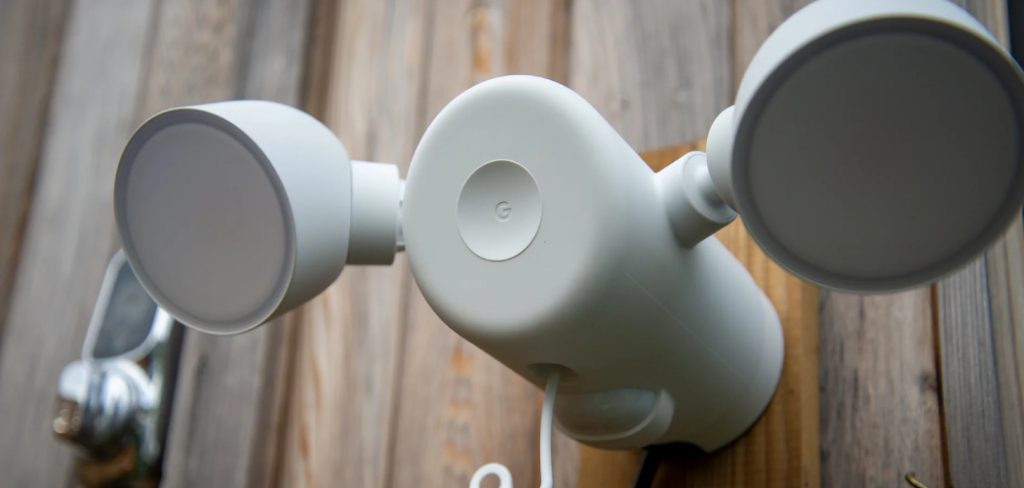
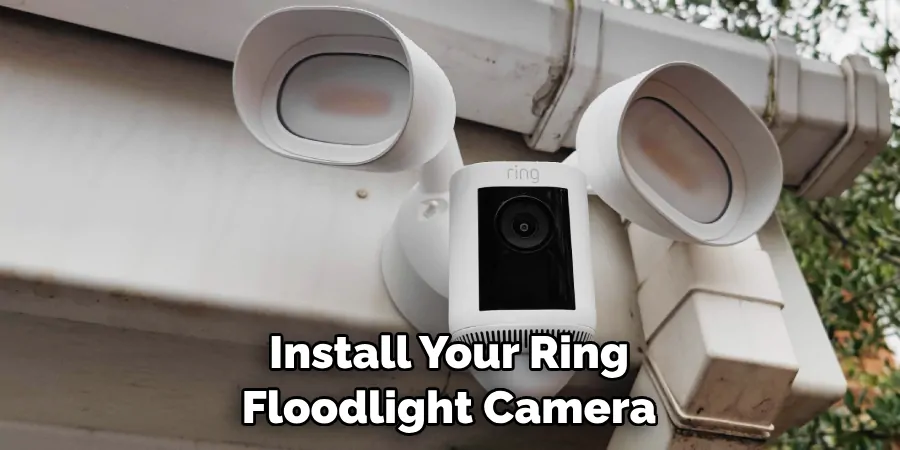
If you’ve decided to install the Ring Floodlight Camera, here’s a step-by-step guide to help you out. In this article,, we will show you how to install ring floodlight camera! Keep reading for all the details on tubing up your property safely and securely with a Ring Floodlight Camera.
What Will You Need?
Before you start the installation, make sure you have all the necessary tools and components. Here’s what you should have on hand:
- Ring Floodlight Camera
- Appropriate mounting hardware (bolts, screws, etc.)
- Phillips screwdriver with slotted head or suitable drill bit
- Wire cutters/strippers for electrical wiring
- Voltage tester to check for live current
- Wire nuts/crimp connectors for electrical wiring
- Detergent or cleaner to wipe the mounting surface
Now that you’ve got all your materials ready, let’s get started with installation. Here are the steps you should follow.
10 Easy Steps on How to Install Ring Floodlight Camera
Step 1. Turn Off the Power:
Safety is paramount when dealing with electrical installations. Locate your home’s breaker box and turn off the circuit that will be supplying power to the Ring Floodlight Camera. Use your voltage tester to ensure there’s no current flowing to the installation site.
Step 2. Prepare the Mounting Area:
Choose the desired location of the Ring Floodlight Camera, ideally, it should be higher up to provide a large field of view. Clean the surface where you plan to mount the camera using a suitable detergent or cleaner. Make sure the surface is dry before proceeding. If needed, drill holes for the mounting screws, considering the size and position of your Ring Floodlight Camera.
Step 3. Install the Mounting Bracket:
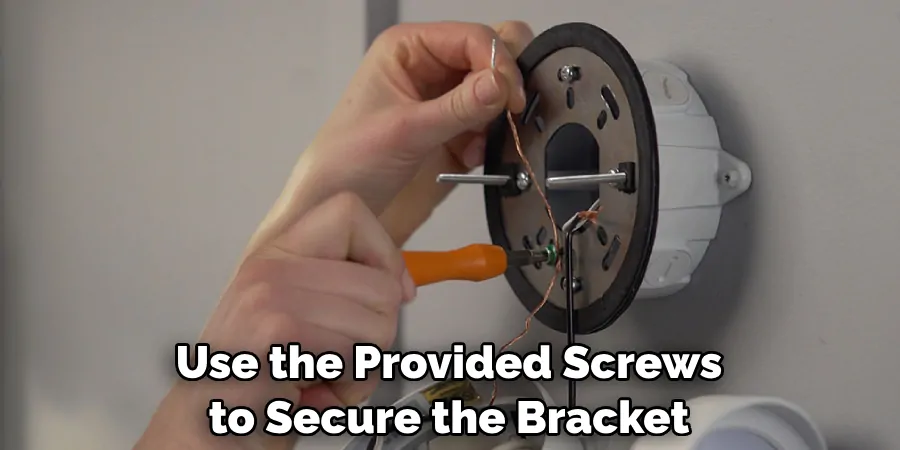
Take the mounting bracket that came with your Ring Floodlight Camera and align it with the drilled holes. Use the provided screws to secure the bracket firmly on the wall. Ensure that the bracket is level and tightly secured, as it will support the camera’s weight and floodlights.
Step 4. Connect the Wires:
With your mounting bracket in place, it’s time to connect the electrical wires from your home to the Ring Floodlight Camera. Match the colors of the wires: white to white, black to black, and green or bare to ground.
Use the wire cutters/strippers to strip the insulation from the ends of your home’s wires if necessary. Twist the matching wires together and secure them with wire nuts or crimp connectors. This is a crucial step in the installation process, and it’s important to ensure that all connections are tight and secure.
Step 5. Attach the Camera to the Mounting Bracket:
Once the wiring is properly connected, it’s time to attach your Ring Floodlight Camera to the mounting bracket. Carefully align the holes on the camera with the screws on the bracket. Tighten the screws to secure the camera in place, ensuring it’s properly aligned and firmly attached to the bracket. Remember to adjust the camera angle and floodlights as needed to provide the best field of view.
Step 6. Install the Floodlight Covers:
After securing the camera, proceed to install the floodlight covers. These covers protect the light bulbs from external damage and weather elements. Ensure that they are correctly positioned and screwed tightly into place. Remember to be gentle during this process to avoid any damage to the light bulbs themselves.
Step 7. Turn On the Power:
After successfully installing your Ring Floodlight Camera and all its components, you can turn the power back on. Return to your home’s breaker box and flip the switch that supplies power to the camera. The floodlights should light up, and the camera should start working if everything is installed correctly.
Step 8. Set Up the Ring Application:
To use the Ring Floodlight Camera, you must set it up on the Ring application. Download and install the Ring application on your smartphone if you haven’t done so already. Once installed, open the application and create an account.
Then, select ‘Set Up a Device’ and ‘Security Cams’. Follow the prompts in the app to connect your Ring Floodlight Camera to your home’s Wi-Fi network and customize its settings according to your needs. Test the live view and motion detection functionality to verify that your camera and floodlights are working properly.
Step 9. Test Your Ring Floodlight Camera:
After setting up the application, it’s time to test your Ring Floodlight Camera to ensure everything is working as expected. Walk in front of your camera to trigger the motion sensor. You should receive a notification on your phone.
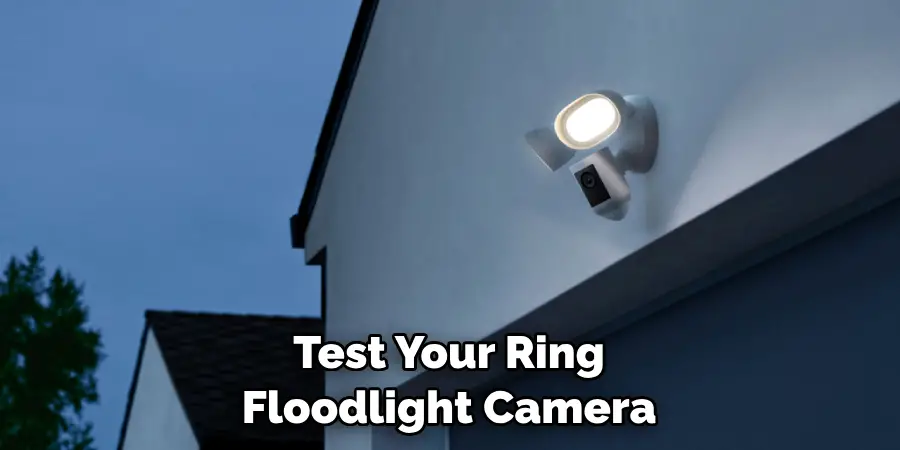
Check the live view in the Ring application to verify that the camera is capturing a clear and stable video feed. Adjust the camera or floodlight angles if needed. You can also adjust the motion sensor’s sensitivity within the application if necessary.
Step 10. Regular Maintenance and Checking:
Remember to check regularly to ensure optimum performance once your Ring Floodlight Camera is fully operational. Clean the camera lens and floodlight covers periodically to prevent dust accumulation, which can impair the video quality and the brightness of the lights.
Also, regularly check the Ring application for updates to keep your camera’s features current. By following these simple maintenance steps, you can ensure that your Ring Floodlight Camera continues to provide reliable home security.
By following these ten easy steps, you can successfully install your Ring Floodlight Camera and enjoy the added security of a connected home. For best results, ensure all connections are tight and secure and follow all safety precautions when dealing with electrical installations.
5 Additional Tips and Tricks
- Know Your Wi-fi Strength: Before you start the installation process, check the Wi-Fi signal strength in the area where you plan to install the Ring Floodlight Camera. A strong Wi-Fi connection is crucial for the camera to function optimally.
- Pick the Right Location: The effectiveness of your Ring Floodlight Camera largely depends on its location. Ensure it is installed in a high, unobstructed location for a broad view.
- Use Quality Tools: Ring provides a handy install kit with your purchase, but having some good quality tools at your disposal is also beneficial. A sturdy ladder, a reliable drill, and a level can be extremely helpful.
- Check Weather Conditions: Try to install your Ring Floodlight Camera on a day with good weather. Wet conditions can make the installation process risky and more difficult.
- Understand the App: Spend some time familiarizing yourself with the Ring App. Understanding the features and settings available can help you make the most of your Ring Floodlight Camera.
With these tips, you’ll be ready to install your Ring Floodlight Camera confidently!
5 Things You Should Avoid
- Avoid Installing Near Other Light Sources: Other light sources can interfere with the camera’s night vision, reducing the image quality.
- Avoid Rushing the Installation: Carefully follow the installation instructions provided by Ring. Rushing through the process can lead to mistakes and potential damage to your device.
- Don’t Skip the Safety Measures: Always ensure the power is turned off at the breaker box before installing to avoid any electrical accidents.
- Avoid Poorly Lit Areas: Despite its built-in floodlights, placing the camera in a naturally well-lit area will enhance its efficiency.
- Don’t Neglect Regular Maintenance: Even though the Ring Floodlight Camera is designed to be durable and weather-resistant, regular cleaning and maintenance can extend its lifespan and keep it functioning optimally.
By avoiding these common pitfalls, you can ensure a successful installation and get the most out of your Ring Floodlight Camera!
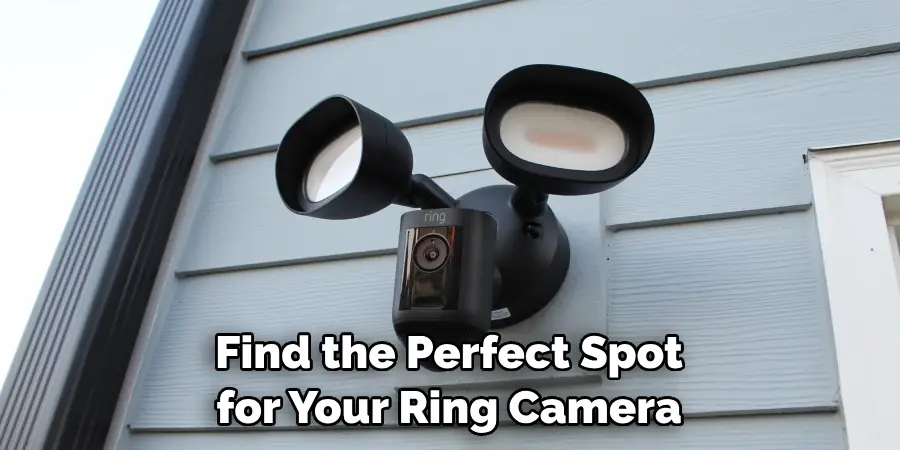
Where is the Best Place to Put a Ring Camera?
The best place to put a Ring camera will depend on your specific needs. If you want maximum security, the ideal spot is usually a high, unobstructed location near an entry point such as a driveway or front door. This will give you the most comprehensive view of your property and provide easy floodlight access.
Additionally, ensure the area is well-lit naturally, and your Wi-Fi signal is strong. With these considerations in mind, you’ll be sure to find the perfect spot for your Ring Camera!
Conclusion
Installing a Ring Floodlight Camera can be a great way to increase your security and peace of mind. With the right tools, patience, and knowledge, the installation process doesn’t have to be daunting.
Following these steps will give you the best outcome during installation for optimal performance. Suppose you find it necessary to hire a professional installer. In that case, there are technicians available who can help with the set-up process—especially if you don’t feel comfortable following these instructions alone. Your satisfaction is guaranteed when you purchase one of these cameras through Ring.
We hope this blog post on how to install ring floodlight camera was informative and helpful for those looking to increase their home security.
Remember that we always have an outstanding customer support team ready and willing to assist with any further questions or concerns you may have about installation or product support. So don’t wait any longer – take some proactive precautionary measures today and order your Ring Floodlight Camera!

