Are you looking to create a blinking light display? Whether you’re aiming for a festive holiday look or a unique home decoration, this guide will help you make lights blink in sequence.
If you’re looking for a fun and creative way to liven up your decor, learning how to make lights blink in sequence is just what you need. This project works great for parties, events, or simply sprucing up your living space. It will bring some extra life into the room and is fairly easy to do with minimal tools and materials!

Whether you’re brand new to electronics projects or an experienced maker, this guide will provide all the information needed so that you can start making beautiful light displays with ease.
What Will You Need?
To make a light sequence, you will need the following materials:
- An LED (Light Emitting Diode) module or microcontroller.
- A power source, such as a battery or an AC adapter.
- Wires to connect your lights.
- Some other components include resistors, transistors, capacitors and switches.
Once you’ve gathered your materials, it’s time to start building a circuit.
8 Easy Steps on How to Make Lights Blink in Sequence
Step 1: Draw Your Circuit Diagram
Start by outlining your circuit on paper. This diagram will be a visual guide to how your lights should be connected. It might be helpful to color-code your LEDs according to their sequence. Remember to include all components, such as the power source, resistors, and switches, in your diagram. This step is crucial for ensuring the success of your project, so take your time to plan it properly.
Step 2: Prepare Your Components
Identify and gather all the components you’ll need based on the circuit diagram. Ensure your LEDs are functioning properly by testing them with a small power source. Organize your resistors, transistors, capacitors, and switches.
This preparation will simplify construction, minimize errors, and save time. Have your wiring tools like wire cutters, wire strippers and soldering iron ready for use. Always remember that safety comes first, so please take necessary precautions while handling these tools.

Step 3: Build Your Circuit
Start connecting the LEDs according to your plan with your diagram as a guide and your components prepared. Connect your power source, switches, resistors, capacitors, and transistors as indicated on your diagram.
Be sure to connect all components securely and in the right order. When soldering, be cautious not to burn the LED’s or other components. Double-check your connections to ensure everything is correct. Remember, patience and precision are key in this step. Once you’re done, you should have a complete circuit according to your diagram.
Step 4: Test Your Circuit
After building your circuit, it’s time to test it out. Connect your power source to the circuit and switch it on. Observe whether the LEDs blink as per the sequence you planned. If the lights do not blink or blink out of sequence, double-check your connections and ensure they match your circuit diagram.
Make any necessary adjustments. This could involve re-soldering some connections or adjusting the values of resistors or capacitors. Testing your circuit ensures that your final product works as expected and helps identify and fix any issues early on. Once everything works perfectly, you can move on to the next step.
Step 5: Finalize Your Setup
After ensuring your circuit works correctly, it’s time to finalize your setup. Carefully mount your LED lights on your desired surface using an adhesive or a mounting strip. Be wary of the placement and spacing of the lights to achieve the desired blinking sequence effect. Connect your finalized circuit to its power source and secure any loose wires to avoid potential hazards.
Step 6: Enjoy Your Blinking Light Sequence
Once all the lights are mounted and the circuit is finalized, it’s time to enjoy your blinking light sequence. Turn on the power source and watch the magic happen. The lights should blink in your designed sequence, creating a mesmerizing display.
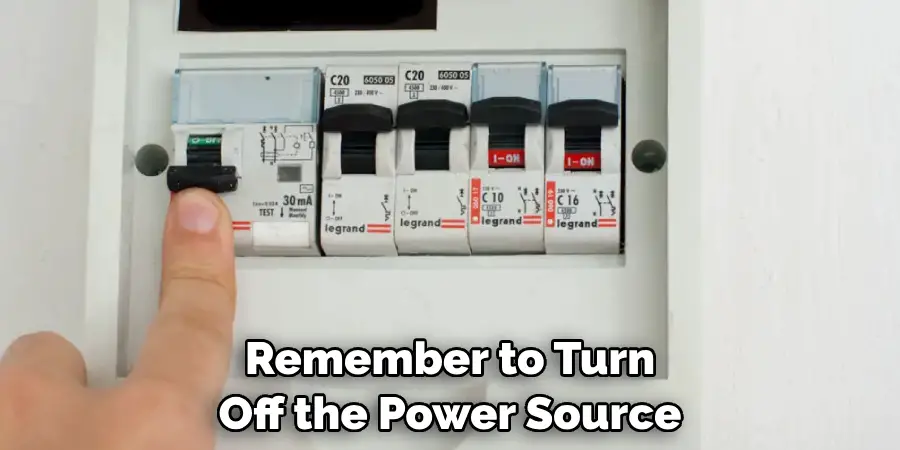
Whether you’ve created this for a party, holiday decoration, or just for fun, you can now revel in the satisfaction of seeing your project come to life. Remember to turn off the power source when not in use to ensure the longevity of your LEDs. And there you have it, a step-by-step guide on how to make lights blink in sequence.

Step 7: Maintain Your Setup
Maintaining your blinking light sequence setup is crucial for its longevity and functionality. Regularly check the state of your LEDs and ensure they are clean and free of dust. Inspect the wiring for any signs of wear and tear that could lead to potential safety issues.
Furthermore, make sure your power source is functioning optimally and not overheating. Regular maintenance helps prevent any sudden malfunctions and keeps your blinking light sequence running smoothly.
Step 8: Experiment and Improve
Once you’ve got your basic setup working and maintained, feel free to experiment with it. Change the sequence of the blinking lights, speed up or slow down the rhythm, or even add more LEDs to create more complex patterns. Be bold, tweak your circuit, and try new things. Who knows?
You might stumble upon a pattern or sequence that’s even more appealing. Remember that the possibilities are endless with creativity and a bit of technical knowledge!
By following these steps, you can easily create a sequence of lights that will dazzle and impress. So get your supplies ready. Use this guide to help you make beautiful light displays with ease.
5 Additional Tips and Tricks
- Understand the Circuit: The first step to making lights blink in sequence is understanding the basics of the circuit. You need to know how the current flows and how the lights are connected to the power source.
- Use a Microcontroller: A microcontroller like Arduino can be programmed to control the sequence and timing of the lights. It provides a convenient and flexible way to make lights blink in sequence.
- Consider the Power Supply: Always ensure that your power supply can handle the voltage and current requirements of all the lights in the sequence. Overloading the power supply can lead to failure or even fires.
- Use Resistors: Resistors are crucial to controlling the current flowing through each light. With appropriate resistors, lights may draw more current, causing damage or uneven brightness.
- Test and Troubleshoot: Always test your setup with a small number of lights first before scaling up. If the lights aren’t blinking as expected, go through your circuit and code to spot any errors. Troubleshooting is part and parcel of making lights blink in sequence.
With all of these tips and tricks, you now know to make lights blink in sequence.

5 Things You Should Avoid
- Avoid Connecting Leds Directly to a Power Source: LEDs require a certain amount of resistance to prevent them from drawing too much current and burning out. Always use a suitable resistor in series with each LED.
- Don’t Overlook the Importance of Grounding: Ensure every part of your circuit is properly grounded. Not grounding your circuit properly can result in unpredictable behavior or even damage to your components.
- Avoid Using an Inappropriate Power Supply: Make sure your power supply matches your lights’ voltage and current requirements. Using a power supply with too high a voltage can damage your lights and controller.
- Don’t Ignore the Microcontroller Specifications: Make sure your microcontroller can handle the number of lights you want to blink in sequence. Overloading a microcontroller can cause it to malfunction or fail.
- Avoid Skipping the Testing Phase: Always test every light and sequence before finalizing your setup. Rushing this process can lead to faulty sequences and potential damage to your components.
By avoiding these pitfalls, you can ensure your setup runs smoothly, and your lights blink in sequence the way you intended. With a little bit of practice, you can become an expert in making lights blink in sequence!
What are the Benefits of Making Lights Blink in Sequence?
Making lights blink in sequence has many benefits.
- First, it can be used to create interesting visual effects and patterns.
- Second, performing complex lighting shows with multiple colors and sequences is possible with fewer components than if each light was controlled separately.
- Finally, controlling a group of lights with one command simplifies the process of debugging and troubleshooting.
Making lights blink in sequence is an engaging and creative activity that can be used for a variety of projects. Whether you’re creating a special lighting display or just want to make something fun, blinking lights are always sure to bring a bit of joy!

So what are you waiting for? Grab your components and get started on your own blinking light project!
Conclusion
In conclusion, we have explored the basics of making lights blink in sequence and have seen how it can be both a creative outlet and a useful tool for projects of any size.
Though making lights blink in sequence may seem daunting or complicated, it is actually easier than one may think. With programming knowledge, creativity, and the ability to think outside the box, anyone can make their lights shine in almost any imaginable way.
So take what you’ve learned here and start making your sequences today! Whether you want to use them for something practical or just for enjoyment, with some practice and exploration, you will soon find it easy to make those patterns blink with life!
Hopefully, the article on how to make lights blink in sequence has provided you with the necessary information to get started. Good luck, and have fun!

