Are you struggling to figure out how to change a light bulb in your stairwell? Don’t worry, this task isn’t as intimidating as it first may seem! With the right guidance and tools, changing a light bulb can be easily achievable. In this blog post, we’ll go over all the steps necessary on how to change a light bulb in your stairwell from start to finish.

We understand that some people feel daunted by the thought of handling electricity; however, you won’t have anything to fear with our step-by-step guide on how to change light bulb in stairwell, which will provide simple instructions tailored specifically to help you safely replace any problematic or burnt-out bulbs.
So whether you’re replacing an old incandescent or swapping for one of the new LED lights available – let’s dive into our guide and get started!
What to Keep in Mind While Changing Light Bulb in Stairwell?
1. Power Management
Before doing anything, it’s important to know and recognize that electricity is involved. Therefore, the first step when changing a light bulb in the stairwell is to turn off the power at the source (including any circuit breakers). Make sure you double-check this before proceeding with any further steps! After turning off the power, it’s time to prepare for the job at hand.
2. Structure of the Stairwell
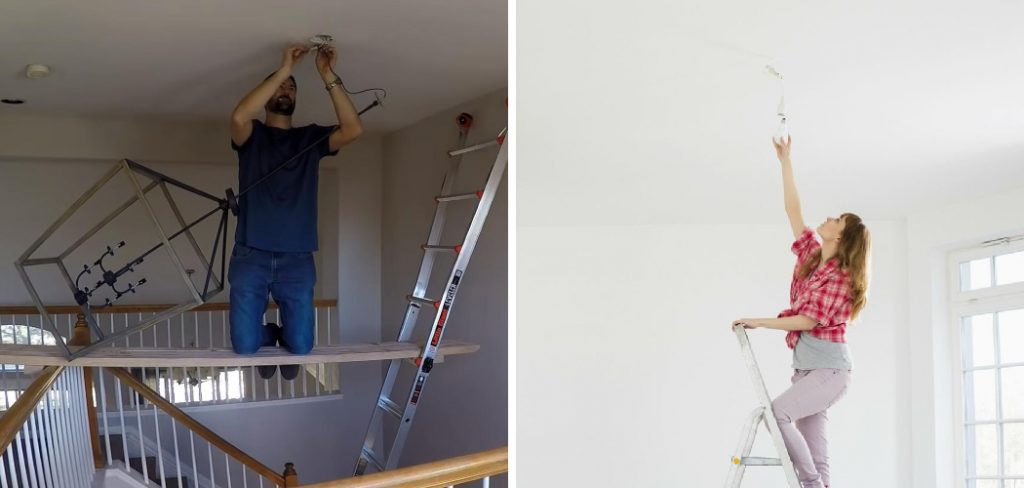
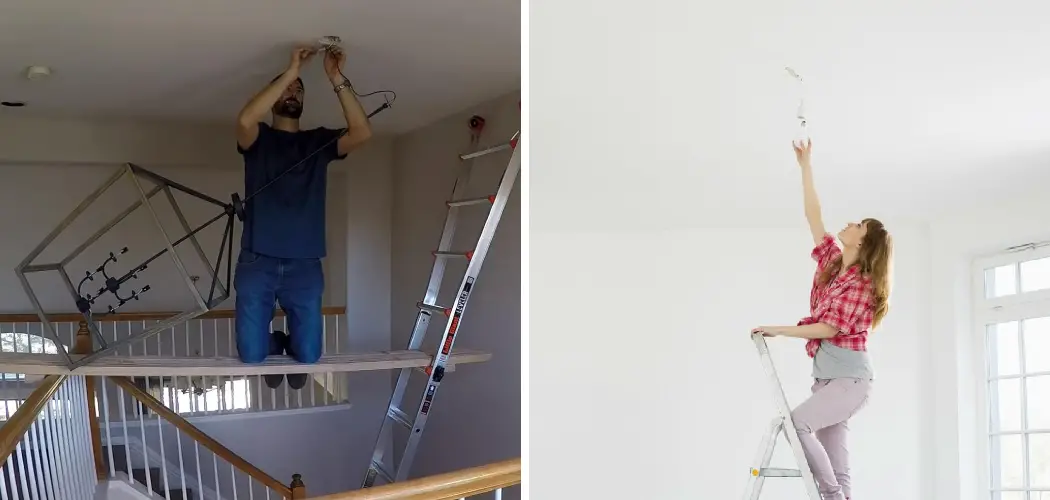
Depending on the structure of your stairwell, you may need to use a ladder or other tools for safe access. If it’s high above the ground, make sure you have either a secure ladder or stool that can be safely used for reaching the light socket. Additionally, if necessary, wear protective gloves and eyewear while handling any electrical components and ensure that the area is well-ventilated.
3. What Kind of Light Bulb?
Once you have taken all necessary safety measures and established the correct access, it’s time to purchase an appropriate light bulb for your stairwell. There are several different types of bulbs available on the market, such as incandescent or LED bulbs. Make sure that you choose the correct wattage and size for your light fixture to ensure safe installation.

Required Items for Replacing Light Bulb in Stairwell
Aside from the light bulbs, there are some other items you’ll need to complete the job. These include:
- A ladder or stool to access the light socket.
- Gloves and eyewear for safety.
- A screwdriver and/or a nut driver (depending on the type of socket).
- A cloth to clean the base and the light bulb.
How to Change Light Bulb in Stairwell in 5 Easy Ways
1. Unscrewing the Old Bulb
After procuring a new bulb and ensuring that power is off, it’s time to start the process of replacing the old bulb with the new one. Start by unscrewing the old bulb using a screwdriver or nut driver as appropriate for the type of socket you have, and make sure to do so with caution, especially if there are any broken pieces present in the socket.
2. Clean the Socket
Next, use a cloth to clean out the light socket and remove any dust or remaining pieces of the old bulb. This will make it easier for the new bulb to fit properly into place and also reduce any chances of an electrical fire hazard.
3. Place in New Bulb
Once you’ve successfully removed the old bulb and cleaned out the socket, it’s time to insert the new one! First, make sure that it fits properly into the socket without any obstructions. If everything looks good, then you can securely place the new bulb in and screw it into place.
4. Securely Fasten Bulb
Use a screwdriver to fasten the new light bulb in securely so that there is no chance of it loosening or falling out when using the stairwell’s light.
5. Test the New Bulb
Once everything is in place, it’s time to turn the power back on and test out the new bulb. If all looks good, you can then go ahead and enjoy your newly replaced light bulb in the stairwell!

Changing a light bulb in your stairwell doesn’t have to be a daunting task. With this blog post, you now have the necessary knowledge and know-how to successfully replace any problematic or burnt-out bulbs with ease. So if you ever find yourself needing to change a light bulb in your stairwell – just follow the steps outlined above, and you’ll be good to go!
8 Maintenance Tips
Aside from changing the light bulb, it’s important to ensure that the stairwell lighting is regularly maintained in order to function properly and stay safe for use. Here are 5 simple maintenance tips to help you keep your stairwell lighting in top shape:
- Check all bulbs at least once a month and replace any burnt-out or flickering bulbs immediately. Checking the lighting regularly will also help identify any other potential hazards or repair needs early on.
- Replace batteries in emergency light fixtures once a year to ensure that they function properly during power outages.
- Clean the fixtures and wiring regularly to prevent dust from accumulating or causing any short circuits.
- Inspect the wiring for any loose connections or frayed wires, which should be addressed immediately by a professional electrician.
- Make sure that all light bulbs have the correct wattage for the particular fixture in order to avoid overloading, overheating, or any other electrical hazards.
- Ensure that the lights are placed at the proper height in order to provide adequate illumination for navigating the stairs.
- Make sure to mount any fixtures securely and check for stability regularly so as not to cause an accidental fall hazard.
- If you notice any signs of water damage or corrosion, make sure to address them immediately, as this could be a sign of an electrical short and/or a potentially dangerous situation.
By following the steps outlined above, you can help ensure that your stairwell lighting is properly maintained and always functioning safely. It’s also important to keep in mind that any repair or maintenance work should only be performed by a qualified electrician for your safety and that of others using the stairwell.
All in all, changing a light bulb in the stairwell doesn’t have to be too difficult or intimidating. As long as you take all necessary safety precautions and follow the steps above correctly – you should easily be able to replace any bulbs while keeping your lighting fixtures in top shape!

8 Safety Precautions to Follow When Changing a Light Bulb in the Stairwell
Changing a light bulb in any confined space can be challenging, but working up and down staircases to replace bulbs brings its own set of hazards. To ensure your safety while replacing bulbs in the stairwell, keep these eight tips in mind:
- Make sure you have all the necessary tools on hand before starting. Gather a new bulb, ladder or stepladder, and gloves to protect your hands from hot bulbs and broken glass. Otherwise, you could find yourself stuck in the stairwell if you need to leave for any reason.
- Make sure the power is off before beginning. Unplug any corded lighting fixtures or flip a switch at the breaker box to make sure there’s no danger of electric shock if you’re unsure whether or not power has been cut off, always double-check.
- Wear protective eyewear when replacing a bulb, as glass shards could fly out from the fixture when removing or installing the new bulb.
- Secure the ladder to ensure it won’t move during your task, particularly if you’re working up and down stairs with changing levels of elevation. If possible, have a friend or family member hold the ladder for extra stability.
- Use a grip glove to help remove the old bulb without getting burned, as bulbs can become very hot over time.
- Take your time and carefully replace the new bulb. Make sure it’s properly secured in its socket before closing up the fixture.
- Clean up any broken glass that may have been created during the bulb change.
- Check to make sure any cords or wires are tucked away and secure after replacing the light bulb. Loose wiring can be a fire hazard.
Following these safety precautions will help you stay safe while changing out bulbs in stairwells, allowing you to complete your task quickly and efficiently! Keep these tips top of mind, and you’ll be replacing light bulbs with ease!

Conclusion
Changing a light bulb in a stairwell is not always the simplest task, but it is certainly one that can be completed successfully with the right tools and knowledge. With this step-by-step guide on how to change light bulb in stairwell, you now have the confidence to tackle this task without fuss or bother.
Taking on a home improvement project such as this helps build your skillset even more, providing you with valuable experience that could help you troubleshoot and fix other fixtures around your house, saving you time and money.
So don’t be afraid – grab some safety glasses and gloves and take on that light bulb changing today! You can even take pride in completing such an important job and make sure your family and loved ones are safe.

