If you’re considering installing a ceiling fan in your home, first things first–you need to know how to wire the fan! With so many wires and multiple switches, wiring can be confusing. But no need to worry. In this post, we’ll help guide you through the steps on how to wire ceiling fan with light and fan switch according to industry standards.
We’ll provide detailed illustrative diagrams and instructions that will ensure an easy setup process for both experienced DIYers as well as novice homeowners alike. This way you can rest assured that your wiring is accurate and safe! So let’s get started!
10 Step-by-step Guidelines on How to Wire Ceiling Fan With Light and Fan Switch
Step 1: Turn Off the Power
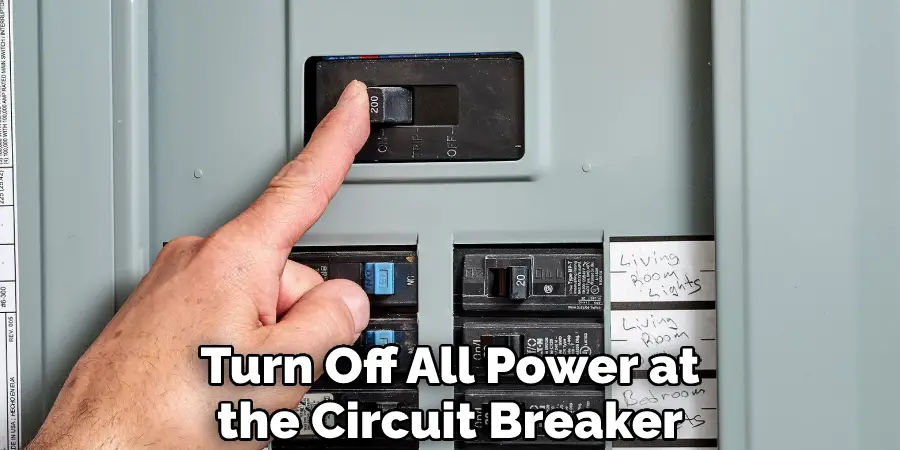
Before beginning, it’s important to turn off the electricity at your circuit breaker. This will prevent any electrical shocks and keep you safe. It’s also a good idea to double-check with a voltage tester. But be sure not to touch the wires until you’re certain the power is off. Because it’s always better to be overly cautious.
Step 2: Collect and Organize the Necessary Materials
Before getting started, you should collect the necessary materials needed to wire a ceiling fan. This includes:
- Ceiling fan (including mounting brackets and screws)
- Electrical wiring kit for a ceiling fan (include two swing arms, two canopy plates, one junction box cover plate, and one grounding wire)
- Wire nuts (about 6 pieces)
- Fan switch/speed controller
- Wall box to house the fan switch (if necessary)
Organizing your materials ahead of time will make the process much smoother. It’s also important to note that additional tools may be required depending on the specific job.
Step 3: Mount the Ceiling Fan Bracket in Junction Box
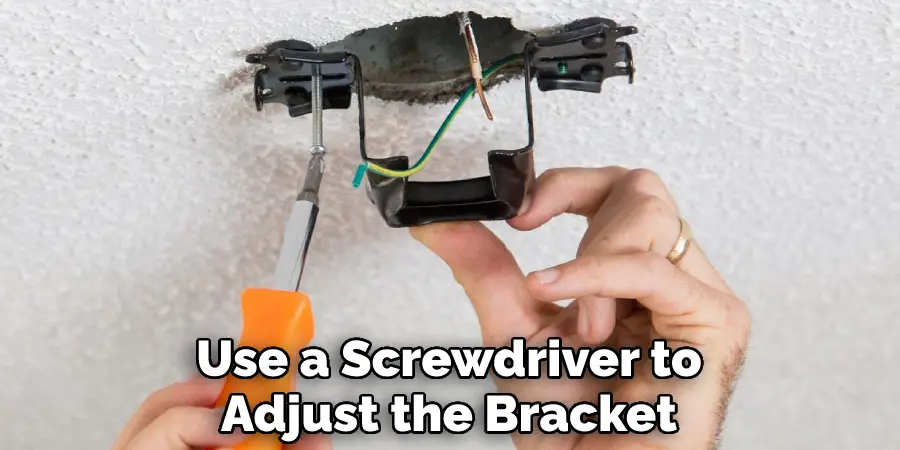
Now you can mount the ceiling fan bracket into your junction box. This is done by attaching the bracket with four screws. Once attached, use a leveler to make sure your bracket is straight. If it’s not, use a screwdriver to adjust the bracket until it is. You can also use the leveler to check that your ceiling fan mounting is balanced.
Step 4: Attach the Wires from the Ceiling Fan
Once you’ve mounted the ceiling fan bracket, it’s time to begin attaching wires. Start by connecting the black wire from your fan switch to the black wire of the ceiling fan. Then connect the white wires together and attach them with a wire nut. After that, connect the green ground wire to any exposed metal within the junction box. It is important to make sure you attach the ground wire securely.
Step 5: Connect the Wall Switch Wiring
If you’re using a separate wall switch for your ceiling fan, this is where you’ll need to connect those wires as well. Simply take one end of each wall switch wire (black and white) and connect them to the corresponding wires from the ceiling fan. But be sure to match the colors. Otherwise, your wiring won’t be accurate. It’s also important to remember that if your fan has a light fixture, you’ll need to connect the white wire from the wall switch to both the white wires from the fan and the light.
Step 6: Install the Wall Switch (If Necessary)
If you’re also installing a separate wall switch, this is when you’ll do it. Start by mounting your wall box and attaching the wires that were connected in Step 5. Then attach your wall switch plate over the top of the box securely with screws. Because a loose plate can cause major issues. That’s why it’s important to make sure your switch plate is mounted correctly.
Step 7: Install Fan Blades onto the Ceiling Fan Motor
Now it’s time to install each fan blade onto the motor of your ceiling fan one at a time. To do this, take one fan blade and insert it into one of its slots on the motor hub then tighten it down with a screwdriver. Repeat this process for each fan blade until all are secure. If you need more information on installing fan blades, check out our helpful guide here. You’ll find all the information you need to know.
Step 8: Hang Up the Ceiling Fan
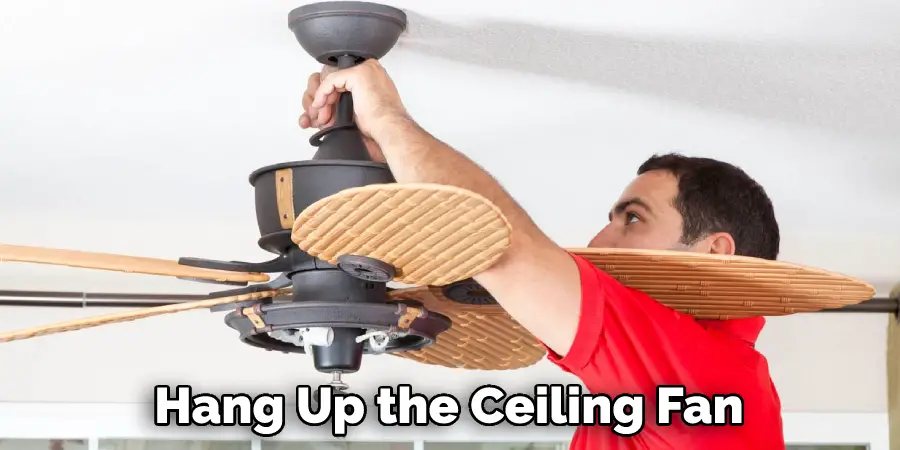
Once your blades have been attached to the motor, it’s time to hang up the ceiling fan. This is done by connecting your swing arms (from your wiring kit) and then attaching them to the ceiling bracket with screws. Then you can slide your ceiling fan onto the arms and tighten it down with more screws. But make sure your fan is level and secure before moving on. If you don’t feel comfortable hanging up the fan, it’s best to call a professional for assistance.
Step 9: Connect Splices and Wire Nuts
After hanging up your ceiling fan, it’s time to connect splices and wire nuts to make sure all wires are securely in place. To do this, simply twist two separate ends of a wire nut together with individual pairs of wires. You’ll want to make sure each connection is secure, so be sure to twist the wire nuts tight. It’s also important to connect the white wire from the ceiling fan to the blue or black wire in your junction box.
Step 10: Test and Enjoy!
The last step is to turn the power back on and test your new ceiling fan with light. Make sure all connections are secure. If everything is working properly, then it’s time to relax and enjoy the comfort of your newly wired ceiling fan with light! Remember, if you have any questions about this process or need help along the way, don’t hesitate to contact a professional electrician. This will ensure your wiring is done correctly and safely.
Congratulations, you now know how to wire ceiling fan with light and fan switch! Be sure to follow these steps carefully to ensure a safe and successful installation.
Do You Need to Use Professionals?
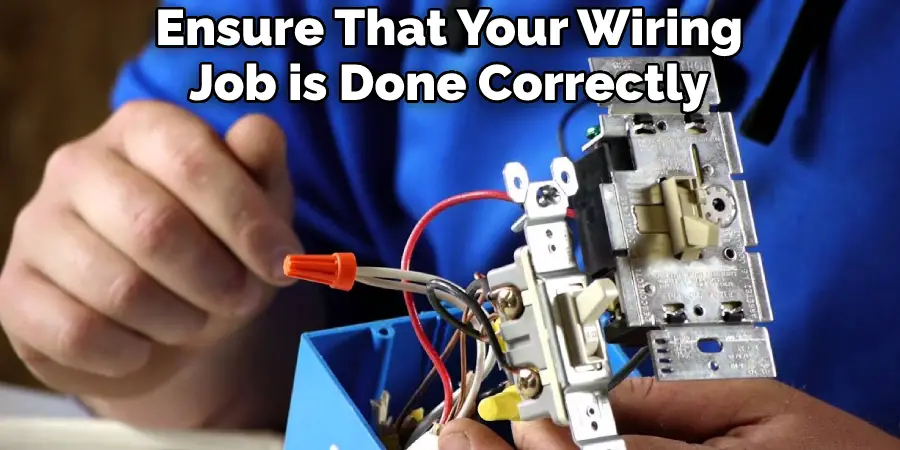
Although this tutorial provides a comprehensive guide on how to wire a ceiling fan with a light and fan switch, it is still recommended that you seek the help of an electrician or other certified professional if you are unsure of any step in the process. This will ensure that your wiring job is done correctly and safely.
How Much Will It Cost?
The cost of wiring a ceiling fan will depend on several factors, such as the size of the fan, the type of wiring needed, and the complexity of the job. In general, a basic wiring job will cost around $150-$200, while a more complex one may be as much as $400-$600. If you’re looking to save money, consider doing the job yourself. But make sure you have a good understanding of wiring and electrical work before attempting this project.
Frequently Asked Questions
Q: How Many Wires Are Needed to Wire a Ceiling Fan With a Light and Fan Switch?
A: Generally, four wires are required for wiring a ceiling fan with a light and fan switch. These include two black wires, one white wire, and one green ground wire.
Q: Can You Install a Ceiling Fan Without an Existing Junction Box?
A: No, it is not possible to install a ceiling fan without an existing junction box. This is because the wiring needs to be safely secured within a box.
Q: How Long Does It Take to Wire a Ceiling Fan?
A: The amount of time it takes to wire a ceiling fan depends on the complexity of your setup. Generally, it can take anywhere from one hour to two hours. Installing a ceiling fan with a light and fan switch is not an overly complicated process as long as you take the time to understand the wiring and follow instructions carefully. Utilizing a few simple tools, following these steps, and taking safety precautions can help ensure your ceiling fan with light is installed properly. With this guide, you’re now ready to start wiring your own ceiling fan!
Q: What Are the Safety Precautions When Wiring a Ceiling Fan With a Light and Fan Switch?
A: To ensure safety when wiring a ceiling fan with a light and fan switch, make sure to turn off all power at the circuit breaker before starting. Additionally, make sure never to cut or splice any wire that is carrying current. Finally, be sure to double check all connections and wires before turning the power back on. Following these safety precautions can help prevent any potential accidents or injuries.
Conclusion
Thanks for reading about how to wire ceiling fan with light and fan switch. We hope this article was helpful to you in settling on the best practices for installing both the fan and the switch. It pays to take extra precautions with an electrical project, as it could be hazardous to you or damage your equipment or home if you make a mistake.
Keep in mind that this article is intended to serve as a guide only and it is highly recommended that you read all instructions completely before attempting any installation of either a ceiling fan or switch. While cheap switches may work in many cases, spending just a few more dollars on upgraded ones may give you more peace of mind if something goes wrong down the road. Stay safe out there when dealing with electricity!
You Can Check It Out to Connect Multiple Led Lights to One Switch

