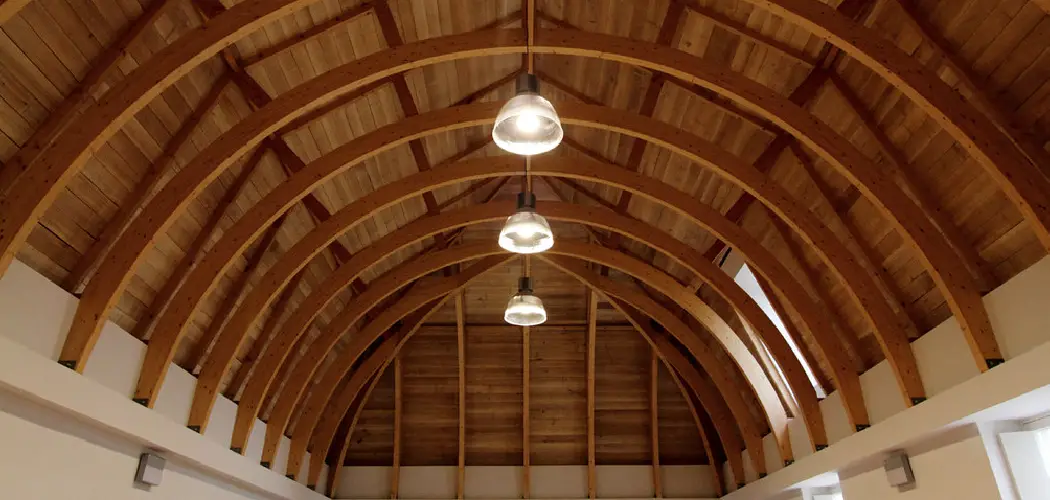
If you’re looking for a bright and beautiful lighting solution for your vaulted or angled ceiling, then you’ve come to the right place. Lighting up a sloped ceiling can be tricky, but with some tips and proper planning, it’s totally doable!
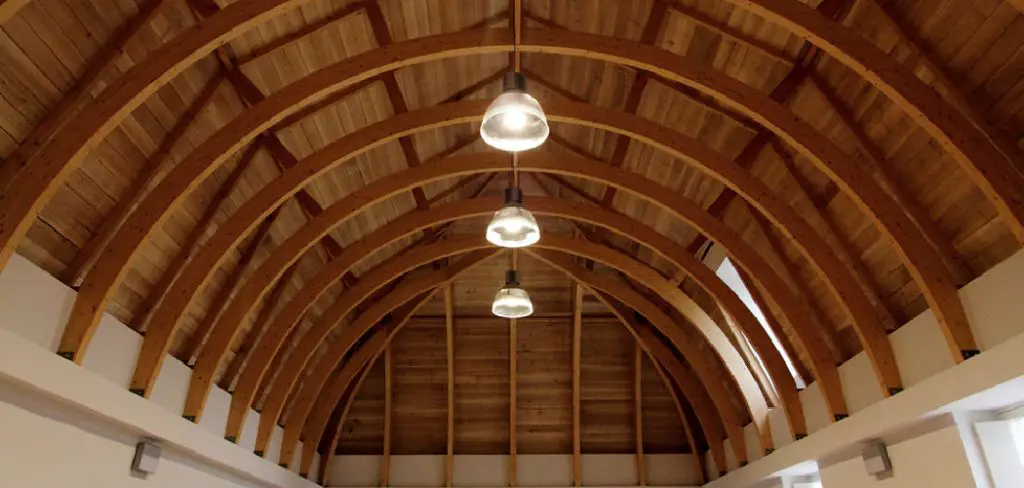
In this blog post, we’ll discuss the various types of lighting options available and provide guidance on how to light a vaulted ceiling to bring out the best in your home. We’ll also walk through some easy steps on how to properly install different lights in a vaulted ceiling space.
So, whether you’re looking for something decorative or practical – read on ahead to get all the information you need about getting your dream vaulted ceiling lit up like never before!
10 Step-by-step Guidelines on How to Light a Vaulted Ceiling
Step 1: Turn Off the Electricity
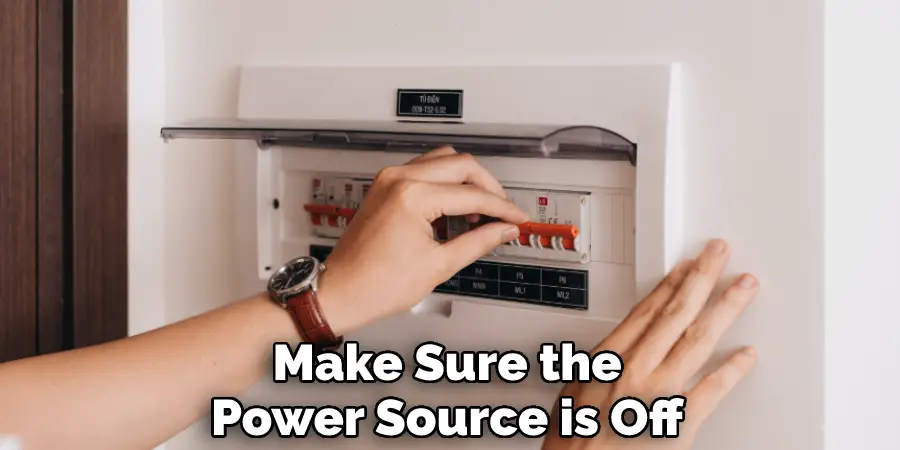
Before you begin any lighting installation project, make sure to turn off the electricity in the area where you’ll be working. It is important to stay safe and prevent electric shocks. Because of this, you should also double-check if the electricity is off before proceeding. So, switch off the power and make sure no one else can turn it back on. It is also advisable to wear protective gear such as thick rubber gloves and safety glasses.
Step 2: Measure the Ceiling Space
Now that the electricity is off, you can start measuring the ceiling space. Measurement is key when it comes to lighting a vaulted ceiling. Be sure to measure the width and length of the area as accurately as possible so you know what type of light fixture will fit in your space. If the space is too small, you’ll need to buy a smaller light fixture. If it’s too big, then you can opt for a larger one. It is also important to take note of the angles and curves in order to ensure that your chosen light fixture will fit properly.
Step 3: Choose Your Light Fixture
Choosing the right light fixture for your vaulted ceiling requires some careful consideration. A chandelier or pendant lighting can bring a touch of elegance, while track lights and recessed lighting provide more versatile options for task or accent lighting. Consider how much illumination you need and make sure that whatever type of light you choose fits in both aesthetically and functionally with your space. So, make sure to pick a lighting fixture that suits your ceiling size and height.

Step 4: Install the Light Fixture
Now that you have chosen your light fixture, it is time to install it. If you are dealing with a heavy fixture, be sure to use an adequate support system and follow all safety instructions when mounting it. Properly mount your light fixture in place and make any adjustments needed for optimal positioning. If you are unsure of the installation process, hire an electrician or a qualified technician to ensure that everything is installed correctly.
Step 5: Wire the Fixture
After securely installing the light fixture, you can now start wiring it up. Depending on what type of lighting you chose – track lights or recessed lighting – there may be more than one wire needed for proper installation. However, this step should typically only take a few minutes if done properly! So, follow the instructions that came with your light fixture and make sure all connections are secure.
Step 6: Check the Wiring
Before connecting the wires, it’s important to check them first. Make sure all the connections appear secure and that no wires are exposed or loose. Also, if you’re dealing with a chandelier, never touch the bulbs while they are connected to power. But, if you’re dealing with LED lights, then it’s ok to touch them while they’re connected. This is because LED lights are not as sensitive to heat and do not require filament protection. Remember to always follow safety precautions when dealing with electricity.
Step 7: Connect the Wires
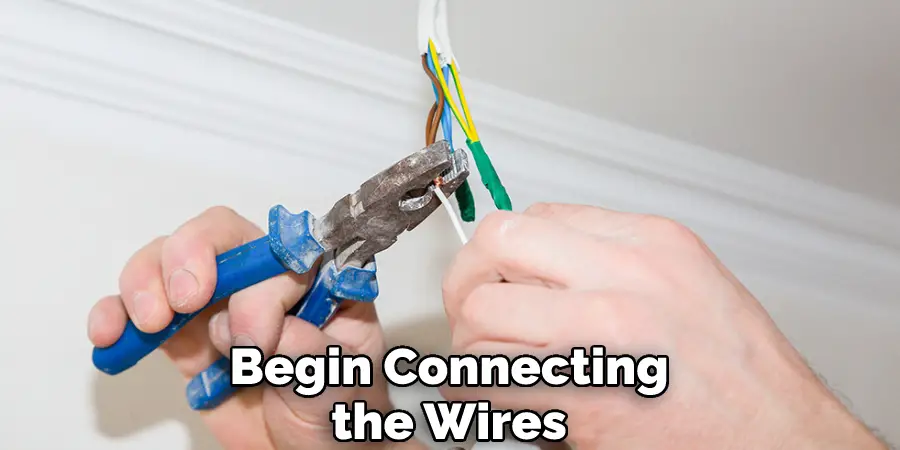
Once everything has been checked, you can begin connecting the wires. Depending on your setup, this may involve joining up two separate sets of wiring or just attaching one wire to another. Make sure to follow any instructions provided by the manufacturer for proper installation methods! It’s important to double-check that all connections are secure and you have the correct voltages. That way, your light fixture will work properly when it’s time to turn it on.
Step 8: Turn On the Power
Now that everything is wired up and ready to go, slowly switch your electricity back on. It’s best practice to turn it on in small increments to ensure no blown fuses or other electrical issues occur. You should also make sure that all the bulbs are securely attached and that there is no flickering or buzzing in the lights. It’s a good idea to wait a few minutes before turning on your lights for the first time, just in case something goes wrong.
Step 9: Test the Light Fixture
Once you’ve turned on the power, it’s time to test your light fixture and make any necessary adjustments. Ensure all bulbs are working, that the switch is operational, and that there is adequate lighting in the room. This step should only take a few minutes and will provide you with peace of mind knowing everything is working properly. If any problems arise, take the necessary steps to fix them. Make sure to turn off the power before making any adjustments.
Step 10: Enjoy Your New Lighting!
Congratulations – you have now successfully installed your light fixture! Stand back and admire all your hard work – you have created a beautiful ambiance that can be enjoyed for many years to come. Now go show off your new lighting to your friends and family! Remember to use caution when cleaning or changing bulbs, as even the most experienced professional can make a mistake. So, be sure to follow all safety instructions and take necessary precautions when dealing with electricity. Because if you do, you’ll be sure to enjoy your new lighting for years to come!

By following these steps, you can easily learn how to light a vaulted ceiling. This process may require some patience and careful attention, but the end result will be worth it. And with all of your hard work completed, you can now enjoy all the beauty and warmth that comes with new lighting!
Do You Need to Use Professionals?
While it is possible to install lighting yourself, some homeowners may prefer to hire a professional for their vaulted ceiling lighting. Hiring a professional can ensure your light fixtures are installed correctly and safely the first time around, saving you both time and money in the long run.
No matter what route you choose – DIY or hiring a pro – you can now confidently light up your vaulted ceiling and enjoy the beauty of your home! Happy lighting!
Frequently Asked Questions
Q: What Type of Lighting is Best for a Vaulted Ceiling?
A: Chandeliers, pendants and recessed lighting are all good options for vaulted ceilings. It really depends on the look you’re trying to achieve and how much illumination you need. Track lights can also be used to provide task or accent lighting.
Q: How Do I Measure My Vaulted Ceiling?
A: Measure the width and length of the area accurately so that you know what type of light fixture will fit in your space. Make sure to use a measuring tape and record these measurements down for reference when choosing your light fixture.
Q: What Materials Do I Need to Install a Light Fixture?
A: You will need several tools and materials, such as wire cutters, electrical tape, screws, a drill and a ladder. Also, make sure you have the right type of wiring for your light fixture before beginning the installation process.
Q: Are There Any Safety Precautions I Should Take When Installing a Light Fixture?
A: It is always important to take safety precautions when dealing with electricity. Make sure the power source is off before attempting any wiring and never touch bulbs while they are still connected to power. Additionally, wear gloves and be careful of exposed wires or sharp edges.
Conclusion
After reading this article on how to light a vaulted ceiling, you will get all the knowledge of it. Overall, taking the time to effectively light a vaulted ceiling can add a great deal of value to any room. Not only does it create a bright and spacious atmosphere, but lighting up all corners of the ceiling can help to make any living space look more visually appealing. There are plenty of options when choosing your method for effective ceiling lighting, and each has its own pros and cons that need to be weighed out.
Whatever option you choose, make sure to pay attention to every detail and take safety precautions so that you can gain the most from having a brightened-up vaulted ceiling in the long run. With a little bit of patience and effort, you’ll have cheerful illumination within no time!

