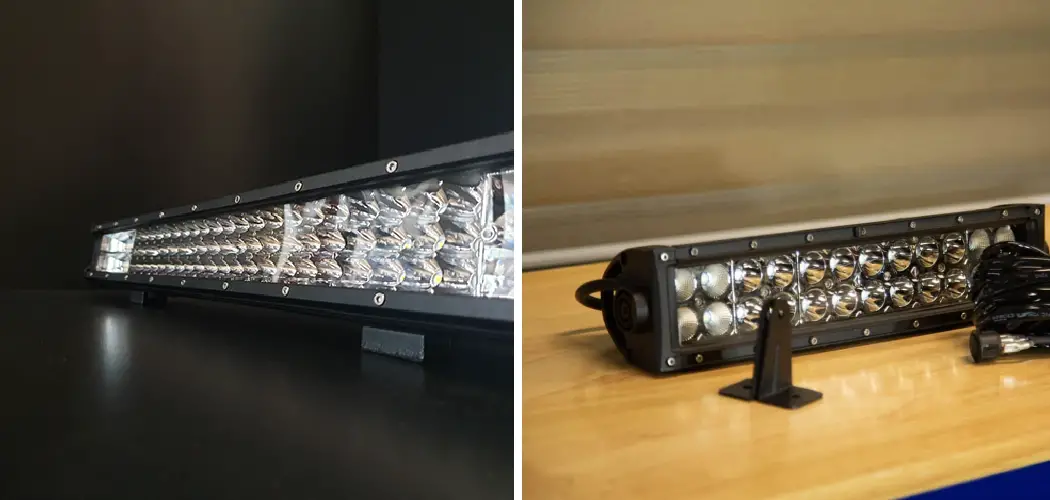
Are you looking to enhance the lighting in your vehicle? Look no further an LED light bar is the perfect solution. Not only does it provide excellent illumination, but it also adds an aesthetic touch of style and panache.
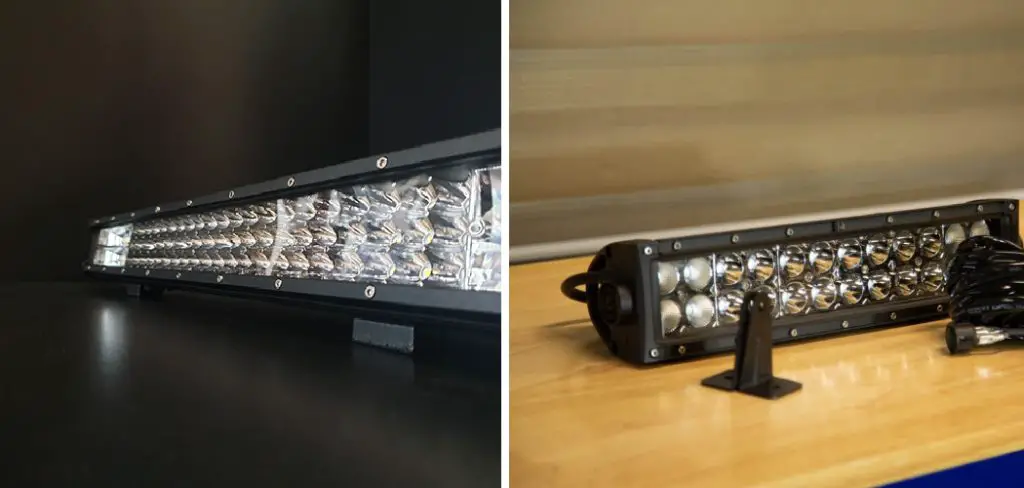
But before you rush out and buy one, there are some considerations that need to be taken into account—the most important being how to properly wire it up for optimal functionality. In this blog post on how to wire a led light bar, I will discuss all aspects of wiring an LED light bar so you can get the lights blazing on your ride!
Needed Materials
Given below is a list of items you will need before wiring an LED light bar:
- LED Light Bar
- Relay (Preferably with a mounting socket)
- On/Off Switch
- Wire Strippers
- Electrical Tape
- Zip Ties or Cable Clamps
Once you have all the necessary materials, let’s get started!
10 Simple Step-by-step Guidelines on How to Wire a Led Light Bar
Step 1: Determine the Location of Your Led Light Bar
Before you start the wiring process, determine where you want to install your LED light bar. Choose a location that allows for easy access to the power source and switch. It is also crucial to ensure that the light bar does not obstruct your view while driving. It should be mounted securely and at a height that provides maximum illumination.
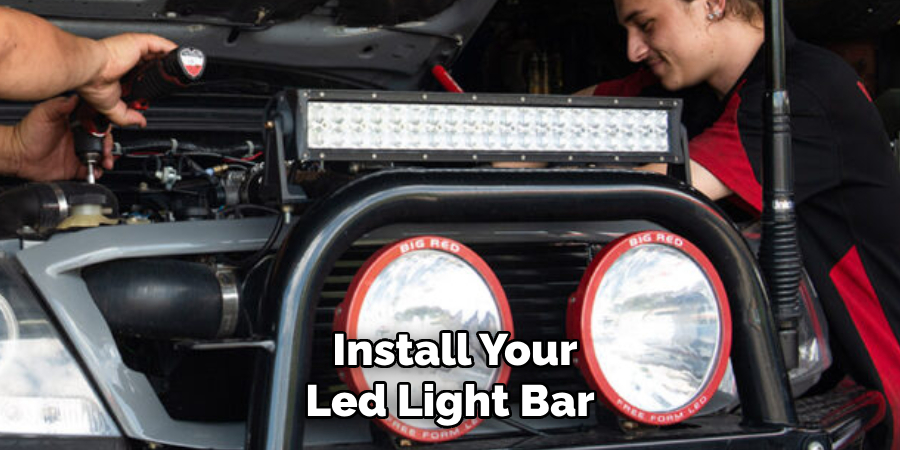
Step 2: Mount the Led Light Bar
Using the provided hardware, mount the LED light bar in place. Be sure to follow the manufacturer’s instructions for proper installation. But before you secure it in place, make sure to leave enough slack in the wiring so that it can reach the switch and power source comfortably. Therefore, it is essential to keep the mounting location in mind while determining the wire length.
Step 3: Prepare the Wiring
Using the wire strippers, strip off about half an inch of insulation from both ends of the wires (negative and positive) on your LED light bar. Ensure that there is no exposed wiring as it can cause a short circuit.
Otherwise, use electrical tape to insulate the exposed wires. But remember, using crimp connectors is a better option. You can also use a wiring harness for easier and more organized installation. But whichever method you choose, make sure to follow the manufacturer’s instructions.
Step 4: Locate and Prepare the Power Source
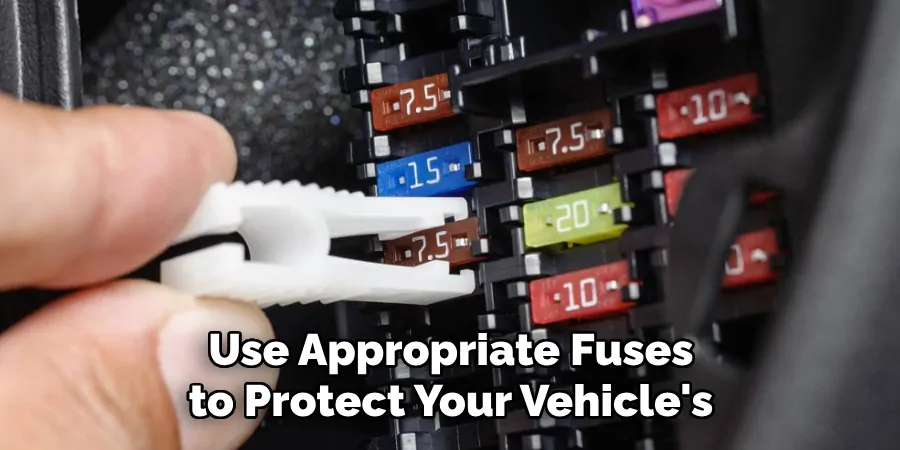
Locate the power source you will be using to connect your LED light bar. This could be from an existing wiring harness or directly from the battery. Whatever the case, make sure to use appropriate fuses to protect both your vehicle’s electrical system and the LED light bar.
It is best to consult a professional electrician if you are unsure. This step may also require you to drill a hole into your vehicle’s firewall, so make sure to do it correctly.
Step 5: Connect It from the Light Bar to the Relay
Using a suitable size wire, connect the positive wire from your LED light bar to one of the terminals on the relay. Most relays have four or five terminals, and it is essential to follow the manufacturer’s instructions for proper wiring.
But in most cases, the positive wire from the light bar will connect to the terminal labeled 87. You can then use zip ties or cable clamps to secure the wire in place. It is also a good idea to wrap the connection in electrical tape for added protection.
Step 6: Grounding
Proper grounding is vital for optimal functionality and safety. Locate a suitable grounding point on your vehicle’s chassis and connect the negative wire from the LED light bar.
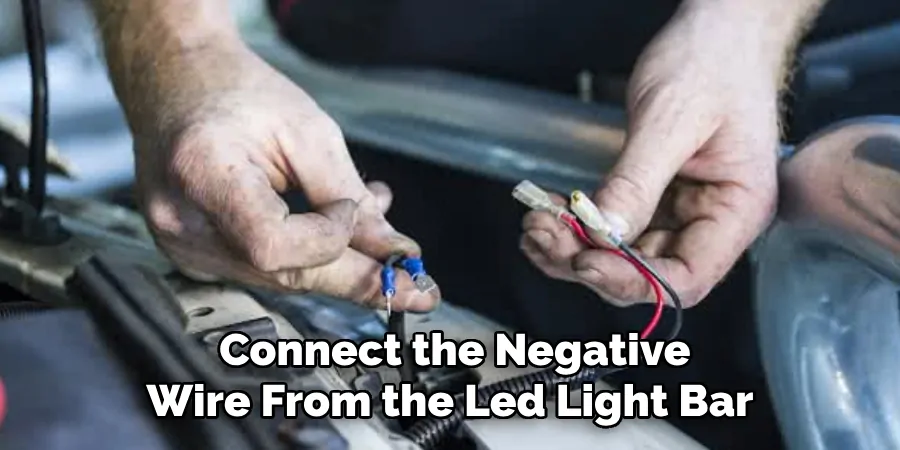
Although the chassis is an excellent choice for grounding, you can also use a dedicated grounding wire connected to the battery’s negative terminal. This will ensure a strong and reliable ground connection. it is essential to avoid grounding the light bar directly to the battery as it can cause damage.
Step 7: Connect the Power from the Relay to
Using another suitable size wire, connect the positive wire from the relay to a power source with an appropriate fuse. This will provide power to the relay and, in turn, the LED light bar. But remember to consult a professional electrician if you are unsure about the power source.
If using an existing wiring harness, follow the manufacturer’s instructions for proper connection. However, in most cases, the positive wire from the relay will connect to a power source with an appropriate fuse.
Step 8: Connecting the Switch
Using another suitable size wire, connect one end to the remaining terminal on the relay and the other to your desired location for the switch. This will allow you to control when your LED light bar is turned on or off.
It is best to choose a location that is easily accessible for you while driving. Whether you choose to mount the switch on your dashboard or console, make sure it is securely attached. You can also use an on/off switch with an LED light to indicate when the light bar is turned on.
Step 9: Test Your Wiring
Before finalizing everything, it is crucial to test your wiring. Connect the negative wire from the LED light bar to the battery’s negative terminal and then connect the positive wire from the switch to the positive terminal.
If everything is working correctly, you are good to go! It is also essential to check for any loose connections or exposed wiring and fix them before using your LED light bar. But if something is not working correctly, consult a professional electrician.
Step 10: Secure Your Wiring
Once you have confirmed that everything works as intended, use zip ties or cable clamps to secure the wiring in place. This step will ensure that your wiring stays neat and organized and does not get tangled or damaged while driving. Always make sure to double-check all connections and secure them properly.
Follow these simple steps on how to wire a led light bar, and you will have your LED light bar wired up in no time! Remember to always follow the manufacturer’s instructions for proper installation and safety precautions. Enjoy your new LED light bar and the extra illumination it provides on your adventures! Happy wiring!
Things to Consider
- Always use appropriate fuses to protect your vehicle’s electrical system and the LED light bar.
- Follow the manufacturer’s instructions for proper installation and safety precautions.
- Ensure that there is no exposed wiring as it can cause a short circuit.
- Properly ground your LED light bar for optimal functionality and safety.
- Test your wiring before finalizing everything.
- Secure your wiring in place with zip ties or cable clamps to prevent damage while driving.
- Enjoy your new LED light bar and the extra illumination it provides on your adventures!
Frequently Asked Questions
Q1. How Do I Properly Ground My LED Light Bar?
A1. To properly ground your LED light bar, make sure to connect the negative wire from the light bar to a suitable grounding point on your vehicle’s chassis. It is essential to have a good grounding for optimal functionality and safety. It is not recommended to use the negative terminal on your battery as a grounding point.
Q2. Can I Use an Existing Switch for My LED Light Bar?
A A2. It is possible to use an existing switch, but it is recommended to use a dedicated on/off switch specifically designed for LED light bars. This will ensure proper functionality and protection for your vehicle’s electrical system.
Q3. Do I Need to Use a Relay for My Led Light Bar?
A A3. Yes, it is highly recommended to use a relay when wiring an LED light bar. This will protect your vehicle’s electrical system and ensure the proper amount of power is supplied to the light bar. It also allows you to control when the light bar turns on or off.
Q4. What Size Wire Should I Use for Wiring an LED Light Bar?
A A4. The size of wire you should use depends on the wattage and amperage of your LED light bar. It is essential to consult the manufacturer’s instructions or a professional electrician for recommendations on proper wiring specifications.

Conclusion
To summarize, wiring an LED light bar can be an intimidating task to undertake. However, with the right steps and precautions, it can be safe and easy to do. By following the circuit diagrams provided in the instructions, connecting the power cables, relays and fuses and plugging in the wires correctly is what one needs to do.
With these tips and tricks, you are now well-equipped with enough information about how to wire a LED light bar! Don’t forget to check all of your connections afterward and ensure everything is tight before proceeding further with any project involving electricity. So grab those tools and get started – good luck!

