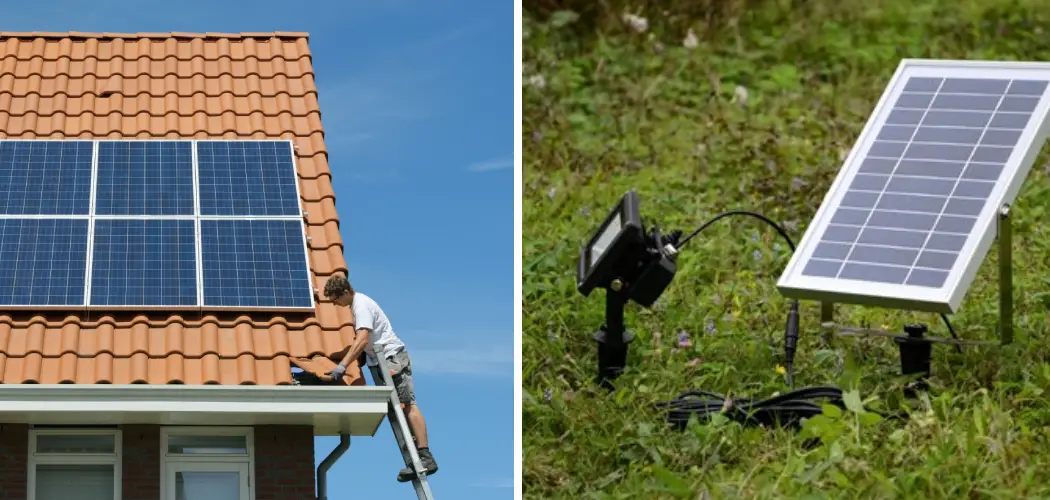
As sustainability and energy efficiency continue to gain prominence, installing solar lights at home has become a popular choice for environmentally conscious individuals. Solar lights harness the power of the sun to illuminate your surroundings, reducing electricity consumption and minimizing your carbon footprint.
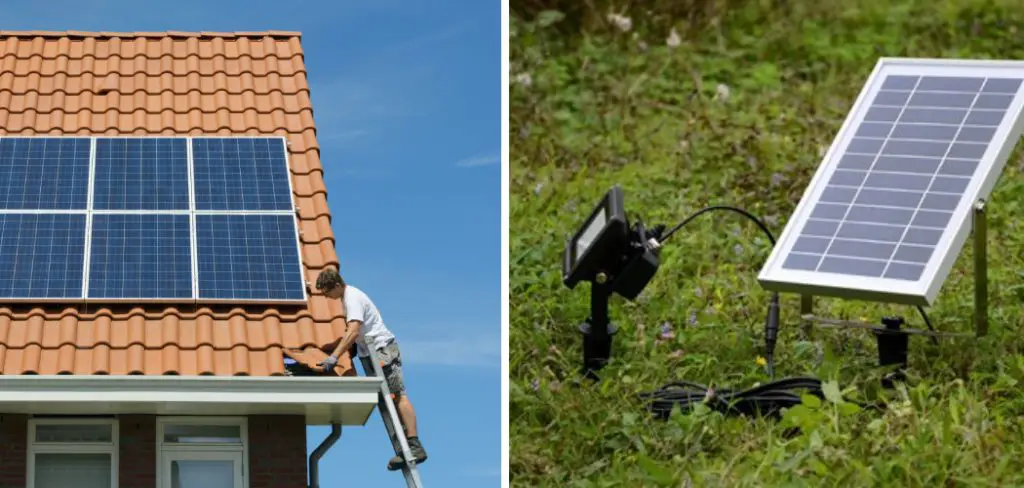
Whether you’re looking to light up your garden pathway, deck, or backyard, embracing solar lighting offers a cost-effective and eco-friendly solution. In this guide, we will walk you through the step-by-step process of how to install solar light at home, covering everything from selecting the right location and choosing appropriate fixtures to understanding the installation techniques and optimizing their performance.
By the end, you’ll be well-equipped to harness solar energy for illuminating your living spaces while contributing to a greener and more sustainable future. Let’s embark on this enlightening journey to bring solar-powered brilliance to your home.
Importance of Solar Lights
Solar lights have gained popularity in recent years, and for good reason. With the increasing focus on sustainability and reducing our carbon footprint, solar lights provide a practical and eco-friendly option for lighting up our homes. These lights harness the power of the sun to provide energy, making them a renewable energy source.
But apart from their environmental benefits, there are many other reasons why installing solar lights at home is a smart choice. In this section, we will delve into the importance of solar lights and how they can benefit homeowners.
Cost Savings
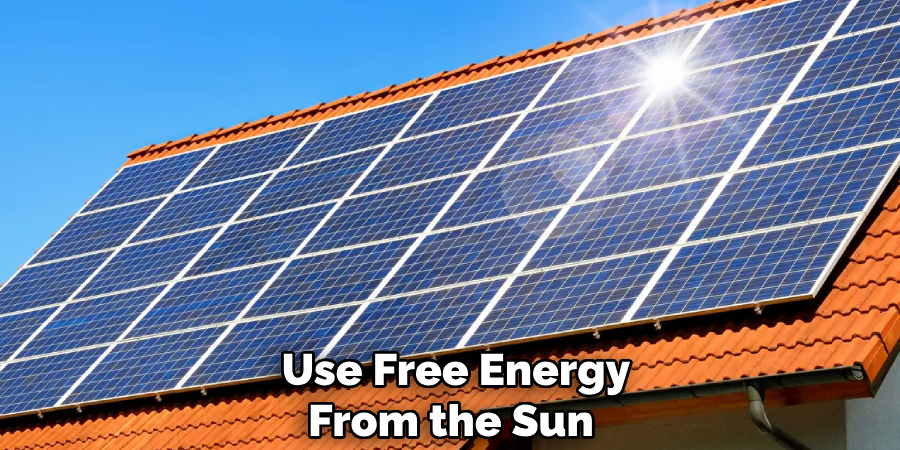
One of the biggest advantages of installing solar lights at home is the cost savings. Traditional lighting systems rely on electricity from the grid, which can be expensive. Solar lights, on the other hand, use free energy from the sun, making them a cost-effective option in the long run. While the initial installation may be more expensive, it pays off in the form of lower electricity bills and minimal maintenance costs.
Easy Installation
Installing solar lights at home is a relatively simple process that does not require any wiring or electrical expertise. This makes it an ideal choice for DIY projects or for those who do not want to deal with the hassle of hiring an electrician. With no need for extensive wiring, solar lights can be installed in a matter of minutes, making them a convenient and hassle-free option.
Versatility
Solar lights come in a variety of designs and styles, allowing homeowners to choose the best fit for their home. From string lights to spotlights, there is a solar light for every need. They can be installed in various areas of the home, including pathways, gardens, and porches, providing both functional and decorative lighting.
No Energy Loss
Traditional lighting systems experience energy loss during transmission from power plants to homes. This is not the case with solar lights as they directly convert sunlight into electricity on-site. This not only makes them more efficient but also reduces the strain on the power grid, leading to a more sustainable energy system.
10 Steps How to Install Solar Light at Home
1. Gather the Necessary Supplies
The first step in installing a solar light at home is to gather all of the necessary supplies. This includes a solar panel, battery, mounting bracket, light fixture, wiring, and other components. It is important to ensure that all of the components are compatible with each other before beginning the installation process.
2. Choose a Location
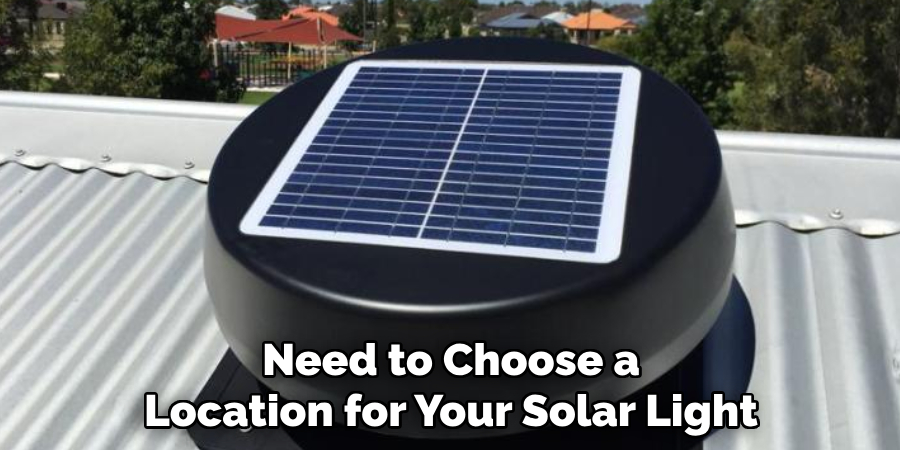
Once you have gathered all of the necessary supplies, you will need to choose a location for your solar light. The location should be free from obstructions such as trees or buildings and should receive direct sunlight for most of the day. It is also important to make sure that the area is safe and secure from potential theft or vandalism.
3. Install the Solar Panel
The next step in installing a solar light at home is to install the solar panel. This involves attaching the mounting bracket to a wall or other sturdy surface and then attaching the solar panel to it using screws or bolts. Once securely attached, connect the wiring from the solar panel to the battery and then cover them with protective insulation tape.
4. Install Battery
After installing the solar panel, it is time to install the battery which will store energy from sunlight during daylight hours and power your light at night when there is no sunlight available. Attach one end of your wiring to your battery and then attach it securely into place on your wall or other surface using screws or bolts. Make sure that all connections are secure before continuing with the installation process.
5. Connect Wiring
Now it’s time to connect all of your wiring together so that electricity can flow from one component to another without any issues arising during the operation of your solar light system.
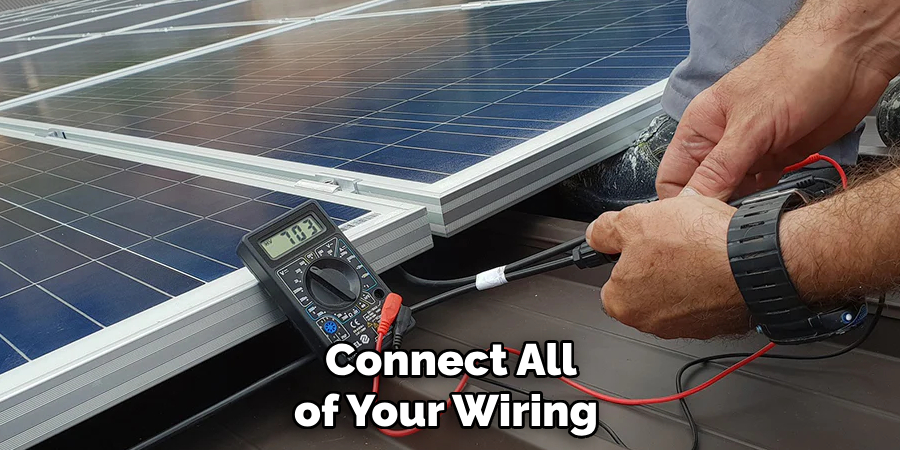
Start by connecting one end of your wiring from your battery to one end of your light fixture and then do likewise for each component until everything has been connected properly in sequence according to manufacturer instructions included with product packaging or online documentation provided by the manufacturer’s website or support forum community members who have experience working with similar products being used in the same application as yours may be helpful too if needed for further assistance on this step if needed along way while working through this project too!
6. Install Light Fixture
Once all of your wiring has been connected together properly, it’s time to install your light fixture onto its designated mounting bracket which should already be attached securely onto the wall surface where desired lighting will be located at once operational!
Securely attach fixture into place using appropriate hardware included with product packaging if needed for further assistance here too if needed along the way while working through this project as well!
7. Connect Light Fixture Wiring
Now that you have installed both your solar panel and light fixture onto their respective mounting brackets, you can now connect their respective wiring together so that electricity can flow freely between them without any issues arising during the operation of the system once operational!
Make sure all connections are secure before continuing with the installation process here too just like before when connecting up the battery into place earlier on in the project as well!
8. Test System
Before proceeding any further with the installation process, it is important that you test out the system first just make sure everything works properly once operational later down the road after completion here too! Do this by turning off the main power switch located nearby first (if applicable) and then the flipping switch located on the side of the controller box which should activate lights accordingly when done correctly here as well!
If lights do not turn on after doing this check then something must be wrong somewhere along the line so go back through the steps above again until the issue has been resolved satisfactorily here too if needed along the way while working through this project as well!
9. Place Cover Over Controller Box
Once you have tested out the system successfully and verified that everything works properly once operational later down the road after completion, then final step left now before declaring the job complete would involve placing a cover over the controller box located nearby, which serves the purpose of protecting internal components inside from external elements such rain snow etcetera when not being used regularly throughout the year as well!
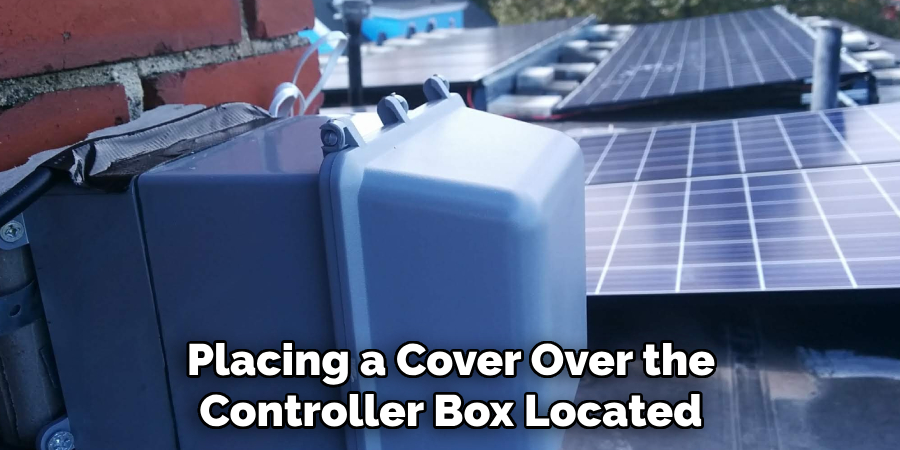
Securely fasten the cover into place using appropriate hardware included with product packaging if needed for further assistance here too if needed along the way while working through this project as well!
10. Final Adjustments & Clean Up
The last step in installing a solar light at home involves making any final adjustments necessary before declaring the job complete such as adjusting angle tilt, orientation position etcetera so that lighting output meets desired expectations when turned on later down the road after completion here, too!
Once done cleaning up any debris left behind following the completion job such as discarded packaging materials tools etcetera would also need to be done to declare the job complete successfully here as well!
Conclusion
Installing solar lighting at home is a surefire way to save money and energy, while also being good for the environment. With more and more homes going green every year, taking the extra step of incorporating solar light into your lifestyle is an achievable goal that many would-be homesteaders are looking forward to.
After reading this article, you now have a thorough understanding of the process for installing solar lights in the comfort of your own home – from gathering materials to getting set up with the right equipment.
We hope that our information was helpful and comprehensive enough to equip you with what you needed to know so that you can successfully install your own solar lighting system with relative ease! All in all, it’s worth noting how easy it is to become independent and self-sustaining with a few well-chosen materials, if you invest some time in learning how to install solar light at home. Why not give it a try today?

