Christmas lights are a staple during the holiday season. They add to the festive atmosphere and brighten our homes with sparkling colors. However, Christmas lights can sometimes malfunction or stop working like any other electronic device. This can be frustrating, especially if you have spent time and money decorating your home.

As the holiday season approaches, Christmas lights are among the most common household decorations. These festive lights bring joy and warmth to any home or outdoor space. However, nothing puts a damper on the holiday spirit like a string of non-functional Christmas lights. One way to troubleshoot these pesky lights is by using a multimeter. In this blog post, You will learn in detail how to troubleshoot christmas lights with a multimeter.
Step-by-Step Processes for How to Troubleshoot Christmas Lights With a Multimeter
Step 1: Inspect the Lights for Physical Damage
Before using a multimeter, it is essential to inspect the Christmas lights visually. Check for any missing bulbs, frayed wires, or damaged sockets. These can be easily identified and replaced, saving you time and effort.
Step 2: Gather Tools
To effectively troubleshoot Christmas lights with a multimeter, make sure to have a good quality multimeter, wire strippers, and replacement bulbs on hand. A small flathead screwdriver will also come in handy.

Step 3: Check the Power Supply
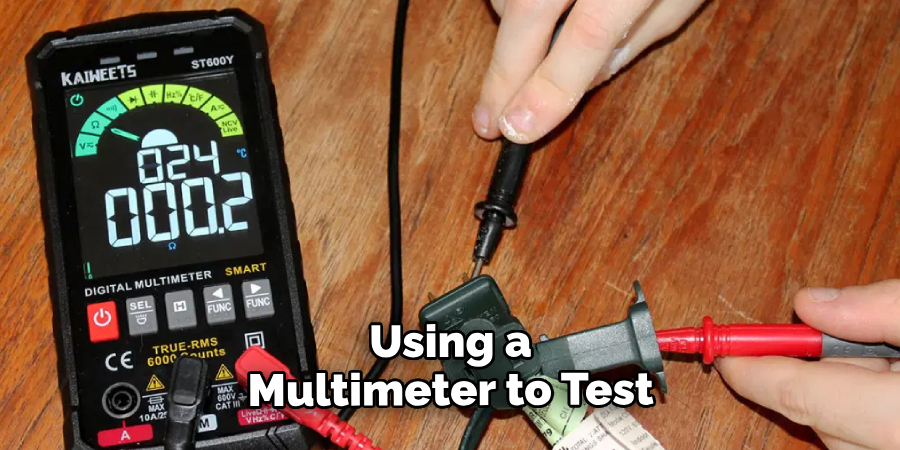
The first thing to check when troubleshooting Christmas lights is the power supply. Plug the lights into an outlet and use your multimeter to test for voltage at the end of the plug. If there is no voltage, the problem could lie with the outlet or extension cord.
Step 4: Test for Continuity
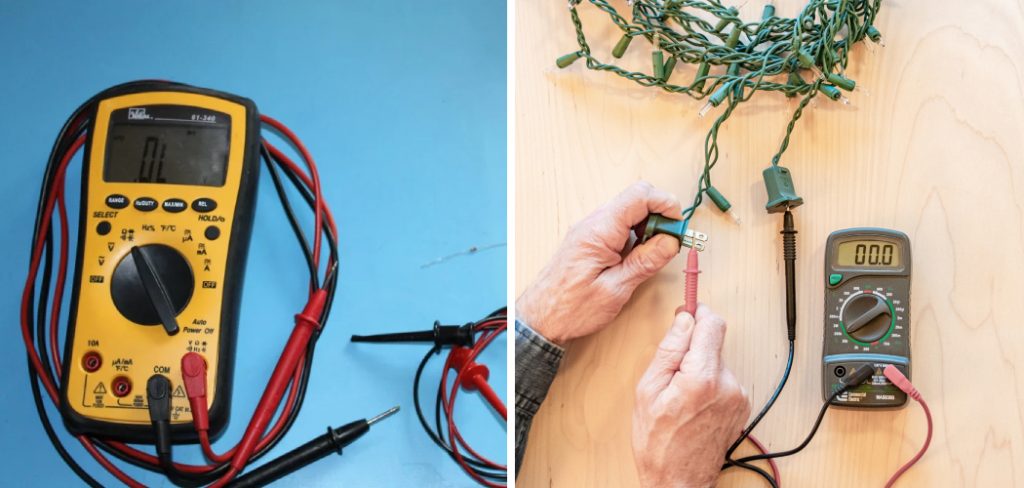
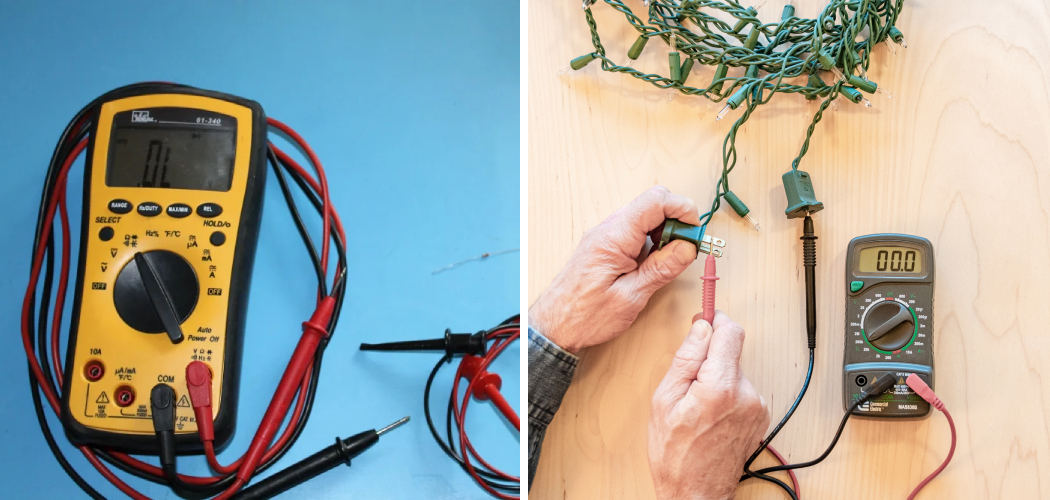
If there is power at the end of the plug, the next step is to test for continuity. Set your multimeter to the continuity setting and touch one probe to each end of the light strand. If there is no continuity, there is a break in the circuit, and the lights will need to be repaired or replaced.
Step 5: Identify the Problem Bulb
If there is continuity, but the light strand is still not working, you must identify the problem bulb. Using your multimeter set to resistance mode, test each bulb by touching one probe to the bulb’s base and one to the tip. A good bulb will show a low resistance reading, whereas a bad one will show high resistance or no reading at all. Replace any faulty bulbs.
Step 6: Check for Short Circuits
Sometimes, Christmas lights can have short circuits that cause them not to work. To check for this, set your multimeter to continuity mode and touch one probe to the hot wire and one to the neutral wire. If there is continuity, a short circuit needs to be fixed.
Step 7: Look for Loose Connections
Loose connections can also cause Christmas lights not to work. Use your multimeter to test for continuity at each connection point along the light strand. If there is no continuity, tighten or replace the connection.
If your Christmas lights have a fuse, checking if it is blown is crucial. To do this, set your multimeter to continuity mode and touch one probe to each end of the fuse. If there is no continuity, replace the fuse.
Step 8: Replace Faulty Wires
If your multimeter readings showed high resistance or no continuity when testing the individual bulbs, the wires could have a problem. Use your wire strippers to remove the faulty wire section and replace it with a new one.

After completing all these steps, plug in your Christmas lights again and test for continuity at the end of the plug. If everything checks out, your lights should be working properly now.
Tips for How to Troubleshoot Christmas Lights With a Multimeter
- Always unplug the Christmas lights before conducting any troubleshooting.
- Use a multimeter with insulated probes to avoid electric shocks.
- Wear protective gloves when handling damaged wires or bulbs.
- Keep small children and pets away from the troubleshooting area for their safety.
- Only use replacement bulbs compatible with your light strand’s voltage and wattage.
- Avoid excessive handling of the lights, as it can cause further damage.
- If you are unsure or uncomfortable using a multimeter, seek professional help.
Following these steps and tips, you can effectively troubleshoot your Christmas lights with a multimeter. This will save you time and money from replacing the entire light strand.

Causes of Troubleshoot Christmas Lights With a Multimeter
1. Defective Bulbs
A faulty Christmas light bulb can cause the entire strand to malfunction. Using a multimeter, you can check each individual bulb for continuity to determine if it needs replacing.
2. Broken or Damaged Wires
Over time, wires on Christmas lights may become damaged due to wear and tear or weather exposure. A multimeter can help detect any breaks in the wiring and indicate where repairs may be needed.
3. Corroded Connections
Corroded connections could be the culprit if your Christmas lights are not working. Using a multimeter to test for continuity can help you identify any damaged connections and fix them accordingly.
4. Faulty Fuses
Most Christmas light strands have fuses to protect against power surges. If your lights suddenly stop working, a blown fuse could be the cause. A multimeter can test the continuity of the fuse and determine if it needs replacing.
5. Loose Bulbs
Sometimes, bulbs can become loose or disconnected from their sockets, causing the entire strand to go dark. Using a multimeter, you can check for continuity between the bulb and socket to ensure a secure connection.
6. Burnt Out Bulbs
Over time, Christmas light bulbs can burn out and must be replaced. A multimeter can test for continuity between the filament and the bulb’s base to determine if it needs to be replaced.
7. Incorrectly Installed Bulbs
If bulbs are not installed correctly, they may not make proper contact with their sockets and cause the strand to malfunction. To ensure proper installation, a multimeter can test for continuity between the bulb and its socket.
What Common Mistakes to Avoid When Using a Multimeter for Troubleshooting Christmas Lights?
When troubleshooting Christmas lights with a multimeter, there are a few common mistakes people tend to make. These mistakes can lead to inaccurate readings and further problems with your lights. This section will discuss some of the most common mistakes to avoid when using a multimeter for troubleshooting Christmas lights.
1. Not Setting the Multimeter Correctly
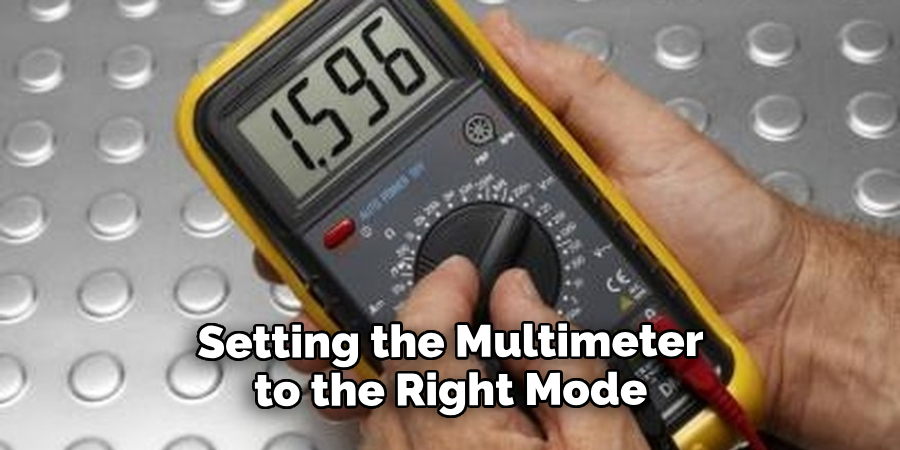
One of the most common mistakes people make when using a multimeter for troubleshooting Christmas lights is to set it to the correct settings. Multimeters have different modes for measuring AC and DC voltage, resistance, and continuity. Setting the multimeter to the right mode before taking any readings is important.

2. Not Checking the Batteries
Multimeters require batteries to function properly. If the batteries are low or dead, it can affect the accuracy of your readings. It is important to regularly check and replace the batteries in your multimeter to ensure accurate readings.
3. Not Using Proper Safety Precautions
Multimeters deal with electricity, and it is crucial to take proper safety precautions when using them. Always wear appropriate protective gear, such as gloves and safety glasses. Also, turn off the power before using a multimeter on any electrical equipment.
4. Not Understanding How to Use the Multimeter
Another mistake people must make is understanding how to use their multimeters fully. Reading the manual and familiarizing yourself with the different modes and symbols before troubleshooting Christmas lights is important. Improper multimeter use can lead to incorrect readings and potential safety hazards.
5. Not Checking for Continuity
Continuity is the ability of an electrical circuit to pass current without interruption. This is important to check when troubleshooting Christmas lights with a multimeter. Make sure to test for continuity in the light bulbs and the wiring.
Avoiding these common mistakes can ensure more accurate readings and a safer troubleshooting process. Remember always to use caution when working with electricity and read the manual or seek professional help if you need help with properly using your multimeter.
Are Any Specific Settings or Modes on a Multimeter Best Suited for Troubleshooting Christmas Lights?
Certain settings and modes on a multimeter can be helpful when troubleshooting Christmas lights. These include the voltage, continuity, and resistance modes. The voltage mode is useful for checking if any power is running through the Christmas lights’ circuit.
This is especially important if the lights are not turning on at all. The multimeter should be set to AC voltage mode, and the probes should be placed on either end of the circuit to see if there is any reading. If there is no voltage reading, it could indicate a power source problem or a circuit break.
The continuity mode, also known as the beep mode, can be used to check for breaks in the circuit. This is helpful when some lights are working but others need to be fixed. The multimeter should be set to continuity mode, and the probes should be placed on either side of each individual light in the circuit. If there is no beep, then it means there is a break in the circuit at that point.
What Are Some Alternative Methods for Troubleshooting Christmas Lights Without Using a Multimeter?
Christmas lights are an essential part of holiday decorations, and nothing is more frustrating than discovering that they’re not working properly. One common method for troubleshooting Christmas lights is using a multimeter to test the electrical connections. However, only some can access a multimeter or know how to use one. In this section, we will discuss some alternative methods for troubleshooting Christmas lights without using a multimeter.

One simple method for troubleshooting Christmas lights is the “wiggle test”. This involves gently wiggling each bulb to see if it makes contact with the socket. If a bulb appears loose, try tightening it or replacing it altogether.
Another common issue with Christmas lights is blown fuses. These can be easily replaced by purchasing replacement fuses at your local hardware store. To avoid blown fuses in the future, make sure to unplug your Christmas lights before replacing bulbs or making any other adjustments.
Conclusion
In conclusion, learning to troubleshoot christmas lights with a multimeter has advantages and disadvantages. While it is a useful tool to identify faulty bulbs or fuses easily, some drawbacks should be considered.
One of the main disadvantages is that using a multimeter requires some basic knowledge and understanding of electrical systems. This can be intimidating for those unfamiliar with electrical circuits and may lead to incorrect readings, causing further confusion in troubleshooting the lights. This article has been beneficial for learning how to troubleshoot christmas lights with a multimeter. Make Sure the preventive measures are followed chronologically.

