Are you having trouble figuring out how to test headlight ballast with a multimeter? Then you’ve come to the right place! Testing your car’s headlight ballast is an important step in ensuring that your headlights are working correctly and safely – but it can be intimidating if you don’t know what to do.
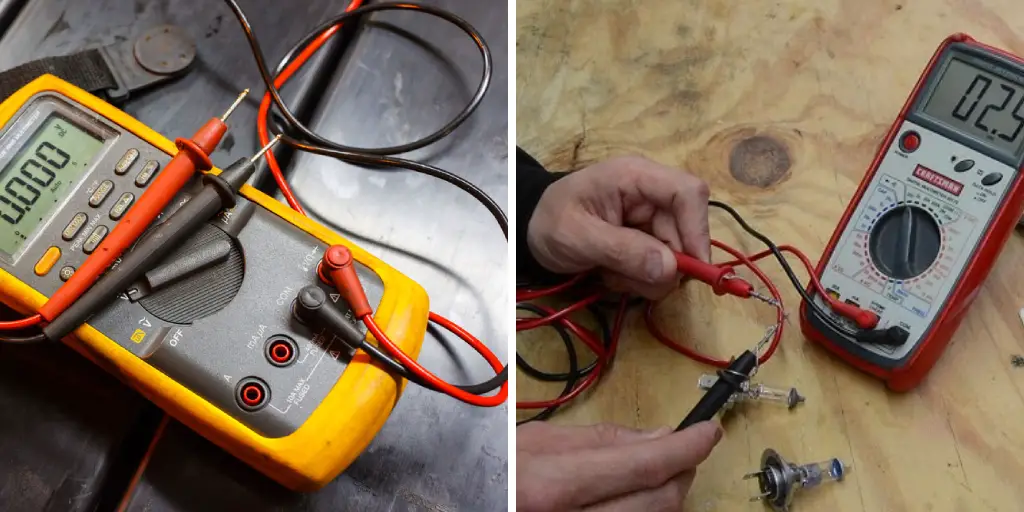
In this blog post, we’ll take you through all of the steps of how to test headlight ballast with multimeter – from understanding what a headlight ballast is, powering on the necessary systems, setting up measurements and more. By the end of this article, you should feel comfortable and confident enough with using a multimeter as part of testing your vehicle’s lighting system!
Why May You Want to Test Headlight Ballast With Multimeter?
1 . To Troubleshoot a Malfunctioning Headlight
If your headlight is not working, it could be due to a faulty ballast. In such cases, testing the ballast with a multimeter can help you identify the problem and determine if it needs to be replaced or repaired. This will save you time and money by avoiding unnecessary replacement of other components like bulbs or fuses.
2. To Ensure Proper Voltage Output
A headlight ballast is responsible for regulating the voltage supplied to the headlights. If it is not functioning properly, it may result in improper voltage output which can lead to dim or flickering headlights. By testing the ballast with a multimeter, you can ensure that it is providing the correct voltage and prevent potential issues with your headlights.
3. To Diagnose Other Electrical Problems
When troubleshooting the problem with your headlight, it is important to check all related components. By using a multimeter to test the ballast, you can also rule out any other electrical issues that may be affecting your headlights. This will help you pinpoint the exact cause of the problem and make necessary repairs.
4. To Save Money on Repairs
In most cases, testing the headlight ballast with a multimeter is a simple process that can be done at home. By doing it yourself, you can save money on diagnostic fees and potentially expensive repairs. However, if you are not comfortable or confident in your abilities to test the ballast, it is always best to consult a professional mechanic.

How to Test Headlight Ballast With Multimeter in 6 Easy Steps
Step 1: Gather All The Tools
The very first step is to gather all the tools that you will need for testing a headlight ballast with a multimeter. You will need:
- A multimeter
- A clean cloth
- Protective gloves (to avoid electrical shocks)
- Safety goggles (for eye protection)
Step 2: Locate The Headlight Ballast
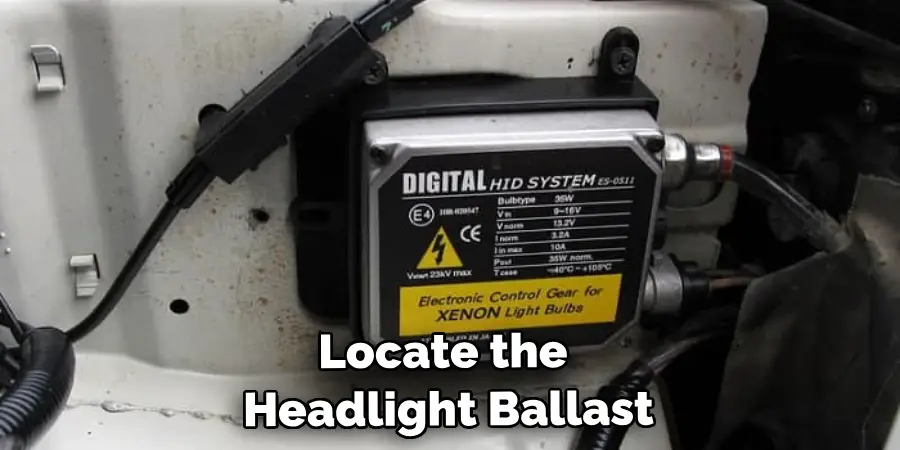
The next step is to locate the headlight ballast. This can typically be found near the headlight assembly, behind the headlight cover or in the engine compartment. Also, you have to make sure the car is off and the key is removed from the ignition.
Step 3: Prepare The Multimeter
Set your multimeter to the “ohms” setting. This will allow you to test for resistance, which is a crucial factor in determining if your headlight ballast is functioning properly. Also, make sure the multimeter is in good working condition.
Step 4: Test The Ground Connection
The ground connection is responsible for providing a return path for electrical current. To test this, place the negative lead of the multimeter on a clean metal part of the car’s frame or engine block. Then, touch the positive lead to one of the headlight ballast’s terminals. If the multimeter reads a resistance of 0 ohms, then the ground connection is intact.
Step 5: Test The Power Connection
The power connection supplies electrical current to the headlight ballast. For this test, place the negative lead on a clean metal part of the car’s frame or engine block again, and touch the positive lead to the other headlight ballast terminal. If the multimeter reads a resistance of 0 ohms, then the power connection is also intact.
Step 6: Test The Ballast
Now it’s time to test the ballast itself. With your multimeter still set to “ohms”, touch the positive lead to one of the ballast’s terminals and the negative lead to the other. A good ballast should have a resistance reading between 2 and 10 ohms. If it reads as “infinity” or very high, then the ballast is defective.
10 Additional to Test Headlight Ballast With Multimeter
1 . Do Not Overlook the Basics
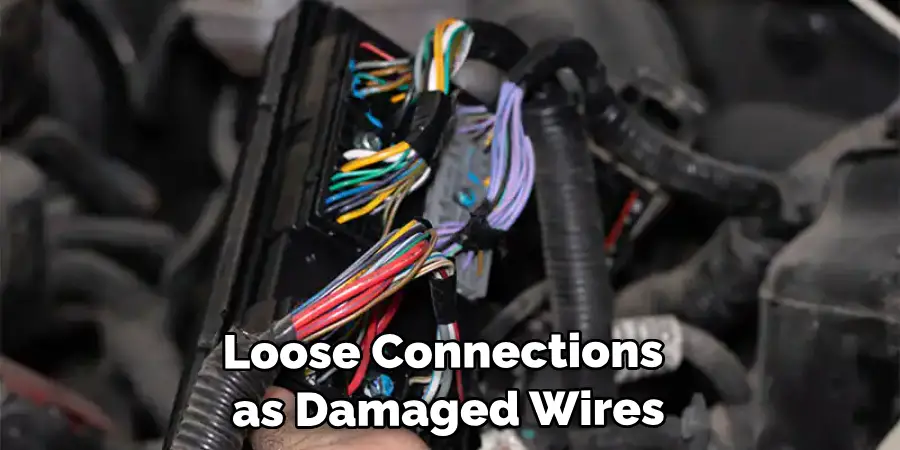
Before starting any tests on your headlight ballast, it is important to make sure that all basic components are functioning properly. This includes checking for any loose connections, damaged wires or a damaged bulbs, and a working battery. These simple checks can save you time and effort in troubleshooting later.
2. Get Familiar With Your Multimeter
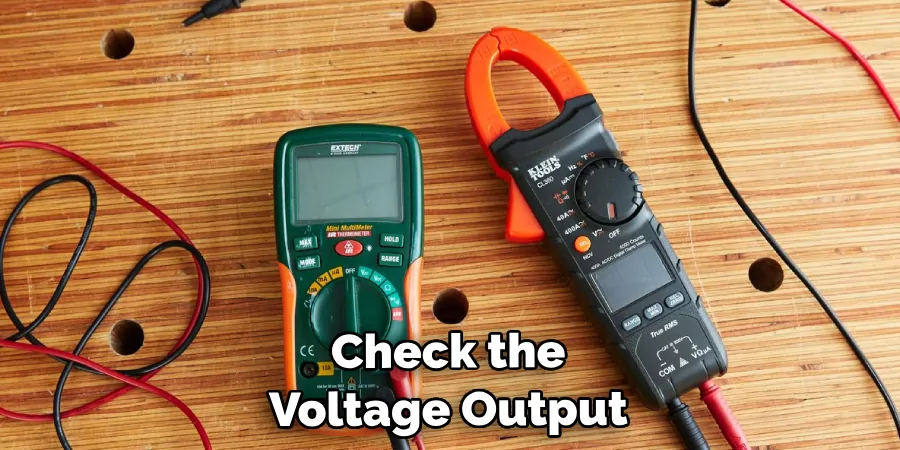
A multimeter is a powerful tool that can be used to test various electrical components. However, it is important to understand how to use it properly before attempting any tests. Familiarize yourself with the different functions and settings of your multimeter, such as voltage, resistance, and continuity.
3. Understand the Function of a Headlight Ballast
A headlight ballast is responsible for regulating the voltage that goes to your headlights. It converts the high voltage from your car’s battery into a lower voltage suitable for your headlights. Understanding its function will help you identify any potential issues and perform accurate tests.
4. Testing for Voltage Output
To test if your headlight ballast is functioning properly, you can use your multimeter to check the voltage output. Set your multimeter to the DC voltage setting and connect it to the positive and negative terminals of the ballast. A reading within 12-14 volts indicates a healthy ballast.
5. Checking for Continuity
Continuity is an essential aspect of any electrical circuit, including your headlight ballast. This test will determine if there are any breaks in the circuit that could be causing issues. Set your multimeter to the continuity setting and touch the positive and negative terminals of the ballast. If there is a continuous flow of electricity, it means there are no breaks.
6. Inspecting for Physical Damage
Sometimes, a visual inspection can reveal underlying issues with your headlight ballast. Carefully examine the ballast for any signs of physical damage, such as burns, corrosion, or loose connections. These can be indicators of a faulty ballast that needs to be replaced.
7. Testing the Wiring
Faulty wiring is a common cause of headlight ballast issues. Using your multimeter, check for continuity in all wires connected to the ballast. If there is no continuity, it could indicate a broken wire that needs to be repaired or replaced.
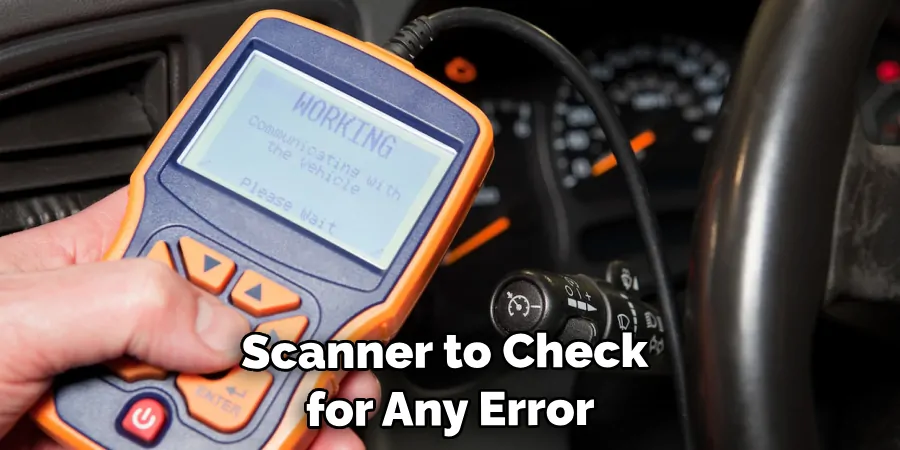
8. Look for Error Codes
Many modern cars have a built-in diagnostic system that can detect and display error codes related to various components, including the headlight ballast. Use an OBD-II scanner to check for any error codes and troubleshoot accordingly.
9. Conducting a Load Test
A load test can help determine if your headlight ballast is capable of handling the required voltage for your headlights. Connect your multimeter to the positive and negative terminals of the ballast, then turn on your headlights. A significant drop in voltage during this test could indicate an overloaded or faulty ballast.
10. Seek Professional Help
If you are unsure about performing any of these tests or suspect a more complex issue with your headlight ballast, it is always best to seek professional help. Qualified mechanics will have the necessary tools and expertise to accurately diagnose and repair any problems with your headlight ballast.
Overall, knowing how to test your headlight ballast with a multimeter can save you time and money in the long run. Regular maintenance and testing can help prevent any unexpected issues with your headlights, ensuring safe driving conditions for yourself and others on the road. So, it is always important to stay informed about your car’s components and their proper functioning.
Frequently Asked Question
What Precautions Should I Take Before Testing My Headlight Ballast With a Multimeter?
Before you begin testing your headlight ballast with a multimeter, there are a few precautions that you should take to ensure safe and accurate results:
- Make sure the headlights have been turned off for at least 15 minutes before attempting to test the ballast.
- Disconnect the negative battery cable from the vehicle to prevent any electrical shocks.
- Read the instructions for your multimeter carefully and ensure you are using the correct setting for testing voltage.
How Can I Tell If My Headlight Ballast is Faulty?
There are a few signs that can indicate a faulty headlight ballast:
- If your headlights are flickering or dim, it could be a sign of a failing ballast.
- If one headlight is working while the other isn’t, it could be due to a faulty ballast in the non-functioning headlight.
- If your headlights are not turning on at all, it is likely due to a faulty ballast.
Can I Test My Headlight Ballast With a Regular Multimeter?
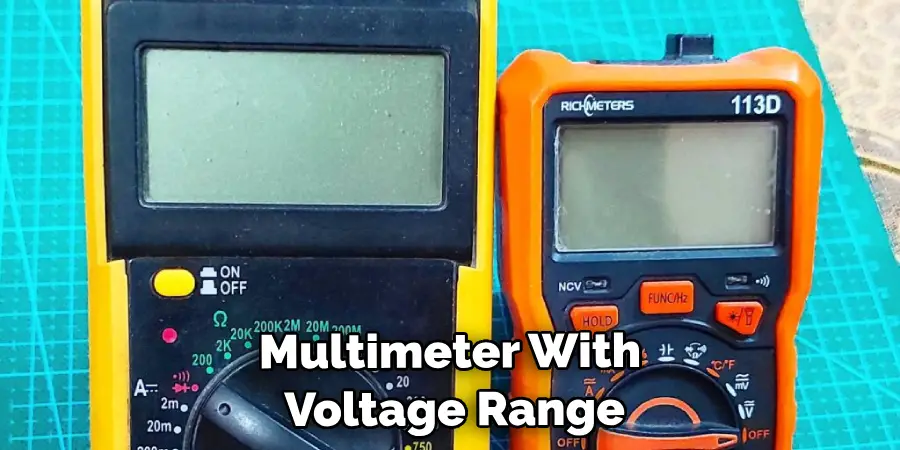
While you can use a regular multimeter for basic testing, it is recommended to use a digital multimeter specifically made for automotive purposes. These multimeters have additional settings and features that make them more suitable for testing car components. Also, make sure to use a multimeter with a voltage range of up to at least 20 volts for accurate results.
What If My Headlight Ballast Is Not Getting Enough Voltage?
If your headlight ballast is not receiving enough voltage, it could be due to a faulty wiring connection or a failing battery. Check the wiring connections and clean any corrosion that may be present. If the connections are secure and clean, then it may be time to replace your battery.
How Often Should I Test My Headlight Ballast?
It is recommended to test your headlight ballast every six months to ensure proper functioning. However, if you notice any of the signs mentioned above or experience changes in your headlights’ performance, it is important to test the ballast immediately. Regular testing can help prevent potential hazards and ensure safe driving conditions. Overall, staying proactive with maintenance and testing can prolong the lifespan of your headlight ballast and save you from expensive repairs in the future. With a few simple precautions and regular testing, you can keep your headlights shining bright for years to come.
Can I Test My Headlight Ballast if I Don’t Have Experience With Vehicles or Electronics?
While it is always recommended to have some knowledge and experience with vehicles and electronics before attempting any testing or repairs, you can still test your headlight ballast with a multimeter even if you are a beginner. Just make sure to thoroughly read the instructions for both the multimeter and your vehicle and take all necessary precautions before beginning the testing process. If you are unsure or uncomfortable with testing the ballast yourself, it is best to consult a professional mechanic for assistance. Remember, safety always comes first when working with electrical components.
Conclusion
To sum it up, testing the headlight ballast with a multimeter is a straightforward process that can be done by anyone at home. After gathering the needed equipment and having a clear understanding of the process, you’ll be able to properly test your headlights and fix any issues before they become dangerous on the road. From ensuring your probes are placed correctly to ensuring all relevant parts are connected, there are various steps to complete in order to efficiently test your headlight ballast with a multimeter.
If you don’t feel comfortable doing so, remember that you can always contact an auto shop for assistance and professional installation. It doesn’t have to be difficult or time-consuming; just follow our guide on how to test headlight ballast with multimeter! So take the necessary actions now and give your car the care it deserves while staying safe on the roads.

