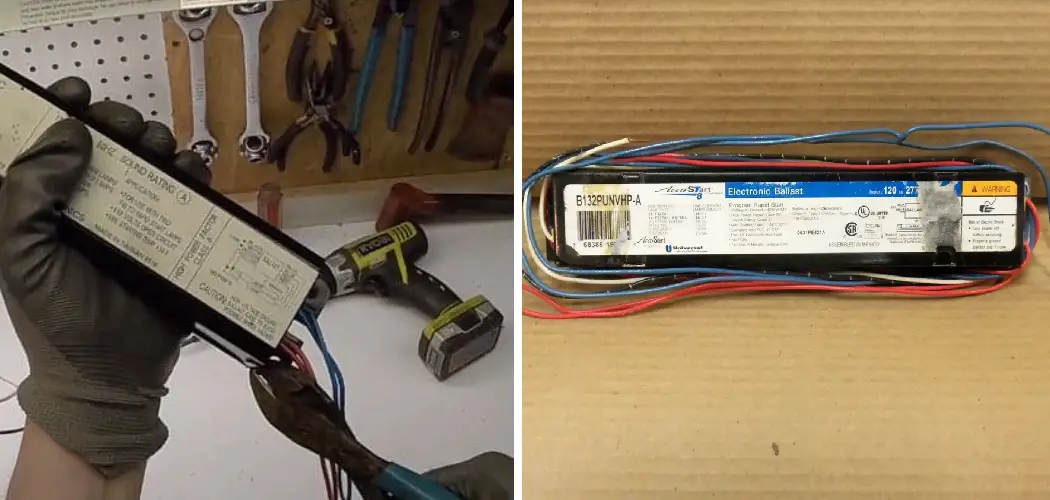
Fluorescent lights are a popular lighting choice in many settings due to their energy efficiency and longevity. However, over time, the ballast, a critical component in a fluorescent light fixture that regulates the electrical current, may fail and lead to flickering or non-functioning lights. To diagnose issues with fluorescent lights, it’s important to know how to test the ballast.
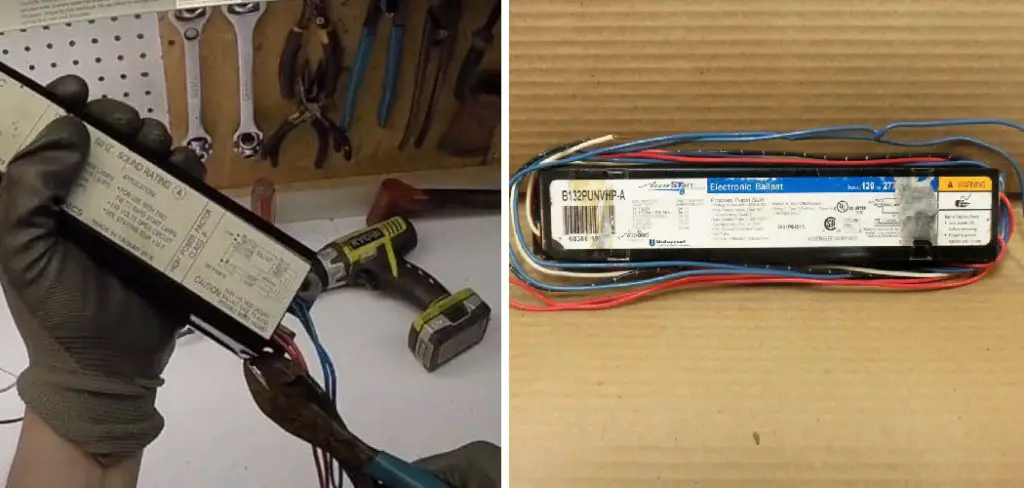
Testing the ballast helps determine if it’s functioning correctly, enabling you to decide whether a replacement is needed. In this comprehensive guide, we will walk you through how to test ballast for fluorescent lights, providing you with the knowledge and steps necessary to keep your fluorescent lighting system operating efficiently.
The Importance of a Functioning Ballast in Fluorescent Lighting
Fluorescent lights are used in a variety of settings, from homes to office buildings and warehouses. They offer energy efficiency, longer lifespan, and brighter light compared to traditional incandescent bulbs. However, these benefits can only be realized if the ballast, a necessary component of fluorescent lighting, is functioning properly.
A ballast is an electrical device that regulates the current flow to the fluorescent bulbs. It provides the initial surge of electricity needed to start the bulbs and then maintains a steady current to keep them lit. Without a functioning ballast, the bulbs will flicker or not turn on at all. Although ballasts are built to last, they can still fail over time due to factors such as age, heat, and power surges.
Signs of a Faulty Ballast
- Flickering Lights: If your fluorescent lights are flickering or don’t stay on for long, it could be a sign of a faulty ballast. This could also be caused by other issues such as loose connections or old bulbs, but a malfunctioning ballast is often the culprit.
- Dim or Darkened Lights: Another indication of a bad ballast is when your lights appear dim or don’t produce as much light as they used to. This could be a sign of a failing ballast that is not providing enough power to the bulbs.
- Buzzing or Humming Noises: A buzzing or humming sound coming from your fluorescent lights can also signal a faulty ballast. This noise can be caused by loose connections, but if the sound persists, it’s likely due to a malfunctioning ballast.
- Burning Smell: If you notice a burning smell coming from your fluorescent lights, turn them off immediately as this could be a fire hazard. A faulty ballast can overheat and produce a burning smell, indicating that it needs to be replaced.
- Visible Damage: In some cases, you may physically see damage to the ballast, such as corrosion or burnt marks. This is a clear sign that the ballast needs to be replaced.
10 Methods How to Test Ballast for Fluorescent Lights
1. Visual Inspection
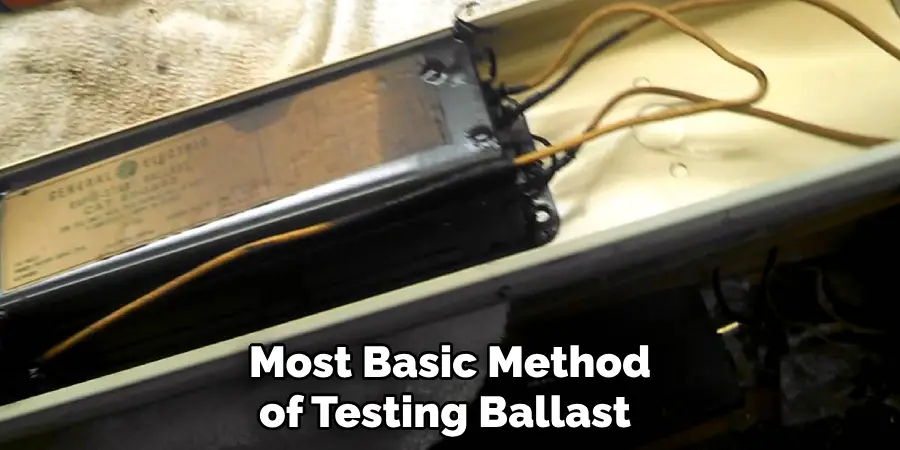
The first and most basic method of testing ballast for fluorescent lights is a visual inspection. This involves looking at the ballast to see if it appears to be in good condition, without any signs of damage or corrosion. If the ballast looks damaged, then it should be replaced immediately. If the ballast appears to be in good condition, then further testing may not be necessary.
2. Continuity Test
A continuity test is used to determine whether or not the electrical connections between the components of a fluorescent light are functioning properly. This can be done with an ohmmeter or multimeter, which will measure the resistance between two points on a circuit. If there is no continuity, then this indicates that there is an issue with one or more of the components and they should be replaced.
3. Voltage Test
A voltage test can also be used to check if a ballast is functioning properly. This involves measuring the voltage across each of the components on the circuit board to make sure that they are receiving the correct amount of power from the power supply. If any of these measurements are off, then it could indicate that there is an issue with either the power supply or one of the components on the circuit board and they should be replaced.
4. Current Draw Test
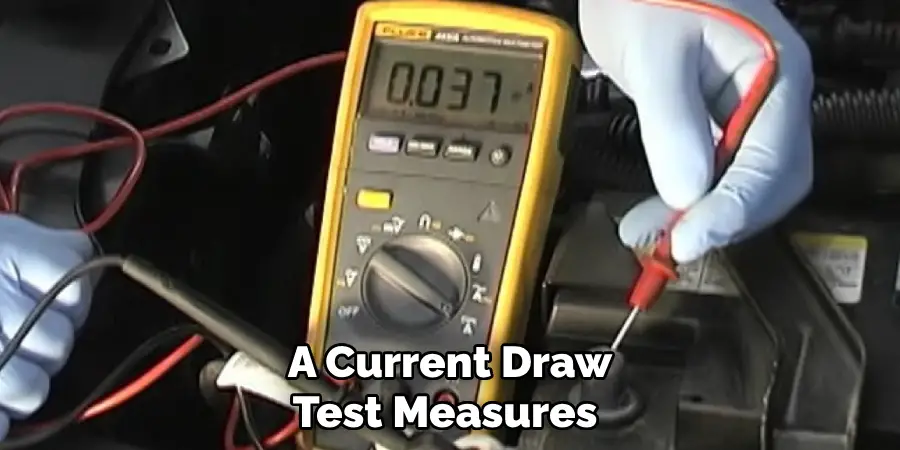
A current draw test measures how much current is being drawn by each component on a fluorescent light’s circuit board when it is turned on. This helps to determine whether any components are drawing too much current, which could indicate that they are faulty and need replacing. It also helps to identify if any components are not drawing enough current, which could indicate that they need to be adjusted or replaced as well.
5. Capacitor Test
The capacitor in a fluorescent light helps regulate its power supply and ensures that it receives enough electricity for its components to function correctly. A capacitor test measures how quickly a capacitor charges up when electricity is applied to it, which helps determine whether it needs replacing or adjusting due to age or other factors such as temperature changes over time.
6. Starter Test
The starter in a fluorescent light regulates how much electricity flows through its circuit board when it’s turned on and off again repeatedly over time (known as ‘cycling’).
A starter test measures how quickly this cycling process occurs over time, which helps determine whether it needs replacing due to age or other factors such as temperature changes over time as well as helping identify potential issues with other components in its circuit board, such as capacitors and resistors.
7. Igniter Test
An igniter test checks whether an electric arc is created between two electrodes when electricity passes through them (known as ‘striking’). This helps identify potential issues with either one of these electrodes (such as corrosion) or with another component in its circuit board such as capacitors or resistors, that might prevent them from creating an electric arc when electricity passes through them correctly (known as ‘firing’).
8. Lamp Socket Test
A lamp socket test checks whether a lamp socket has been wired correctly so that electricity can flow through it without any issues (known as ‘grounding’). This helps ensure that lamps connected directly to this socket will receive enough electricity for their bulbs to turn on correctly without any problems occurring due to incorrect wiring (such as short circuits).
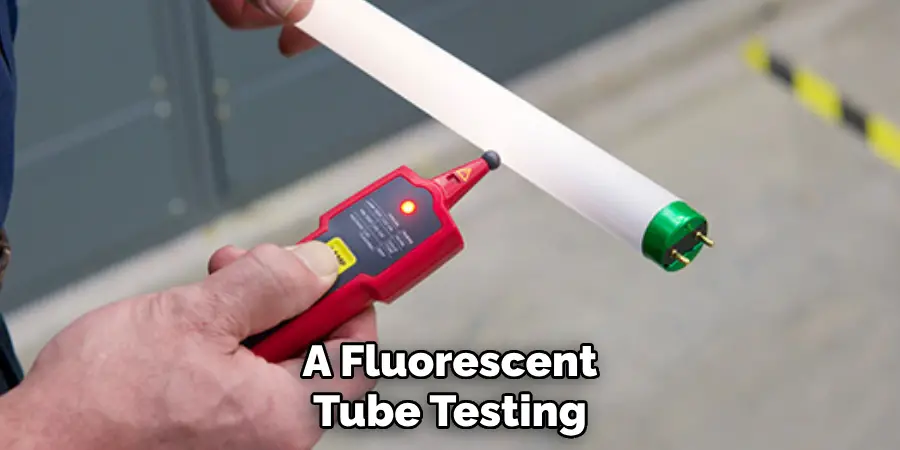
9. Fluorescent Tube Testing
Fluorescent tubes contain mercury vapor which emits ultraviolet radiation when excited by an electric current passing through them (known as ‘lighting’). A fluorescent tube testing procedure checks whether this lighting process occurs correctly by measuring how much ultraviolet radiation is emitted from each tube after they have been lit up for several minutes consecutively (known as ‘aging’).
10. Power Supply Testing
Finally, power supply testing measures how much electrical power each component on a fluorescent light’s circuit board receives from its power supply after being turned on for several minutes consecutively (known as ‘stabilizing’).
This helps identify potential issues with either one of these components (such as faulty wiring) or with another component in its circuit board such as capacitors or resistors causing them not to receive enough electrical power from its power supply even after being turned on for several minutes consecutively (known as ‘powering’).
Things to Consider When Testing Ballast for Fluorescent Lights
There are several important things to consider when testing a ballast for fluorescent lights. These include the type of ballast, symptoms of a faulty ballast, and safety precautions.
Type of Ballast:
Before testing your ballast, it is important to know what type of ballast you have. There are three main types: magnetic, electronic, and dimmable. Magnetic ballasts are the oldest type and are typically found in older fixtures. Electronic ballasts are newer and more energy-efficient, while dimmable ballasts allow for adjustable lighting levels.
Symptoms of a Faulty Ballast:
There are a few common symptoms that can indicate a faulty ballast. These include flickering or dimming lights, buzzing noises, and lights that take a long time to turn on. If you are experiencing any of these issues, it is likely that your ballast needs to be tested.
Safety Precautions:
When testing a ballast for fluorescent lights, it is important to take proper safety precautions. Before starting, make sure the power supply is turned off. Additionally, always wear protective gear such as gloves and eye protection. Handling electrical components can be dangerous, so it is important to take these precautions seriously.
Testing Process:
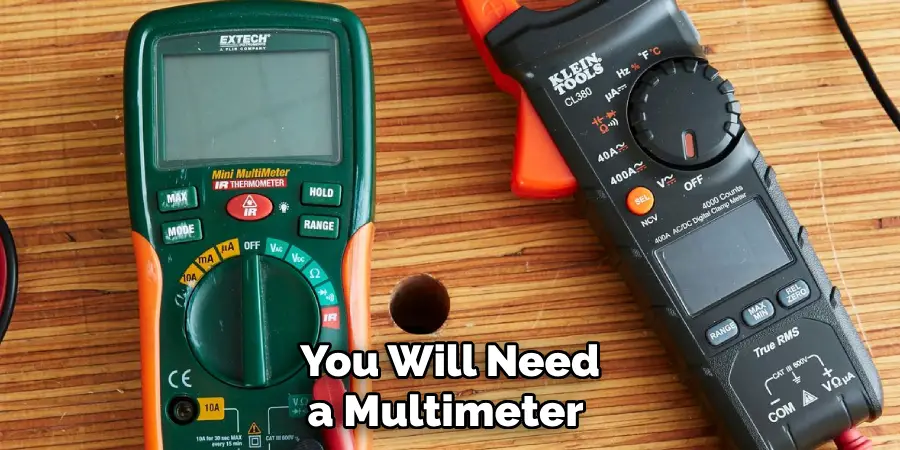
To test a ballast, you will need a multimeter or voltage tester. Start by removing the light bulbs from the fixture and turning off the power supply. Then, use your testing device to check for continuity between the wire connections on the ballast.
Conclusion
Taking these steps to test ballast for fluorescent lights will help keep your lights working and environment safe. Don’t underestimate the importance of this maintenance; a conducted analysis can save you from potential electrical problems in the future.
Ensure any new replacement is done properly and it’s best to leave that task to a professional if you’re uncertain. The vibration and pressure created by everyday use can easily result in ballast failure, so make sure you check regularly.
Remember that taking regular care of ballast will lengthen its life as well as the bulbs they power! If you’d like more information on how to test ballast for fluorescent lights, just do some online research or contact a trusted professional who can guide you through the process. It doesn’t take long and is an essential task in keeping your workplace running smoothly, efficiently, and safely!

