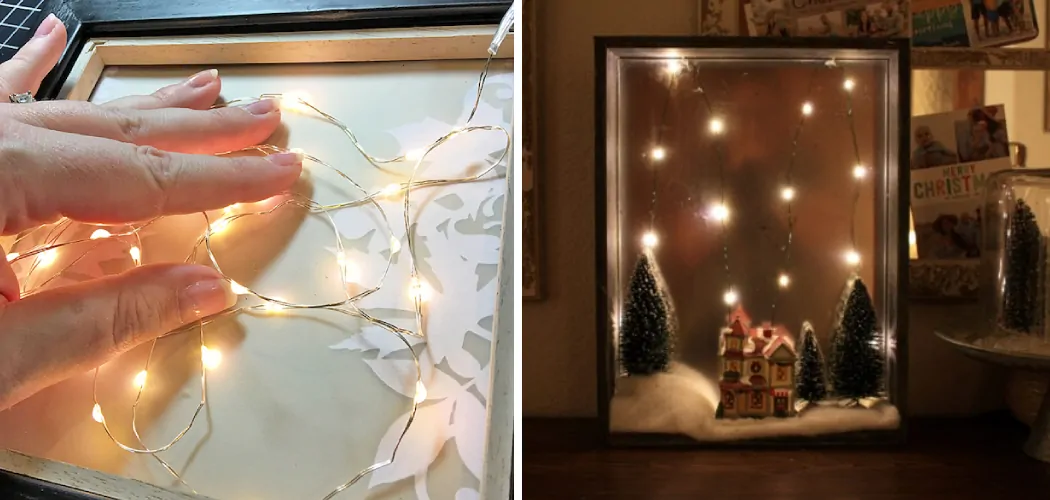
A shadow box with lights is a captivating and creative way to display cherished mementos, artworks, or keepsakes in a visually stunning manner. Adding lights to a shadow box not only illuminates the contents but also adds an enchanting ambiance to any space. In this guide, we’ll explore step-by-step instructions on how to make a shadow box with lights.
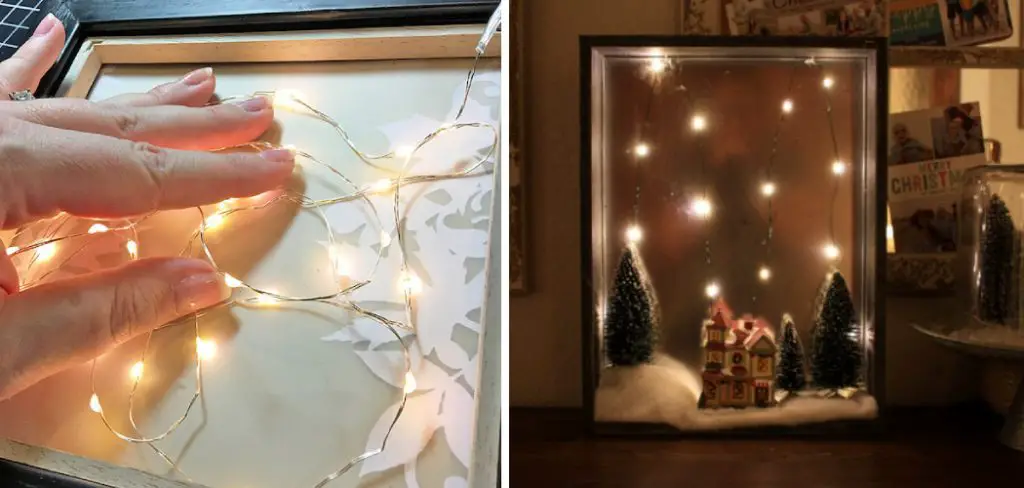
From selecting the right materials to choosing the appropriate lighting and arranging your items for maximum visual impact, we will cover all aspects of this DIY project. Whether you’re a seasoned DIY enthusiast or a beginner looking to infuse a personalized touch into your living space, creating a shadow box with lights is an exciting endeavor that allows you to showcase your creativity and sentimental items in a beautiful and unique way.
Explanation of What a Shadow Box with Lights Is
A shadow box with lights is a decorative display case that uses ambient or backlighting to create a visually stunning effect. It is commonly used to showcase and highlight special items such as collectibles, memorabilia, photographs, and artwork.
The concept of a shadow box originated from the Victorian era, where they were used to preserve and display sentimental objects. However, modern shadow boxes have evolved to incorporate lighting elements, adding a new level of dimension and interest to the display.
Benefits of Making a Shadow Box with Lights
There are several benefits to making a shadow box with lights. First and foremost, it serves as a unique way to showcase your treasured items. By incorporating lighting, you can create an eye-catching display that draws attention to your objects and enhances their visual appeal.
Secondly, a shadow box with lights can also be used as a form of home decor. It adds a touch of personalization to your space and creates a focal point in any room.
Lastly, making a shadow box with lights can be a fun and creative DIY project. It allows you to customize the design and lighting according to your preferences, making it a unique and personal piece.
Materials Needed for Making a Shadow Box with Lights
To make your own shadow box with lights, you will need the following materials:
- A wooden or plastic display case with a glass front
- LED strip lights or fairy lights
- Scissors
- Adhesive or glue
- Decorative items to display (e.g. photographs, trinkets, etc.)
10 Methods How to Make a Shadow Box with Lights
1. Gather Supplies
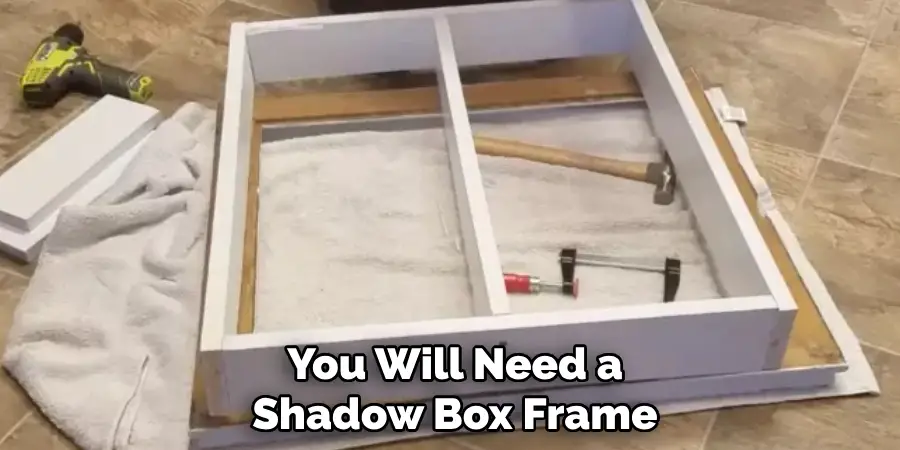
The first step in making a shadow box with lights is to gather the necessary supplies. You will need a shadow box frame, decorative paper or fabric, LED lights, and a hot glue gun. It is also helpful to have scissors and other craft supplies on hand. Once you have gathered all of the supplies, you are ready to begin creating your shadow box!
2. Cut Paper or Fabric
Once you have gathered the necessary supplies, it is time to start cutting the paper or fabric that will line the inside of your shadow box frame. Measure out the size of your frame and cut the paper or fabric accordingly. Make sure that there is enough excess material around all sides so that it can be glued into place later on.
3. Glue Paper or Fabric Into Place
Once you have cut out the paper or fabric for your shadow box, use a hot glue gun to secure it into place on the inside of the frame. Make sure that there are no gaps between where the paper or fabric meets the edges of the frame so that light does not escape from behind it once it is illuminated. However, if you want to create a more whimsical effect, you can also leave some gaps for light to shine through.
4. Add LED Lights
Once you have secured the paper or fabric into place, it’s time to add LED lights to your shadow box frame! Start by measuring out where each light should go and then use a hot glue gun to secure them into place along the edges of your frame. Be sure not to overcrowd them as this can cause an uneven lighting effect when illuminated.
5. Connect Wires
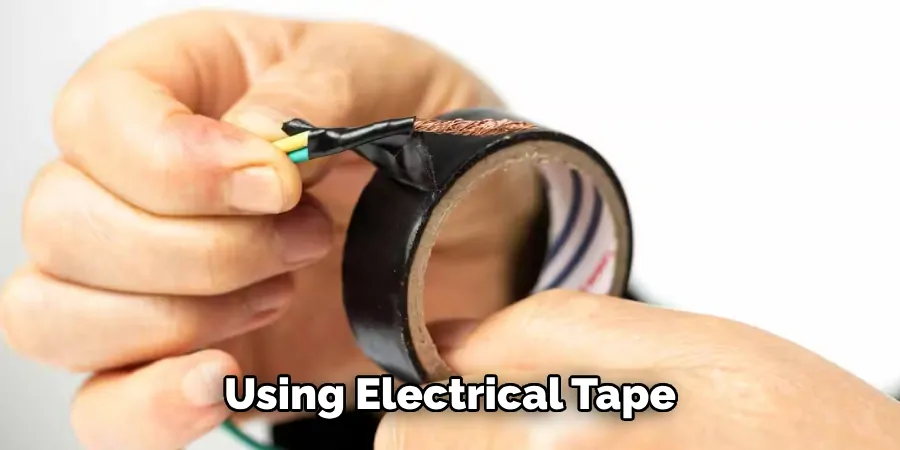
Once all of your LED lights are in place, connect their wires together using electrical tape or wire connectors so that they will all be powered from one source when lit up. This will ensure that they all light up at once instead of having some stay dark while others shine brightly! To hide the wires, you can also wrap them with decorative tape or cover them with the paper or fabric inside the frame.
6. Test Lights
Before permanently securing everything in place, test out your LED lights and make sure they are working properly by plugging them into an outlet and turning them on for a few seconds before quickly disconnecting them again (be careful not to leave them plugged in too long!). This will help you ensure everything is working properly before proceeding with gluing anything down permanently!
7. Secure Wires With Glue Gun
Once you’ve tested out your LED lights and made sure they’re working properly, use a hot glue gun to secure any exposed wires into place so they won’t become tangled up when moving your shadow box around later on! This will also help keep any exposed electrical components safe from being touched accidentally by children or pets while still allowing easy access for repairs if needed in future years!
8. Attach Battery Pack
Now that all of your wires are secured into place with hot glue, attach a battery pack (or other power source) onto the back side of your shadow box frame using more hot glue for extra security if desired! This will allow you to easily power up your LED lights without having to plug anything in directly – perfect for those times when an outlet isn’t readily available nearby!
9. Hang Shadow Box On Wall
Using appropriate hanging hardware such as nails, screws, picture hangers, etc., hang up your newly created shadow box onto any wall surface of choice – preferably one close enough so that its power source can easily be reached for powering up when needed! Additionally, make sure that the shadow box is level and secure before walking away from it so that nothing falls off or breaks once you leave the room.
10. Enjoy Your Creation
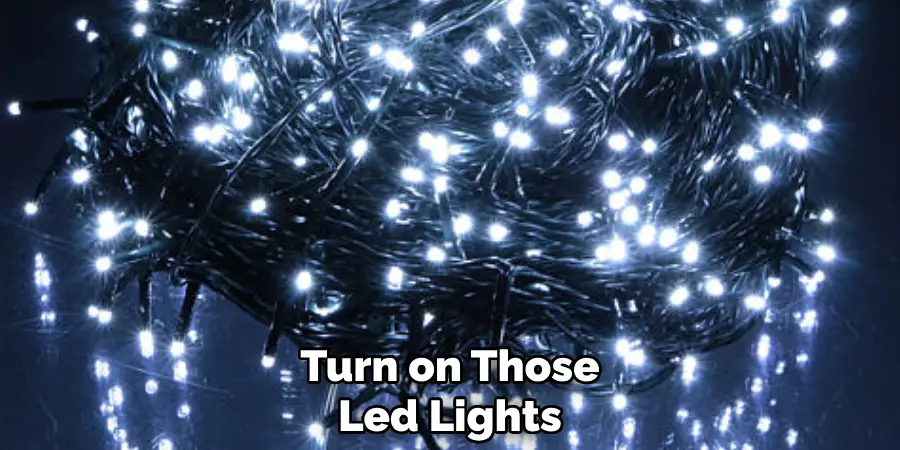
Finally – turn on those LED lights and enjoy your beautiful new creation! Whether hung up as part of home decor or given away as a gift – this homemade piece is sure to bring joy and happiness wherever it may go! However, be sure to periodically check its LED lights and battery pack for signs of wear and tear over time so you can make any necessary repairs or replacements as needed!
Things to Consider When Make a Shadow Box with Lights
The process of making a shadow box with lights may seem overwhelming, but with the right tools and materials, anyone can achieve a stunning result. If you are thinking of creating your own shadow box with lights, here are some things to consider:
Type of Lights
Before starting your project, consider what type of lights you want to use in your shadow box. There are several options available, including string lights, LED lights, and spotlights. Each type of light will create a different effect, so think about the mood you want to achieve with your shadow box and choose accordingly.
Size of Shadow Box
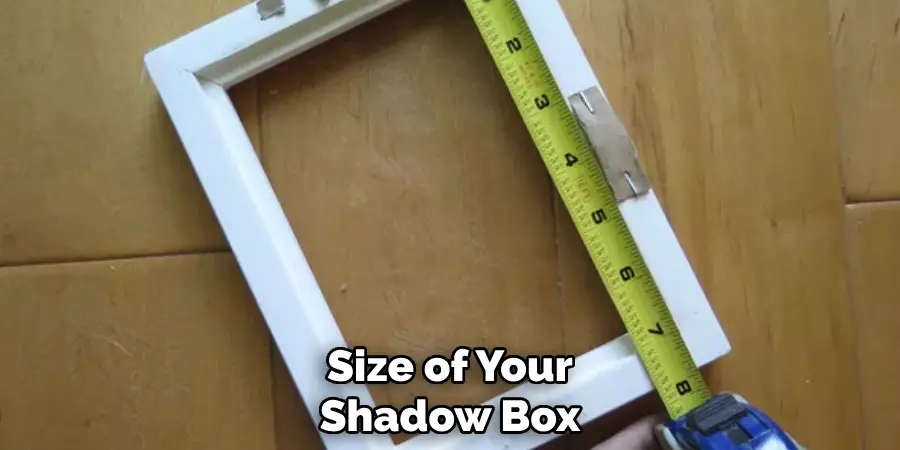
The size of your shadow box will determine the amount of space you have to work with when it comes to lighting. Consider the size of the objects you want to include in your shadow box and choose a size that will accommodate them comfortably without overcrowding.
Placement of Lights
Once you have chosen the type of lights and the size of your shadow box, it’s time to think about where you want to place the lights. You can either place them inside the shadow box or around its perimeter. Placing them inside will create a softer, more diffused light, while placing them around the perimeter will create a more dramatic effect.
Power Source
It’s important to plan for the power source when making a shadow box with lights. If you are using battery-operated lights, make sure to have extra batteries on hand. If you are using plug-in lights, plan for where the cord will go and how it will be hidden in the final display.
Conclusion
In conclusion, shadow boxes with lights are a whimsical yet sophisticated way to customise your living space in a unique and creative way. Whether you use them for displaying seasonal decorations or sentimental mementos, this project is ideal for any crafty adventurer!
With the step-by-step instructions outlined above, you’ll be able to unleash your creativity and design something fabulous. So grab some supplies and get started on your own stunning shadow box masterpiece! And don’t forget to show us how it turns out – we can’t wait to see your how to make a shadow box with lights.

