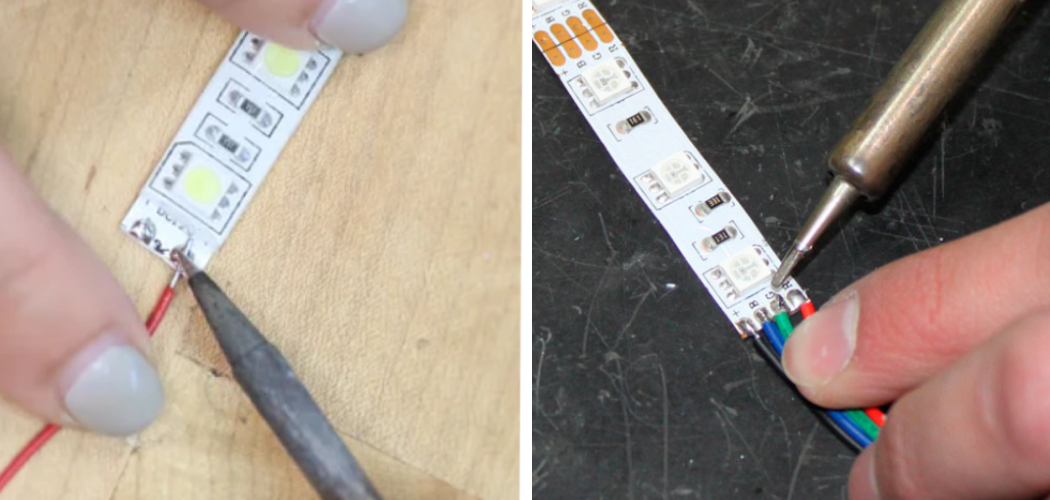
Soldering waterproof LED strips may seem intimidating, but it can be simple and beneficial. By learning how to solder waterproof LED strips properly, you can save money by repairing damaged strips instead of constantly replacing them. Additionally, knowing how to solder can open up a world of DIY projects and allow you to customize your LED lighting in unique ways.
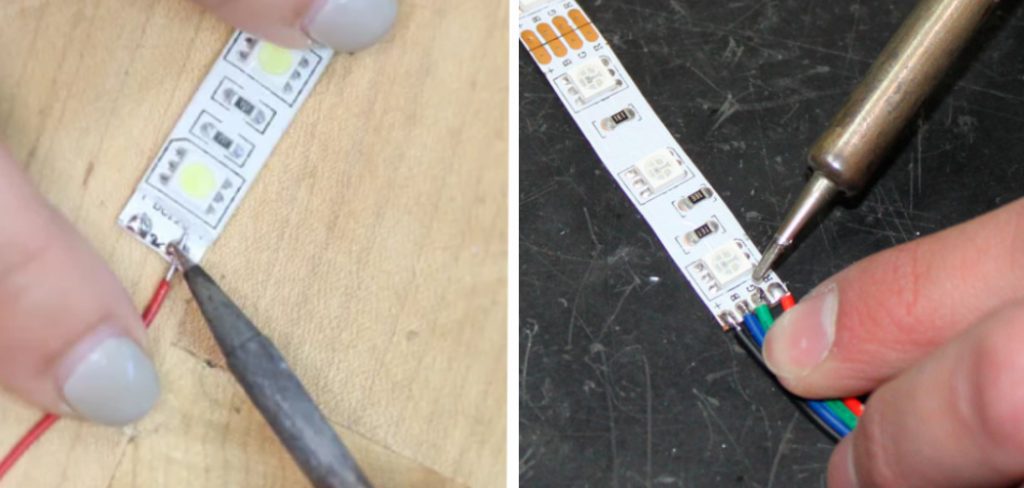
The main advantage of knowing how to solder waterproof LED strips is the ability to repair and customize your LED lighting. It allows you to create unique and personalized lighting setups for your home or workspace. By being able to repair damaged strips, you can save money in the long run by not having to purchase new ones constantly. In this blog post, You will learn about soldering waterproof LED strips in detail.
Materials You Need
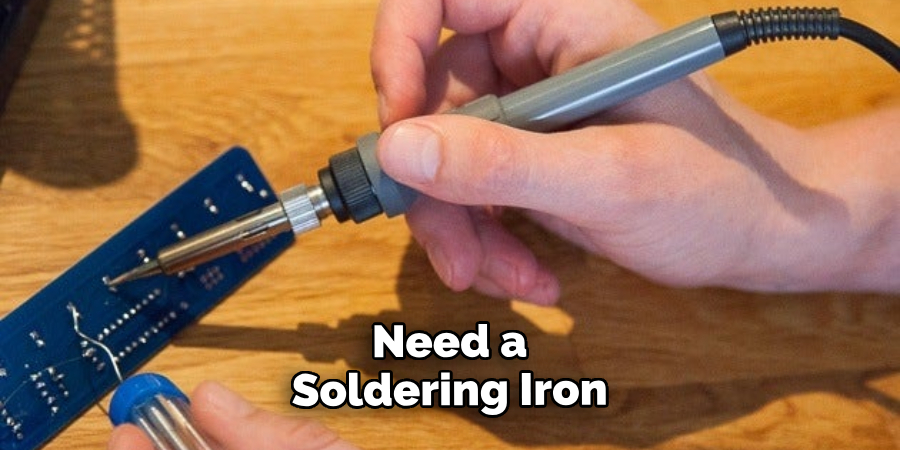
- Soldering iron
- Solder wire
- Waterproof LED strip
- Flux paste or flux pen
- Wire cutters/strippers
- Heat shrink tubing
- Lighter or heat gun
- Tweezers (optional)
- Helping hands (optional)
- Safety glasses
Step-Step Processes for How to Solder Waterproof Led Strips
Step 1: Inspect the Waterproof Led Strips
Before beginning the soldering process, inspecting the waterproof led strips for any damage or defects is important. Check for any cuts, tears or exposed wiring on the strip that may interfere with the soldering process.
Step 2: Prepare Your Workstation
Set up your workstation in a well-ventilated area and make sure all tools and materials needed for soldering are within reach. It is also recommended to have a fire extinguisher nearby in case of any accidents.
In addition to the waterproof led strips, you will need a soldering iron, solder wire, flux, wire strippers, heat shrink tubing, and a heat gun. These materials can be found at most hardware stores and online retailers.
Step 3: Strip the Wires
Using wire strippers, remove about 1/4 inch of the outer insulation from both ends of the waterproof led strip. This will expose the copper wires that need to be soldered together. Apply a small amount of flux on both exposed copper wires. Flux helps to clean the surface and promote better solder adhesion.
Step 4: Heat Up the Soldering Iron
Plug in your soldering iron and allow it to heat up. The ideal temperature for soldering LED strips is 350-400 degrees Celsius. Take a small amount of solder wire and melt it onto the soldering iron tip.
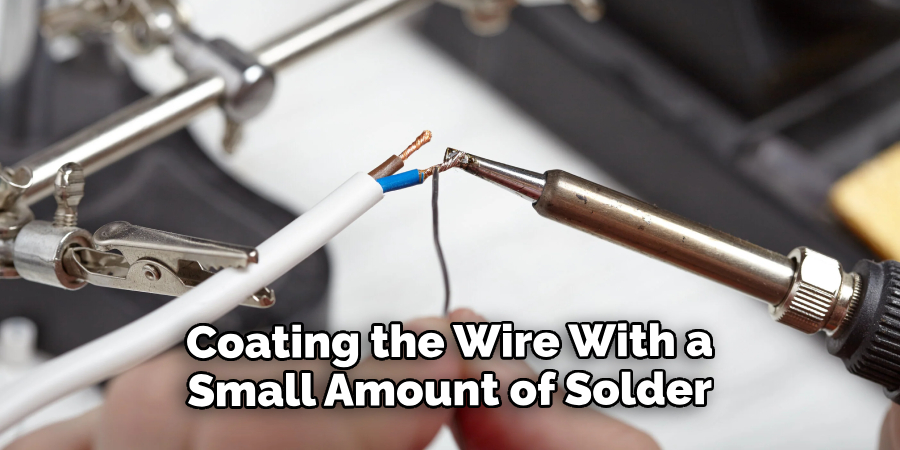
Then, the iron coats the exposed wires with a thin solder layer. This process, called tinning, helps create a strong bond when soldering.
Step 5: Solder the Wires Together
Place the two tinned wires together and heat them up with the soldering iron. Once they are hot enough, touch the tip of the solder wire to the wires and allow it to melt and flow over them. This will create a solid connection between the two wires.
Step 6: Insulate with Heat Shrink Tubing
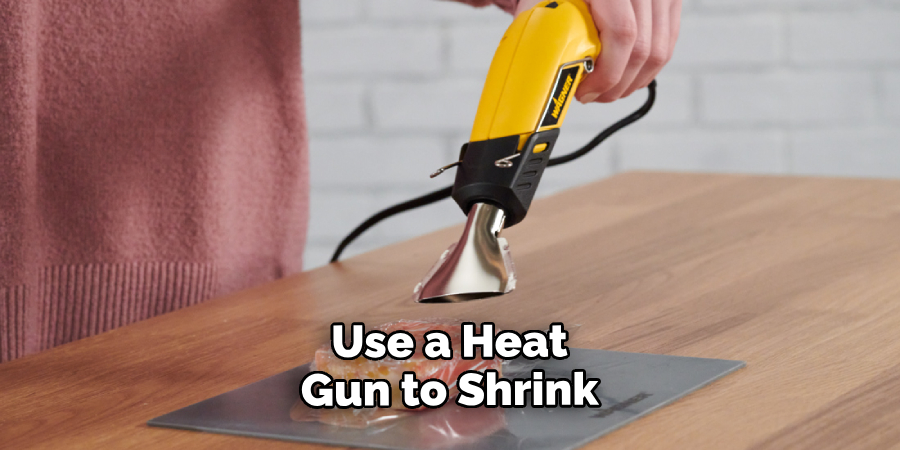
Slide a piece of heat shrink tubing over the soldered area and use a heat gun to shrink it in place. This will protect the soldered joint from water and other elements. Once the heat shrink tubing has cooled down, test the connection by gently tugging on both ends of the strip.
Following these steps, you can successfully solder waterproof LED strips and create a strong and durable connection. Remember to wear safety glasses while soldering and disconnect the power source before beginning any electrical work.
Tips for How to Solder Waterproof Led Strips
- Always wear safety goggles and gloves when handling soldering equipment and materials.
- Ensure your work area is well-ventilated to avoid inhaling fumes from the soldering process.
- Keep a fire extinguisher nearby in case of any accidents or mishaps with the hot soldering iron.
- Use a heat-resistant surface for soldering, such as a silicone mat or ceramic tile, to prevent any damage to your work area.
- Use a soldering iron with temperature control to avoid overheating and damaging the LED strips.
- Double-check the polarity of the LED strips before soldering to ensure they will light up properly after being connected together.
- Work slowly and carefully, making small joints at a time, to avoid any mistakes or errors that could ruin the waterproofing of the LED strips.
Are There Any Potential Hazards or Safety Measures You Should Be Aware of When Soldering Waterproof LED strips?
When working with any electrical components, it is important to be aware of potential hazards and take appropriate safety measures. This is especially true when soldering waterproof LED strips, which involve working with both electricity and heat.
Firstly, always ensure that you are working in a well-ventilated area to avoid inhaling potentially harmful fumes from flux and solder. It is also important to wear safety glasses to protect your eyes from any sparks or debris. Secondly, ensure the power source is disconnected before beginning the soldering process. This will prevent any electric shocks and ensure your own safety.
Additionally, it is important to use caution when handling the soldering iron, as it can reach high temperatures and cause burns if not handled properly. Always use the appropriate safety equipment, such as heat-resistant gloves, when necessary. Another potential hazard to be aware of is the risk of damaging the LED strips. It is important to use a low-wattage soldering iron and work quickly to avoid overheating the LED components. Overheating can cause damage to the LEDs and affect their functionality.
Are There Any Common Mistakes to Avoid When Soldering Waterproof LED strips?
Soldering waterproof LED strips may seem daunting, but it can be done successfully with the right tools and techniques. However, there are some common things that people often need help with when attempting to solder these types of strips. This section will discuss these mistakes and how you can avoid them.
One mistake that people commonly need to correct is using too much heat. When soldering waterproof LED strips, it is important to use a low-temperature soldering iron and avoid excessive heat. High temperatures can damage the LED chips and ruin the strip.
Another mistake is not tinning the wires to the LED strip before soldering them. Tinning involves coating the wire with a small amount of solder before attaching it to the strip. This helps to create a stronger bond and prevents the wire from slipping out of place during soldering. It is also essential to ensure that you use the correct solder type for waterproof LED strips.
Some solders may need to be compatible with the coating on these strips, leading to weak or faulty connections. It is recommended to use lead-free rosin-core solder for waterproof LED strips.
How Should You Store Waterproof LED strips After Soldering for Future Use?
After successfully soldering waterproof led strips, storing them properly for future use is important. This will protect your investment and ensure that the LED strips maintain their quality and functionality.
Here are some tips on how you should store your waterproof LED strips after soldering:
1. Protect the Soldered Area
Protect the soldered area from any potential damage when storing your waterproof LED strips. This can be done by gently wrapping the soldered area with a layer of bubble wrap or foam before storing it.
2. Keep Away from Moisture
Waterproof LED strips are designed to withstand moisture, but this does not mean they should be exposed to it when not in use. To prevent any possible damage, store the LED strips in a dry and cool place away from any sources of moisture.
3. Store in a Dust-Free Environment
Dust can accumulate on the surface of waterproof LED strips and cause them to lose their brightness over time. To avoid this, store the LED strips in a dust-free environment, such as a sealed plastic bag or container.
4. Avoid Direct Sunlight
Direct sunlight can cause LED strip colors to fade and reduce their lifespan. Thus, it is best to store them in a dark place, away from any sources of direct sunlight.
5. Label and Organize
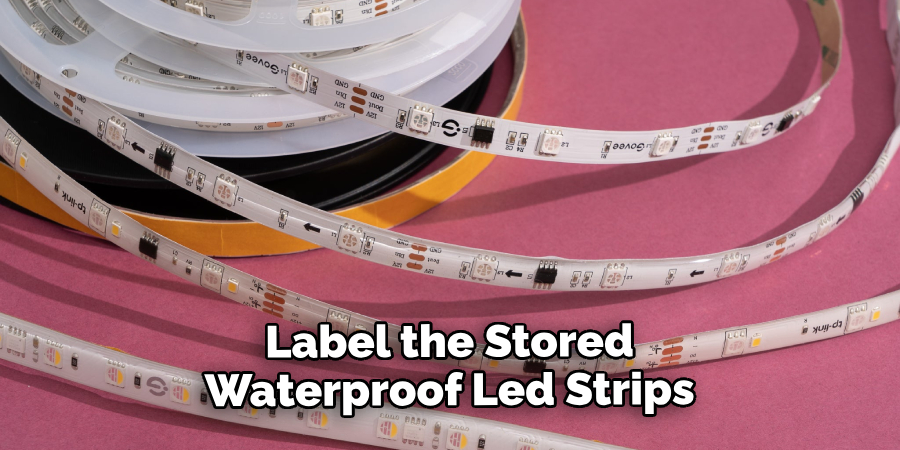
Label the stored waterproof LED strips with important information such as voltage, color, and length to make it easier for future use. Additionally, organize them according to their labeled categories for easy access.
By following these simple steps, you can ensure that your waterproof LED strips remain in good condition and are ready for use whenever needed. Proper storage also helps to extend the lifespan of the LED strips, saving you money in the long run.
Conclusion
In conclusion, soldering waterproof LED strips is easier than it may seem. With the right tools, techniques, and precautions, you can easily create a custom lighting setup for your indoor or outdoor space. Always use a low-voltage soldering iron with temperature control to prevent LED damage.
It is also important to clean and prep the area before soldering to ensure a strong and durable connection. To simplify the process, you can invest in a soldering kit specifically designed for waterproof LED strips. This will include all the necessary tools and materials, such as heat shrink tubing, to ensure a professional and long-lasting result. This article has been beneficial for learning how to solder waterproof led strips. Make Sure the preventive measures are followed chronologically.

