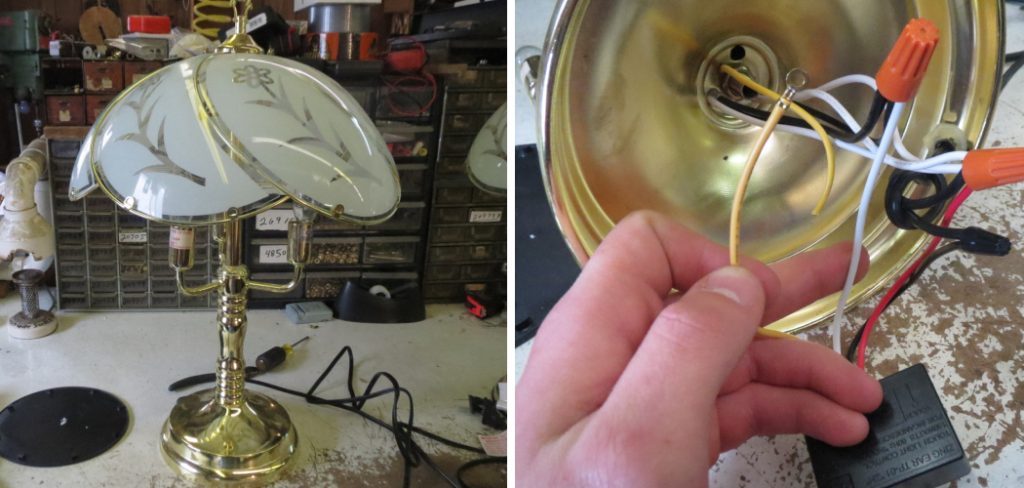
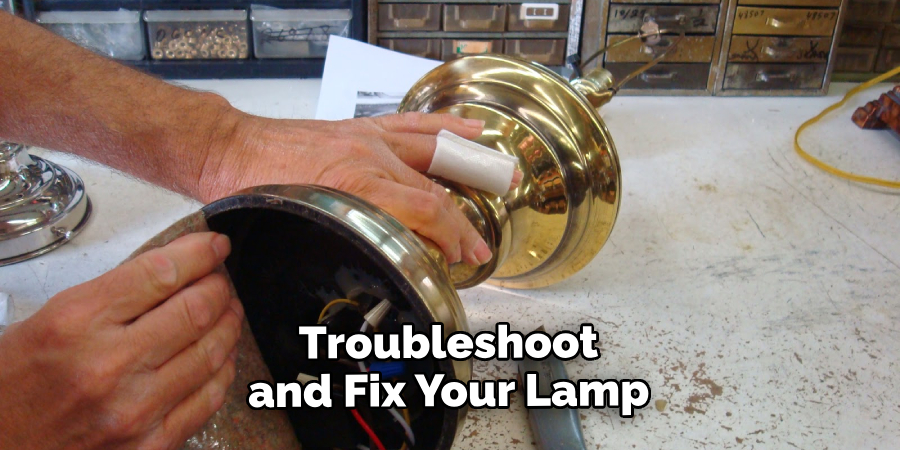
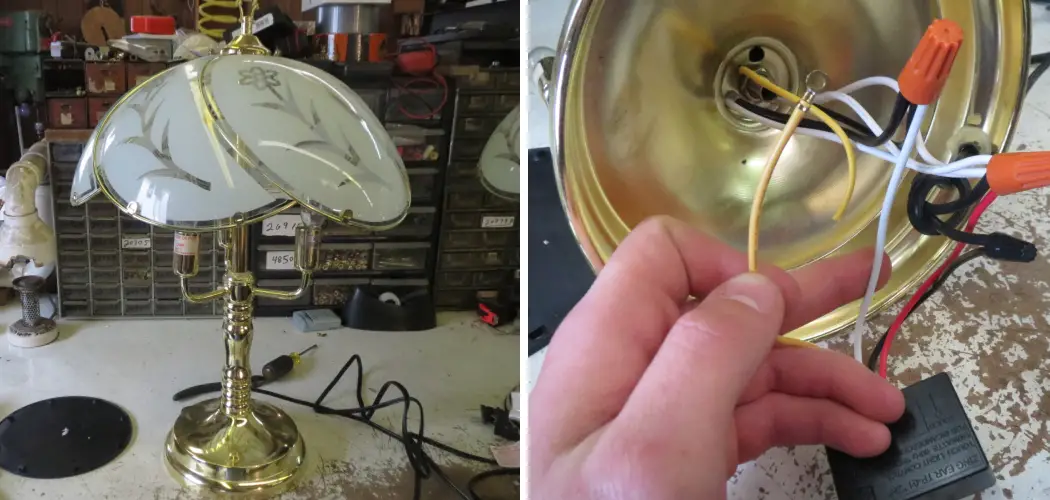
Do you have a touch lamp that just won’t turn on? Fumbling around in the dark looking for a switch can be incredibly frustrating. Thankfully, fixing your touch lamp doesn’t have to be a daunting endeavor! In this blog post, we’ll get into the nitty-gritty of how to troubleshoot and fix your lamp.

We’ll cover everything from checking for defective parts to properly rewiring the lamp’s electrical system. So let’s get started on how to fix a touch lamp- with some patience and attention to detail, you’ll soon enjoy using your beloved touch lamp again!
Needed Materials
Below is a list of materials that you’ll need to fix your touch lamp:
- New Lightbulb
- Screwdriver Set
- Small Wire Nuts
- Wire Stripper/cutter
11 Step-by-step Guidelines on How to Fix a Touch Lamp
Step 1: Inspect the Light Bulb
The first thing you should check when your lamp won’t turn on is the light bulb. A dead light bulb could be the culprit behind your touch lamp not working. So, begin by replacing the light bulb with a new one. It’s simple and you may just save yourself from further hassle. It’s important to note that if the bulb is not screwed in properly, it may prevent the lamp from turning on.
Step 2: Check for Loose Connections
If your light bulb wasn’t the problem then you might have a loose connection. Start by unplugging the lamp and examining all of its connections. If any connections are loose, tighten them with a screwdriver. But be careful not to damage the connections while doing so. This should hopefully solve the issue if a loose connection was causing your lamp not to turn on.
Step 3: Clean the Lamp’s Touch Control
Dirt and grime may build up on your lamp’s touch control, which may prevent it from functioning properly. To remove any dirt or residue, use a clean cloth dampened with rubbing alcohol. Be gentle while wiping, so as to not damage the touch control. But if the touch system appears corroded, it may need to be replaced. It’s best to consult a professional in this case.

Step 4: Check the Power Outlet
Sometimes, the problem might be with your power outlet rather than the lamp itself. Try plugging something else into the same outlet to see if it works. If not, try resetting your circuit breaker or checking for any blown fuses.
You may also want to try using an extension cord or plugging the lamp into a different outlet. This will help determine if the problem is with the lamp or the outlet. It’s always best to use a surge protector to prevent damage to your lamp from power surges.
Step 5: Inspect for Frayed Wires
Frayed wires can also be the reason behind your touch lamp not working. Look for any exposed wires and if you find any, cut off the damaged section and strip back the insulation to expose fresh wire. It’s important to cut and strip the wires evenly to ensure a secure connection. You can use wire nuts to reconnect the wires. Whether the wires are frayed or not, it’s always a good idea to check for any loose connections and tighten them if necessary.
Step 6: Test for Defective Parts
If none of the above steps worked, then it’s time to start testing for defective parts. Begin by unplugging your lamp and taking apart the touch control module. Using a multimeter, test the continuity of each part to see if any parts are defective and need replacement. It’s always a good idea to refer to the manufacturer’s instructions for specific testing procedures. But if you’re not confident in your ability to test and replace parts, it’s best to consult a professional.
Step 7: Replace Defective Parts
If you do find any defective parts during your testing, replace them with new ones. Make sure to match the parts’ specifications to ensure the proper functioning of your lamp. Otherwise, you may risk damaging other parts of the lamp or causing an electrical hazard. It’s always best to use high-quality replacement parts. But if you’re unsure about the replacement process, it’s best to seek professional help.
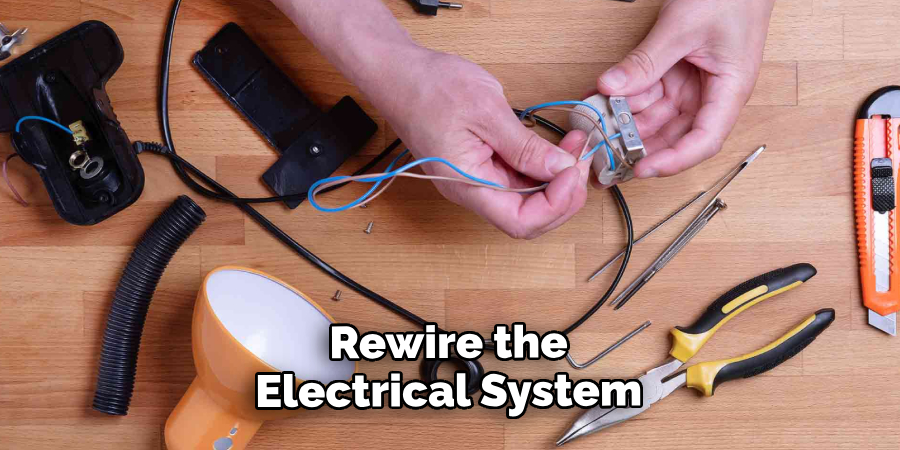
Step 8: Rewire the Electrical System
If you’ve gone through all of the above steps and your touch lamp still isn’t working, then it’s time to rewire the electrical system. This step may seem intimidating, but with some basic knowledge of wiring, you can easily fix your lamp.
It’s important to first disconnect the power source and take apart the lamp. Then, carefully rewire the components according to the manufacturer’s instructions. And remember to always use caution and safety measures when dealing with electrical systems.

Step 9: Prepare for Rewiring
Before starting to rewire your lamp, make sure you have all the necessary tools and materials. This includes wire nuts, a wire stripper/cutter, a screwdriver set, and a wiring diagram for reference. It’s also important to work in a well-ventilated area and wear safety gear, such as gloves and eye protection. It’s better to be safe than sorry when dealing with electrical systems. You may also find it helpful to watch online tutorials or consult a professional for guidance.
Step 10: Follow the Wiring Diagram
Using your wiring diagram as a guide, carefully rewire your touch lamp one connection at a time. It’s crucial to follow the diagram accurately to avoid any further issues. It may take some time and patience, but if you follow the instructions properly, your lamp should be as good as new.
You can also use wire nuts to secure the connections and ensure a stable electrical system. It’s also a good idea to test the lamp at this stage before putting it back together.
Step 11: Test and Enjoy Your Fixed Lamp
After rewiring, plug in your lamp and test it out. If everything has been done correctly, your touch lamp should now be working perfectly! Now you can enjoy using your touch lamp without any frustrations. Always remember to unplug your lamp when not in use and handle it with care. Regular maintenance and cleaning can also help prolong the life of your touch lamp.
Follow these step-by-step guidelines on how to fix a touch lamp, and you’ll have it working again in no time. Remember to stay patient and careful while troubleshooting and rewiring, and don’t hesitate to seek professional help if needed. With some effort, your touch lamp will be as good as new! So go ahead and give it a try – you got this!
Frequently Asked Questions
Q1. How Do I Know if My Touch Lamp is Broken?
A1. If your touch lamp is not turning on despite trying different light bulbs and outlets, then it’s likely that there is an internal issue or a defect in the touch control module. It’s best to follow the steps outlined in this blog post to troubleshoot and fix your lamp.

Q2. Can I Fix My Touch Lamp Without Rewiring It?
A2. In some cases, it may be possible to fix your touch lamp without rewiring it by simply replacing a defective part or cleaning the touch control. However, if these steps don’t work, then rewiring may be necessary to fix the issue.
Q3. How Often Should I Replace My Touch Lamp’s Light Bulb?
A3. It’s recommended to replace your touch lamp’s light bulb every 6-12 months, depending on how frequently you use it. This will ensure that your lamp remains in good working condition and prevents any potential issues caused by a worn-out light bulb.
Q4. Can I Rewire My Touch Lamp if I Have No Prior Experience?
A4. It’s not recommended to attempt to rewire your touch lamp without any prior experience with electrical work. If you are unsure or uncomfortable with rewiring, it’s best to seek professional help to avoid any potential safety hazards. So, carefully assess your abilities and knowledge before attempting to rewire your touch lamp. If in doubt, always seek professional help.

Conclusion
Fixing a touch lamp can seem intimidating, but it doesn’t have to be. With the right tools and physics knowledge, it’s possible to analyze how your touch lamp is wired and then proceed with the repairs. If all else fails, you can always call an electrician or take your touch lamp down to a nearby repair shop for assistance. In any case, this article on how to fix a touch lamp has taught you the basics of how a touch lamp works and the troubleshooting process involved with fixing one.
Take what you’ve learned here and apply it to other repairs – you might even find that fixing things can be enjoyable! After all, the sense of accomplishment that comes with being able to do something yourself is priceless.

