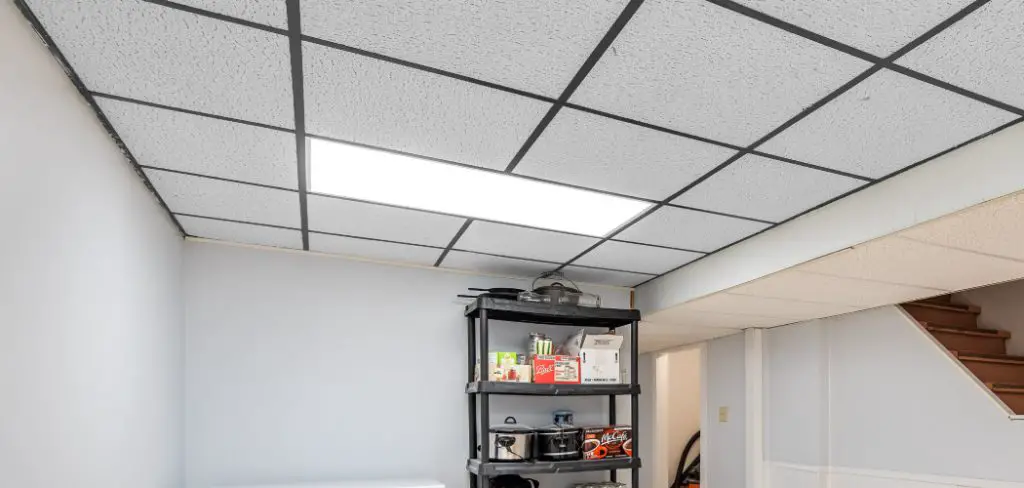
LED panel lights have become increasingly popular in recent years thanks to their energy efficiency, long lifespan, and versatility in various settings. However, like any other light fixture, they eventually require replacement due to damage or wear and tear.

If you’re wondering how to replace an LED panel light in your ceiling, this guide is for you. Keep reading to learn the step-by-step process on how to replace led panel light in ceiling.
Can You Replace the LED Panel Light in the Ceiling?
LED panel lights are the way of the future when it comes to ceiling lighting. However, like all things, they can break or become outdated. Is it possible to replace an LED panel light once it’s installed in the ceiling? The answer is a resounding yes!
While it may seem like a daunting task, replacing an LED panel light is actually quite simple. First, make sure the power is turned off to the fixture. Then, remove the old panel by loosening the clips or screws holding it in place. Finally, insert the replacement panel and reattach the clips or screws. With these easy steps, you’ll have an updated and fully functioning LED panel light in no time.
Why Should You Replace LED Panel Light in Ceiling?
Replacing the LED panel light in your ceiling can significantly impact the amount of energy your home or office consumes. Not only are LED panel lights more energy efficient than traditional lighting options, but they also have a much longer lifespan. This means that you can save on maintenance costs while enjoying bright and clear lighting.
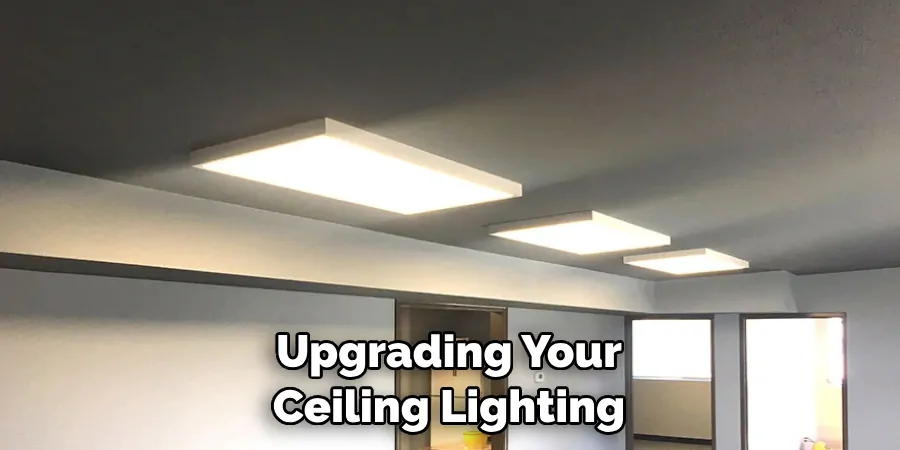
Additionally, LED panel lights are more environmentally friendly than other lighting options due to their low power consumption. By upgrading your ceiling lighting to an LED panel light, you can easily improve any space’s visual appeal and energy efficiency.

A Step-by-Step Guide: How to Replace LED Panel Light in Ceiling
Step 1: Turn Off the Power to The Fixture
Your safety should come first when handling electrical work. Begin by turning off the power supply to the light panel at the circuit breaker box in your home. This step will prevent electric shock or electrocution during installation.
Step 2: Remove the Old LED Panel Light
Once the power supply is shut off, you can remove the old LED panel light from the ceiling. This step involves taking out the screws that hold the light fixture in place or pressing the clips to loosen it from the ceiling.
Step 3: Disconnect the Wiring
When you’ve removed the old light fixture, the wiring will be exposed. Disconnect the wires by unscrewing the wire nuts, taking note of which wires were connected so that you can reconnect them correctly with the new light panel.
Step 4: Install the New LED Panel Light
Once you’ve completed the disconnection process, installing the new LED panel light is time. Place the new panel light into position by aligning the screws or clips, and secure it using the screws that came with the panel. Next, attach the electrical wiring as before, ensuring that all wires are correctly connected and the wire nuts are screwed tightly.
Step 5: Fasten the Light Panel to Ceiling
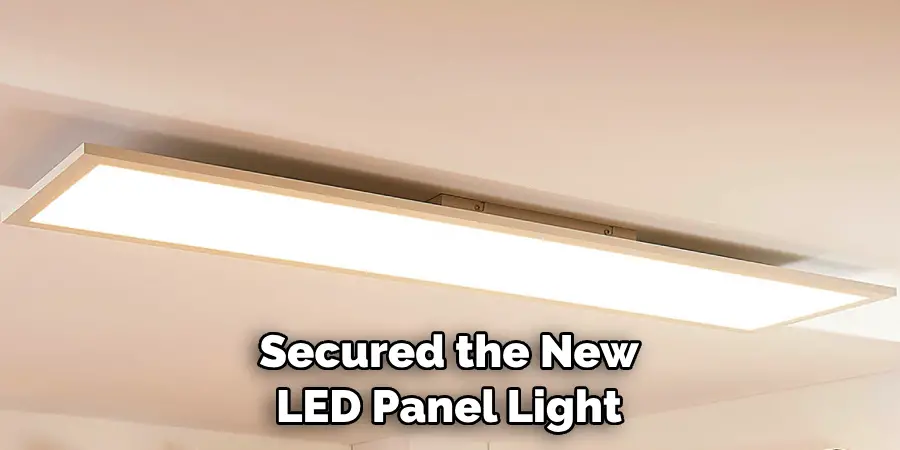
Secure the LED panel light by attaching the mounting clips or screws to the ceiling. Be sure not to overtighten, as this could damage the fixture or cause it to become unstable. You should also make sure that all wiring is correctly connected and neatly tucked away before fastening the fixture in place.
Step 6: Connect the Power Supply
Once you’ve installed and secured the new LED panel light, it’s time to reconnect the power to the light. Connect the fixture’s wiring with the existing wires in your ceiling, and make sure all connections are tight and secure.

Step 7: Test the New LED Panel Light
The last step is to test out your new LED panel light by turning on the power supply. If it doesn’t work properly or you experience any flickering, be sure to check the wiring and connections, as this could be an issue with the installation.
It’s important to remember that replacing a LED panel light in your ceiling can be dangerous, so if you have any doubts or are uncomfortable doing it yourself, it’s best to seek professional assistance. Follow these seven steps, and you’ll be able to replace your LED panel light in no time successfully!
5 Considerations Things When You Need to Replace LED Panel Lights in Ceiling
Do you need to replace LED Panel Lights in your ceiling? This process can be tricky if not done correctly, so it’s important to understand the considerations when replacing them. Here are five things to keep in mind before beginning the replacement process:
1. Safety First
Always remember to use a ladder or other device that allows for safe access to the LED Panel Lights. Never attempt to reach them by climbing on furniture or any other unsafe object.
2. Shut Off Power
Unscrew your circuit breaker or switch off the power at the source before attempting to replace LED Panel Lights in your ceiling. This is an essential step that should never be skipped, as it ensures you won’t get shocked during the installation process.
3. Measure and Cut Accurately
Make sure you take accurate measurements before cutting or drilling any holes for your new LED Panel Lights. This is an important step so that there are no gaps or overlaps in the ceiling panel once the lights have been installed.
4. Test Fit
Before securing the lights, make sure they fit properly in the holes you have pre-cut. This helps to ensure a secure and proper installation without any risks of them slipping out or becoming loose over time.

5. Consider Your Options
Before you begin to replace LED Panel Lights in your ceiling, take into consideration the different options available. This includes size, shape, style, and color of the lights, dimming capacity, and energy efficiency ratings.
5 Benefits of Replace LED Panel Lights in Ceiling
Replacing LED Panel Lights in your ceiling can offer several benefits. From increased energy efficiency to improved ambiance, here are five reasons why you should consider replacing them:
1. Improved Lighting Quality
LED Panel Lights are designed to give off brighter and more even light distribution than traditional incandescent bulbs. Any area illuminated by LED Panel Lights will look brighter, cleaner, and more inviting.
2. Energy Efficiency
By replacing your traditional lighting with LED Panel Lights, you can reduce your electricity consumption by up to 80%. This makes them a great option for anyone considering reducing their energy bills.
3. Longer Lifespan
One of the biggest benefits of LED Panel Lights over traditional bulbs is their longer lifespan. On average, LED Panel Lights can last up to 25 times longer than traditional incandescent bulbs, which means you won’t have to replace them as often.
4. Reduced Maintenance Costs
Since LED Panel Lights don’t need to be replaced as often, this also means that you won’t incur the costs of regular maintenance and bulb replacements.
5. Environmentally Friendly
LED Panel Lights don’t contain hazardous materials like mercury or lead, making them an environmentally-friendly option for lighting your home or business. This means you can help reduce your carbon footprint while enjoying the benefits of great lighting quality.
Replacing LED Panel Lights in your ceiling can offer several benefits from improved lighting quality to energy efficiency. With the right tools and knowledge, you can easily replace them yourself and enjoy the many advantages they offer. So make sure you consider these five things before beginning the process!
Some Common Mistakes People Make When Trying to Replace LED Panel Lights in Ceiling
Replacing LED panel lights in your ceiling can seem daunting, but with the right tools and knowledge, it can be a breeze. However, there are some common mistakes that people make along the way. One mistake is not turning off the power to the light before beginning to replace it. This can not only be dangerous but can also cause damage to the new light fixture.
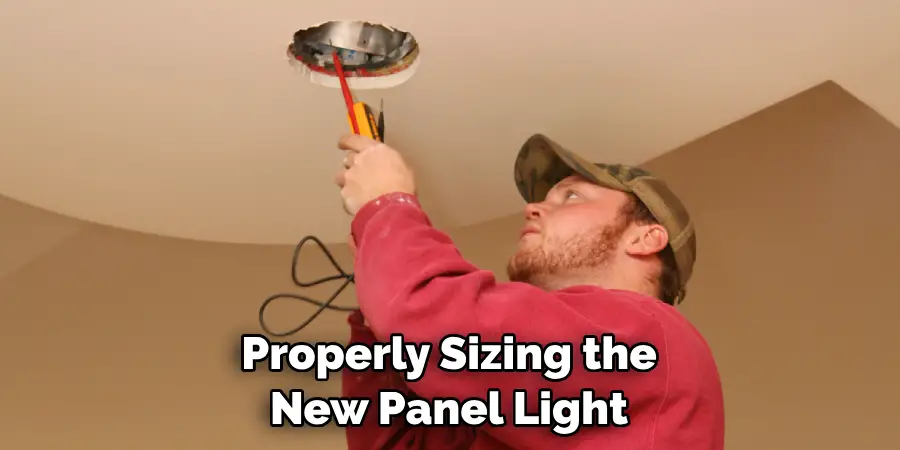
Another mistake is not properly sizing the new panel light for the space. It’s important to measure the existing fixture and ensure that the new one is the correct size to avoid any issues with fit.

Finally, some people forget to remove the protective film from the new panel light before installing it, which can affect the light output quality. You can successfully replace your LED panel lights and enjoy a well-lit space by avoiding these common mistakes.
Conclusion
LED panel lights are an excellent choice for lighting up your home or office space, and with this guide, you can replace them without needing to hire an electrician.
However, if you’re not confident in your ability to perform the installation, it’s advisable to seek professional help to avoid any accidents. By following this step-by-step guide, you can save money and time while enjoying the benefits of a new and improved LED panel light. Thanks for reading our post about how to replace led panel light in ceiling.

