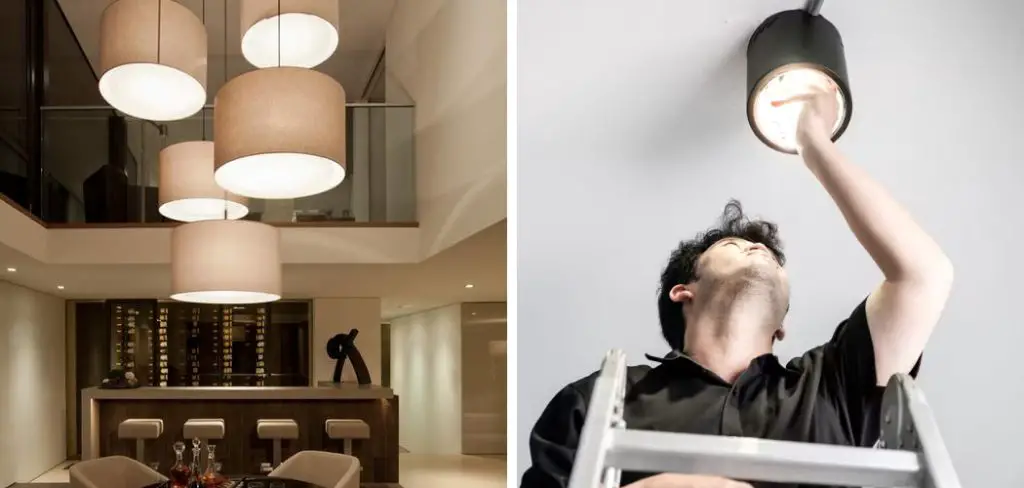
Are you looking for a way to tackle the often-daunting task of changing your high-ceiling light fixtures? If so, you’re in luck! You don’t have to be an experienced do-it-yourselfer or even hire a professional electrician; this helpful guide takes you through the steps needed to learn how to replace high ceiling light.

Regardless of whether it’s flush mount fixtures, pendant lights, recessed canisters, hanging lamps or track lighting—we’ve got all the know-how and tools you need to get the job done safely and quickly. Read on for some essential tips!
Step-by-step Guidelines on How to Replace High Ceiling Light
Step 1: Turn Off the Power
Before attempting to replace the light, make sure you turn off the power source. This is an important safety measure that needs to be taken before beginning any home project. You may need to locate the breaker box and turn off a switch or two to cut power from the room. If in doubt, turn off the breaker box and be sure all electricity to the room is disconnected.
Step 2: Remove the Old Fixture
Using a screwdriver, carefully unscrew the mounting brackets and remove the old light fixture. If the fixture is difficult to reach, it may be necessary to use a ladder or hire a professional. If you are using a ladder, make sure it’s secured and in an area that won’t cause any tripping hazards. This includes ensuring the ladder is placed on a flat, non-slip surface. Make sure you have someone to help you when using a ladder.
Step 3: Prepare the New Fixture
Carefully unpack the new light fixture and lay out all components. Make sure to read the manufacturer’s instructions before beginning. Assemble any necessary parts— such as attaching glass shade or arms, securing electrical wires, etc.—and set aside. If necessary, you may need to purchase additional components—for instance, if the new fixture is a different size than the old one.
Step 4: Attach Brackets to Ceiling Box
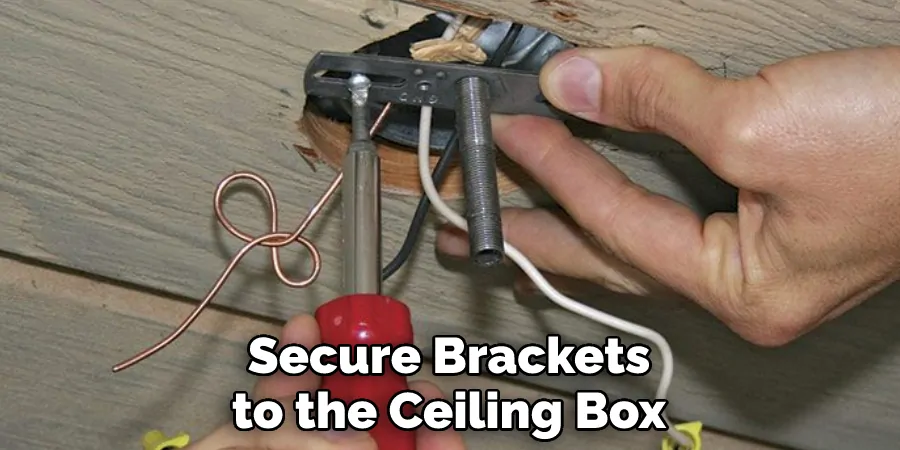
Secure brackets to the ceiling box using two screws and a Phillips-head screwdriver. For added stability, use wire nuts to connect neutral wires together and secure them with an electrical tape wrap. Connect hot (black) wires from your light fixture to those in your ceiling box using the same technique. This is a very important step, so take your time and do it properly.

Step 5: Attach Wire Connectors to Fixture Mounting Plate
Secure wire connectors to the fixture mounting plate before attaching it to the ceiling box. It is best to connect the neutral (white) wires first, followed by the hot (black) wires. Make sure that all connectors are firmly attached and secure with electrical tape. You may also need to connect a ground wire, depending on the lighting fixture.
Step 6: Install the New Fixture
Carefully lift the new light fixture and align it with your ceiling box. Secure the mounting plate and screws onto the brackets, making sure everything is level before tightening the screws completely. If needed, use a level to ensure the fixture is flush against the ceiling. So that all electrical connections are out of sight, it may be necessary to reach up into an attic space or behind the light fixture itself.
Step 7: Connect Wires from the Ceiling Box to the Light Fixture
Using wire nuts, connect wire leads from the ceiling box to your light fixture’s black and white electrical wires, making sure all connections are tight and secure by covering them with electrical tape wrap. It may be necessary to purchase additional wire nuts if the existing ones are too large or small.
Step 8: Mount Light Bulbs
Carefully install the bulbs into your light fixture, making sure to note wattage and voltage requirements on the lamp or in the instructions. It may also be necessary to use a bulb adapter. Make sure the bulbs are firmly in place and connected properly before plugging in your light fixture. But, do not turn on the power until all steps are completed.
Step 9: Secure Shade and/or Glass Globes
If applicable, carefully secure any glass shade or globe onto your new light fixture. Make sure all screws are tight, but not over-tightened. That way, everything is secure without the risk of cracking the glass. For added security, it is best to use gloves when handling glass pieces. It may be necessary to purchase new shades or globes, especially if the current ones do not fit properly with your new fixture.
Step 10: Check All Connections
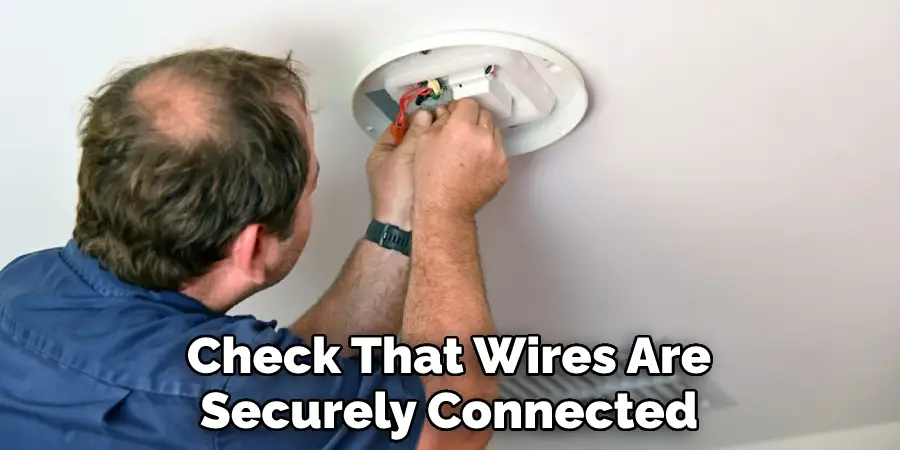
Once again check that wires are securely connected with wire nuts and that any screws for mounting plates or shades are secure before turning the power back on. If necessary, use a non-contact voltage tester to double-check that the power is off. But, before flipping the switch, make sure that all components are in place.

Step 11: Turn the Power On Again
Go back to your breaker box and turn the power back on to the room. It is best to use a voltage tester to check that the fixture is receiving power before flipping the switch. Once everything checks out, you can flip the switch and admire your new high-ceiling light fixture! It may be necessary to adjust the height of the fixture, depending on how high the ceiling is.
Step 12: Enjoy Your New Lighting
Once the power is back on, enjoy your beautiful new lighting! But, if you find that it still isn’t working properly, don’t hesitate to call a certified electrician. Remember, safety always comes first. It may be worth it in the end to have an expert on hand, especially when dealing with electrical work.
Following these simple steps on how to replace high ceiling light, should leave you with an updated look in no time! With some patience and concentration, replacing high ceiling lights can be done without any assistance from an outside professional. Don’t hesitate to give it a try—you just might surprise yourself with how easy it really is.
Advantages and Disadvantages of High Ceiling Lights
Advantages:
- Aesthetically pleasing
- Can create a grand, dramatic look in rooms with high ceilings
- Increase the brightness and light intensity
- Can improve the overall appearance of a room
Disadvantages:
- Expensive to purchase and install
- Difficult to replace due to height issues
- Not energy efficient for lower-wattage bulbs. Also, traditional ceiling lights can’t be dimmed easily without special hardware
- Require more maintenance than other types of lighting fixtures, such as cleaning and replacing bulbs more often.
Do You Need to Use Professionals?
In most cases, replacing a high ceiling light can be done without professional assistance. It’s important to be aware of the wiring in your home and have an understanding of basic electrical wiring. If you’re not comfortable with these tasks, it is a good idea to call on a professional. A qualified electrician can provide assistance and ensure that the job is done safely and correctly.

How Much Will It Cost?
The cost of replacing a high ceiling light will vary depending on the type of light fixture and any additional materials that may be necessary. It is best to get several quotes from local electricians and compare prices before making a decision. Depending on the size of the job, labor costs for a professional electrician can range from $50 to $150 per hour.
Frequently Asked Questions
Q: What Type of Light Bulbs Are Best for High Ceiling Lights?
A: LED bulbs are typically the best option, as they are the most energy-efficient and cost-effective. Make sure to check the wattage and voltage requirements before purchasing bulbs for your light fixture.
Q: Do I Need to Hire an Electrician to Replace My High Ceiling Light?
A: While it isn’t necessary, hiring a professional electrician may be beneficial if you are not comfortable with electrical work. Otherwise, replacing a high ceiling light is relatively easy and can be done without the help of a professional.
Q: Are High Ceiling Lights Safe?
A: Yes, as long as they are installed properly and all connections are secure and up to code. Be sure not to overtighten any screws or wire nuts and double-check that power has been turned off before starting work.
Q: What Are the Advantages and Disadvantages of High Ceiling Lights?
A: Advantages include improved aesthetic appeal, increased brightness and light intensity, and improved overall room appearance. Disadvantages include expense, difficulty replacing due to height issues, not being energy-efficient for lower-wattage bulbs, and more frequent maintenance required for cleaning and bulb replacement.

Conclusion
By following the steps on how to replace high ceiling light above, you can successfully replace your high ceiling light. It’s important to note that despite being a relatively straightforward job, it should not be attempted alone as it can be dangerous.
Even with the greatest amount of care and caution, accidents do happen and one wrong move could leave you with more significant problems than just a broken lightbulb. Furthermore, always double-check regulations in your area before replacing a light fixture as different states have different rules and certifications required for electrical work.
When in doubt, seek the help of a qualified electrician to make sure that the job is done professionally and safely. With those considerations in mind, replacing a high ceiling light fixture can be made easy by understanding the process beforehand and taking appropriate precautionary measures while doing so.

