Are you a weekend warrior who loves to head out on the open road with your trailer in tow? If so, then you know how important it is to stay up-to-date on the necessary maintenance related to your trailer. One of these tasks includes having well-maintained and functioning lights.
Trailer light replacement is a crucial skill that every trailer owner should possess. In this guide, we will walk you through how to replace a trailer light so that you can hit the road with peace of mind.
In this article, we’ll look at what it takes for proper trailer light replacement from start to finish. So keep reading if you’re ready to outfit your rig with new lighting that will help ensure safe travels when heading down the highway!
What Will You Need?
Before you begin the replacement process, ensure you have all the necessary tools and materials. To replace a trailer light, you will need:
- Replacement trailer light (ensure it is compatible with your trailer)
- Screwdriver or socket wrench
- Wire stripper and crimping tool
- Electrical tape
- Safety goggles
- Gloves (optional)
Having all of these items on hand will make the process much smoother and quicker. Now, let’s get started!
10 Easy Steps on How to Replace a Trailer Light
Step 1: Remove the Old Light
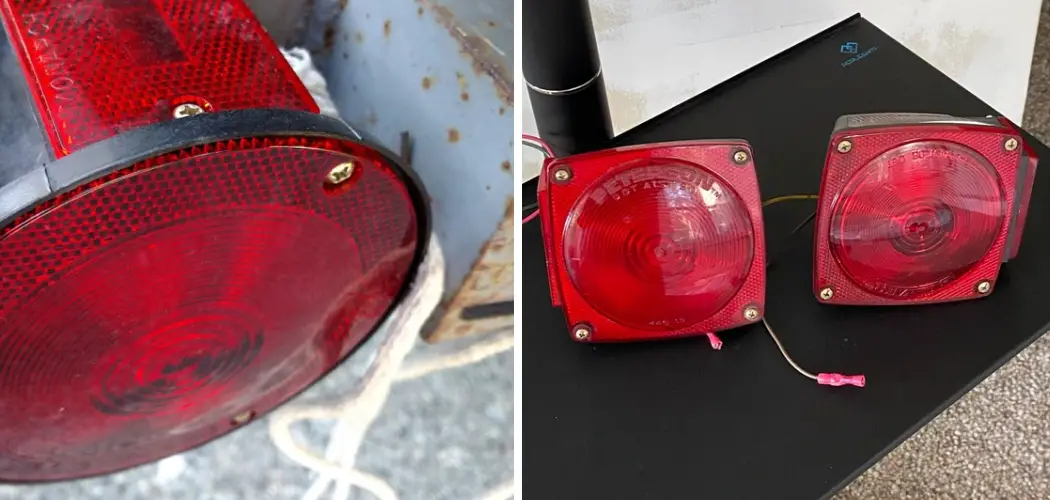
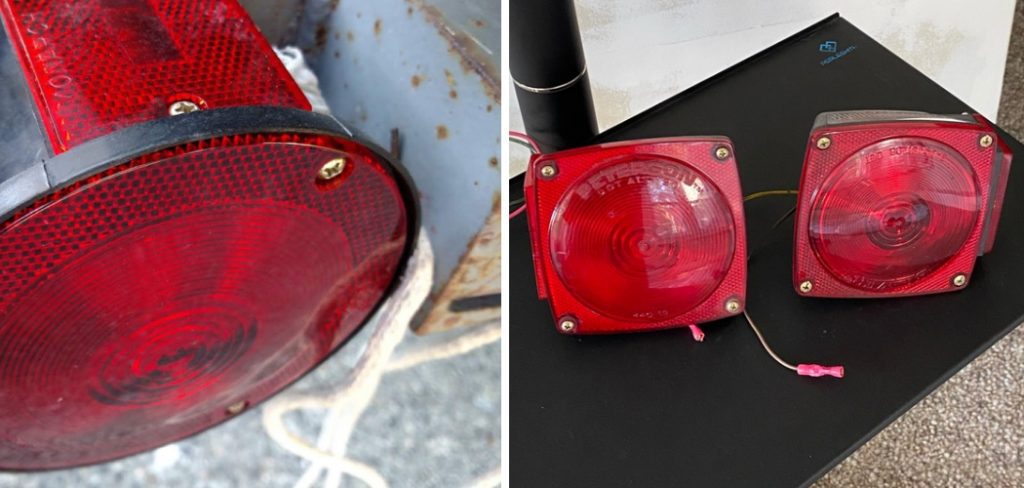
The first step is to remove the old light. Use your screwdriver or socket wrench to loosen and remove any screws holding the light in place. Once the screws are removed, gently pull the light away from the trailer.
Step 2: Disconnect the Wires
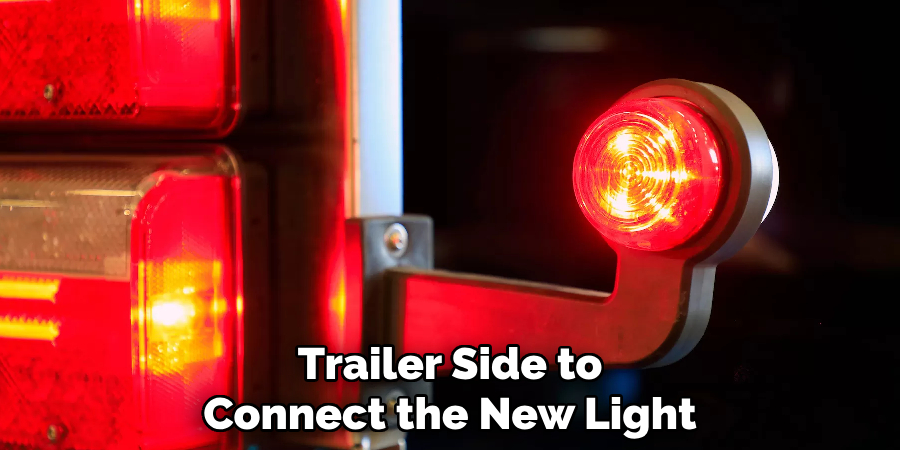
With the light detached, you’ll see the wiring at the back. These are typically held together with a plastic plug or crimp connections. If it’s a plug, simply unplug it. If they’re crimp connections, you may need to cut the wires. Make sure to leave enough wire on the trailer side to connect the new light. Finally, remove the old light altogether.
Step 3: Prepare the New Light
Take your new trailer light and get it ready for installation. You’re good to go if the new light comes with a plug that matches the trailer’s wiring. If not, you’ll need to prepare the wiring yourself.
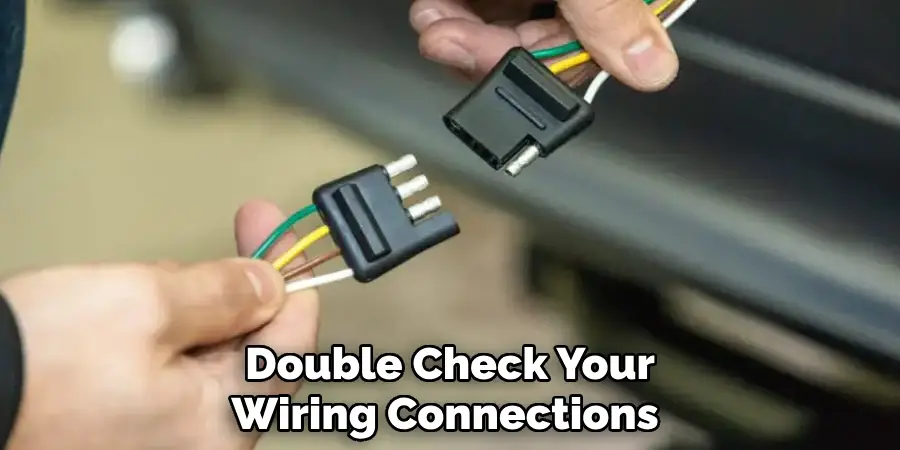
Use the wire stripper to expose about half an inch of wire on the trailer and light wires. Remember, it’s essential to match up the wire colors. The white wire is typically the ground, brown for tail lights, and green or yellow for left/right turn signals.
Step 4: Connect the Wires
Now it’s time to connect the wires. Match the colored wires from the new light to the wires on your trailer – white to white (ground), brown to brown (tail lights), green to green, or yellow to yellow (turn signals).
Use a wire crimping tool to join the wires together and then secure each connection with an electrical cap. Wrap each joined wire with electrical tape to ensure a secure and weatherproof connection. Please remember, safety first! It’s a good idea to wear gloves while handling wires to prevent any accidental injuries.
Step 5: Attach the New Light
With your wires securely connected, it’s time to attach the new trailer light to your trailer. Position the new light where the old one was. Ensure the wires are tucked in so they’re not pinched when you screw the light in.
Use your screwdriver or socket wrench to secure the light with screws. Tighten the screws, but be careful not to overtighten as this might damage the light casing. At this point, your new trailer light should be securely attached to your trailer.
Step 6: Test the New Light
After installing the new light, it’s time to test it and ensure it’s working correctly. Hook up your trailer to your tow vehicle, switch on your tail lights and brake lights, and turn signals one by one. Observe whether the new trailer light responds accurately to each command.
It’s essential to verify that the light functions correctly before hitting the road to ensure safety during your travels. Double-check your wiring connections if the light isn’t working and ensure they match the color-coded guide.
Step 7: Address Any Issues
If the new light is not working correctly after testing, carefully review each process step to identify potential issues. Confirm that all the wires have been matched correctly and the connections are secure and weatherproof. If you find loose connections, reconnect them and ensure tight crimps. If the issue persists, it could be a sign of a more significant problem, like a blown fuse in your tow vehicle or a circuit issue within the trailer itself.
Step 8: Final Verification
Once all potential issues have been addressed, perform another round of testing on your new trailer light. Turn on your vehicle and check each function: tail lights, brake lights, and turn signals. If everything works as expected, you can be confident that you have successfully replaced your trailer light.
Step 9: Clean Up
Now that your new trailer light is installed and functioning correctly take a moment to clean up your work area. Safely dispose of the old trailer light and any waste materials. Keep your tools organized for the next time you may need them.
Step 10: Regular Maintenance and Check-ups
The final step is to ensure regular maintenance and check-ups for your trailer light. This step is crucial to prolong the newly installed light’s lifespan and ensure it functions correctly. Make it a habit to test the lights before each trip. Look for any damage or wear and tear on the light and wiring. Remember, the key to safe travel is well-maintained and functioning trailer lights.
By following these ten easy steps, you can successfully replace a trailer light and ensure safe road travel. Always have the necessary tools and materials on hand, follow safety precautions, and perform regular maintenance checks for optimal performance.
5 Additional Tips and Tricks
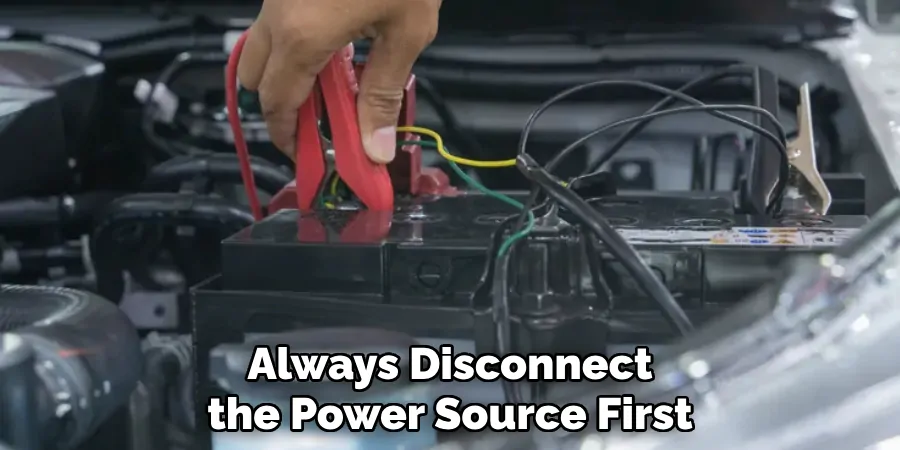
- Ensure Your Safety: When you’re replacing a trailer light, always disconnect the power source first. This is a crucial step in avoiding any potential accidents or electrical shocks.
- Check the Wiring: Always ensure the wiring is not frayed or damaged. If it is, it may need to be replaced or repaired before you can install the new light.
- Correct Bulb Type: Ensure you have the correct replacement bulb for your trailer’s specific make and model. Using the wrong bulb could cause short or other electrical issues.
- Test Before You Go: After replacing the trailer light, always test it before hitting the road. Turn on your vehicle and check the brake and signal lights on the trailer.
- Keep Spare Bulbs: It’s always a good idea to keep spare bulbs on hand, especially if planning a long trip. This way, if one of your trailer lights goes out on the road, you’ll be prepared and easily replace it without any delays.
You can confidently replace a trailer light with these additional tips and tricks. Just remember always to prioritize safety and double-check your work before hitting the road.
5 Things You Should Avoid
- Don’t Ignore a Burned-Out Light: A burned-out trailer light is an inconvenience and a safety hazard. It can lead to miscommunication with other drivers, potentially causing accidents. Always replace a faulty trailer light as soon as you notice it.
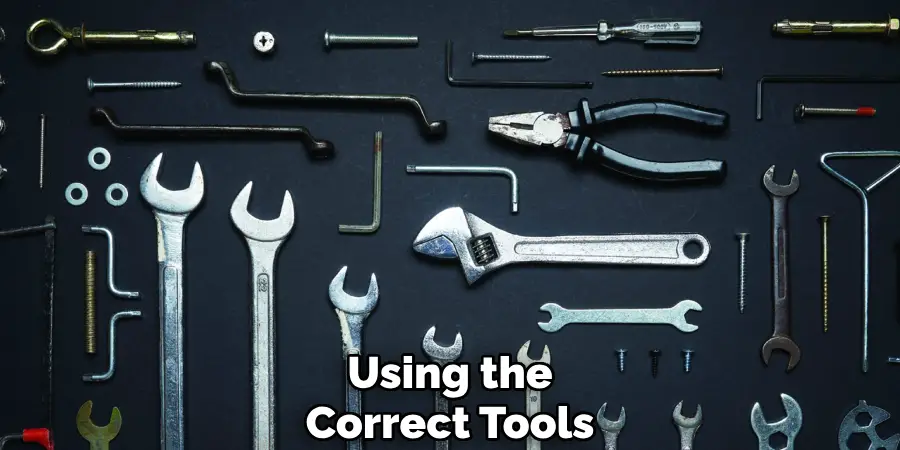
- Don’t Use the Wrong Tools: Using inappropriate tools can cause damage to the wiring or the light itself. As indicated in your trailer’s manual, using the correct tools is essential.
- Don’t Rush: Take your time when replacing a trailer light. Rushing through the process can lead to mistakes, such as not securing the light properly, which could lead to it falling off while driving.
- Remember to Check the Fuse: Before replacing the light, check the fuse. A blown fuse could be why the light is not working, and simply replacing the fuse could solve the problem.
- Don’t Neglect to Waterproof Connections: If your trailer light connections are not waterproofed, water can seep in and cause damage. Always make sure that all electrical connections are well sealed.
Avoiding these common mistakes can help ensure a successful and safe replacement of your trailer light.
Conclusion
Now that you know how to replace a trailer light properly, with great success and safety, check your trailer light each month to ensure everything is in working order. Staying on top of routine maintenance like this will help ensure the trailer’s longevity. Not only that but fixing any issues early on can prevent danger when on the road.
So take a few moments each month to check your lights while looking over all other parts of your trailer and keep yourself safe and secure while out on the road. In addition, do not hesitate to contact a local mechanic or dealer for further guidance or assistance in making these repairs. It will be well worth it!
If nothing else, remember that replacing a trailer light is an easy fix; all you need is the right tools and knowledge from reliable resources like this one, and you’ll be back in business in no time. Happy motoring!

