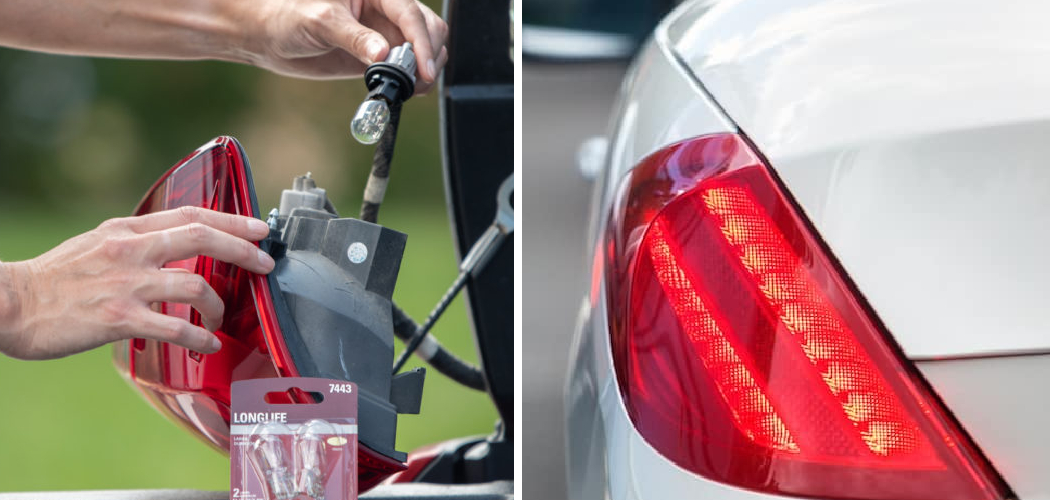
Are your car’s brake lights not functioning properly and are in dire need of a replacement? Changing a brake light may seem like a complicated task, but it can be done quickly and easily with a few tools and a little knowledge. In this blog, we will provide you with a step-by-step guide on how to change a brake light in your vehicle. Let’s get started!
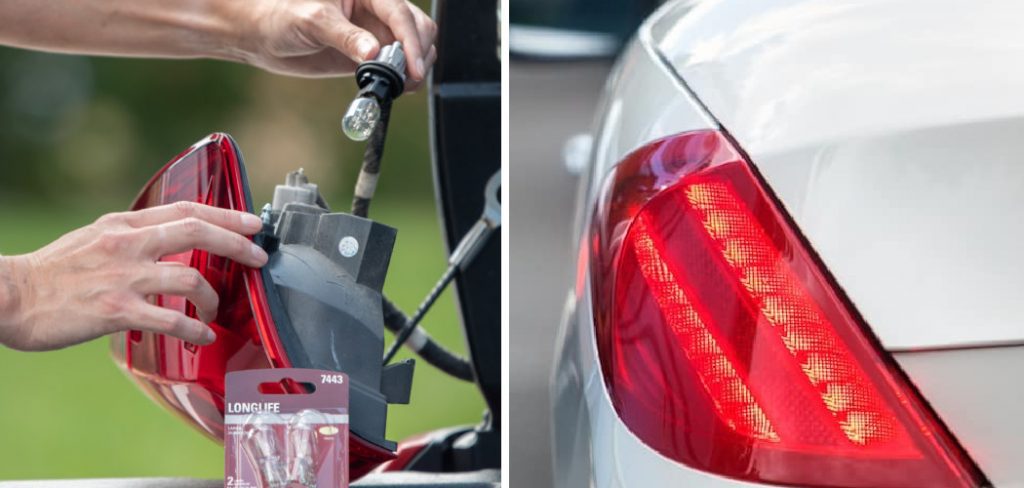
Can You Change the Brake Light?
Brake lights are an essential part of any car, not just for your safety but also for the safety of others driving on the road. If you find yourself with a brake light out, you may wonder if you can replace the bulb yourself or if it requires a trip to the mechanic.
The good news is that changing a brake light is usually a straightforward task that can be accomplished with some basic tools and a bit of know-how. With the right instructions, you can replace your brake light in under 15 minutes, saving you the time and cost of an unnecessary trip to the mechanic’s garage.
So, with a little elbow grease and some determination, you can rest easy knowing that your car is safe and road-ready once again.
Why Should You Change a Brake Light?
Brakes are undoubtedly one of the most important of all the components in a car. They are responsible for slowing down and stopping the vehicle safely. But brake lights don’t often make the top of the list when it comes to car maintenance.
Brake lights are crucial for safe driving because they let other drivers know when you’re stopping. Without functioning brake lights, you’re putting yourself and others in danger.
A brake light is an easy and affordable fix that can save you from receiving a ticket or a potential accident. It’s important to keep your car in top condition, and changing your brake lights is a small yet significant part of that.
How to Change a Brake Light: A Comprehensive Guide
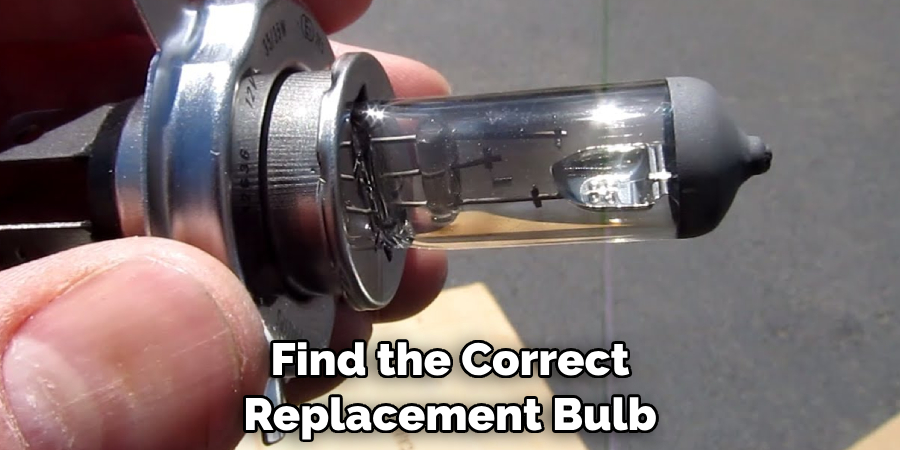
Step 1: Locate and Purchase the Correct Brake Light Bulb
To find the correct replacement bulb for your vehicle, consult its owner’s manual. Taking the old bulb with you to an automotive-supply store will also help ensure that you purchase the correct replacement. When purchasing a new bulb, be sure to select the same wattage and voltage as your old one.
Step 2: Disconnect the Negative Terminal of Your Vehicle’s Battery
In order to ensure that no electricity is flowing to the brake light, you should always disconnect the negative terminal of your vehicle’s battery before attempting any repairs. When doing so, make sure to wear protective eye gear and gloves.
Step 3: Open the Trunk or Lift up the Rear Seat
Depending on the make and model of your vehicle, you may need to open the trunk or lift up the rear seat in order to reach the brake light. Refer to your owner’s manual for directions on how to do this.
Step 4: Remove the Old Bulb
Once you have gained access to the brake light, locate and unscrew the screws or bolts holding it in place. Once the screws/bolts are removed, carefully detach the old bulb from its socket and discard it.
Step 5: Install the New Bulb
Take the new replacement bulb and insert it into its socket before reattaching the screws/bolts to hold it in place. Make sure not to overtighten the screws/bolts, as this could damage the brake light, resulting in dim or flickering lights.
Step 6: Test the Brake Light
Once you have completed the above steps, turn on your vehicle to test the brake light. If it is not working, check that all connections are tight and repeat the steps until your brake light works properly.
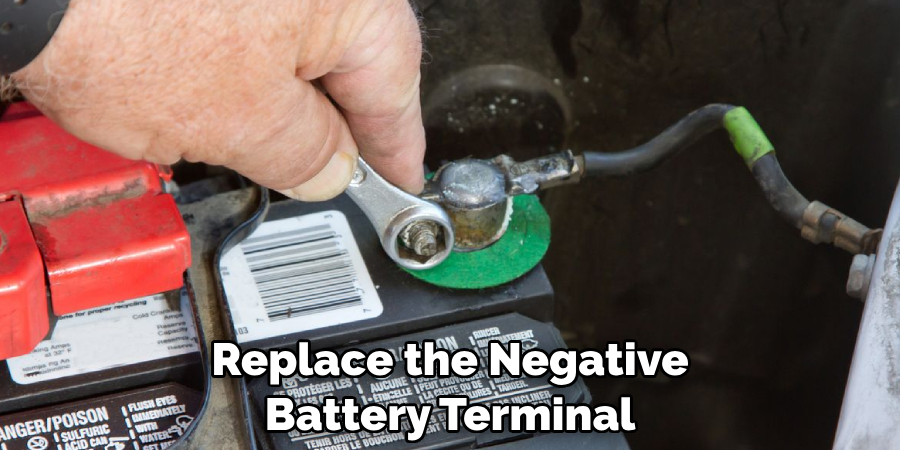
Step 7: Replace the Negative Battery Terminal
To finish off this process, replace the negative battery terminal and make sure all connections are secure. This will help ensure your brake light works properly for many miles. Congratulations, you’ve successfully changed your brake light bulb!
That’s it! You’ve now learned how to change a brake light on your own.Safe travels!
5 Considerations Things When You Need to Change a Brake Light
1. Safety First
Safety is the most important consideration when changing a brake light. Make sure to turn off the engine and set the parking brake before beginning. If you are changing a brake light on a vehicle with an airbag, disconnect the battery before proceeding.
2. The Right Tools
You will need a few tools to change a brake light, including a screwdriver, pliers, and a new bulb. Most bulbs can be purchased at an auto parts store or online. Be sure to get the correct type of bulb for your vehicle.
3. Time and Patience
Changing a brake light can be tricky, so it is important to have both time and patience when undertaking this task. It is also important to read the instructions carefully before starting, as some steps may be different depending on your vehicle’s make and model.
4. Follow the Instructions
As mentioned above, following the instructions carefully when changing a brake light is important. If you are unsure about anything, it is best to consult with a professional mechanic or watch a video tutorial before proceeding.
5. Check Your Work
Once you have finished changing the brake light, it is important to check your work to ensure the new bulb is installed and functioning correctly. You may need to ask someone else to help you with this step. If you follow the instructions carefully, your brake light should be working properly.
Now that you know the five considerations when changing a brake light, you can confidently and safely take care of this task yourself. Have fun, and drive safely!
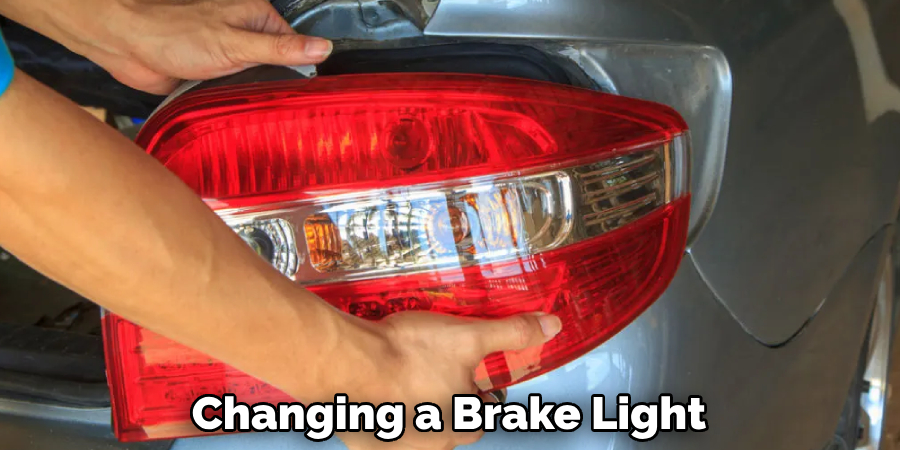
5 Benefits of Change a Brake Light
1. Fewer Accidents
One of the primary benefits of changing a brake light is that it can help to reduce the number of accidents that occur on the road. When a brake light is not working properly, it can be difficult for other drivers to see when you are stopping, which can lead to rear-end collisions. Ensuring that your brake lights are in good working order can help make the roads safer for everyone.
2. Lower Insurance Rates
Another benefit of changing a brake light is that it can help to lower your insurance rates. Many insurance companies offer discounts to drivers with working brake lights, which helps reduce the risk of accidents. In addition, having working brake lights can also help you avoid getting pulled over by the police, which can result in costly fines.
3. Save Money on Repairs
If you get into an accident because your brake light is not working, you may be responsible for paying for the repairs out of your pocket. However, if you have insurance, your rates may go up. Therefore, changing a brake light before it becomes an issue is always cheaper than paying for repairs after an accident.
4. Avoid Points on Your License
In some states, getting into an accident because your brake light was not working can result in points being added to your driver’s license. If you accumulate enough points, you may lose your license altogether. Therefore, it is important to avoid this situation by changing your brake light before it becomes an issue.
5. Peace of Mind
Finally, changing a brake light can give you peace of mind knowing that you are doing everything possible to stay safe on the road. Whether you are driving alone or with passengers, you will feel better knowing that your brakes are in good working order
4 Common Mistakes People Make When Trying to Change a Brake Light
1. Not Replacing All the Lights at Once
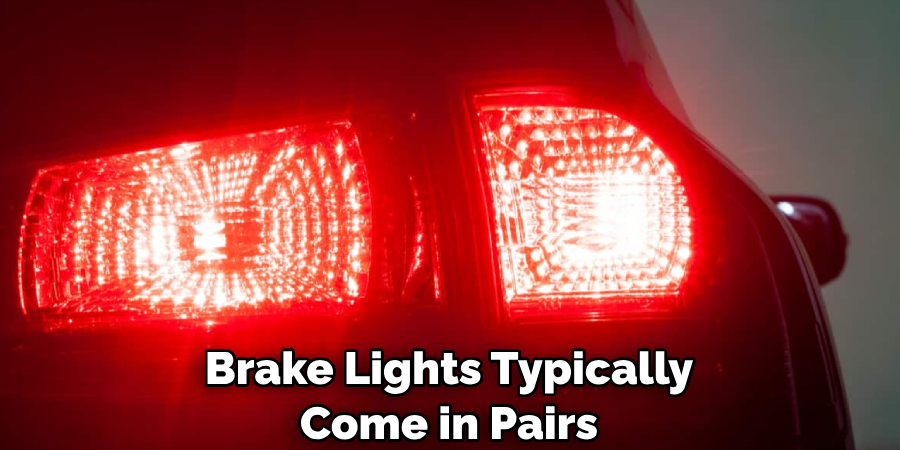
One of the most common mistakes people make when changing a brake light is only replacing one of the lights. Brake lights typically come in pairs, so it is important to replace both lights at the same time. This will ensure that both lights are the same color and brightness and help avoid any potential issues with one light being brighter.
2. Not Checking the Bulb Type
Another mistake people make when changing a brake light is not checking the bulb type. There are a variety of different bulb types available, and it is important to use the correct type for your vehicle. If you are unsure which bulb type to use, consult your owner’s manual or ask a professional for assistance.
3. Not Checking the Wiring
Another common mistake people make when changing a brake light is not checking the wiring. The wiring for brake lights is typically located behind the taillight assembly, and it is important to ensure all connections are secure before installing new bulbs. If you are unsure how to check the wiring, consult your owner’s manual or ask a professional for assistance.
4. Not Testing the Lights
After changing a brake light, it is important to test the lights to ensure that they are working properly. The best way to test brake lights is to have someone else step on the brakes while you watch from outside of the vehicle.
If both lights are illuminated, then they are working properly. If only one light is illuminated, then there may be an issue with the wiring or bulbs.
By following the steps above, you can ensure that your brake lights are in good working order and help make the roads safer for everyone. Not only will this help to prevent rear-end collisions, but it can also lower your insurance rates and save you money on potential repairs.
So, if it’s been a while since you changed your brake light, take a few minutes to do it now. Your peace of mind and the safety of others will thank you.
Are There Any Safety Considerations when Changing a Brake Light?
Changing a brake light may seem like a simple task, but it is of utmost importance to take safety measures when doing so. Firstly, ensure that your vehicle is parked on level ground to prevent it from rolling. Next, switch off the ignition and engage the parking brake to avoid any unintentional movement of the car.
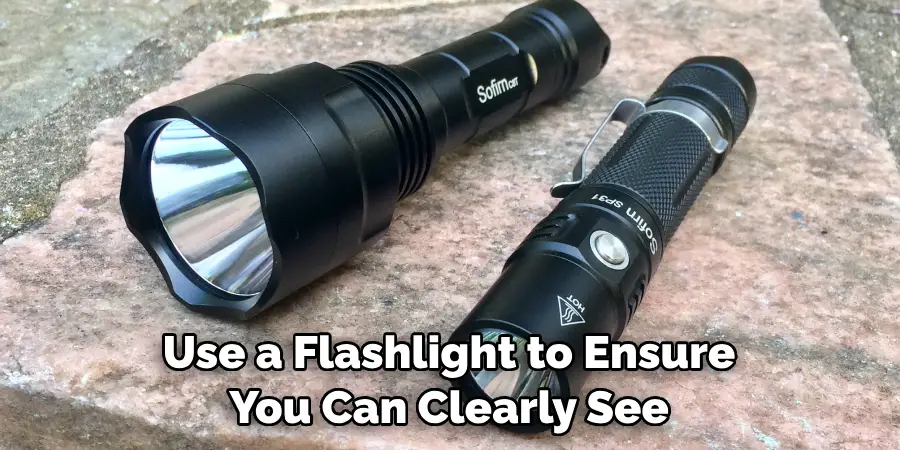
Always wear gloves to protect your hands from cuts or burns caused by broken glass or overheated bulbs. If it’s dark outside, use a flashlight to ensure you can clearly see what you’re doing. Lastly, double-check that you have replaced the bulb correctly to ensure the proper functioning of the brake light.
Taking these necessary precautions will help keep both you and your vehicle safe when changing a brake light.
Conclusion
Changing a brake light bulb may seem daunting, but it can be accomplished with ease with the right tools and knowledge. Following these simple steps, you can ensure that your vehicle is equipped with functioning brake lights that can help keep you and others safe on the road.
If you have any questions, consult your owner’s manual or a licensed mechanic, and always be cautious when working with electrical components in your vehicle. Thanks for reading our post about how to change a brake light.

