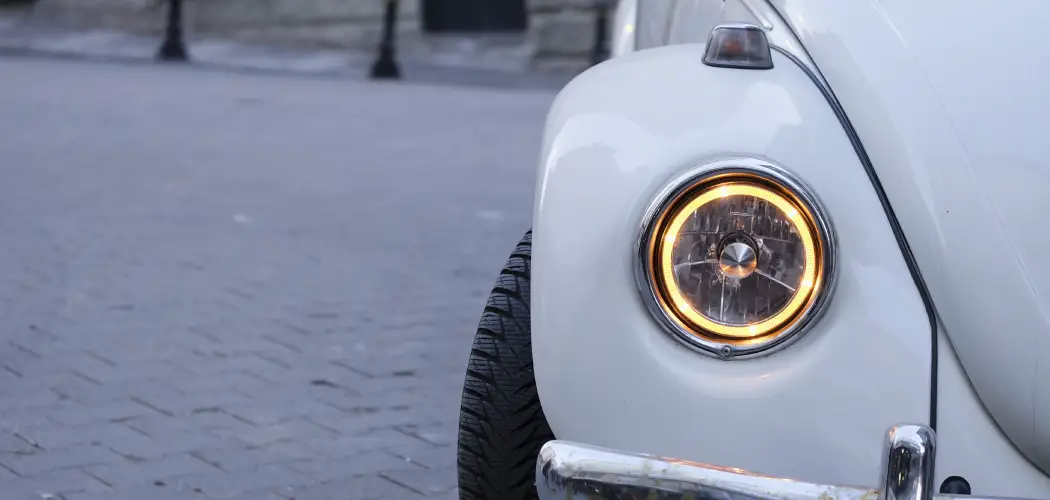
Making halo headlights for your car can add a unique and eye-catching touch to the appearance of your vehicle. Halo headlights, also known as angel eyes or corona rings, are circular LED lights that surround the main headlight bulb. They provide a bright and distinct glow that can significantly enhance the overall look of your car.

Halo headlights have become increasingly popular among car enthusiasts, and for good reason. These vibrant circular lights add a unique touch to any vehicle, making it stand out. However, one of the biggest advantages of halo headlights is that they are relatively easy to make yourself. In this blog post, You will learn how to make halo headlights in detail.
Materials You Will Need
- Headlights
- LED Strip Lights
- Soldering Iron
- Solder Wire
- Electrical Tape
- Wire Cutter/Stripper
- Heat Gun or Hair Dryer
- Alcohol Wipes
- Adhesive Promoter (Optional)
- Drill and Bits
Step-by-step Instructions for How to Make Halo Headlights
Step 1: Inspect the Headlight Assembly
First and foremost, it is important to inspect your headlight assembly before attempting to make halo headlights. Make sure that your headlight lenses are clean and free of any cracks or damage.
Step 2: Gather Necessary Materials
You will need key materials to make halo headlights, including LED lights, wire connectors, electrical tape, wire cutters, and a power drill. Make sure to have everything on hand before beginning the process. Remove the headlight assembly from your vehicle using a screwdriver or socket wrench. This will make it easier to work on and customize your headlights.
Step 3: Disassemble the Headlight Assembly
Carefully take apart the headlight assembly, separating the lens from the housing. This will allow you to access the inside of the headlights and install the halo lights. Using a pencil or marker, measure and mark where you must drill holes for the halo lights. Make sure to space out these holes for a symmetrical look evenly.
Step 4: Drill Holes for the Halo Lights
Using a power drill, carefully drill holes into the headlight housing. Make sure to use a small enough drill bit so that the halo lights fit snugly into the holes. Gently push the halo lights into the drilled holes, ensuring they are secure and sit flush with the headlight housing.
Step 5: Connect the Wires
Connect the wires from the halo lights to your vehicle’s power source using wire connectors. This will allow the halo lights to turn on and off with your headlights. Once all the halo lights are installed and connected, reassemble the headlight assembly by placing the lens back onto the housing and securing it with screws.
Before reinstalling the headlights onto your vehicle, test the halo lights to ensure they work properly. Adjust their positioning within the headlight assembly for optimal visibility and aesthetics if needed.
Tips for How to Make Halo Headlights
- Always wear protective equipment such as gloves, safety glasses, and a mask to prevent injuries when working with car parts.
- Disconnect the negative battery cable before beginning any work on your car’s electrical system.
- Avoid shocks or short circuits when handling wires and other electrical components.
- Make sure you have all the necessary tools and materials before starting the installation process.
- Read and understand all instructions provided by the manufacturer before beginning the project.
- Work in a well-ventilated area to prevent inhaling fumes from adhesives or other chemicals used in the installation process.
- Double-check all connections and electrical wiring before turning on your headlights for the first time.

Are There Any Common Mistakes to Avoid When Making Halo Headlights?
While making halo headlights can be rewarding, it’s important to be aware of common mistakes that could ruin your hard work. Some of these include:
1. Using Incorrect or Low-quality Materials
It may be tempting to cut costs by using cheaper materials, but this can lead to poor quality and even safety hazards down the road. Make sure to invest in high-quality materials specifically designed for halo headlights.
2. Skipping Steps or Rushing the Installation Process
It’s important to follow all steps and instructions carefully to ensure a successful installation. Rushing through the process could result in mistakes or even damage your car.
3. Not Properly Aligning the Halo Rings
One of the most crucial parts of making halo headlights is ensuring that the halo rings are properly aligned. It can result in an uneven or distorted halo effect if they are not.
4. Forgetting to Seal Gaps and Openings
If any gaps or openings are left around the headlights after installation, moisture and dirt can seep in and damage your lights. Properly seal all gaps and openings with silicone or other sealants.
5. Not Testing the Headlights Before Final Installation
Testing your halo headlights before fully installing them is important to ensure everything is working properly. This can save you from having to go back and fix any issues after the lights are already in place.
Taking these safety precautions and avoiding common mistakes can ensure a successful and safe process when learning to make halo headlights. Remember always to prioritize safety and follow instructions carefully for the best results.
How Do You Maintain and Care for Halo Headlights Once Installed?
When installing halo headlights, the process itself is relatively straightforward. However, proper care and maintenance are crucial to ensuring that your halo lights continue to function at their best. This section will discuss some tips for maintaining and caring for your newly installed halo headlights.
1. Regular Cleaning
Like any other type of headlight, halo headlights can accumulate dirt and debris over time. This build-up can negatively impact the brightness and overall appearance of your headlights. To prevent this, it is important to clean your halo lights regularly.
Use a gentle automotive cleaner and a microfiber cloth to clean your halo headlights. Avoid using harsh chemicals or abrasive materials, as these can damage the delicate surface of the halo lights. Gently wipe down the headlights in a circular motion, being careful not to press too hard.

2. Inspect for Damage
It is important to inspect your halo headlights for any signs of damage regularly. This could include cracks or chips in the lens, loose wiring, or other issues that may impact the functionality and appearance of your lights.
If you notice any damage, addressing it as soon as possible is important. This could involve repairing or replacing the damaged parts, depending on the severity of the issue.
3. Protect Your Headlights
Investing in protective covers is one way to prevent damage to your halo headlights. These covers can help shield your lights from debris and other potential hazards while driving. They can also add an extra layer of style to your headlights.
4. Be Mindful of Moisture
Moisture build-up inside the headlights can cause damage to your halo lights. To prevent this, ensure all seals and gaskets on your headlights are properly sealed and intact. Additionally, if you notice any condensation inside the headlights, addressing it as soon as possible is important.
Proper care and maintenance are essential for keeping your halo headlights in top condition. Regularly cleaning, inspecting, protecting, and preventing moisture build-up can ensure that your halo lights continue to shine bright for years.
What Are the Benefits of Making Your Custom Halo Headlights?
Investing in custom halo headlights has become increasingly popular among car enthusiasts. By making your own halo lights, you can create a unique and personalized look for your vehicle. In addition to this, there are several other benefits to making your custom halo headlights.
1. Cost Savings
One of the main benefits of making your custom halo headlights is the cost savings. Purchasing pre-made halo lights can be quite expensive, especially for high-quality options. By making your own, you can save money on the overall cost of the headlights.
2. Flexibility in Design
When purchasing pre-made halo headlights, you are limited to manufacturers’ designs and styles. However, making your custom headlights gives you complete creative control over the design. This allows you to create a truly unique look for your vehicle.
3. Opportunity for Personalization
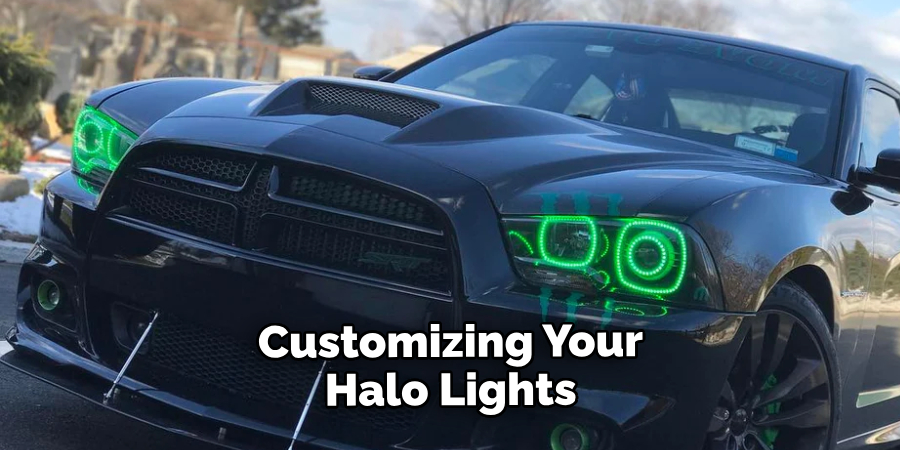
Making your own halo headlights allows you to add a personal touch to your car. Whether it’s incorporating a specific color or design element, customizing your halo lights can help make your vehicle stand out and reflect your style.
4. Enhanced Performance
In addition to the aesthetic benefits, custom halo headlights can also improve your vehicle’s performance. By using high-quality materials and proper installation techniques, you can enhance the brightness and functionality of your headlights.
Overall, making your custom halo headlights offers cost savings, design flexibility, personalization opportunities, and enhanced performance for your vehicle. Whether you want to upgrade your car’s appearance or optimize its functionality, custom halo headlights are a great option.
Conclusion
In conclusion, making halo headlights is a simple task. With the right tools and materials, anyone can achieve this custom look for their vehicle. It is important to follow the steps outlined in this blog post to ensure the installation goes smoothly. Whether you want to upgrade your headlights for aesthetic purposes or improved visibility, halo headlights are a great option.
Remember to plan out and measure the placement of the LEDs before starting the installation process. This will save time and ensure that the final product looks professional. Additionally, make sure to test each connection and light bulb before permanently securing them in place. This article has been beneficial for learning how to make halo headlights. Make Sure the preventive measures are followed chronologically.

