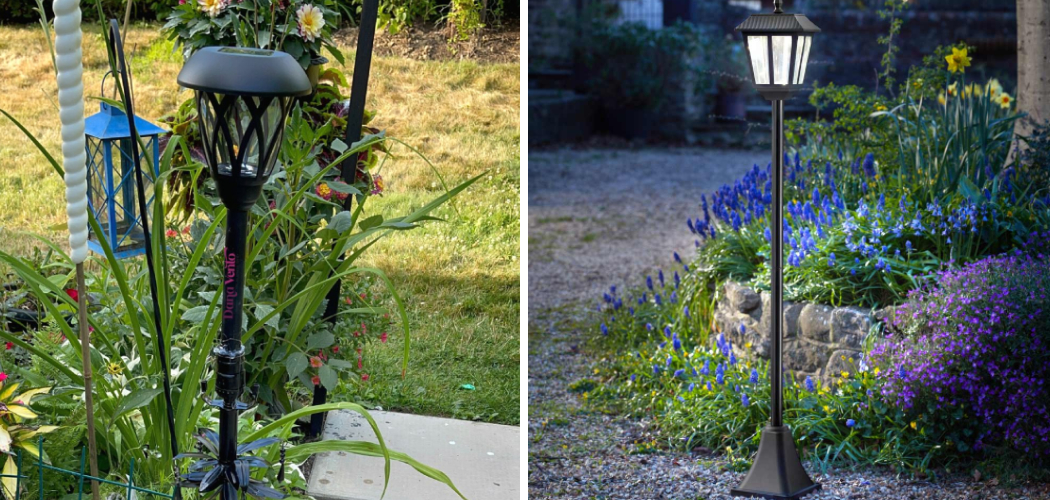
If you’re conscious about the environment and looking for ways to reduce your carbon footprint, learning to turn a lamp into a solar light can be a valuable skill to have. By utilizing solar energy instead of electricity, you can decrease your dependence on non-renewable resources and contribute towards a greener planet.
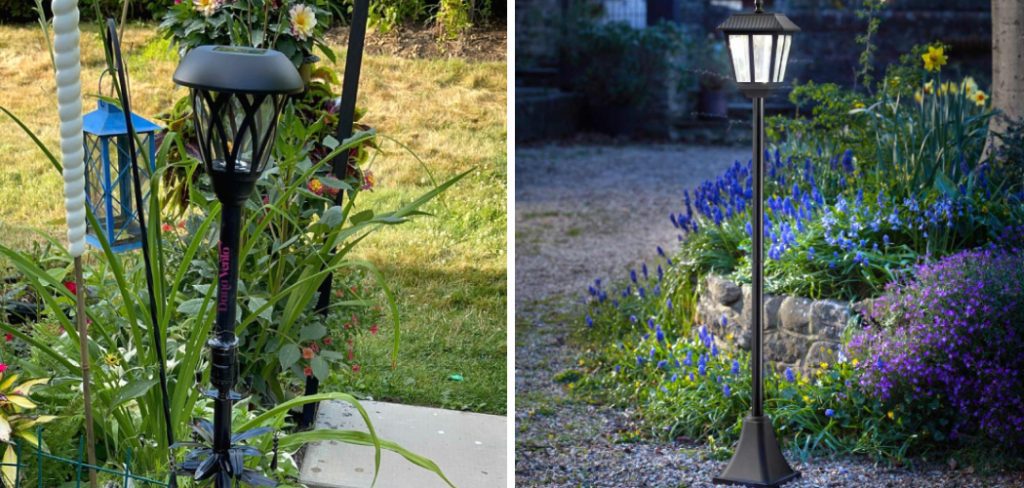
Solar energy is rapidly gaining popularity as an alternative source of power. It is clean, renewable, and sustainable. As a result, more and more people are interested in finding ways to incorporate solar energy into their daily lives. One way to do this is by turning a regular lamp into a solar light. You can find step-by-step instructions on how to turn a lamp into a solar light in this blog article.
Tools You Will Need
- Solar panel
- Battery pack
- Charge controller
- LED light bulb
- Lamp socket with switch
- Wire cutters/strippers
- Soldering iron and solder
- Heat shrink tubing
- Electrical tape
- Screwdriver or drill (depending on the type of lamp)
- Hot glue gun (optional)
- Safety glasses
Step-by-step Instructions for How to Turn a Lamp Into a Solar Light
Step 1: Inspect the Lamp
Before beginning any project, inspecting the materials you’ll be using is important. Ensure your lamp is in good condition and can be converted into a solar light. Check for any cracks or loose pieces and replace them if necessary.
Step 2: Gather Materials
To turn your lamp into a solar light, you will need the following materials: a solar panel, rechargeable batteries, LED light bulbs, a soldering iron, and wire cutters. You can find all of these materials at your local hardware store or online.
Take apart the lamp by removing the bulb, lampshade, and any other internal components. Keep track of any screws or small pieces to put the lamp back together later easily.
Step 3: Prepare the Solar Panel
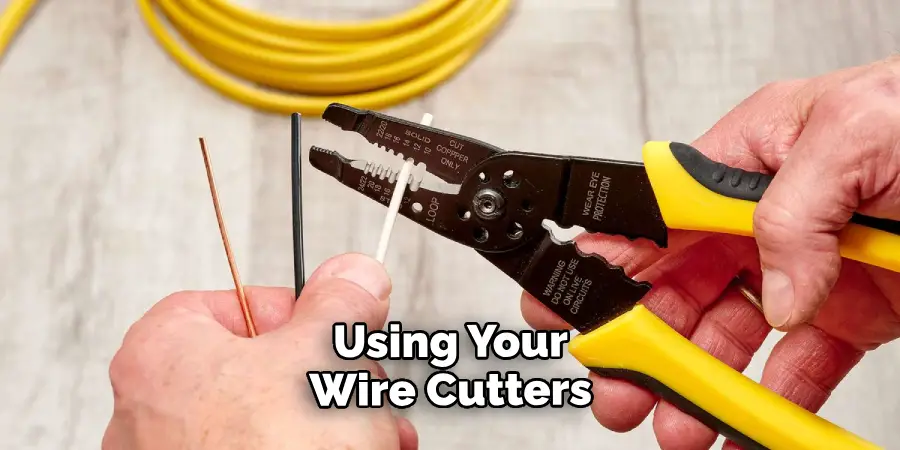
Using your wire cutters, cut off the end of the solar panel’s wires and strip them to expose the metal. This will make it easier to connect them to the lamp’s wires later on. Take the stripped wires from your solar panel and solder them to the wires inside the lamp. This will connect the solar panel to the lamp’s circuit and allow it to power the LED light.
Step 4: Insert Rechargeable Batteries
Place rechargeable batteries into the battery pack compartment of your lamp. This will store the solar energy the panel collects and power the light when needed. Once the solar panel and batteries are connected, test your set-up by placing the solar panel in direct sunlight. If the LED light turns on, then you have successfully connected everything.
Step 5: Reassemble the Lamp
Carefully put the lamp back together, securing any screws or small pieces. Your lamp should now be able to function as a solar light. Find a suitable place to position your solar panel outside. It should receive plenty of direct sunlight during the day to charge the batteries.
Step 6 Turn On Your Solar Light
Your solar light will automatically turn on as night falls, thanks to its light sensor. If desired, you can also manually turn it on and off using a switch. To ensure your solar light works properly, regularly clean the solar panel and replace the batteries when needed. This will help maximize its efficiency and lifespan.
Now, you can enjoy the benefits of using clean, renewable energy to light up your outdoor space. Get creative and try this project with different types of lamps for a unique and eco-friendly lighting solution.
Tips for How to Turn a Lamp Into a Solar Light
- Always wear protective gear when handling electrical components: Gloves, safety glasses, and closed-toe shoes.
- Ensure the lamp is disconnected from any power source before working on it: This will prevent any accidental shocks or electrocution.
- Use proper tools and equipment: It’s important to use the correct equipment for the job to avoid any accidents or damage to the lamp.
- Follow manufacturer’s instructions: If you are using a solar light kit, follow the instructions for proper installation and operation.
- Ensure that all connections are secure: This will prevent any loose wiring or components that could pose a safety hazard.
- Keep children and pets away from your work area: It’s important to keep curious little hands and paws away from potentially dangerous electrical components.
- Consult a professional if needed: If you are unsure or uncomfortable with any step of the process, it’s always best to consult a professional for assistance.
How Long Will the Converted Solar Light Last on a Full Charge?
One of the major advantages of converting a traditional lamp into a solar light is its ability to provide sustainable and renewable energy. However, some may wonder about the duration of this power source and how long it will last on a full charge. The answer to this question varies depending on different factors, such as the type and capacity of the solar panel, battery size, and amount of sunlight exposure. Generally, solar lights can last anywhere from 8 to 12 hours on a full charge.
It is important to note that the duration of the light also depends on the type of bulb used and its wattage. For example, a higher-wattage bulb will consume more energy and may shorten the runtime of the solar light. To ensure optimal performance and lifespan of the converted solar light, it is recommended to use high-quality components and regularly clean and maintain them. This includes keeping the solar panel free from dirt and debris and replacing the battery when needed.
Is There Any Maintenance Required for the Converted Solar Light?
Like any other electrical device, converted solar lights also require maintenance to ensure proper functioning and longevity. Here are some tips on how to maintain your newly converted solar light:
1. Regularly Clean the Solar Panels
The solar panel is responsible for absorbing sunlight and converting it into energy. Therefore, keeping the panel clean from dirt, dust, and debris is essential. Use a damp cloth to wipe the panel gently and remove any build-up.

2. Check and Replace Batteries
The batteries used in solar lights have a limited lifespan, usually around 2-3 years. It is crucial to check the condition of the batteries periodically and replace them when needed. Be sure to use the correct type of battery recommended for your converted solar light.
3. Protect From Extreme Weather Conditions
Solar lights are designed to be weather-resistant, but they can still be damaged by severe weather. During heavy rain or snow, bringing the solar light indoors is advisable to protect it from any potential damage.
4. Check for Any Loose Connections
The conversion process from a lamp to a solar light may involve wiring and connections that could loosen over time. It is essential to check and fix any loose connections to ensure proper functioning.
5. Replace Old or Damaged Components
If any part of your converted solar light shows signs of damage or wearing out, it is crucial to replace it immediately. This could include the solar panel, batteries, LED lights, or wiring.
By following these maintenance tips, you can keep your converted solar light working efficiently and enjoy the benefits of using renewable energy. With proper care, your solar light can last for many years, providing eco-friendly and cost-effective lighting.
Are There Any Alternative Methods for Turning a Lamp Into a Solar Light?
Yes, a few alternative methods exist for turning a lamp into a solar light. These methods vary in complexity and may require some technical knowledge or additional tools. Here are some examples:
1. Using a Solar Panel Kit
Instead of converting an existing lamp, you can purchase a solar panel kit and attach it to it to create a solar-powered light.
2. Installing a Solar Panel Directly Onto the Lamp
This method involves attaching a small solar panel directly onto the lamp itself, using adhesive or screws.
3. Using a Rechargeable Battery and LED lights
This method does not involve using a solar panel. Instead, you can replace the standard light bulb in your existing lamp with energy-efficient LED lights and use a rechargeable battery to power them.
It is essential to note that these alternative methods may have a different efficiency or longevity than a professionally converted solar light. Therefore, carefully research which method would work best for your specific needs and circumstances.
What is the Estimated Cost of Converting a Lamp Into a Solar Light?
Converting a traditional lamp into a solar light can be an eco-friendly and cost-effective solution for lighting up your outdoor spaces. With rising electricity costs and increasing concerns about environmental impact, more people are turning to solar power as an alternative energy source. The estimated cost of converting a lamp into a solar light can vary depending on the type of lamp and the materials you need to purchase.
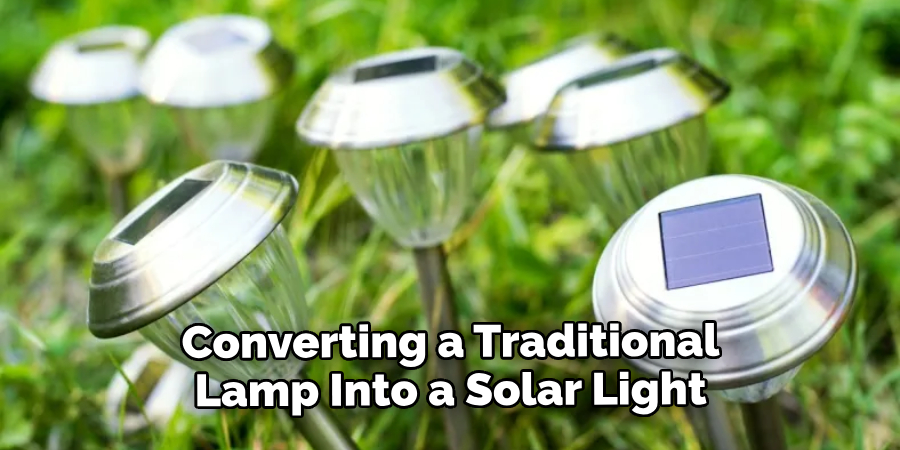
On average, it can cost anywhere from $ 20 to $50 for a basic conversion kit that includes a solar panel, battery, and LED light bulbs. However, if you are handy with DIY projects or have some materials, you can reduce the costs even further. For example, instead of purchasing a new solar panel, you could repurpose one from an old garden light or find a used one online.
Conclusion
In conclusion, converting a lamp into a solar light can be a fun and easy DIY project that saves money on electricity bills and helps reduce our carbon footprint. However, there are some disadvantages to consider before starting this project.
One main disadvantage is the initial cost of purchasing the necessary materials for the conversion. While it may save money in the long run, the upfront investment can be a deterrent for some.
Additionally, the amount of sunlight available in certain areas may affect the effectiveness of the solar panel, making it less reliable as a light source. This article has been beneficial for learning how to turn a lamp into a solar light. Make Sure the preventive measures are followed chronologically.

