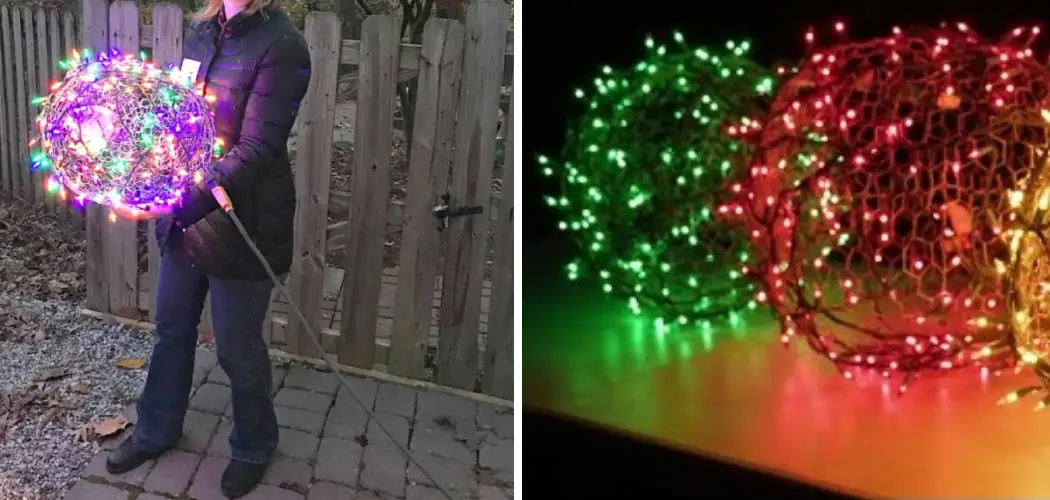
The holiday season is here and it’s the perfect time to decorate your home with festive lights. One of the most popular decorations during this time are Christmas ball lights. These colorful, round bulbs can add a touch of magic to any space and create a warm and cozy atmosphere.
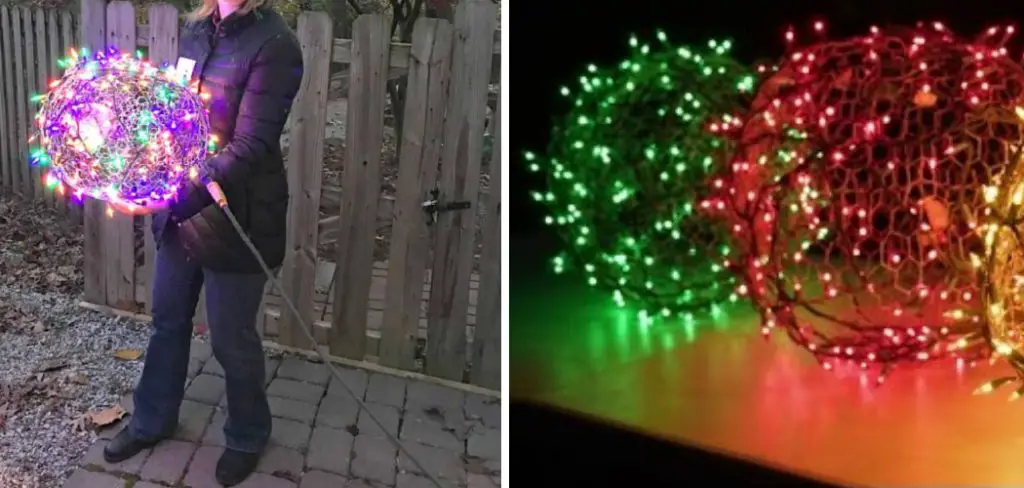
Christmas is a time of joy and happiness, where we decorate our homes to create a festive atmosphere. One of the most common ways to decorate during Christmas is by using lights.
And among the different types of lights, Christmas ball lights are a popular choice. The main advantage of making your own Christmas ball lights is that you can create unique and personalized decorations.
By making them yourself, you have full control over the color, size, and design of the lights. This allows you to match the lights with your existing decor or create a completely new theme for your holiday decoration. You can find step-by-step instructions on how to make christmas ball lights in this blog article.
Materials You Will Need
- Christmas Ball Ornaments
- String Lights
- Drill with 1/2″ drill bit
- Power drill (optional)
- Extension cord (if needed)
- Scissors
- Pencil or marker
- Gloves (for safety when drilling)
- Safety goggles
Step by Step Processes for How to Make Christmas Ball Lights
Step 1: Inspect Your Materials
Before you begin making your Christmas ball lights, it is important to gather all of your materials and inspect them. Make sure that you have enough lights, plastic balls, and any other materials needed for the project.
Step 2: Prepare Your Workspace
Set up a workspace designated for making your Christmas ball lights. This could be a large table or even the floor with a protective covering. Make sure you have enough space for all of your materials and can move around comfortably. Unwrap or untangle your lights to prepare them for use. Check that all the bulbs are working properly before inserting them into the plastic balls.
Step 3: Insert Lights into Plastic Balls
Carefully insert each light bulb into a plastic ball, making sure that the bulbs are evenly distributed throughout the ball. You may need to use a tool such as tweezers to help with this step. Once all of the lights have been inserted into the plastic balls, make sure they are secure by gently moving them around. If any bulbs feel loose, add a small amount of glue around the base to hold them in place.
Step 4: Choose Your Design
Decide on a design for your Christmas ball lights. You could choose a specific color scheme, alternate colors, or even create a pattern with the lights. If you plan on hanging your Christmas ball lights, make sure to attach hooks to each ball. These can be small eye screws or ornament hooks.
Step 5: Create a Base
To create a base for your Christmas ball lights, you can use a variety of materials such as a foam wreath, wire hanger, or even a pre-made base from a craft store. Using hot glue or a strong adhesive, attach the plastic balls to your chosen base. Make sure they are evenly spaced and securely attached.
Step 6: Add Additional Decorations (Optional)
If you want to add some extra flair to your Christmas ball lights, you can glue on additional decorations such as ribbon, glitter, or small ornaments. Before displaying your Christmas ball lights, plug them in and test that all of the bulbs are working properly. This will save you time and frustration if any bulbs need to be replaced.
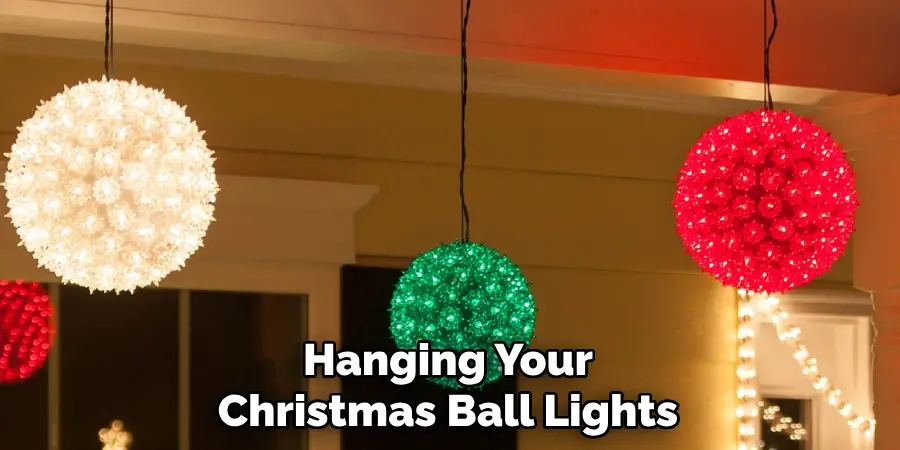
Finally, it’s time to display your beautiful homemade Christmas ball lights! They can be hung from a mantel, staircase railing, or anywhere else you want to add some festive holiday cheer.
Safety Tips for How to Make Christmas Ball Lights
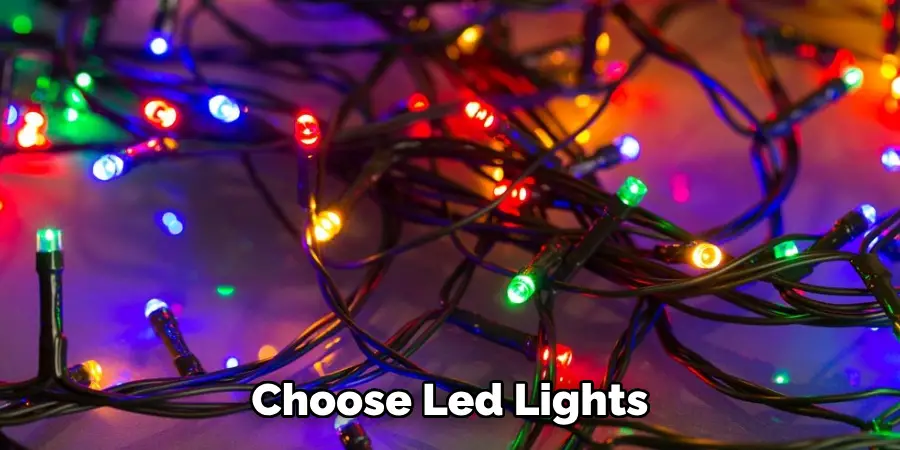
- When creating Christmas ball lights, it is important to choose LED lights over traditional incandescent ones. This is because LED lights are cooler to touch and produce less heat, making them safer for use in DIY projects.
- Ensure that the materials used in the creation of your Christmas ball lights are not flammable or easily combustible. This includes the light bulbs, string, and any additional decorations such as ribbons or paper.
- Make sure to use appropriate tools when handling electricity and hot glue guns. Wear protective gear such as gloves and safety glasses to avoid accidents.
- When connecting wires, make sure to properly insulate them using electrical tape or wire connectors to prevent any potential electrical hazards.
- Do not leave your Christmas ball lights plugged in and unattended for long periods of time. This can lead to overheating and potential fire hazards.
- If you plan on hanging your Christmas ball lights outdoors, make sure they are weather-resistant and waterproof to prevent any accidents due to rain or snow.
- Always double-check all connections and wiring before plugging in your Christmas ball lights. If you notice any frayed wires or loose connections, discontinue use and fix them before proceeding.
By following these safety tips and taking necessary precautions, you can enjoy the process of creating your own Christmas ball lights without any accidents or risks. Remember to always prioritize safety when working with electricity and hot materials, and have fun making your holiday decorations.
What is the Best Way to Secure the Lights Inside the Ornament Without Them Getting Tangled?
One way to secure the lights inside the ornament is by using a small piece of tape or adhesive putty. Simply attach one end of the string of lights to the top or bottom of the ornament and then wrap it around the inside, making sure to evenly space out the lights as you go.
Another option is to use clear plastic clips specifically designed for attaching lights to surfaces. These can be easily attached to the inside of the ornament and provide a secure hold without any risk of damage.
Whichever method you choose, make sure to test it out before fully securing the lights to ensure they are evenly distributed and not tangled. Additionally, using battery-operated lights instead of plug-in ones can also help prevent tangling and provide more flexibility in securing them inside the ornament.
With a little creativity and careful planning, you can find the best way to secure your Christmas ball lights without any hassle or frustration.
What Are Some Creative Ways to Display and Use Christmas Ball Lights Besides on a Tree?
Christmas is a magical time of the year, filled with joy, love, and festive decorations. One of the most iconic Christmas decorations is the Christmas tree adorned with colorful lights and ornaments. Among these ornaments are the charming and versatile Christmas ball lights.
But did you know that there are many other creative ways to display and use Christmas ball lights besides just on a tree? In this guide, we’ll explore some unique and imaginative ways to incorporate Christmas ball lights into your holiday decor.
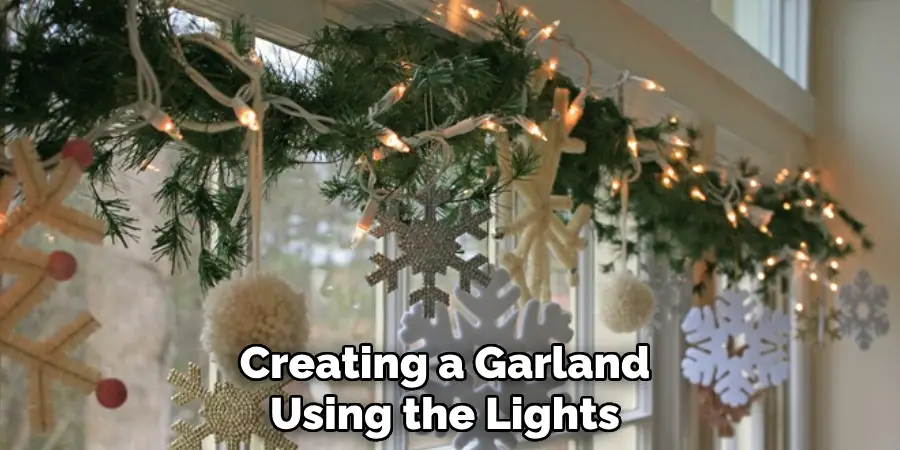
1. Create a Garland
One great way to display Christmas ball lights is by creating a garland using the lights and some string or ribbon. Simply thread the lights through the loops of the string or wrap them around a long piece of ribbon, securing the balls in place. This garland can then be hung on a mantel, staircase, or even across a window for a festive touch.
2. Fill Jars and Vases
Another creative way to use Christmas ball lights is by filling clear jars or vases with them. The lights will illuminate the balls and create a stunning centerpiece for any table or shelf. You can also add some greenery or other holiday decorations to the jars for a more festive look.
3. Decorate Your Outdoor Space
Don’t limit your Christmas ball lights to just indoor decor! These charming lights can also be used outdoors to create a welcoming and festive atmosphere. You can string them along your porch, wrap them around trees or bushes, or even place them in planters for a pop of holiday cheer.
4. Make a Wreath:
Who says wreaths have to be made with just greenery? Create a unique and eye-catching wreath using Christmas ball lights! Simply shape a wire or foam ring, then wrap the lights around it, securing them in place with some hot glue. You can add additional decorations like ribbons or ornaments for a more personalized touch.
5. Hang from the Ceiling:
For a modern and whimsical look, consider hanging Christmas ball lights from your ceiling. You can do this by attaching them to a curtain rod or using clear fishing line to suspend them from the ceiling. This will add a touch of magic to any room in your home.
With these creative ideas in mind, you can take your Christmas decorations to the next level using versatile and charming Christmas ball lights.
Conclusion
the main disadvantage about making christmas ball lights is that it can be time consuming and may require additional materials that you may not have on hand. It also requires some level of creativity and skill to create aesthetically pleasing designs.
In conclusion, creating Christmas ball lights is a fun and easy DIY project that can add a personal touch to your holiday decorations. By following the steps outlined in this blog, you can create beautiful and unique Christmas ball lights using simple materials and techniques. Not only are these lights cost-effective, but they also provide a great opportunity for creativity and customization.
You can choose different colors, patterns, and embellishments to match your personal style and holiday theme. I hope this article has been beneficial for learning how to make christmas ball lights. Make Sure the precautionary measures are followed chronologically.

