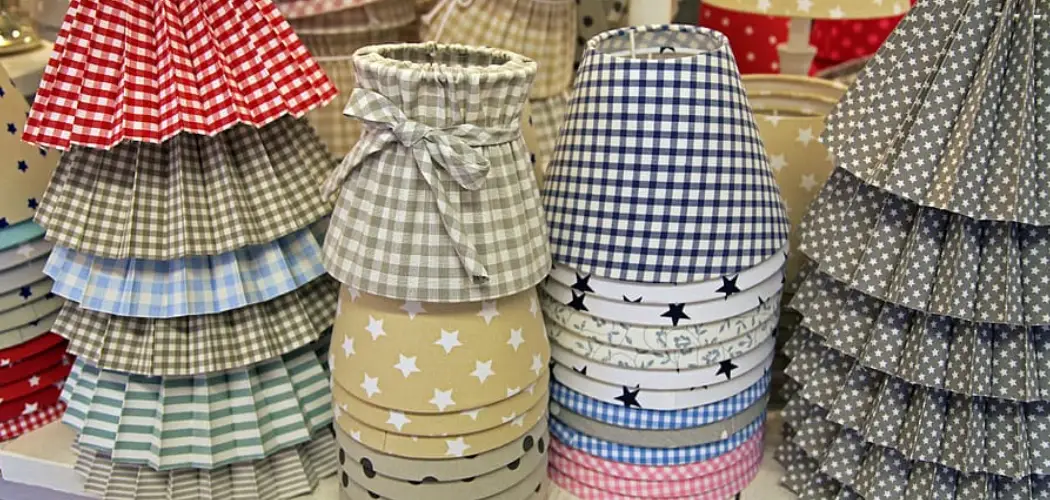
Making your fabric lampshade can be a great way to add color and texture to any room. You don’t have to be an experienced seamstress or even have special tools; you only need some basic materials and a few sewing skills.
With the right supplies, it’s easy to follow these simple instructions on how to make a fabric lamp shade for crafting a beautiful, custom lampshade. Making a fabric lampshade is an easy and inexpensive way to customize the lighting in any room. With just a few supplies, you can create your unique fabric lampshade that perfectly matches your decor.
Required Items
- Lamp shade frame
- Fabric of your choice
- Glue gun or craft glue
- Ruler
- Fabric scissors
- Sewing machine (optional)
10 Steps on How to Make a Fabric Lamp Shade
Step 1: Measure and Cut the Fabric
Start by measuring the size of your lamp shade frame. The fabric you select should be large enough to cover the entire structure, plus an additional inch or two for seam allowances. After measuring the structure, use a measuring tape to measure and mark the fabric for cutting. Cut the fabric using scissors or a rotary cutter, making sure to cut it slightly larger than the measurements you took of your lamp shade frame.
Step 2: Hem the Edges
To prevent fraying and add a professional touch, it’s essential to hem all four edges of your fabric before attaching it to your lamp shade frame. To do this, fold and press each edge towards the wrong side of the material by 1/4 inch. Next, fold over again and press another 1/4 inch, then sew or glue these hems in place.
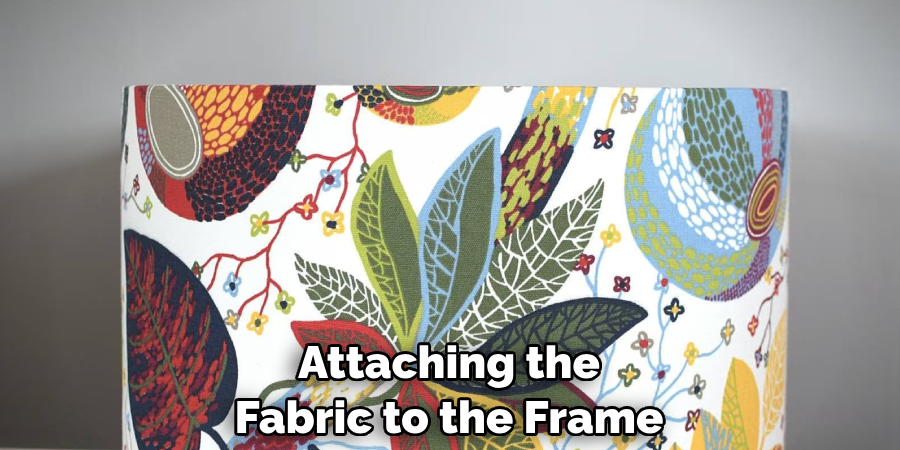
Step 3: Attach Fabric to Frame
Now, it’s time to attach your fabric to your lampshade frame. Start by laying out your fabric with the wrong side facing up, and place the lampshade frame on top.
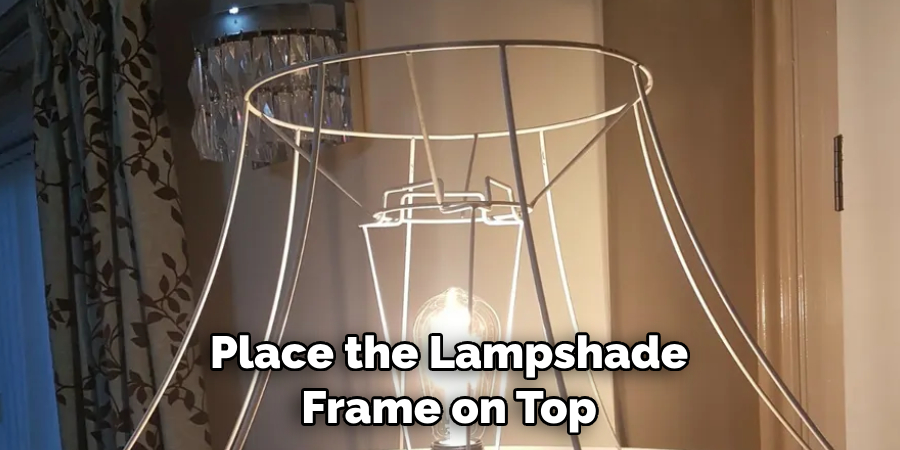
Starting at one end, use a glue gun or craft glue to secure the fabric in place along each metal rib of the shade frame. You can also use pins to temporarily hold it in place while you’re gluing if needed. Make sure to pull the fabric taut and trim off any excess fabric as you go.
Step 4: Secure the Seams
Once the entire frame is covered with fabric, fold over each seam and glue or sew it down securely. This will help to keep your lampshade in shape and prevent fraying. If you’re using a sewing machine, use a straight stitch, and you can even use a decorative stitch if desired.
Step 5: Finish the Top and Bottom
To finish your lamp shade, cut two circles of fabric that are slightly larger than the top and bottom edges of the shade frame. Glue or sew these pieces in place to completely cover the frame. If using glue, make sure it is drying before you continue.
Step 6: Attach Finial
Once your fabric is fully attached to the frame, it’s time to attach the finial. The finial is a decorative piece that screws into the top of your lamp and helps secure the lampshade in place. If you are using a threaded finial, simply unscrew the cap from the frame, insert the finial, and screw it back in place.
Step 7: Attach Harp
The harp is a metal or plastic ring that sits at the top of your lampshade and holds it in place on the lamp base. It should come with a threaded nipple to securely attach to your shade frame. To attach the harp to your lampshade, unscrew the finial and insert the threaded nipple into the opening at the top of your shade. Secure it in place with a nut and washer, then replace the finial.
Step 8: Attach Shade Ring
Next, attach the shade ring around the bottom edge of your lampshade frame. Most shade rings come with three pieces- two metal prongs and a piece of plastic or metal that fits between them. Fit the prongs around the edge of your shade frame, then insert the center piece to hold them in place.
Step 9: Attach Shade Liner
To add a finished look to your lampshade, use a matching fabric liner to cover the inside of your shade. The liner should be smaller than the frame so it fits snugly in place. Secure the seams with glue or sewing, then attach them to the top and bottom edges of your shade frame.
Step 10: Attach Shade to Lamp Base
Once your fabric lampshade is complete, it’s time to attach it to your lamp base. Place the harp over the lamp socket and press it down until it snaps in place. Make sure to tighten any thumb screws or other fasteners that may be included with your shade ring. You can now turn on your light and admire the beautiful custom fabric lampshade you created!
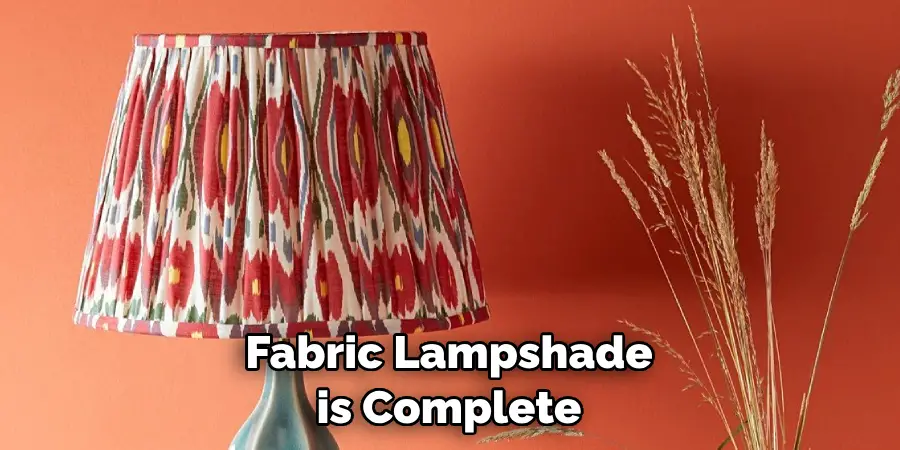
Now that you know how to make a fabric lampshade, why not make one in different colors and patterns? Whether you’re looking to add a pop of color or a unique texture to your room, there are endless possibilities when it comes to creating custom lampshades with fabric.
With just a few simple supplies and some basic sewing skills, you can easily craft your own unique fabric lampshade in no time.
8 Mistakes You Might Make When Making Your Fabric Lampshade
1. Not measuring the fabric correctly:
Before cutting your fabric, make sure to measure it accurately against your lampshade frame. If the fabric is too large or small, you’ll have issues when attaching it.
2. Neglecting to hem the edges:
To prevent fraying and give a professional finish to your shade, always remember to hem the edges of your fabric before attaching it.
3. Not using enough glue:
When attaching the fabric to the lampshade frame, make sure to use plenty of glue so that it is securely in place. If you’re using a glue gun, make sure the adhesive is hot enough for good.
4. Skipping the final:
The final is an essential piece of your lamp shade, as it helps to attach it to the lamp base securely. Make sure to complete this step when assembling your shade.
5. Forgetting the harp:
Don’t forget the harp! This metal or plastic ring sits at the top of your lampshade and helps to hold it in place on the base securely.
6. Not adding a liner:
Adding a fabric liner is an important step that can make a big difference in the overall look of your shade. It should be smaller than the frame for a snug fit, and glue or sew all seams securely.
7. Leaving excess fabric:
When attaching the fabric to the frame, make sure to trim off any excess as you go so that it looks neat and professional when finished.
8. Neglecting to attach shade ring:
Finally, don’t forget to attach your shade ring! This is a three-piece metal or plastic fixture that fits around the bottom edge of your shade frame and helps to hold it in place.
By following these tips, you’ll be able to craft your one-of-a-kind fabric lampshade with ease! Whether you’re looking for a classic design or something more unique, there are endless possibilities when it comes to creating custom lampshades with fabric. Have fun experimenting, and don’t forget to share your finished project with us!
Frequently Asked Questions
What Type of Fabric is Best for Lampshades?
Cotton, linen, and silk are all great options for lampshades as they are lightweight yet durable fabrics that can stand up to wear and tear. Remember when selecting your material that darker colors tend to absorb more light while lighter colors will reflect it better.
What Kind of Glue Should I Use for Attaching Fabric to the Shade Frame?
For best results, use a hot glue gun or fabric glue specifically designed for adhering fabric. Avoid using regular white craft glue, as it will not hold up to heat and humidity over time.
Can I Make My Own Lampshade Frame?
You can make your own lampshade frame using materials such as PVC pipe, wood, or even cardboard. Just be sure to consider the weight of any fabric you’ll be attaching to it when selecting your material.
How Do I Clean My Fabric Lampshade?
To clean a fabric lampshade, use a microfiber cloth dampened with a mild soap and water solution. Gently wipe the fabric in a circular motion, then let it air dry completely before replacing it on the lamp. Avoid using any harsh chemicals or abrasive cleaners that could damage the fabric.

Making your own custom fabric lampshade is an easy and affordable way to add style and personality to any room in your home. With just a few simple supplies and some basic sewing skills, you can craft a unique lampshade that’s sure to be a conversation starter! Happy crafting!
Conclusion
If you want to add a unique touch of style to your home decor, making your own fabric lampshade is the perfect solution. With just a few simple supplies, some basic sewing skills, and the knowledge about how to make a fabric lamp shade, you can quickly craft a one-of-a-kind custom shade in no time.
From bold colors and patterns to delicate textures, there are endless possibilities when it comes to creating custom fabric lampshades. Have fun experimenting, and don’t forget to share your finished project with us.
You Can Also Check This Out to Pack Lamp Shades for Moving

