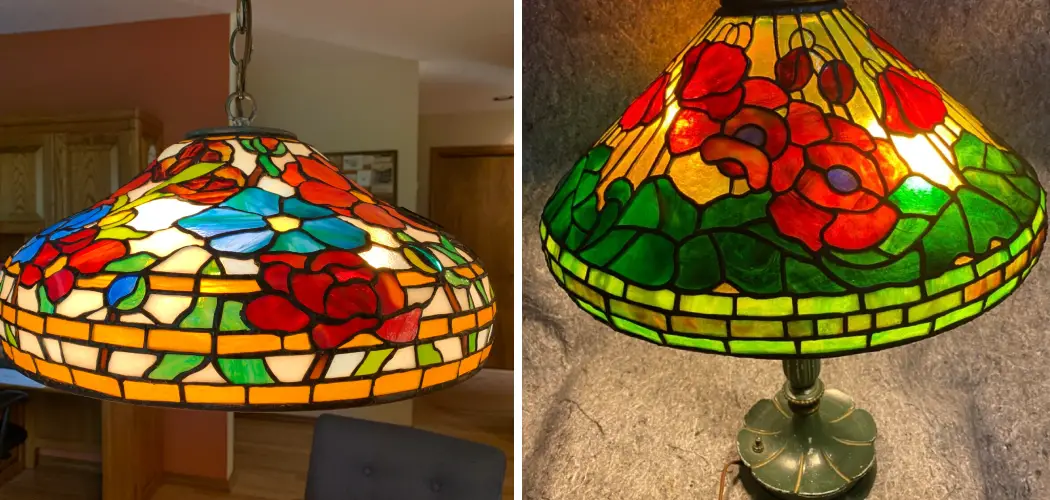
Creating a beautiful stained glass lamp shade can be a rewarding and artistic endeavor. Whether you’re a craft enthusiast or simply looking to add a unique touch to your home decor, making a stained glass lamp shade allows you to showcase your creativity while illuminating your space with a mesmerizing glow. In this article, we will explore the step-by-step process of how to make stained glass lamp shade.
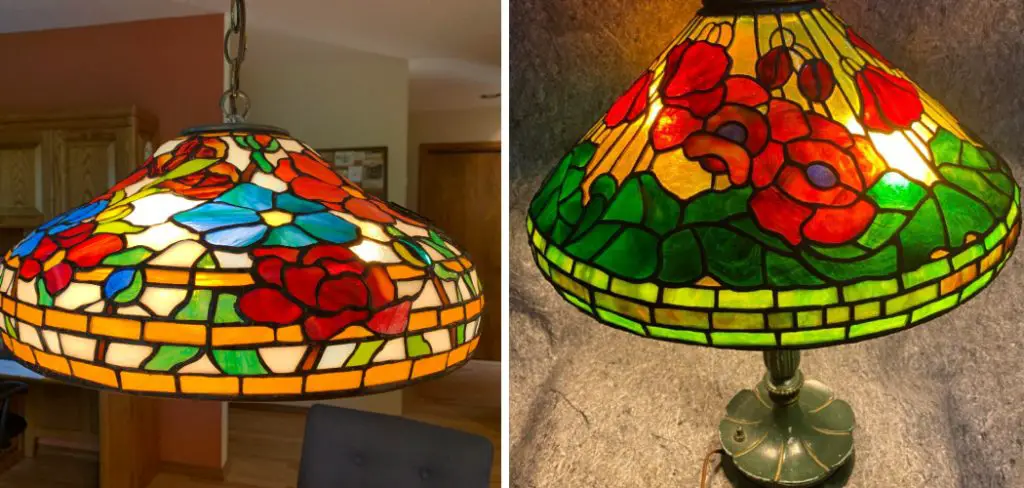
From gathering the necessary materials to designing and assembling the intricate glass pieces, we will guide you through each stage of the project. With patience, attention to detail, and a little artistic flair, you’ll soon have a stunning stained glass lamp shade that will become a focal point in any room. So, let’s dive in and discover how to bring the beauty of stained glass into your home!
Appreciating the Beauty and Versatility of Stained Glass Lamp Shades
Stained glass lamp shades are beautiful and versatile. Unlike other light fixtures, these shades come in a wide range of styles, sizes, shapes, colors, and textures that can be used to complement any home décor. Whether you prefer classic Tiffany-style lamps or something with unique modern designs, stained glass has something for everyone. Not only do they look stunning when illuminated, but they also provide a warm, inviting atmosphere.
In addition to aesthetics, the functionality of stained glass lamp shades is often overlooked. They are capable of diffusing light as it passes through the layers of remarkable intricate designs resulting in softer lighting effects which not only adds ambiance but can help reduce eye strain from harsh overhead lighting. Stained glass lamp shades are also incredibly durable and can last for many years with proper care and cleaning.
So, if you’re looking to enhance the beauty of your home or office, consider adding a stained glass lamp shade! With its unique style, versatility, and durability, it’s sure to be an eye-catching addition that will look gorgeous in any setting.
Essential Materials for Making a Stained Glass Lamp Shade
The first step in making a stained glass lamp shade is to gather the necessary materials. This project requires some specialty items that may not be found at a typical hardware store. It’s important to source the right supplies for success.
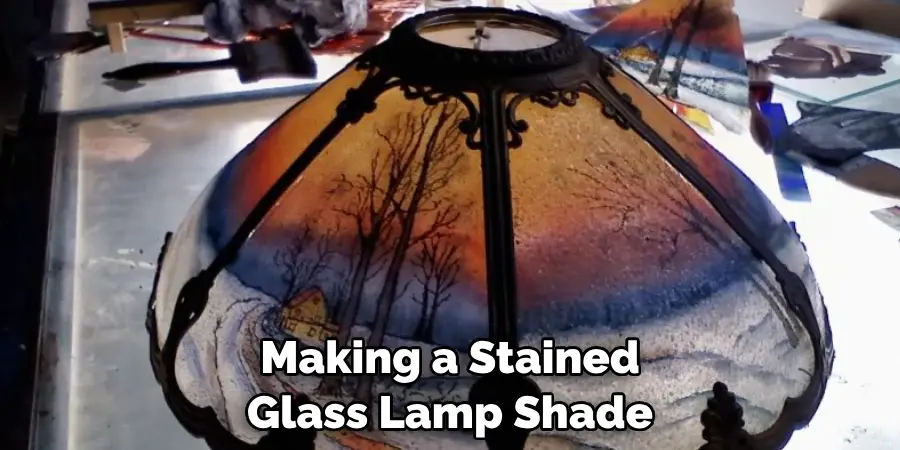
One of the main components of your stained glass lamp shade is going to be the frame, which can usually be purchased from any arts and craft store. Make sure to choose a frame size that best fits your lamp base.
A soldering iron is required to join the pieces of glass together and seal them. You can find one at any hardware or electronics store.
Other materials necessary for this project include flux, zinc strips, solder wire, protective wear (i.e., safety glasses and gloves), copper foil tape, glass cutters, and a variety of stained glass pieces in different shapes, sizes, textures and colors. All these items are available from an arts and craft store or online supplier.
10 Steps How to Make Stained Glass Lamp Shade
Step 1: Gather the Necessary Materials
To begin your stained glass lamp shade project, gather the materials you’ll need. This includes glass sheets in various colors, a glass cutter, a glass grinder, a soldering iron, lead came or copper foil, flux, solder, a soldering iron stand, a glass cleaner, a pattern or design template, a pencil or marker, safety goggles, gloves, and a work surface.
Step 2: Choose a Design and Create a Pattern
Select a design or pattern for your lamp shade. You can find pre-made patterns online or create your own. Trace the pattern onto a piece of paper or cardstock and cut it out. This pattern will serve as your guide throughout the project.
Step 3: Cut the Glass Pieces
Using your pattern, trace and cut the glass pieces needed for your design. Place the pattern over the glass sheets and carefully score the glass along the lines using a glass cutter. Gently break the glass along the scored lines, ensuring smooth and even edges.
Step 4: Grind the Glass Edges
Using a glass grinder, carefully grind the edges of each glass piece to remove any rough edges or sharp points. This will ensure a precise fit when assembling the lamp shade.
Step 5: Assemble the Glass Pieces
If using lead came, fit the lead channels around the edges of the glass pieces, following the design lines. If using copper foil, apply the foil tape along the edges of each glass piece, wrapping it securely around the edges.
Step 6: Solder the Glass Pieces Together
Using a soldering iron and flux, solder the joints where the glass pieces meet. Apply a small amount of flux to the joint, then heat the soldering iron and melt the solder onto the joint, creating a strong bond. Repeat this process for each joint until all the glass pieces are securely soldered together.
Step 7: Clean and Polish the Soldered Lamp Shade
Once the solder has cooled, clean the lamp shade using a glass cleaner and a soft cloth. Remove any flux residue or dirt from the glass surfaces. Polish the soldered areas with a polishing compound to achieve a smooth and shiny finish. Once all soldered areas are polished, the lamp shade is ready for use or to be hung in a window.
Step 8: Attach the Lamp Shade to a Lamp Base
To complete your stained glass lamp shade, attach it to a lamp base. Choose a base that complements the style and size of your lamp shade. Securely fasten the lamp shade to the base using appropriate hardware or a lamp shade ring.
Step 9: Install the Lamp Fixture
If your lamp base does not already have a lamp fixture, install one according to the manufacturer’s instructions. This will involve wiring the lamp socket, attaching a plug, and ensuring the electrical connections are safe and secure.
Step 10: Enjoy Your Handcrafted Stained Glass Lamp Shade
Once the lamp fixture is installed, insert a light bulb of the appropriate wattage and turn on the lamp. Sit back and admire the beautiful glow and intricate patterns created by your handcrafted stained glass lamp shade. Enjoy the ambiance and artistic expression it brings to your space.
Things to Consider When Making Stained Glass Lamp Shade
1. Safety:
Before you begin, be sure that all the tools and materials you need are easily accessible and within reach. Wear safety glasses to protect your eyes from shards of glass, and always use gloves to avoid cuts.
2. Pattern:
Choose a pattern that matches your desired outcome. There are many different types of stained glass patterns available online or in craft stores. Be sure to read the instructions for the pattern you select thoroughly, and determine how much glass is needed to complete it.
3. Glass:
Choose glass that is appropriate for the pattern you selected. Be aware of different textures and tints available, and select the one that best suits your needs. Remember that some types of glass may not be compatible with the soldering process; consult a professional before proceeding if necessary.
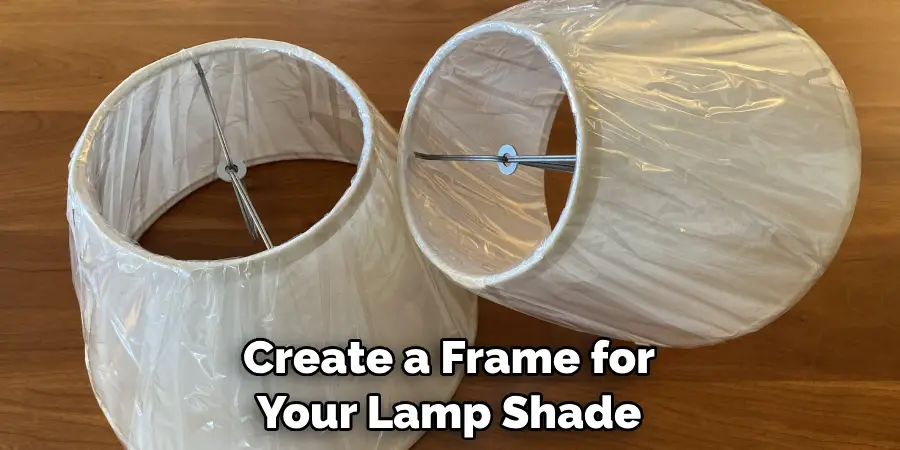
4. Frame:
If desired, create a frame for your lamp shade by using lead strips or copper foil tape. This will give your project a more polished and finished look. Take care to measure the frame accurately so it fits perfectly over your pattern.
5. Soldering:
Soldering is an important part of making a stained glass lamp shade, as this process holds all the pieces together securely. Choose a low-temperature soldering iron and rosin-core solder to avoid damage to your glass pieces. Practice using the soldering iron on scrap glass until you are comfortable working with it.
Some Common Mistakes When Making Stained Glass Lamp Shade
When making a stained glass lamp shade, there are some common mistakes that can be avoided.
1. Not Taking Time to Plan the Design:
It is important to consider the shape, size, and colors of the glass pieces that will be used in your lamp shade. This will help ensure the design is cohesive and fits well with the overall look of the room. Taking the time to plan out your design ahead of time will save time and frustration in the long run.
2. Not Wearing Protective Gear:
Using a glass cutting tool can have safety hazards, so it is important to wear protective gear, such as safety glasses and gloves, while working on your lamp shade. This will protect you from flying fragments of glass that could injure your eyes or skin.
3. Using Low Quality Glue:
It is essential to use high quality glue when assembling stained glass pieces for your lamp shade. Using low quality glue not only makes it difficult to adhere pieces together securely, but can also discolor the glass.
4. Not Cleaning the Glass:
Before beginning to assemble your lamp shade, it is important to clean the stained glass pieces with a soft cloth and warm water or a window cleaner. This will remove any debris or dirt on the surface that can affect adhesion of glue or foil tape.

Conclusion
Did you know that making a stained glass lamp shade is a fun and relaxing way to spend time? With the right tools, supplies, and instructions, you can now make your very own one-of-a-kind lampshade. Whether for yourself or as a gift, creating something unique is always a rewarding experience.
Now that we’ve explored the how to make stained glass lamp shade, it’s time for you to take action and create your own! Gather your supplies, have fun with the design process and enjoy yourself while constructing this beautiful work of art!

