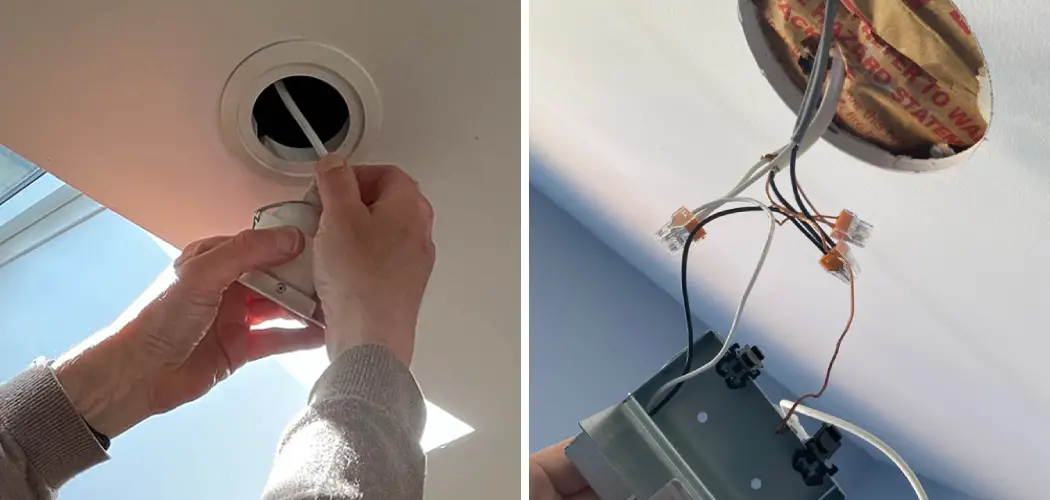
Wafer lights are a popular lighting option for both residential and commercial spaces due to their slim design and energy efficiency. They are easy to install and provide bright, even lighting. Here’s a step-by-step guide on how to install wafer lights in your space.
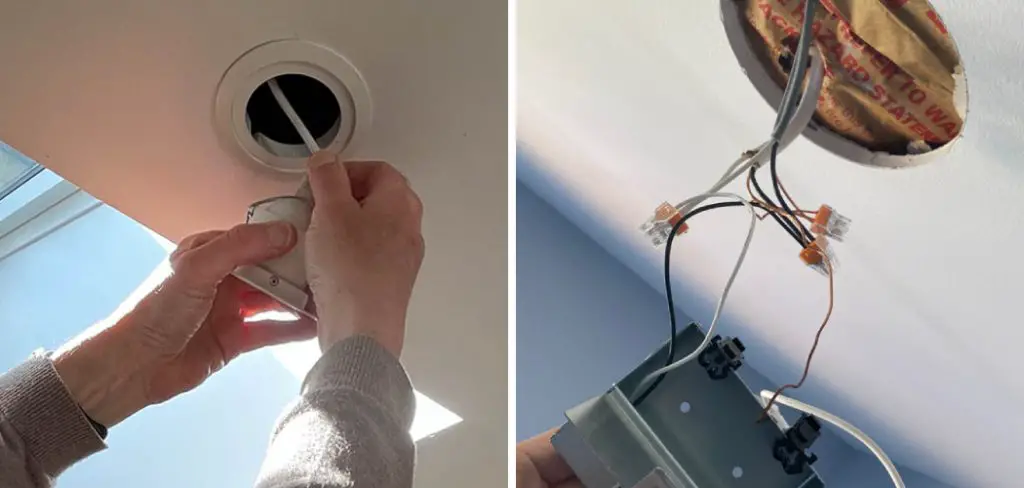
Wafer lights are a great addition to any home or office space. They are thin, energy-efficient, and provide a modern look to any room. If you are considering installing wafer lights in your space, this guide will help you through the process.
Necessary Items
Before you begin the installation process, here are some necessary items that you will need:
- Wafer lights
- Measuring tape
- Pencil
- Drywall saw or hole cutter
- Screwdriver
- Wire stripper and cutter
- Electrical tape
- Wire connectors
What is a Wafer Light?
Wafer lights are LED lighting fixtures that are designed to be ultra-slim and can be installed directly into the ceiling without a recessed housing. They are energy-efficient, produce minimal heat, and provide even lighting. Wafer lights come in various sizes and shapes, making them suitable for any space.
Some popular types of wafer lights include round, square, and rectangular shapes. They are also available in different color temperatures, allowing you to choose between warm or cool lighting.
8 Things to Know Before You Start
1) Planning is Crucial
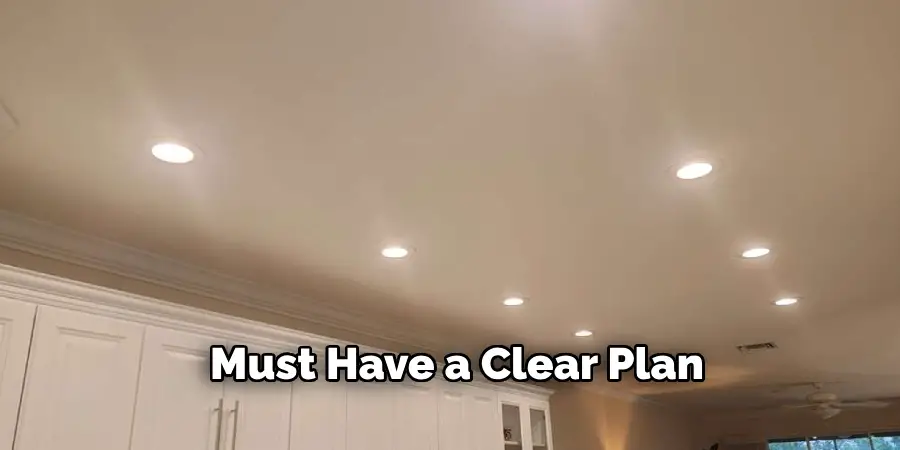
Before starting the installation process, you must have a clear plan on where you want to install your wafer lights and how many you will need. Consider factors like the size of the room, current lighting, and any potential obstacles. This will ensure that you have all the necessary materials and tools on hand.
2) Check for Electrical Wiring
Before cutting into your ceiling or wall, it’s essential to check for any electrical wiring. You don’t want to accidentally cut through a wire or create a fire hazard. If you are unsure, consult an electrician. If you do find any wiring, make sure to turn off the power before proceeding.
3) Measure Carefully
Measuring is crucial when it comes to installing wafer lights. Make sure to measure your space accurately and mark where you want to install the lights with a pencil. This will help ensure that all of your lights are evenly spaced and aligned.
4) Choose the Right Size and Placement
Wafer lights come in various sizes, so make sure to choose the right size for your space. You also want to consider placement, as different areas may require different lighting needs. For example, kitchens or workspaces might need brighter light, while living spaces may benefit from more ambient lighting.
5) Take Safety Precautions
Always prioritize safety when installing wafer lights. Make sure to wear protective gear like safety glasses and gloves, especially when working with electrical wiring. If you are not confident in your DIY skills, it’s best to hire a professional.
6) Follow the Manufacturer’s Instructions
Each manufacturer may have specific instructions for installation, so make sure to read and follow them carefully. This will ensure that you install the lights correctly and avoid any potential issues. If you encounter any problems, always refer to the instructions before proceeding.
7) Consider Dimmer Switches
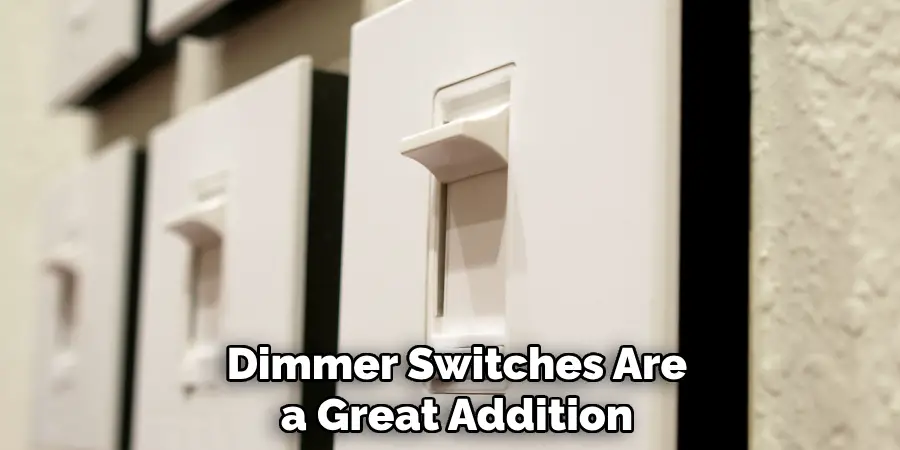
Dimmer switches are a great addition to wafer lights as they allow you to adjust the brightness according to your needs. If you plan on installing dimmer switches, make sure that your wafer lights are compatible with them.
8) Don’t Rush the Process
Installing wafer lights may seem like a simple task, but it’s essential to take your time and not rush the process. Make sure to double-check all measurements and connections before turning on the power. This will help avoid any mistakes or issues in the long run.
Installing wafer lights may seem intimidating, but with the right tools and knowledge, it can be a straightforward process. Make sure to plan carefully, take safety precautions, and follow instructions for a successful installation. Once you have your wafer lights installed, enjoy the bright and modern look they bring to your space!
12 Steps on How to Install Wafer Lights
Step 1: Gather Materials
Before beginning the installation process, make sure you have all the necessary materials. This includes your wafer lights, measuring tape, pencil, drywall saw or hole cutter, screwdriver, wire stripper and cutter, electrical tape, and wire connectors.
Step 2: Turn Off Power
As a safety precaution, turn off the power to the area where you will be installing the wafer lights. You can do this by flipping the circuit breaker switch to the “off” position while you work.
Step 3: Measure and Mark
Using your measuring tape, carefully measure where you want to install the wafer lights. Use a pencil to mark these spots on the ceiling or wall. Make sure to double-check your measurements and adjust accordingly.
Step 4: Cut Holes
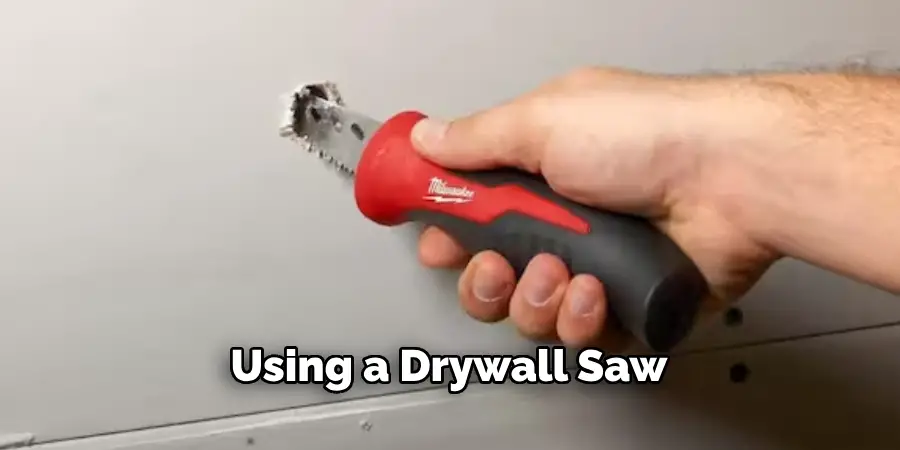
Using a drywall saw or hole cutter cut out holes in the ceiling or wall where you marked for the wafer lights. Make sure to follow the manufacturer’s instructions for the size of the hole needed. But as a general rule, the hole should be slightly smaller than the diameter of the light.
Step 5: Connect Wiring
If there is no existing electrical wiring in the area, you will need to install wires for your wafer lights. Use wire strippers and cutters to strip away the insulation from both ends of the wire. Then, connect one end to the power source and the other to the light. Make sure to secure the connections with wire connectors and cover them with electrical tape.
Step 6: Secure Lights in Place
Once the wiring is connected, carefully push the lights into their designated holes. Use screws or clips provided by the manufacturer to secure them in place. If necessary, adjust the lights to ensure they are evenly spaced and aligned.
Step 7: Test Connections
Before proceeding further, turn the power back on and test the connections. Make sure that all lights turn on and there are no electrical issues. If there are any problems, double-check your wiring and connections.
Step 8: Install Trim Rings
Most wafer lights come with trim rings that cover the edges of the hole and give a finished look. Gently snap these onto the light, making sure they are flush against the ceiling or wall. Never force them in, as this could damage the light or the ceiling/wall.
Step 9: Install Bulbs
If your wafer lights require bulbs, now is the time to install them. Follow the manufacturer’s instructions for the type and wattage of bulbs needed. Make sure they are securely in place before turning on the power.
Step 10: Install Dimmer Switch (optional)
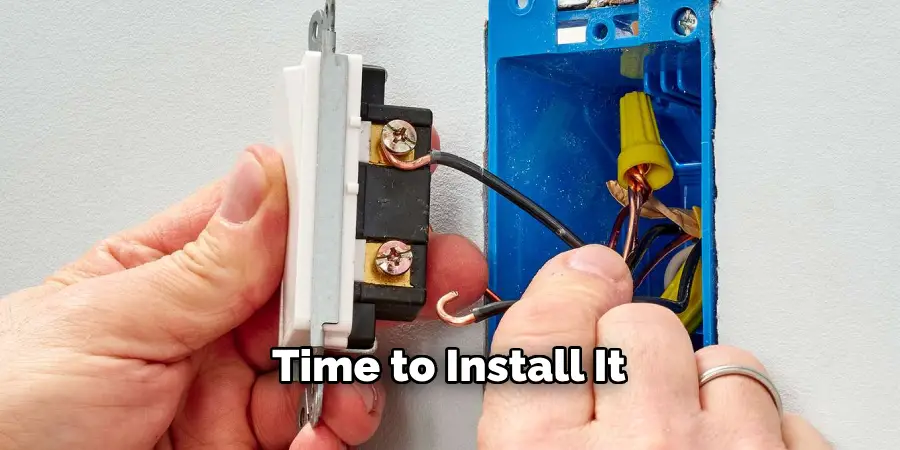
If you plan on using a dimmer switch with your wafer lights, now is the time to install it. Follow the manufacturer’s instructions for proper installation and compatibility with your lights. Then, test the dimmer switch to ensure it works correctly.
Step 11: Replace Furnishings and Decor
Once everything is properly installed and connected, you can replace any furniture or decor that was moved during the process. Make sure to clean up any debris from cutting holes or installing wires.
Step 12: Enjoy Your New Wafer Lights!
Congratulations, you have successfully installed your wafer lights! Turn off the power again and make any final adjustments if needed. Then, sit back, relax, and bask in the modern and bright ambiance of your newly installed wafer lights.
As you can see, installing wafer lights is not as daunting as it may seem. With proper preparation, safety precautions, and following instructions on how to install wafer lights carefully, you can have a professional-looking installation without the need to hire a professional. So go ahead and add some modern flair to your space with wafer lights!
8 Things to Avoid When Installing Wafer Lights
1) Rushing the Process
As mentioned earlier, it’s crucial not to rush the installation process. Take your time to measure and cut holes accurately, install wiring correctly, and secure lights in place properly. This will help avoid any mistakes or issues in the long run.
2) Not Planning Ahead
Before starting the installation, make sure to plan out the layout of your wafer lights. Consider factors like room size, ceiling height, and desired spacing between lights. This will help ensure a balanced and aesthetically pleasing installation.
3) Using Incorrect Tools
Using the wrong tools can not only make the installation process more difficult but also potentially damage the lights or surrounding surfaces. Make sure to have the necessary tools on hand and use them according to the manufacturer’s instructions.
4) Overloading Circuits
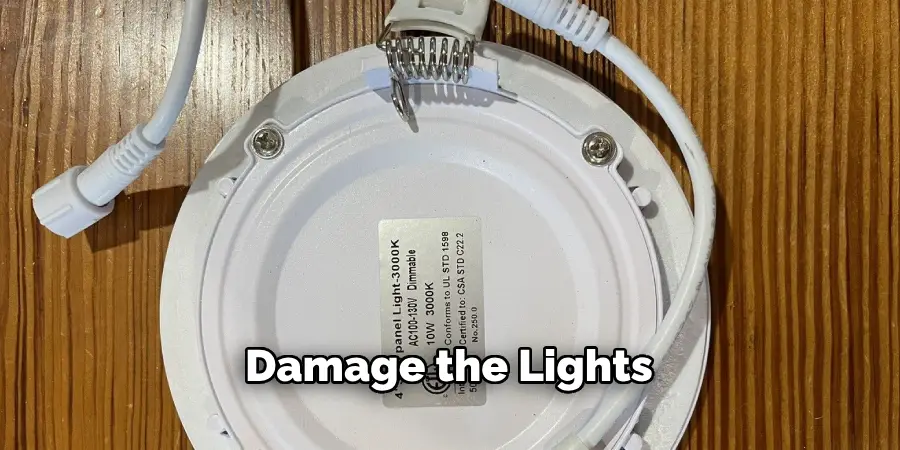
It’s important not to overload your electrical circuits when installing wafer lights. Make sure to follow the manufacturer’s recommendations for how many lights can be connected to a single circuit. If needed, hire a professional electrician for assistance.
5) Not Turning Off Power
Always turn off the power to the area where you will be working before starting the installation. This is a crucial safety precaution that should never be overlooked. When in doubt, turn off the power to the entire house.
6) Skipping Testing
After connecting wiring and installing lights, don’t forget to test them before proceeding further. This will help catch any electrical issues early on and avoid potential hazards later. And remember to turn the power off before making any adjustments.
7) Forcing Trim Rings
When installing trim rings, never force them in. This could damage the light or surrounding surface. If they don’t fit properly, double-check that you have the correct size and make any necessary adjustments.
8) Neglecting Dimmer Compatibility
If you plan on using a dimmer switch with your wafer lights, make sure to check its compatibility before installation. Using an incompatible dimmer could damage the lights or cause them to malfunction. Always follow the manufacturer’s recommendations.
In conclusion, by avoiding these common mistakes and following proper installation steps on how to install wafer lights, you can successfully install wafer lights in your space and enjoy their modern and sleek design for years to come.
8 Additional Tips for Installing Wafer Lights
1) Consider Using a Stud Finder
If you are installing wafer lights on a ceiling with drywall, it can be helpful to use a stud finder to locate and mark the studs. This will give you an idea of where to cut holes and provide extra support for the lights.
2) Use Caulk for Extra Insulation
To prevent air leaks and improve insulation, consider using caulk around the edges of the lights where they meet the ceiling or wall. This will also give a more finished look to your installation. Go for a clear or paintable caulk to blend in seamlessly.

3) Use Protective Eyewear
When working with electrical wiring and tools, it’s important to protect your eyes. Make sure to wear safety glasses or goggles throughout the installation process. More importantly, never work with electricity if you are not comfortable or experienced.
4) Get a Second Set of Hands
Installing wafer lights can be a two-person job. It’s helpful to have someone else hold the light in place while you secure it or make adjustments. This will also ensure that the lights are evenly spaced and aligned.
5) Take Breaks and Stay Hydrated
Installing wafer lights can be physically demanding, especially if you are working on a ceiling. Take breaks as needed to avoid exhaustion or fatigue. And remember to stay hydrated by drinking plenty of water throughout the process.
6) Clean Up Properly
After completing the installation, make sure to clean up any debris or materials from the project. This will not only leave your space looking tidy but also prevent any potential hazards or accidents.
7) Consider Adding a Vapor Barrier
If you are installing wafer lights in an area susceptible to moisture, such as a bathroom, consider adding a vapor barrier between the light and the ceiling. This will help prevent condensation buildup that could potentially damage the light.
8) Use Removable Adhesive for Trim Rings
If you are installing wafer lights in a rental space or simply want the option to change the trim rings in the future, consider using removable adhesive instead of permanent glue. This will allow you to switch out the rings without damaging them or the light.
Overall, by following these tips on how to install wafer lights and taking your time with the installation, you can achieve a professional and safe wafer light installation. Enjoy the modern and sleek look they bring to your space! So go ahead and add some modern flair to your space with wafer lights!
Keep in mind that if you are not confident in your abilities or run into any issues during the installation process, it’s always best to consult a professional electrician for assistance.
Frequently Asked Questions
Can Wafer Lights Be Installed in Any Room?
Yes, wafer lights can be installed in any room as long as there is enough space between the ceiling and attic for wiring and insulation. They are especially popular in kitchens, bathrooms, and living rooms.
Do I Need to Use a Junction Box?
A junction box is typically required by building codes and for safety purposes when installing wafer lights. It provides a secure place for connections to be made and helps prevent any electrical hazards.
Can I Install Wafer Lights on My Own?
While it is possible to install wafer lights on your own, it’s important to have some knowledge and experience with electrical wiring. If you are not confident in your abilities or run into any issues during the installation process, it’s best to consult a professional electrician for assistance. Installing wafer lights safely and correctly is crucial for the safety of your home and yourself. So, if you’re unsure, it’s better to be safe than sorry!
How Do I Determine the Right Spacing Between Lights?
The recommended spacing between wafer lights is usually around 4-6 feet. However, it ultimately depends on the size and layout of your space. Consider factors such as the ceiling height, desired lighting coverage, and any potential obstructions when determining spacing.
Remember to always follow the manufacturer’s recommendations for your specific lights as well. With these tips and guidelines, you can confidently install wafer lights in any room of your home!
Can I Install Wafer Lights on a Sloped Ceiling?
Yes, you can install wafer lights on a sloped or angled ceiling. However, you may need to use adjustable trims or consider the angle when determining the spacing between lights. It’s also important to make sure that the lighting is installed at a safe distance from any insulation.
Are Wafer Lights Energy Efficient?
Yes, wafer lights are energy-efficient as they use LED bulbs, which consume less electricity and have a longer lifespan compared to traditional bulbs. This can help save on energy costs in the long run. So not only do they look great, but they also have practical benefits!
Conclusion
Wafer lights are a popular and stylish choice for modern lighting in any room. With proper installation techniques and avoiding common mistakes, you can successfully add these sleek lights to your space. Remember to always follow safety precautions and consult a professional if needed.
Enjoy the sleek and modern look of wafer lights in your home or office! Wafer lights are a great option for adding modern and stylish lighting to any room. By avoiding common mistakes, following proper installation steps on how to install wafer lights, and using these additional tips, you can successfully install wafer lights in your space. Remember to always prioritize safety and seek professional help if needed.

