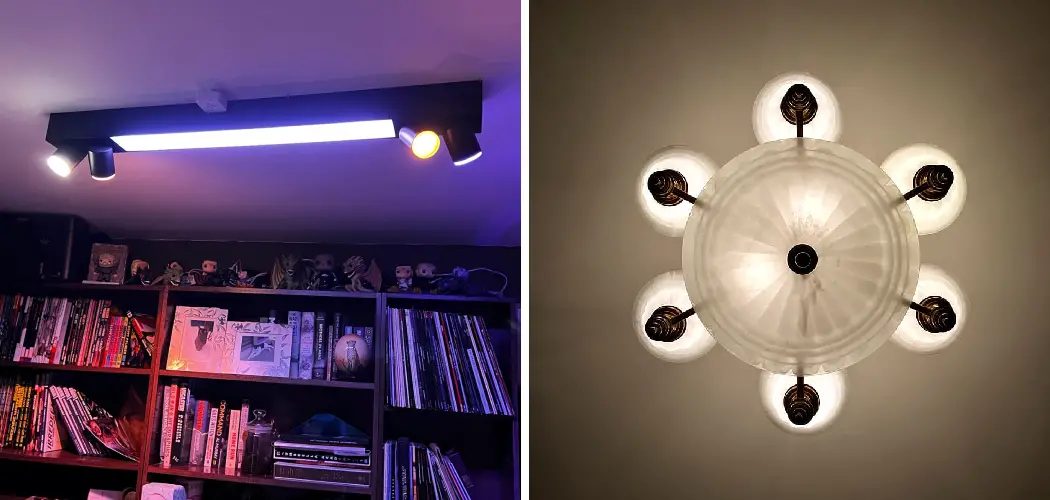
Drop ceilings are popular for modern homes and commercial spaces, as they can easily hide unsightly cables, pipes, and ductwork. But lighting installation can be tricky if you’re new to this.
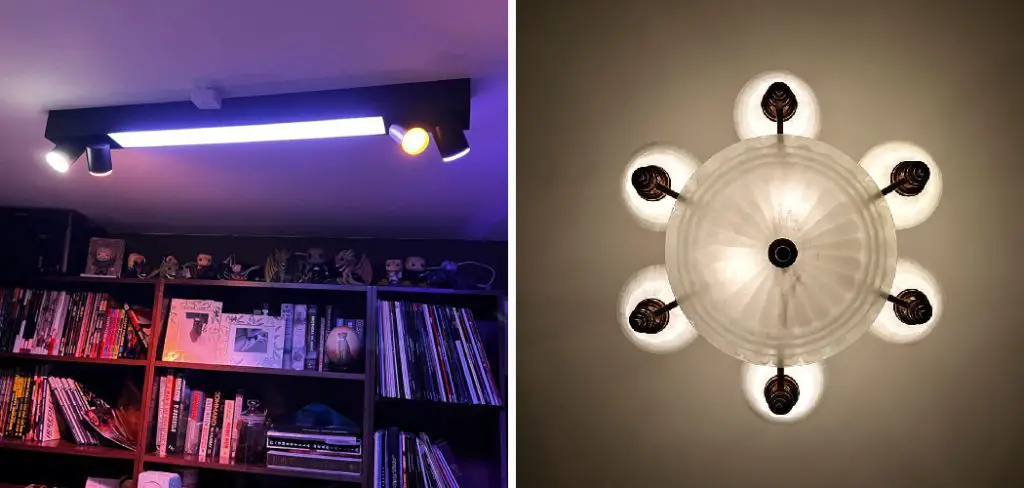
If you’re wondering how to install lights in a drop ceiling without hiring an electrician, you’re in luck! In this blog, we’ll share a simple step-by-step guide on how to install lights in drop ceiling successfully.
Can You Install Lights in The Drop Ceiling?
When it comes to creating the perfect lighting scheme for your space, drop ceilings can pose a bit of a challenge. But fear not, because the answer is yes – you can install lights in your drop ceiling! In fact, with a little bit of planning and preparation, you can achieve a stunning finish that will completely transform your room.
Whether you opt for recessed lighting, track lighting, or pendant lights, there are a variety of options available to suit your unique style and needs. So, go ahead and get creative – there’s no limit to what you can achieve with your drop ceiling lighting!
Why Should You Install Lights in Drop Ceiling?
Installing lights in a drop ceiling may not be the first thing that comes to mind when considering home or office renovations. However, this simple addition can significantly impact the overall ambiance and functionality of a space. By strategically placing lights within the drop ceiling, you can create a well-lit, visually appealing, and practical environment.
Whether you want to enhance a room’s aesthetic appeal or improve its functionality, installing lights in your drop ceiling is a cost-effective way to achieve your goals. With numerous lighting options available, from recessed lights to LED strips, you can customize your lighting design to suit your needs and preferences perfectly.

So why not take the first step towards creating a brighter, more comfortable living or working space by installing lights in your drop ceiling?
A Step-by-Step Guide on How to Install Lights in Drop Ceiling
1. Choose the Right Lights
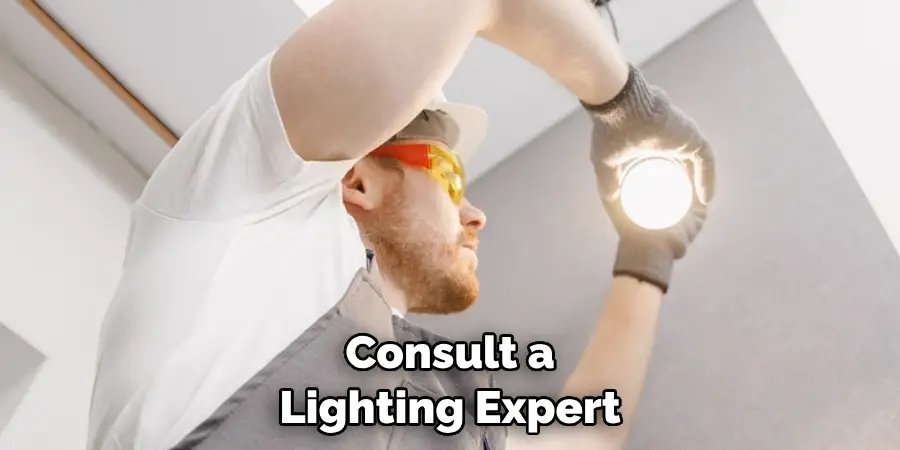
Before you start the installation, you need to select the right lights. Recessed lights work best in drop ceilings because they sit flush with the ceiling and don’t take up too much space. Measure your room and decide how many fixtures you’ll need based on the size of the room and its lighting requirements. If you’re unsure, consult with a lighting expert who can help you make the right choice.
2. Turn Off the Power
Safety first! Turn off the power supply to the room where you’ll install the lights by switching off the circuit breaker. Test the room’s outlets to ensure no power is flowing through them before proceeding with the installation.
3. Measure and Mark the Ceiling
Carefully measure and mark where you want your lights to go using a tape measure, ruler, and chalk line. For a regular pattern, keep the distance between lights consistent. For irregular placement, adjust as needed. You can also use a stencil to make it easier to mark where the lights will go.
4. Cut the Holes
Now it’s time to cut holes for your lights following the marked points. Use a drywall saw or a hole saw to make the cuts. Be sure to wear safety gear such as goggles, dust masks, and gloves to protect yourself from debris and dust.
5. Install the Lights
Finally, it’s time to install the lights! Feed the electrical wires in the pre-cut holes and then connect the fixtures together. Tighten any screws or brackets as required. Once you have installed all your fixtures, turn back on the power supply and test the lights to ensure they’re working correctly.
6. Secure the Lights
To make sure your lights are safely installed, secure them with screws or brackets. If you’re using screws, be careful not to over-tighten as this may cause damage. The same goes for any wall anchors or other hardware used to mount the fixtures.
7. Enjoy!
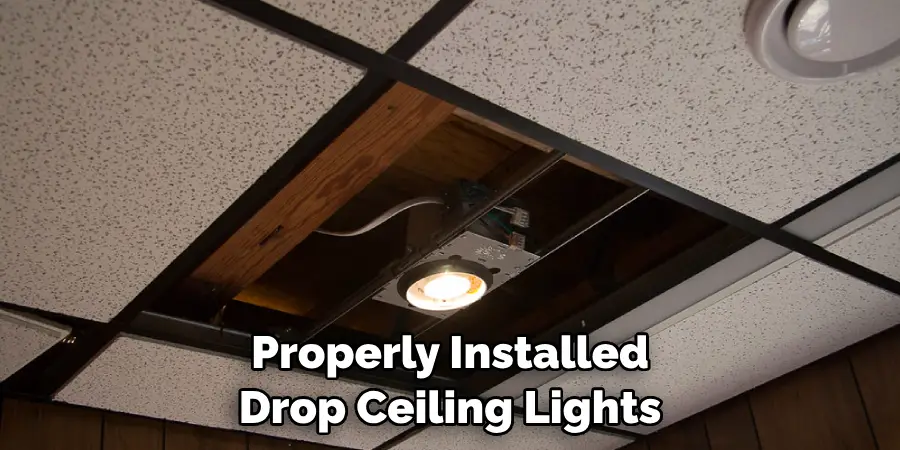
Once the lights are securely in place, you can enjoy your new lighting setup. Properly installed drop ceiling lights will give a room a much-needed facelift and make it look brighter and more inviting. Congratulations! You have successfully installed your lights in the drop ceiling.
Always consult a professional if you’re unsure about any of the installation steps. Safety should always be a top priority when it comes to electrical work. With the right preparation and tools, you can do an excellent job independently. Good luck!
5 Considerations Things When You Need to Install Lights on Drop Ceiling
1. Decide between Surface Mount and Suspended Fixtures
Whether you want to install a simple flush-mounted light fixture or an elaborate pendant, the type of lighting you choose should depend on your ceiling’s height and space requirements. For low ceilings, surface-mounted lights are ideal as they don’t hang too far down from the ceiling itself. However, suspended fixtures provide more options for higher ceilings and will help create a dramatic effect.
2. Choose the Right Power Source
A drop ceiling’s power source is typically located in the floor’s joists or behind false walls within the ceiling itself. Before you install any lights, ensure that the right type of wiring is accessible to power your new fixture safely. If you don’t know what type of wiring is required, it’s always a good idea to consult an electrician.
3. Buy the Correct Size and Type of Lights
When shopping for lights, make sure that the size and style of your new fixtures match the existing lighting in your room. Choose between warm white or cool white light colors to create different effects depending on how much natural light is already in the area. Additionally, pay attention to whether the fixture needs to be able to swivel or tilt which may require special mounting brackets.
4. Assemble Your Fixture
Once you’ve chosen and purchased your lights, you must assemble them before installing them into your drop ceiling. Make sure that all parts fit properly and that the wiring is secure. If you’re using fluorescent lighting, take extra care when mounting since these fixtures are heavier than standard incandescent lights.
5. Install Your Lights
Once your light fixtures have been assembled, it’s time to install them into the ceiling itself. Be careful not to damage wires or panels while setting up your new fixture, as this could cause an electrical hazard. Ensure that all screws and brackets are tight and securely fastened before you turn on the power switch for the first time.
Installing lights in drop ceilings can be tricky, but it doesn’t have to be a hassle with proper planning and preparation beforehand. By following these tips, you’ll have the perfect lighting for any room in no time.
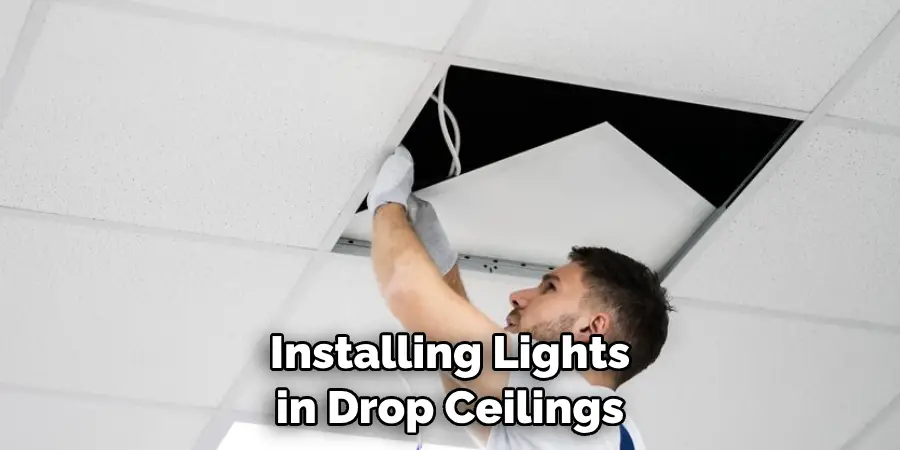
5 Benefits of Install Lights in Drop Ceilings
1. Increased Lighting Options
Drop ceilings offer a variety of lighting options, including recessed, surface-mounted fixtures and pendants. This allows for flexibility in how much light is needed in any given space depending on the type of activity taking place there.
2. Easy Installation
Drop ceilings are designed to be easy to install and maintain, making them ideal for DIY projects around the house or office. And since they don’t require complex wiring or plumbing work, you can save time and money when installing lighting in drop ceilings.
3. Versatile Design
Drop ceiling tiles come in various shapes and sizes to fit any room’s aesthetic needs while offering an abundance of design possibilities with your lights and other accessories.
4. Cost Savings
Drop ceiling systems are typically less expensive than traditional drywall or plaster ceilings, which can help save money on installations and maintenance. Additionally, drop ceilings require fewer materials and labor to install, which further reduces the overall cost of installation.
5. Noise Reduction
In addition to providing a flexible lighting solution, dropped ceilings also act as an acoustic barrier that helps absorb sound waves and reduce reverberation in larger spaces like auditoriums or gymnasiums. This allows for better communication between speakers as well as improved acoustics for music-listening experiences.
Installing lights in drop ceilings offers many benefits, including flexibility in design, easy installation, and cost savings. Whether you’re looking for a simple solution to adequately light up your room or a more elaborate design for entertainment purposes, drop ceilings can provide the perfect solution.
Some Common Mistakes People Make When Trying to Install Lights in Drop Ceilings
Installing lights in drop ceilings can be a tricky task. However, it’s not impossible if you have the right tools and knowledge. Unfortunately, some homeowners make mistakes that can make their home improvement project a disaster. One common mistake is installing recessed lights too close to the edge of the ceiling tiles, which can cause the tile to sag or even fall.
Another mistake is not taking into account the weight of the light fixture, which can cause damage to the ceiling grid. To avoid these mistakes, it’s best to hire a professional electrician or consult a lighting expert to ensure your lights are installed correctly and safely. With proper installation, your drop ceilings will not only look great but also provide you with ample lighting for your living space.
Conclusion
Installing lights in a drop ceiling can seem overwhelming at first, but with the right tools, patience, and attention to detail, you can do it on your own. Use this comprehensive guide to install drop ceiling lights like a pro and transform any room with quality lighting.
Remember, if you’re not confident with DIY electrical work, it’s always best to consult a licensed electrician to help install your lights safely and correctly. Thanks for reading our post about how to install lights in drop ceiling.

