Garden bollard lights are a great way to add both style and functionality to your outdoor space. They can provide much-needed lighting for pathways, driveways, or gardens while also adding a decorative touch. Installing garden bollard lights is a great way to enhance the aesthetic appeal and safety of your outdoor space.

These lights are popular for their warm glow, versatility, and low maintenance requirements. Installing garden bollard lights may seem daunting, but with the right tools and steps, it can be a simple DIY project. In this guide on how to install garden bollard lights, we will walk you through the process of installing garden bollard lights step by step.
Materials Needed
Before starting the installation process, make sure you have all the necessary materials on hand. These may include:
- Bollard lights
- Transformer
- Electrical wire
- Wire nuts
- Shovel or post-hole digger
- Concrete mix (if installed in concrete)
8 Things to Know Before You Start
1) Check Local Building Codes
Before starting any outdoor lighting project, it is important to check your local building codes and regulations. Some areas may have specific requirements for outdoor lighting, such as the height and placement of bollard lights. Make sure to adhere to these regulations to avoid any potential issues in the future.
2) Plan Your Lighting Layout
Take some time to plan out your lighting layout before starting the installation process. Consider the areas of your outdoor space that need lighting and where you want to place the bollard lights. This will help you determine how many lights you will need and where to position them for optimal lighting.
3) Choose the Right Lighting
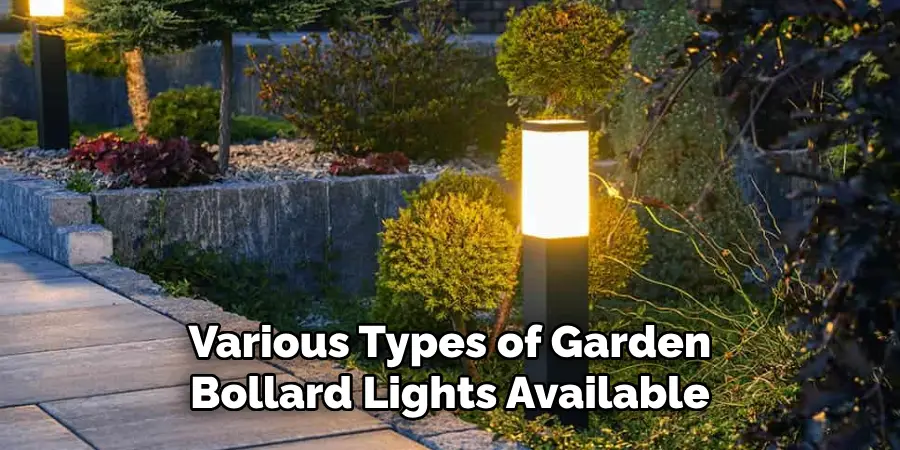
There are various types of garden bollard lights available, including solar-powered, LED, and low-voltage options. Consider your budget, the amount of light you need, and the style of your outdoor space when choosing the right lighting for your garden bollard lights.
4) Prepare the Ground
If you are installing bollard lights in soil or grass, use a shovel or post-hole digger to create a hole deep enough to accommodate the light and wiring. For concrete installations, use a drill to create a hole for the light’s base.
5) Lay Out The Wiring
Before burying the electrical wire, lay it out along your planned lighting layout. This will help you ensure that you have enough wire and determine where to make any necessary cuts or connections. Always remember to use waterproof wire connectors, such as wire nuts, when connecting wires.
6) Connect The Transformer
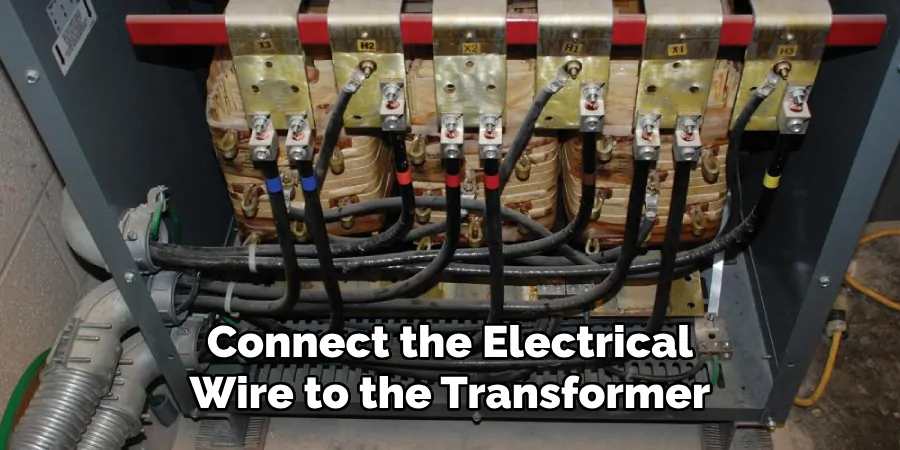
Once the wiring is in place, connect it to the transformer. This device will convert the standard voltage from your home into low-voltage power that is safe for outdoor lighting. Make sure to follow the manufacturer’s instructions for proper installation and ensure that all connections are secure.
7) Place the Lights
Carefully place the bollard lights into the prepared holes, making sure they are level and firmly in place. If installing in concrete, pour the mixture around the base of the light and smooth it out with a trowel. For soil or grass installations, backfill the hole with dirt and pat it down to secure the light in place.
8) Test Your Lights
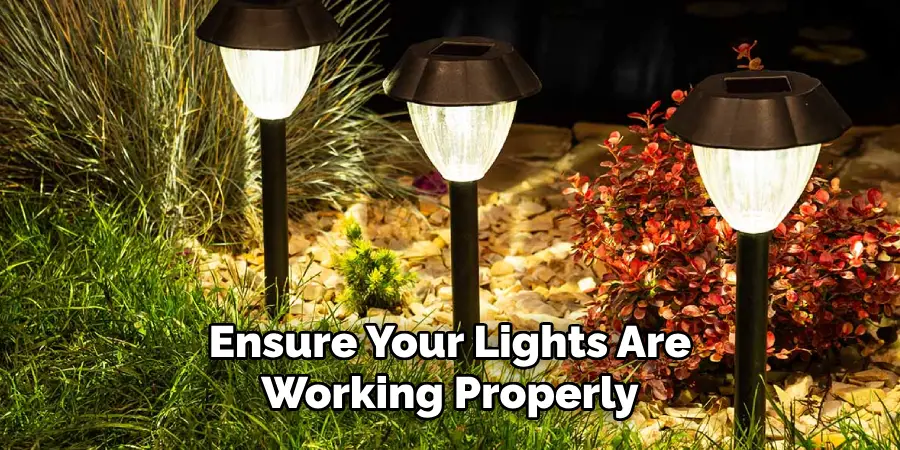
Before finishing up, test your lights to ensure they are working properly. If there are any issues, double-check all connections and make sure the transformer is on. Once everything is in working order, cover the wiring with mulch or bury it slightly underground for a clean look.
Installing garden bollard lights can be a simple and rewarding DIY project that adds both beauty and functionality to your outdoor space. With the right materials, tools, and steps on how to install garden bollard lights, you can easily install these lights and enjoy their warm glow for years to come.
Just remember to plan out your lighting layout, check local building codes, use waterproof connectors, and test your lights before finishing up.
10 Steps on How to Install Garden Bollard Lights
Step 1: Plan Your Lighting Design
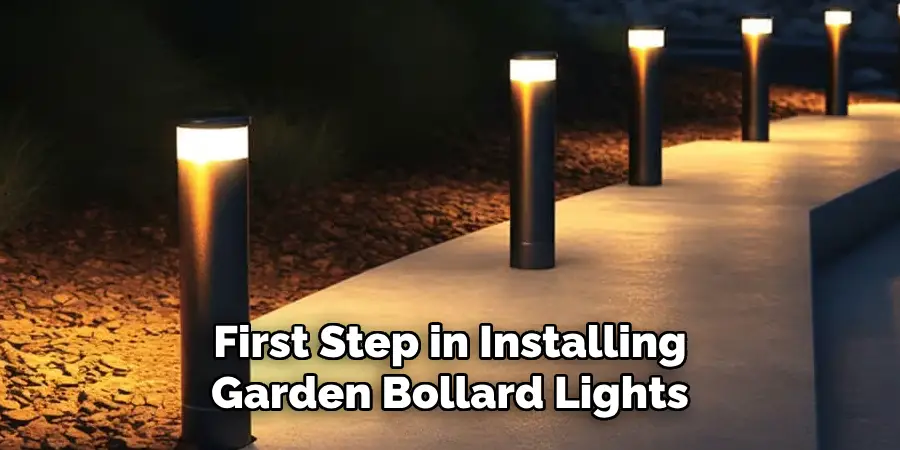
The first step in installing garden bollard lights is to plan your lighting design. Consider the areas of your outdoor space that need lighting, such as pathways or gardens, and decide where you want to place the lights for optimal functionality and aesthetic appeal.
Step 2: Gather Materials
Make sure you have all the necessary materials on hand before starting the installation process. These may include bollard lights, a transformer, electrical wire, wire nuts, a shovel or post-hole digger, and concrete mix (if installed in concrete).
Step 3: Check Local Building Codes
Before starting any outdoor lighting project, check your local building codes and regulations. This will ensure that you are following guidelines for the height and placement of bollard lights to avoid any issues in the future.
Step 4: Prepare the Ground
If installing in soil or grass, use a shovel or post-hole digger to create a hole deep enough to accommodate the light and wiring. For concrete installations, use a drill to create a hole for the light’s base.
Step 5: Lay Out The Wiring
Before burying the electrical wire, lay it out along your planned lighting layout. This will help you determine where to make any necessary cuts or connections.
Step 6: Connect The Transformer
Connect the electrical wire to the transformer, following the manufacturer’s instructions. The transformer will convert standard voltage from your home into low-voltage power that is safe for outdoor lighting.
Step 7: Place The Lights
Carefully place the bollard lights into the prepared holes, making sure they are level and firmly in place. If installing in concrete, pour the mixture around the base of the light and smooth it out with a trowel. For soil or grass installations, backfill the hole with dirt and pat it down to secure the light in place.
Step 8: Secure The Wiring
Once the lights are in place, secure the wiring using waterproof connectors such as wire nuts. This will ensure that your outdoor lighting is safe and functional. But always remember to turn off the transformer before making any connections.
Step 9: Test The Lights
Before finishing up, test your lights to ensure they are working properly. If there are any issues, double-check all connections and make sure the transformer is on. Once everything is in working order, cover the wiring with mulch or bury it slightly underground for a clean look.
Step 10: Enjoy Your New Lighting
Congratulations, you have successfully installed your garden bollard lights! Now it’s time to sit back, relax, and enjoy their warm glow in your outdoor space. With proper installation and maintenance, these lights can enhance the beauty and functionality of your garden for years to come.
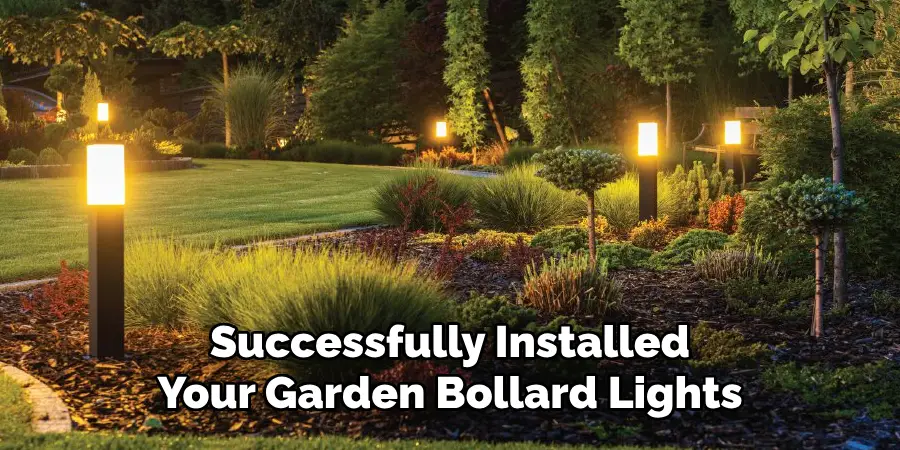
Garden bollard lights are a great way to add both beauty and functionality to your outdoor space. With the right materials, tools, and steps, you can easily install these lights and enjoy their warm glow for years to come.
Just remember to plan out your lighting layout, check local building codes, use waterproof connectors, and test your lights before finishing up. With these tips in mind, you can confidently tackle this DIY project and create a stunning outdoor space for all to enjoy. So get started on your garden lighting installation today and see the difference it makes in your outdoor area!
8 Things to Avoid When Installing Garden Bollard Lights
1) Not Planning Your Lighting Layout
Before starting your garden bollard light installation, it is important to plan out your lighting layout. This will ensure that you have enough lights and that they are placed in the most optimal locations for functionality and aesthetic appeal.
2) Ignoring Local Building Codes
It is crucial to check your local building codes and regulations before installing any outdoor lighting. Failure to do so may result in fines or having to redo the installation, causing unnecessary time and money.
3) Not Using Waterproof Connectors
Make sure to use waterproof connectors when securing the electrical wiring for your garden bollard lights. This will ensure the safety and functionality of your outdoor lighting, even in harsh weather conditions.
4) Inadequate Ground Preparation
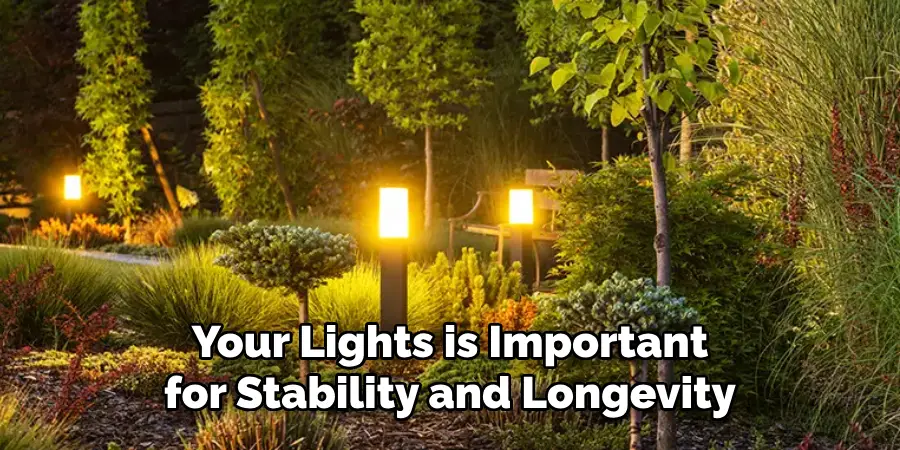
Properly preparing the ground before installing your lights is important for stability and longevity. Make sure to use the appropriate tools and techniques, depending on whether you are installing in soil, grass, or concrete.
5) Not Testing The Lights
Testing your lights before finishing up can prevent any issues or malfunctions in the future. It is important to make sure all connections are secure and that the transformer is on before burying any wiring.
6) Forgetting About Maintenance
To ensure your garden bollard lights continue to function properly, it is important to perform regular maintenance. This may include cleaning the lights and checking for any loose connections or damaged wires.
7) Choosing The Wrong Bulb
When selecting bulbs for your garden bollard lights, make sure to choose ones that are specifically designed for outdoor use. Using indoor bulbs can cause safety hazards and may not withstand outdoor conditions.
8) Rushing The Installation Process
It is important to take your time and follow all the necessary steps when installing garden bollard lights. Rushing through the process can lead to mistakes and potential hazards, so make sure to plan accordingly and take your time for a successful installation.
Overall, by avoiding these common mistakes, you can ensure a smooth and safe installation of your garden bollard lights and enjoy their beauty and functionality for years to come. With these additional tips on how to install garden bollard lights, you can keep your garden bollard lights in top shape and continue to enhance the beauty and functionality of your outdoor space.
8 Additional Tips for Maintaining Your Garden Bollard Lights
1) Regularly Clean The Lights
Dirt, debris, and weather elements can affect the appearance and functionality of your garden bollard lights. It is important to regularly clean them with a soft cloth or mild cleaning solution to remove any buildup.
2) Check For Loose Connections
Over time, connections may become loose due to weather or other factors. Make sure to regularly check and tighten any loose connections to ensure your lights are working properly. Always remember to turn off the transformer before making any adjustments.
3) Trim Surrounding Plants
Plants and shrubs near your garden bollard lights can obstruct the light’s output. Make sure to trim and maintain these plants regularly to ensure maximum lighting efficiency. Other objects, such as furniture or decor, should also be periodically rearranged to avoid blocking the lights.
4) Monitor The Wiring
Inspect the wiring every so often for any signs of damage or wear. Exposure to weather elements can cause wires to deteriorate, leading to potential safety hazards. If you notice any issues, make sure to replace the damaged wiring immediately.
5) Adjust The Lighting Angle
Garden bollard lights are designed to be adjustable to direct the light where it is needed most. Regularly check and adjust the angle of your lights to ensure they are illuminating the desired areas of your garden.
6) Use Seasonal Bulbs
If you have different lighting needs for different seasons, consider using seasonal bulbs in your garden bollard lights. For example, warmer bulbs for winter and cooler bulbs for summer can create a cozy and inviting ambiance in your outdoor space.
7) Consider Solar-Powered Lights
For a more eco-friendly and cost-effective option, consider investing in solar-powered garden bollard lights. These lights use renewable energy from the sun and require minimal maintenance. Soak up the sun during the day and enjoy their warm glow at night.
8) Keep Spare Bulbs On Hand
It’s always a good idea to have spare bulbs on hand in case any of your garden bollard lights burn out. This will save you from having to make an emergency trip to the store, especially if your lights are located in hard-to-reach areas.
Remember to stay safe and follow proper maintenance procedures for a hassle-free experience with your garden bollard lights. Happy lighting! So go ahead and enjoy those warm summer nights under the glow of your well-maintained and properly installed garden bollard lights.
Frequently Asked Questions
Can I Install Garden Bollard Lights Myself, or Do I Need to Hire a Professional?
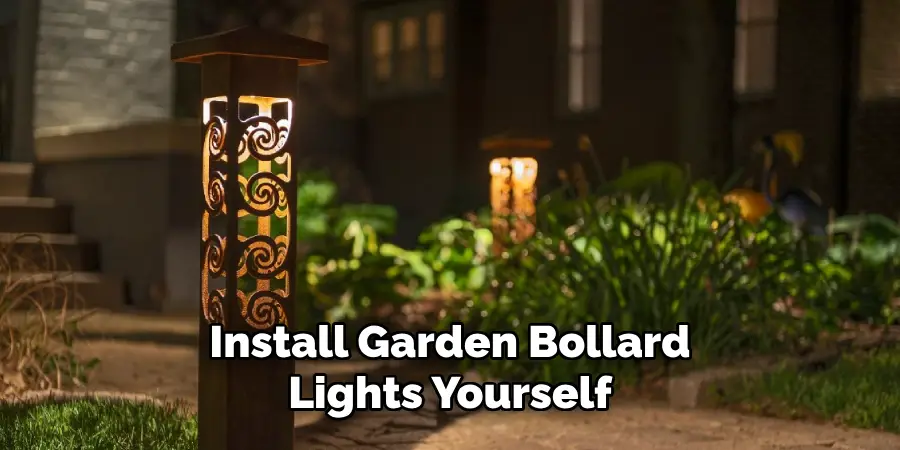
It is possible to install garden bollard lights yourself, but it is recommended to seek the assistance of a professional for safety and proper installation. If you are not experienced with electrical work, it is best to leave it to the experts.
Can I Use Indoor Bulbs for My Garden Bollard Lights?
No, it is important to use bulbs specifically designed for outdoor use in your garden bollard lights. Indoor bulbs may not withstand the weather conditions and can cause potential hazards.
How Often Should I Clean and Maintain My Garden Bollard Lights?
It is recommended to clean and inspect your garden bollard lights at least once a month. However, depending on the location and weather conditions, you may need to clean and maintain them more frequently.
Will My Garden Bollard Lights Work During Power Outages?
If your garden bollard lights are connected to a main power source, they will not work during power outages. However, if you have solar-powered lights, they will continue to work as long as they have been fully charged. In conclusion, proper installation and maintenance are key to enjoying your garden bollard lights for years to come.
How Do I Choose the Right Size and Style of Garden Bollard Lights for My Space?
Consider the size and layout of your garden or outdoor space when choosing the right size and style of garden bollard lights. Also, think about the purpose of the lights – whether they are for decorative or functional purposes, and choose a design that complements your overall outdoor aesthetic.
How Often Should I Perform Maintenance on My Garden Bollard Lights?
It is recommended to perform maintenance on your garden bollard lights at least once every few months or as needed. Regularly checking and cleaning them can prevent potential issues and ensure their longevity. As always, refer to the manufacturer’s instructions for specific maintenance guidelines.
Are There Any Safety Precautions I Should Take When Installing or Maintaining Garden Bollard Lights?
Yes, it is important to turn off the transformer and disconnect any power sources before performing installation or maintenance on your garden bollard lights.
Additionally, make sure to wear protective gear such as gloves and eye protection to prevent any accidents. If you are unsure or uncomfortable with any step of the process, it is best to seek professional assistance. Safety should always be a top priority when dealing with electrical elements.
Can I Use Indoor Bulbs for My Garden Bollard Lights?
No, indoor bulbs are not suitable for outdoor use. Make sure to use bulbs specifically designed for outdoor lighting to avoid any safety hazards and ensure their durability in outdoor conditions. Overall, it is important to prioritize safety and proper maintenance when installing and using garden bollard lights.
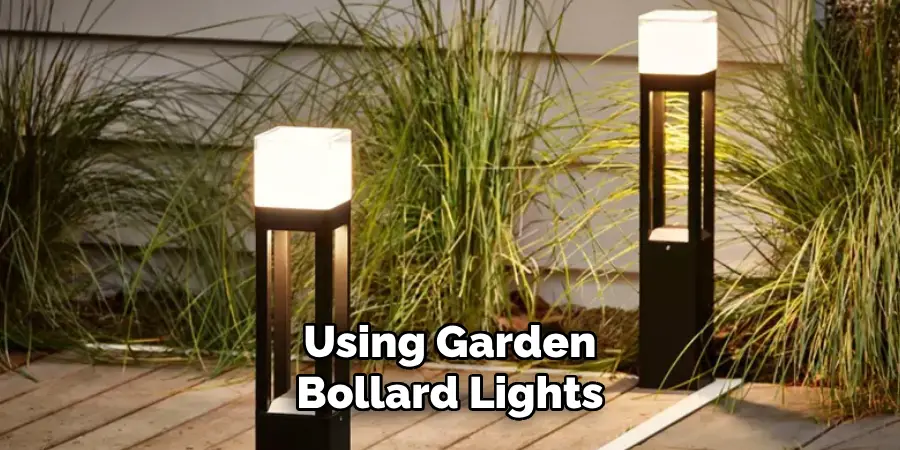
With these additional tips, you can keep your outdoor space well-lit and beautiful for years to come. So go ahead and let your garden bollard lights add a touch of elegance and functionality to your outdoor oasis.
Conclusion
In conclusion, garden bollard lights are a great addition to any outdoor space. They not only provide functional lighting but also add to the overall aesthetics of your garden. By avoiding common mistakes and following proper maintenance tips on how to install garden bollard lights, you can ensure a successful installation and long-lasting enjoyment of your garden bollard lights.
Happy gardening! So make sure to plan your lighting layout, prepare the ground properly, use waterproof connectors, and regularly maintain your lights for a safe and beautiful outdoor lighting experience.

