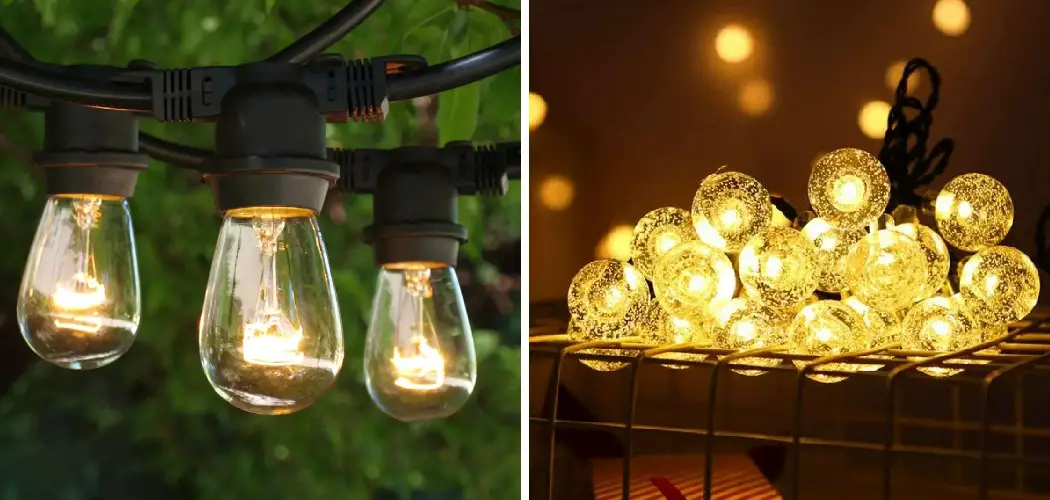
String lights are an easy and cost-effective way to add ambiance and a cozy feel to any space. Whether you’re decorating your backyard, a patio, or just your living room, string lights are an excellent addition to any room. However, if you want to hardwire your string lights, the installation might seem complicated. That’s why in this blog post, we’ll take a closer look at how to hardwire string lights step-by-step.
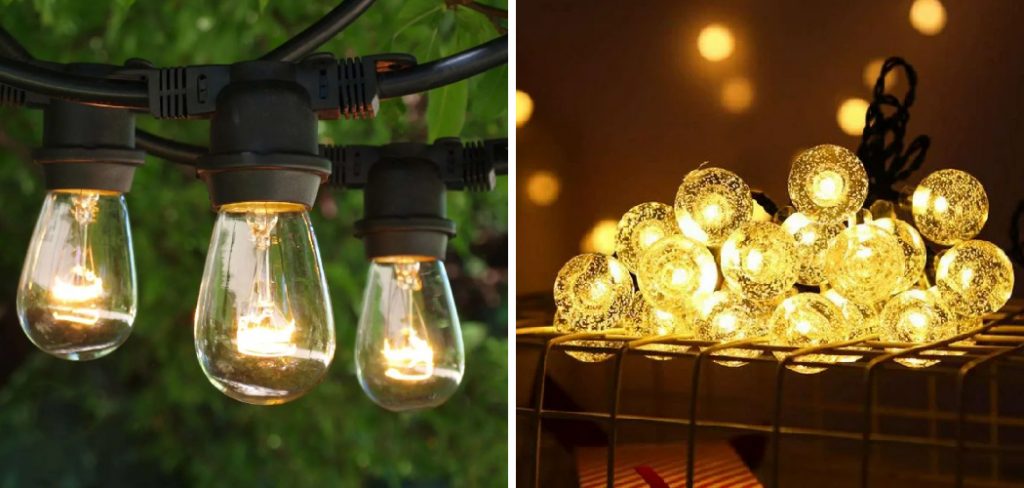
Can You Hardwire String Lights?
String lights are a delightful addition to any space, providing warm and ambient lighting that can transform a room or outdoor area into a cozy oasis. While they are often thought of as temporary decor, it’s possible to hardwire your string lights for a more permanent installation.
Whether you want to create a permanent DIY lighting fixture or simply avoid the hassle of plugging and unplugging your lights all the time, hardwiring your string lights is an excellent solution. With a bit of electrical know-how and the right tools, you can give your string lights a professional look and create a space that’s a little more magical.
Why Should You Hardwire String Lights?
String lights are a classic and beautiful way to add ambiance to any space. Whether you’re hanging them indoors or out, there’s something about the soft glow that just makes everything feel extra cozy.
But if you’re planning on using string lights frequently, it’s worth considering hardwiring them into your home’s electrical system. Not only will this eliminate the need for unsightly cords and wires, but it also ensures that your lights will always turn on and off with the flick of a switch.
Plus, hardwiring your string lights means you can easily incorporate them into your home decor without worrying about tripping hazards or clutter. So if you’re looking to take your string light game to the next level, consider going the hardwired route. Your home (and your future self) will thank you!

How to Hardwire String Lights – A Complete Guide
Step 1: Plan Your Route and Calculate Your Power Needs
The first step in hardwiring your string lights is to plan your route and calculate your power needs. That means you need to determine where you want to hang your lights and how much power you need to run them.
You must calculate the voltage and amperage of your lights to select the appropriate wires. If you’re unsure of how to do this, consult the user manual or refer to the manufacturer’s website for the specifications.
Step 2: Install Your Power Source
Once you have determined your power needs and selected the appropriate wires, you need to install your power source. A power source can be an outdoor electrical box or an indoor outlet, depending on your preference. Use a drill to drill a hole in the surface where you want your power source to be installed, and feed the wires through the hole. Then, connect the wires to the power source.
Step 3: Wire Your Switch and String Lights
Next, you need to wire your switch and string lights. To do this, you will need to install a switch box near the power source. Connect the wires from the power source to the switch box and add an additional wire that will connect to the string light’s positive wire. Then, attach the string lights to the switch box and connect the negative wire of the string lights to the negative wire of the power source.
Step 4: Install the Lights
After the wiring is complete, you can install your string lights. Use screw hooks to create support points for the lights. Ensure that the hooks are sturdy enough to hold the weights of the lights. Once the hooks are installed, attach the string lights to the hooks and route the wires to the switch box.
Step 5: Test Your System
The final step is to test your system to ensure that everything is working correctly. After you’ve completed the installation, turn on the switch and test that the lights turn on. If everything works correctly, you can pack the switch box and the power source back into their respective coverings.
Step 6: Secure the Connections
Now that you’ve tested the system, it’s time to secure the connections. Use electrical tape and wire nuts to ensure that all of your connections are properly sealed. This will prevent water and other elements from getting into your wiring and causing problems with your string lights in the future.

Step 7: Enjoy Your Lights
The last step is to enjoy your lights! Now that you have installed and wired your string lights sit back and admire your handiwork. You can proudly say that you have successfully hardwired your own string lights. Congratulations! With these steps, you’ve learned how to hardwire string lights like a pro. Enjoy the beautiful lights in your home for years to come.
Now that you have the knowledge and know-how, get out there and start hardwiring your own string lights! It’s a great way to add some extra light and ambiance to any space. Good luck!
5 Considerations Things When You Need to Hardwire String Lights
Installing string lights can be a great way to brighten up your living space. But hardwiring may be the better option if you’re looking for something more permanent. Hardwiring gives your lighting system an added layer of safety and security that plugging in won’t provide. Here are five considerations when hardwiring string lights:
1. Check your local laws and regulations. Before you start the hardwiring process, make sure to check your state’s recommended guidelines for this type of installation. Different states have different regulations when it comes to electrical projects, so it’s important that you are aware of what is and isn’t allowed in your area.
2. Research the best installation materials. When hardwiring string lights, you’ll need to purchase a few supplies to ensure safe and secure installation. Make sure you know what kind of materials are recommended for your project—from steel conduit support straps to insulated wire connectors—so that everything is properly secured and up-to-code.
3. Choose the right type of string lights. Not all string lights are created equal, so be sure to research the various types available and select the option that best fits your needs. Make sure to take into account factors such as wattage limits, voltage capacity, and load requirements when making a decision.
4. Work with an experienced electrician. To ensure that your string lights are safely and securely installed, it’s a good idea to hire an experienced electrician. An expert can make sure everything is properly connected and compliant with local regulations.
5. Test for safety before connecting power. Once the hardwiring process is complete, test your system one last time before you connect to any power sources. This final step ensures that all of your connections are safe and secure, and it can prevent dangerous accidents or malfunctions in the future.

By following these five considerations when hardwiring string lights, you can safely and securely install your lighting system. With this added level of security, you can rest assured that your living space will be well-lit. So get started on your project today and enjoy the beauty of hardwired string lights!
5 Benefits of Hardwire String Lights
String lights can add a touch of beauty and warmth to any home. But hardwiring your string lights may be the way to go if you’re looking for something more permanent. Hardwiring provides added safety and security that plugging in simply cannot do. Here are five benefits of hardwiring string lights:
1. It can save energy. Hardwiring your string lights will allow you to enjoy a more efficient lighting system since the lights are connected directly to the power source. This eliminates any need for extra cords or plugging in, which can often cause energy waste.
2. It won’t be affected by power outages. Power outages can be annoying and disruptive, but with hardwiring your string lights, they won’t be affected. The lighting system will remain operational regardless of any power outages that might occur.
3. It is safer than plugging in. Hardwired string lights are far safer than those plugged into outlets since there is no risk of electric shock or fire hazard associated with them.
4. It can eliminate trip hazards. Hardwiring eliminates the need for any cords, which can often be a tripping hazard when they’re strewn about the room. This makes your home a safer environment for everyone to enjoy.
5. It provides an added layer of security. With hardwired string lights, you won’t have to worry about any cords being easily unplugged or tampered with. This added level of security can provide peace of mind and help keep your home secure.
By hardwiring your string lights, you can enjoy all these benefits and more. With the improved safety and efficiency that this type of installation provides, it’s no wonder why so many people are choosing to hardwire string lights. So get started on your project today and enjoy the beauty of hardwired string lights!

Conclusion
Installing string lights can be challenging, but it’s worthwhile when done correctly. Hardwiring your string lights can add safety, elegance, and a neat appearance to your home. This guide provides an overview of how to hardwire string lights with relative ease.
Please make sure that the installation is in compliance with your local electrical codes. Remember to take the necessary safety precautions, such as turning off the power at the breaker box, before proceeding with the installation.

