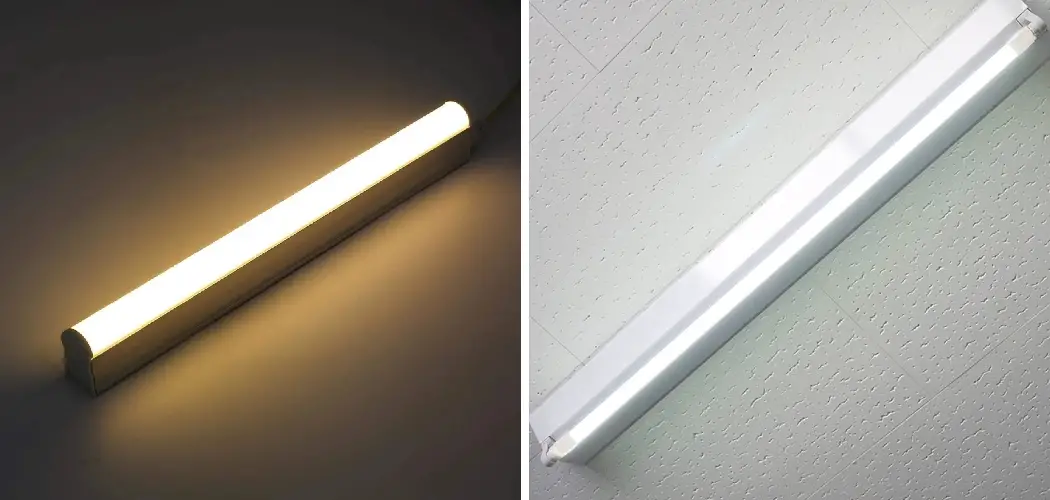
As technology advances, we are presented with more energy-efficient options for lighting up our homes and workplaces. One such option is the single-pin LED tube light, designed to replace traditional fluorescent tubes. LED tube lights have a longer lifespan, consume less energy, and produce less heat than traditional lighting.
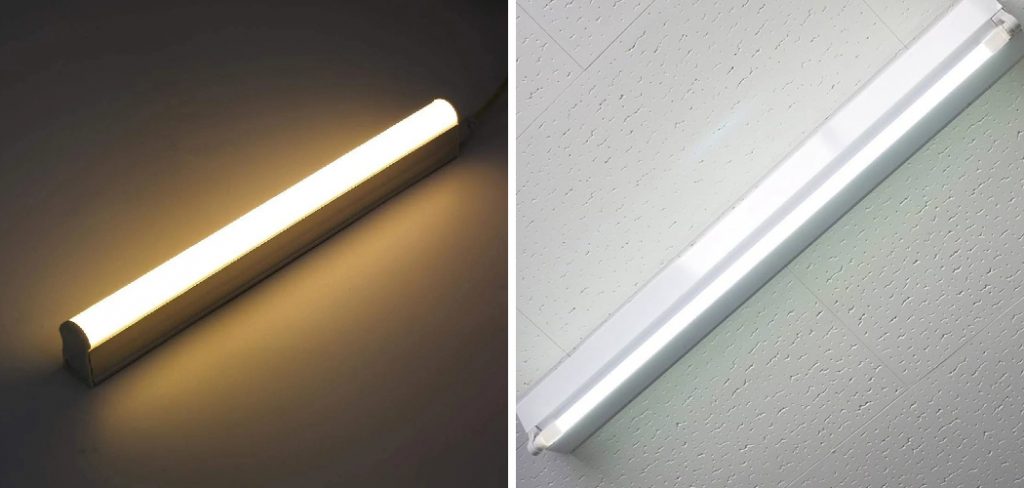
However, installing these lights can be daunting, especially if you’re not knowledgeable about electrical wiring. Lucky for you, we have prepared an easy-to-follow guide on how to wire single pin LED tube lights.
Can You Wire Single-Pin LED Tube Lights?
If you’re looking to update your lighting system to the more efficient LED option, you might be wondering if you can wire single-pin LED tube lights. The answer is yes – however, it’s important to follow the instructions carefully to ensure proper installation.
Single-pin LED tube lights require a ballast bypass, meaning you must remove the old ballast and wire the new LED lights directly to the power source. This might seem daunting, but with the right tools and some guidance, it can be a relatively simple process. Once you switch to single-pin LED tube lights, you’ll enjoy the energy-saving benefits and brighter illumination they provide.
Why Should You Wire Single-Pin LED Tube Lights?
Single-pin LED tube lights are becoming increasingly popular for their energy efficiency, long lifespan, and ease of installation. However, wiring these lights correctly is crucial for their optimal performance. By wiring single-pin LED tube lights, you can ensure that they function safely and efficiently while also reducing the risk of any electrical hazards.
In addition to safety, properly wiring your single-pin LED tube lights can save you money on energy costs and prolong the lights’ life. Whether you’re an experienced electrician or a DIY enthusiast, wiring these lights is a simple task that can greatly benefit both your wallet and the environment. So why wait? Get started on wiring your single-pin LED tube lights today and reap the benefits for years to come!
Brighten Up Your Space: How to Wire Single Pin LED Tube Lights
Step 1: Assemble the Necessary Tools
Wiring single-pin LED tube lights requires some basic tools. You’ll need a screwdriver, wire stripper, electrical tape, and wire nuts. Make sure you have these tools before you proceed with the installation.
Step 2: Shut off the Power
Before beginning any electrical work, turn off the power. Access the circuit breaker panel and switch off the circuit that supplies power to the old fluorescent light fixture. You may need a voltage detector to ensure no electrical current flows through the wires.
Step 3: Remove the Old Fluorescent Tube Light
Using a screwdriver, remove the cover of the old fluorescent light fixture. Take out the old tube light, ensuring you don’t damage the existing wiring. After removing the tube light, take note of the wiring configuration, so you can wire the new LED tube lights correctly.
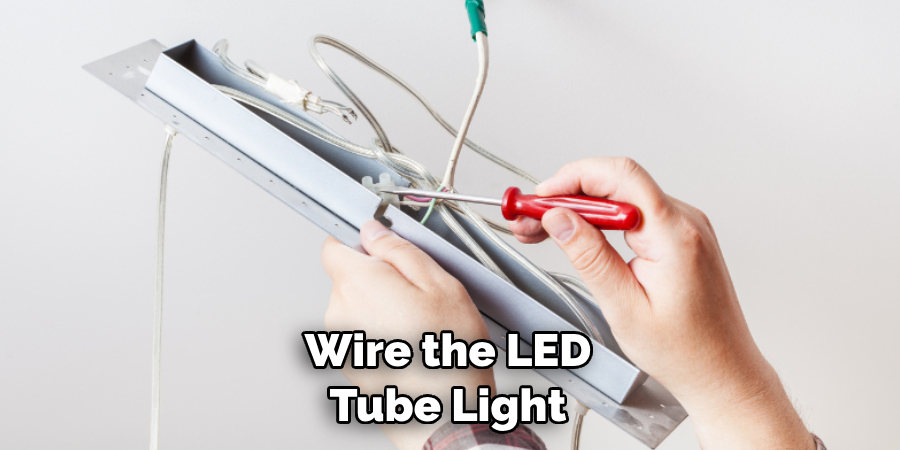
Step 4: Wire the New LED Tube Light
LED tube lights only require a simple wiring configuration. You’ll need to connect one end of the LED tube light to the white wire while the other goes to the black wire. Use a wire stripper to remove the coating from the wires and twist the exposed strands together.
Cover the joined wires with a wire nut and wrap the connection with electrical tape. Connect the other end of the LED tube light in the same way.
Step 5: Mount the New LED Tube Light
Now that you’ve wired the new LED tube light, you can mount it in the fixture. Line up the mounting pins with the holes in the fluorescent fixture and secure it into place.
Step 6: Replace the Cover
Replace all the parts removed from the old fluorescent light fixture. Ensure the cover is securely in place and there are no gaps or open spaces.
Step 7: Turn on the Power
Now it’s time to turn on the power. Go back to the circuit breaker panel and switch on the circuit for your LED tube light. Test out your new lighting setup and make sure everything is working as intended.
That’s it! You’ve now learned how to wire single pin LED tube lights. Following these steps can help you install your new LED lighting system quickly and safely. Enjoy the bright, energy-efficient light of your LED tube lights!

5 Considerations Things When You Need to Wire Single Pin LED Tube Lights
1. Safety First
Make sure you turn off the power before you start, and use insulated tools when wiring your single-pin led tube lights. Wearing protective glasses is also recommended to protect your eyes from sparks and debris.
2. Correct Connectors
One of the key considerations when wiring single-pin LED tube lights is using the right connectors for both sides. Check the size and type of connectors that come with your LED tube lights and choose the right ones to ensure a successful connection.
3. Wire Length
The length of the wire should be measured precisely according to your requirements. If it is too long, it can cause issues like voltage drop and line noise. On the other hand, if it is too short, it can create tension, damaging the connections. Make sure you use the right length of wire for your single-pin LED tube lights.
4. Grounding
It is essential to ground the single-pin led tube lights properly so that any electrical shocks and short circuits are avoided. Use a grounding cable with an appropriate size, and make sure you secure it tightly.
5. Wiring Diagrams
Wiring single-pin LED tube lights can be tricky, so it is important to follow the wiring diagram provided in the product manual or instructions. This will help you ensure you connect everything correctly and safely.
Once all the connections are made, test out your lights to ensure they work properly before turning on the power source. Following the right process when wiring single pin LED tube lights will help you get great results and also protect your safety. Good luck!
5 Benefits of Wire Single Pin LED Tube Lights
1. Long Life
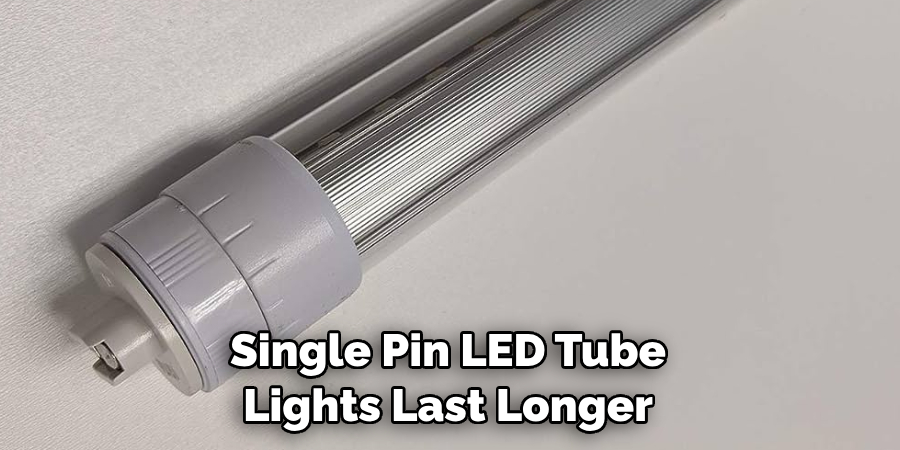
Single pin LED tube lights last longer than halogen or fluorescent lighting. LEDs have an expected life span of 50,000 hours (over 5 years of continuous use), which means they require less maintenance and replacement costs.
2. Energy Efficiency
LEDs are more energy-efficient than traditional forms of lighting because they turn most of their energy into light instead of heat, like halogens or fluorescent bulbs. This means that you can save significant amounts of energy when using single pin LED tube lights.
3. Brightness
LEDs are very bright and emit a focused beam, which makes them a great choice for task lighting and accent lighting applications. Single pin LED tube lights provide consistent illumination without sacrificing brightness levels or color quality, even over time.
4. Versatility
Single pin LED tube lights are extremely versatile and can be used in various applications, including home lighting, commercial lighting, landscape lighting, and more. They also come in various sizes and shapes that can fit any space.
5. Cost Savings
Although the initial purchase cost of single pin LED tube lights is higher than traditional lighting, you will save money over time due to their energy efficiency and long life. You can also get rebates from your local energy provider for using LED lights, further reducing your expenses.
By considering these benefits and following the right wiring process, single pin LED tube lights are sure to be a great choice for any lighting project. Enjoy!
Some Common Mistakes People Make When Trying to Wire Single-Pin Led Tube Lights
Wiring single-pin LED tube lights may seem simple, but it can quickly go wrong if you don’t know what you’re doing. One of the most common mistakes people make is not reading the instructions carefully. Due to different manufacturers and models, each LED tube light may have different wiring instructions.
Another mistake people make is not disconnecting the power supply before attempting to wire the LED tube light. This can lead to electrical shock or even damage to the LED tube light.
Lastly, using the wrong gauge of wire or wires that are too short can also cause issues when wiring LED tube lights. Taking the time to read instructions and disconnecting the power supply properly can save you from making costly mistakes.
Conclusion
LED tube lights have become a go-to option for many people looking for a more energy-efficient and cost-saving alternative to traditional lighting. Wiring single pin LED tube lights may seem complicated, but following the steps outlined in this guide, you can do it yourself easily.
Remember to always turn off the power before embarking on any electrical installation, and invest in quality tools to make the process easy.
Whether you’re upgrading the lighting in your home or workplace, follow these steps, and you’ll be enjoying the benefits of energy efficiency and brighter lighting in no time. Thanks for reading our post about how to wire single pin led tube lights.

