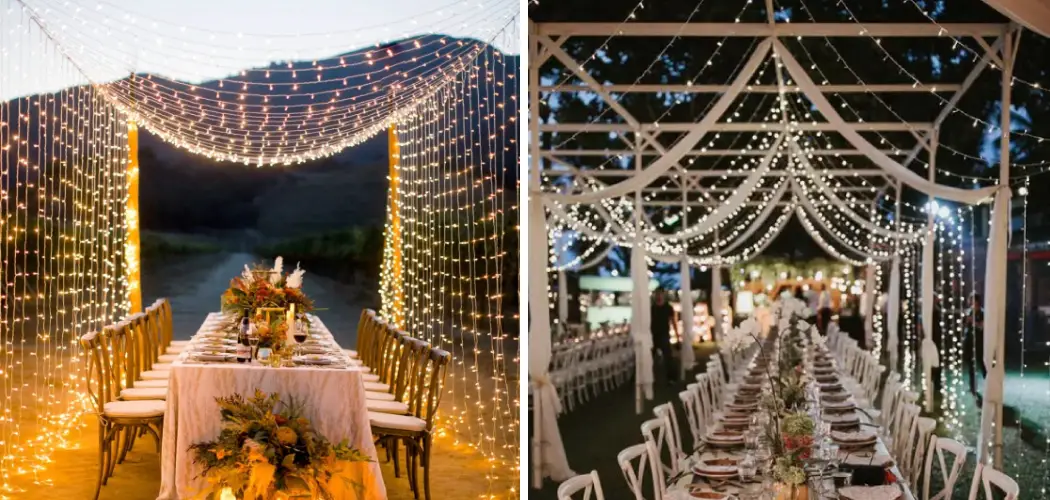
You’ve found the perfect place to hold your wedding reception, and you imagine it filling up with family members and friends gathered around, ready to celebrate this special day. You know that the decorations will make all the difference in creating an unforgettable event – but how do you even begin to create a magical atmosphere through hanging lights?
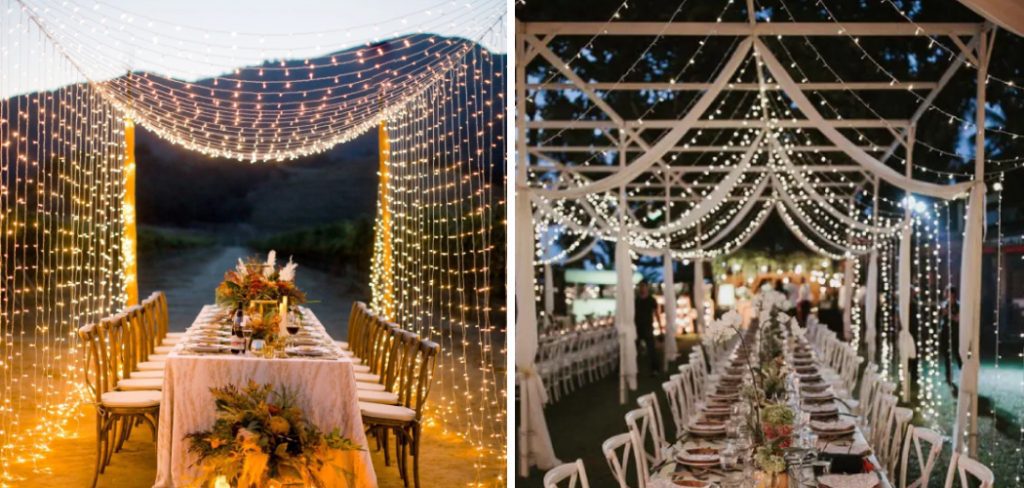
Luckily, planning for these details doesn’t have to be overwhelming– with just a little bit of know-how, some tools, and patience, you can easily create stunning light displays that will transform any celebration into something truly unique!
In this post, we’ll dive into everything from design ideas to which fixtures are best suited for each type of venue, so get ready to learn more about how to hang lights for wedding reception.
What Will You Need?
Before diving into the installation process, ensure you have all the necessary supplies and tools to hang your lights. These will typically include:
- String lights or fairy lights
- Extension cords and power strips
- Ladders or step stools (depending on how high you need to reach)
- Hooks, clips or zip ties for securing the lights in place
- A measuring tape
- Optional: a light timer or dimmer for added convenience and control
Once you have all of your supplies, it’s time to start planning and designing your light display.
9 Easy Steps on How to Hang Lights for Wedding Reception
Step 1: Create a Lighting Plan
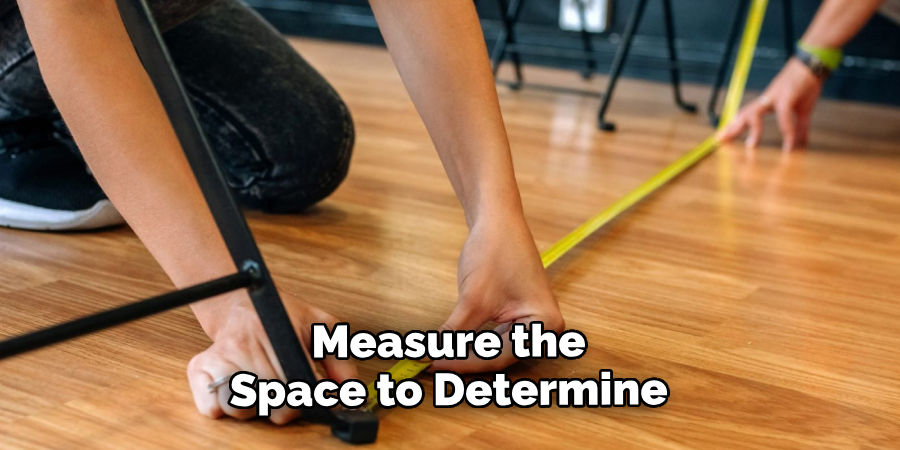
Firstly, sketch a rough map of your venue, marking potential power sources and identifying where you want your lights to go. Consider how the room will look when it’s filled with people and where the key areas are, such as the dance floor or the dining area. Tailor the lighting design to highlight these spaces and create a warm, welcoming atmosphere. Don’t forget to measure the space to determine the number of lights you need.
Step 2: Choose Your Lights
When it comes to choosing lights for your wedding reception, there are many options available, and the choice largely depends on your venue and style preferences. String lights or fairy lights are the most popular for their versatility and warm glow. For a more rustic look, consider using Edison bulbs. LED candles or lanterns can also add a romantic touch.
Keep in mind the color of the lights as well. Soft white or warm yellow lights are typically preferred for their cozy ambiance. Always opt for waterproof and outdoor-rated lights if your reception is outdoor or semi-outdoor. After choosing your lights, test them before hanging them to ensure they all work properly.
Step 3: Start Hanging Your Lights
It’s time to begin the installation after finalizing your lighting plan and testing your chosen lights. Depending on your design, you may want to start by hanging the lights in the most important areas, such as over the dance floor or the dining area.
Use a ladder or step stool to reach the desired height, and use hooks, clips, or zip ties to secure the lights in place. Be sure to keep extension cords and power strips out of walkways to avoid tripping hazards. Make sure the lights are evenly spaced and hanging securely.
Step 4: Adjust the Lighting
After installation, take a step back and assess your work. Look for any dark spots that need additional lighting or areas where the light might be too bright. Use a dimmer if necessary to adjust the brightness of your lights, creating the perfect ambiance for your event.
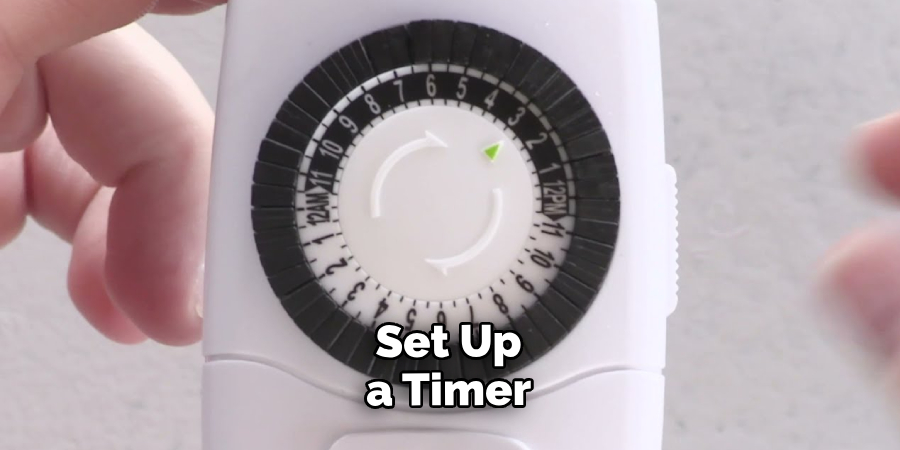
You might also want to set up a timer so your lights turn on and off at the designated times. Remember, the goal is to create a warm, inviting space that complements the rest of your wedding decor. Adjustments may be necessary as you go along to achieve the desired effect.
Step 5: Add Extra Lighting Elements
While string lights can create a magical atmosphere on their own, adding other lighting elements can further enhance the overall aesthetic of your wedding reception. Consider incorporating luminaries, lanterns, or LED candles into your design.
These elements can line walkways, highlight specific areas, or simply serve as table centerpieces. Consider using spotlights to draw attention to the wedding cake or other focal points. Combined with your string lights, these additional lighting elements can help you create a truly enchanting environment for your celebration.
Step 6: Safety Check
After all your lights are hung, and additional lighting elements are in place, conducting a safety check is crucial. Ensure all the cords and light fixtures are secure and out of the way of guests.
Check that the lights aren’t too close to flammable materials, like drapes or paper decorations. Make sure all extension cords are safely tucked away and not posing a tripping hazard. If your event is outdoors, ensure your lights are weatherproof and suitable for outdoor use. Lastly, it’s a good idea to have a fire extinguisher on site, just as a safety precaution.
Step 7: Final Touches and Testing
Now that your lights are in place and safety checked, it’s time for the final touches. Walk around your venue and look at the lighting from different angles. Make sure the lights are helping create the atmosphere you envisioned. If necessary, add more lights or adjust the existing ones. Finally, do a full test run.
Turn all the lights on and off, and ensure the timer and dimmer (if used) are working properly. Make any necessary adjustments and prepare to wow your guests with your beautifully lit wedding reception.
Step 8: Event Day Preparation
On the wedding reception day, conduct a final walk-through of the venue before guests arrive. Check each string of lights to make sure they are working properly. Replace any burnt-out or flickering bulbs. Ensure all the cords are still tucked out of sight and that none have become tripping hazards.
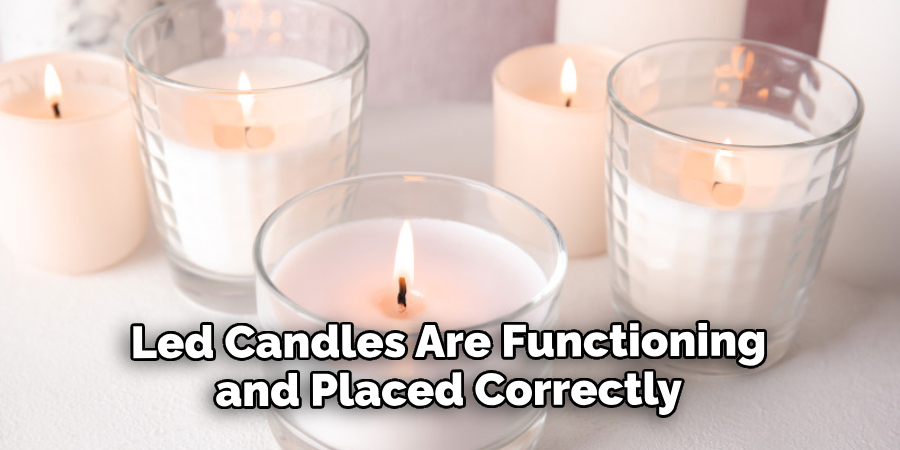
If you’re using a timer, double-check that it is set correctly for your lights to come on at the desired time. Ensure that all other lighting elements like lanterns, luminaries, or LED candles are functioning and placed correctly. This final check will give you peace of mind, knowing that your venue is beautifully and safely lit for your big event.
Step 9: Enjoy the Event
After all the careful planning, hanging, and testing, it’s now time for the main event. As the sun sets and your lights begin to twinkle, take a moment to appreciate the enchanting atmosphere you’ve created. Enjoy the glow of the lights, the smiles on your guests’ faces, and the magical ambiance that sets the stage for unforgettable memories.
Remember, it’s not just about the aesthetic appeal. The lighting at your wedding reception can significantly set the mood, encourage social interaction, and make your special day truly memorable.
By following these steps and keeping safety in mind, you can successfully hang lights for your wedding reception.
5 Additional Tips and Tricks
- Plan Your Layout: Before you start hanging lights, sketch a rough layout of your reception area. Identify the power sources and plan the light arrangement accordingly to avoid trailing cords.
- Choose the Right Type of Lights: Fairy lights, string lights, and lantern lights are popular choices for wedding receptions. Choose the type that complements your wedding theme and venue.
- Safety First: Ensure the lights are safe if your reception is outdoors. Use insulated holders or clips to hang lights instead of nails or tacks.
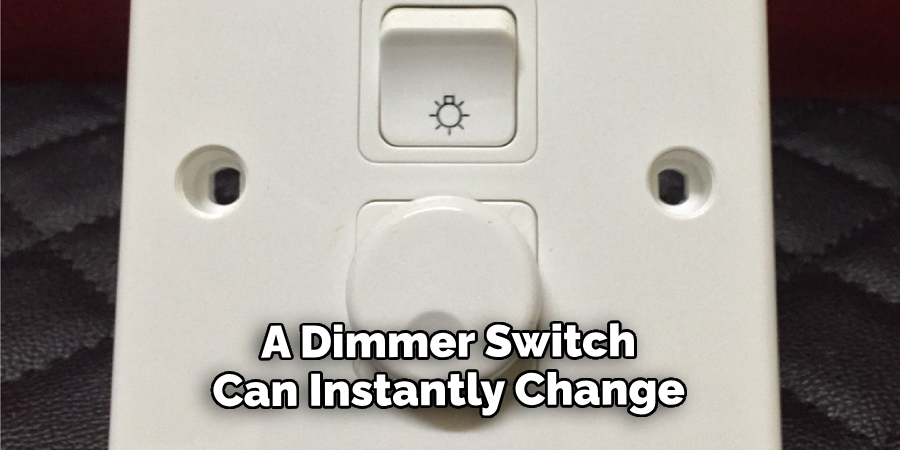
- Use Dimmer Switches: A dimmer switch can instantly change the ambiance of your reception. Incorporate these into your lighting setup to easily adjust the brightness throughout the evening.
- Test Your Lights: Always test your lights before the reception. This way, you can replace faulty bulbs or strands and ensure everything works perfectly for the big day.
With these additional tips and tricks, you can take your wedding reception lighting to the next level.
5 Things You Should Avoid
- Avoid Overcrowding: Too many lights can make the venue feel cramped and reduce the elegant feel of the event. Balance is key.
- Harsh Lighting: Avoid harsh, bright lights that make guests uncomfortable. Opt for softer, warmer tones that create a cozy and inviting atmosphere.
- Ignoring the Venue’s Restrictions: Some venues have rules about what you can and cannot hang. Make sure you know these before you start planning your lighting.
- Inadequate Extension Cords: Running out of extension cords midway through hanging can be a real mood-buster. Ensure you have enough and they are of the right length and rating.
- Neglecting Weather Factors: Remember to consider the weather if your reception is outdoors. Ensure your lights and connections are waterproof and withstand unexpected weather changes.
By avoiding these common mistakes, you can ensure your wedding reception lighting adds a magical touch to your special event.
Conclusion
It’s understandable to feel overwhelmed and anxious when planning a wedding. However, when it comes to hanging lights for a wedding reception, we hope this blog post has relieved some of the stress by providing useful advice. Lights are integral to creating the perfect atmosphere for your big day and can help make it even more special. With some preparation and careful planning, you can easily set the stage for your magical evening!
Furthermore, enlisting help from family and friends makes decorating tasks fun and memorable. Wedding lights are part of your celebration, and being thoughtful about what will look best at your venue can be exciting, with just the right amount of sparkle that enhances any visual setting.
With these tips on how to hang lights for wedding reception, in mind, you should have no trouble finding the perfect way to hang lights up for your ceremony – so hang them high, let them shine bright, and enjoy watching them twinkle on one of the most important occasions of your life!

