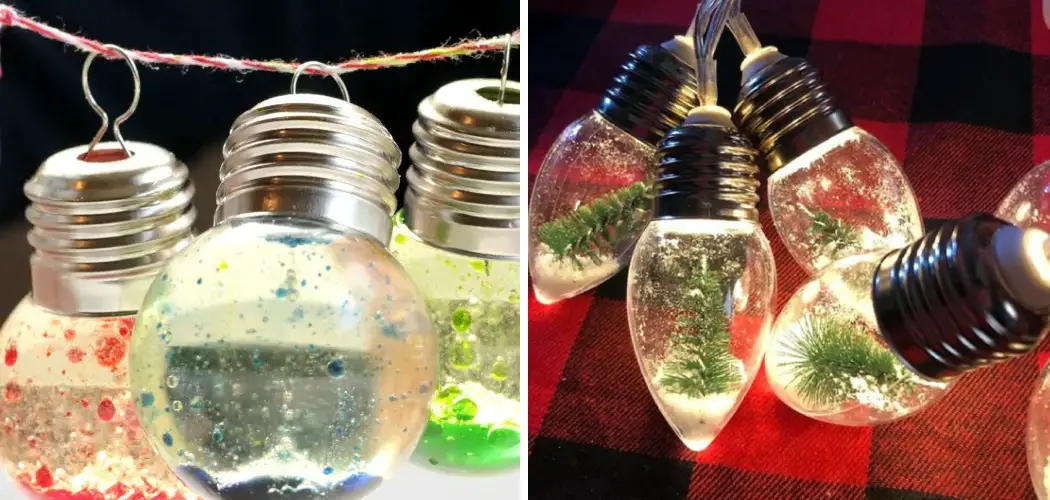
Adding whimsical charm and a touch of nostalgia to your holiday decor, bubble lights have remained a beloved choice for many during the festive season. These delightful ornaments, known for their liquid-filled tubes that create a mesmerizing bubbling effect when lit, can transform any space into a magical holiday haven. However, successfully hanging bubble lights requires precision and careful consideration to achieve a stunning and secure display.
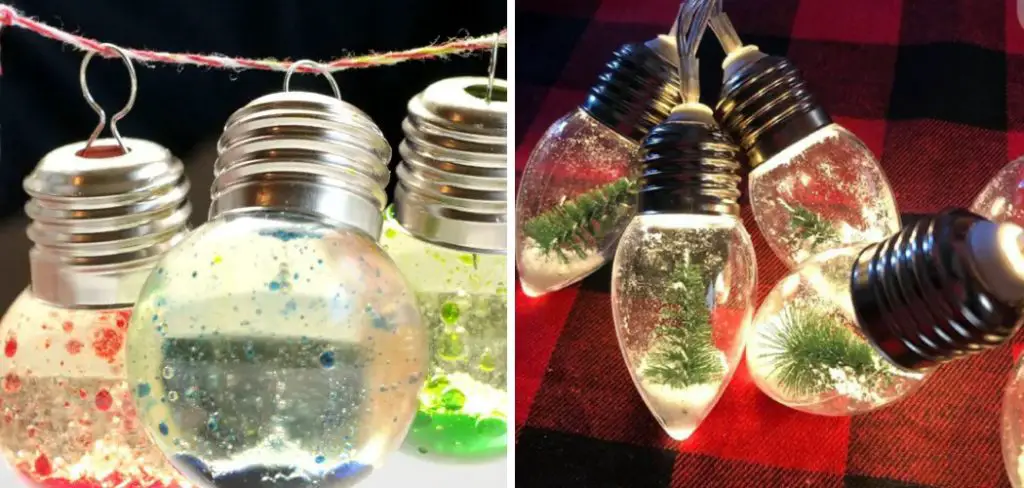
Whether you’re adorning your Christmas tree or embellishing your home, mastering the art of hanging bubble lights is a skill that enhances your seasonal decorating. In this comprehensive guide on how to hang bubble lights, we will explore the step-by-step process and offer valuable tips to ensure your bubble lights hang gracefully and emit their signature glow, enhancing the joy and wonder of the holiday season.
What Are Bubble Lights?
Bubble lights are a type of holiday lighting that have been around since the 1950s. They typically feature plastic or glass bulbs filled with liquid and small pieces of metal, which create a “bubbling” effect when heated.
This makes them look like tiny little lava lamps! Bubble lights are often used to add color and fun to holiday decorations, and they can be hung in windows, on mantels, or anywhere around the house. However, there are a few things to keep in mind when hanging bubble lights.
First, make sure that your bubble lights have been UL-approved and rated for the wattage of the bulbs you’re using. Bubble lights use heat to create their bubbling effect, and higher wattage bulbs will generate more heat, so it’s important to ensure that your bubble lights are correctly rated.
Second, when hanging up bubble lights, be sure to hang them securely and keep them away from any heat sources. Heat can cause the bubbling liquid inside the bulbs to expand too much and break the bulb. Finally, make sure that you use caution when handling bubble lights—they contain glass or plastic pieces that could shatter if dropped or mishandled.
Importance of Proper Installation
Bubble lights are a great way to add some unique and interesting lighting effects to any room. However, it’s important to make sure that they are properly installed so they can work safely and look great. To ensure the best results, you should follow these guidelines for installing bubble lights:
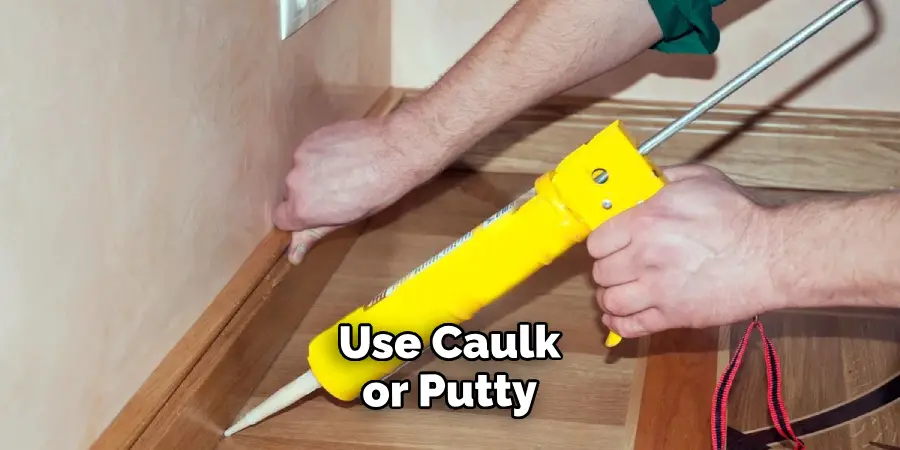
- Make sure your installation surface is smooth and level. If you are installing the bubble lights in an area with uneven surfaces, use caulk or putty to even out the surface.
- When hanging your bubble lights, make sure that they do not hang too low or too close to any flammable materials such as curtains or furniture. Also, make sure that all connections are tight and secure and that no wires or cables are visible.
- If your bubble lights are to be used outdoors, make sure that they are properly sealed and waterproofed. Additionally, check the connections every few months to ensure they remain tight and secure.
- When turning on the bubble lights for the first time, start with a low wattage setting and gradually increase it until you reach your desired effect. Also, be sure to turn off the lights before leaving the area or going to bed.
- Finally, enjoy your bubble lights and use them to create a unique lighting atmosphere in any room!
10 Steps How to Hang Bubble Lights
1. Gather the Necessary Supplies
Before beginning, it is important to gather all of the necessary supplies for hanging bubble lights. This includes bubble lights, a ladder, a drill and drill bits, anchors and screws, and an extension cord. It is also helpful to have a helper nearby who can hold the ladder steady while you work.
2. Choose the Right Location
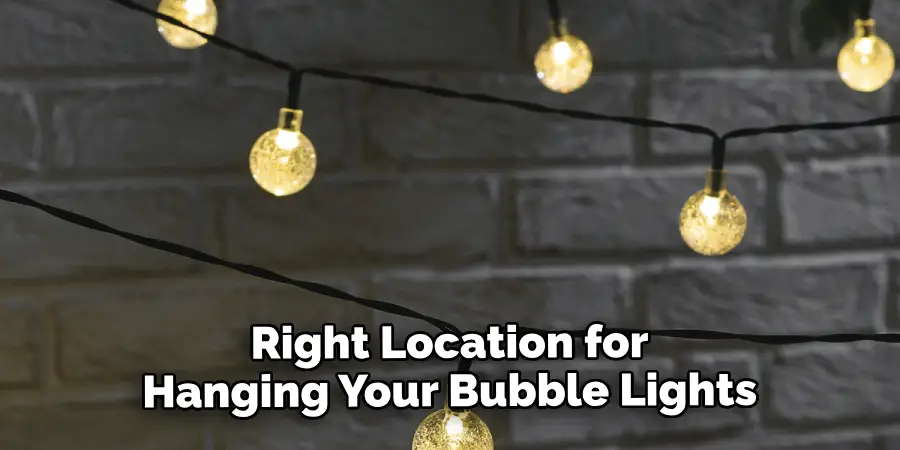
Once you have gathered your supplies, it’s time to choose the right location for hanging your bubble lights. Make sure that there are no obstructions in the way such as trees or power lines. Additionally, make sure that you are not drilling into any electrical wiring or plumbing pipes. You should also take into account the size of your bubble lights when selecting a location. If they are too large for a particular area, you may need to adjust accordingly.
3. Mark the Spot
Once you have chosen a suitable location for your bubble lights, use a marker to mark where each light will be hung. Make sure that each light is evenly spaced apart so that they create a pleasing visual effect when lit up at night.
Before proceeding to the next step, double-check if the markings are placed at the right level and distance. If you are hanging multiple bubble lights along a wall or staircase, try to maintain an even gap between them all. This will help create a more cohesive overall look.
4. Drill Pilot Holes
Using your drill and an appropriate bit size for your anchors and screws, drill pilot holes into each marked spot on the wall or ceiling where you will hang your bubble lights from. Make sure that each hole is drilled deep enough so that when you insert the anchor it will be firmly secured in place.
5. Insert Anchors
Next, insert anchors into each pilot hole until they are firmly secure in place in the wall or ceiling material. Once they are all securely inserted, remove any excess debris from around them with a vacuum cleaner if necessary. Attach the Hooks and Lights
Now, attach the hooks to each anchor; be sure to firmly tighten them, but not too much as you could strip out the anchors. Finally, hang one light on each hook and plug it in for a stunning bubble-light effect!
6. Attach Bubble Lights to Anchors
Now it’s time to attach your bubble lights to the anchors using screws and washers provided with your lighting kit if necessary. Make sure that each light is securely attached before proceeding to step seven below. Though your bubble lights are designed to be weatherproof, you should still take extra steps to ensure that the cords and anchoring points remain moisture-free.
7. Connect Extension Cord
Connect one end of an extension cord to either an outlet or switch box depending on how many bubble lights you plan on installing in total (if more than one). Then connect each individual light fixture directly to this extension cord using wire nuts provided with your lighting kit if necessary (or twist-on connectors).
Once all of the lights are connected, test each light to ensure that it is working properly. If necessary, use a non-contact tester to check for proper voltage at each fixture.
8. Test Lights
Before climbing down the ladder, test out all of your newly installed bubble lights by flipping on any switches or outlets connected to them and making sure they turn on properly without any issues such as flickering or buzzing noises coming from them when illuminated (which could indicate something is wrong).
Additionally, if you’re using battery-powered bubble lights, make sure to check that the batteries are inserted correctly and have enough juice before leaving them on for a prolonged period of time. Doing this will ensure the lights stay lit throughout the holiday season and your holiday decorations look great!
9. Secure Extension Cord
Once you have tested all of your newly installed bubble lights and confirmed they are working correctly without any issues, secure any loose ends of extension cords running along walls or ceilings with cable clips provided with your lighting kit if necessary so they don’t become tangled up over time due to movement caused by air currents within rooms/homes, etc.
To avoid accidents consider taping the clips directly to walls with tape of your choice. After securing cords, make sure to periodically check them and replace clips as needed for safety reasons.
10. Enjoy Your Bubble Lights!
Finally, once everything has been tested and double-checked for safety purposes (including checking again after securing cables etc.), turn off all switches/outlets connected to them and enjoy their beautiful illumination at night! They provide a unique and cozy atmosphere that will surely enhance any living space.
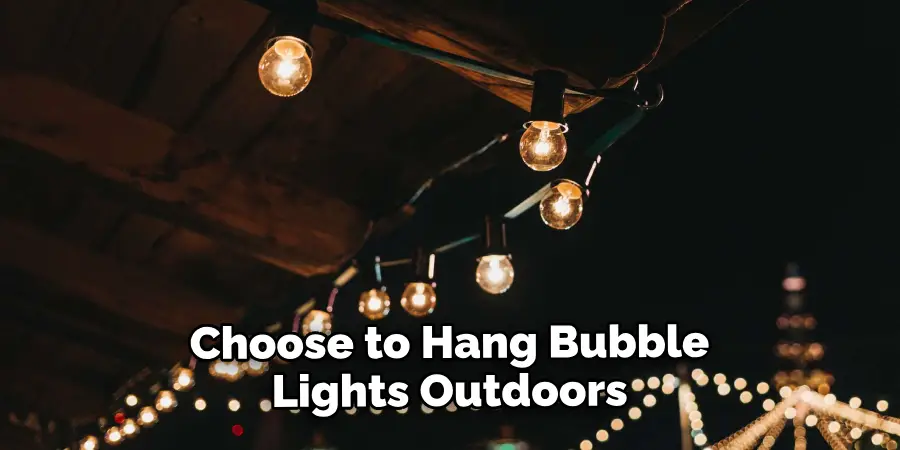
You can also choose to hang bubble lights outdoors, such as in your backyard or garden, for an enchanting evening ambiance. Make sure to follow similar steps as listed above to ensure safety when placing them outside.
Conclusion
In conclusion, wall-mounted bubble lights can be an exciting and beautiful addition to your home or business. They are easy to install, come in a variety of sizes and shapes, and offer a unique take on classic lighting. However, it’s important to ensure that your lights are properly installed – do not attempt to hang them without professional help or guidance.
Take the time to map out where you want your light fixtures installed so you can get the best look possible for your space. With careful planning and execution, hanging bubble lights can be a great way to give any room more depth and interest. So now that you know how to hang bubble lights, why not give it a try? Don’t be intimidated – just take all necessary precautions and you will have stunning results!

