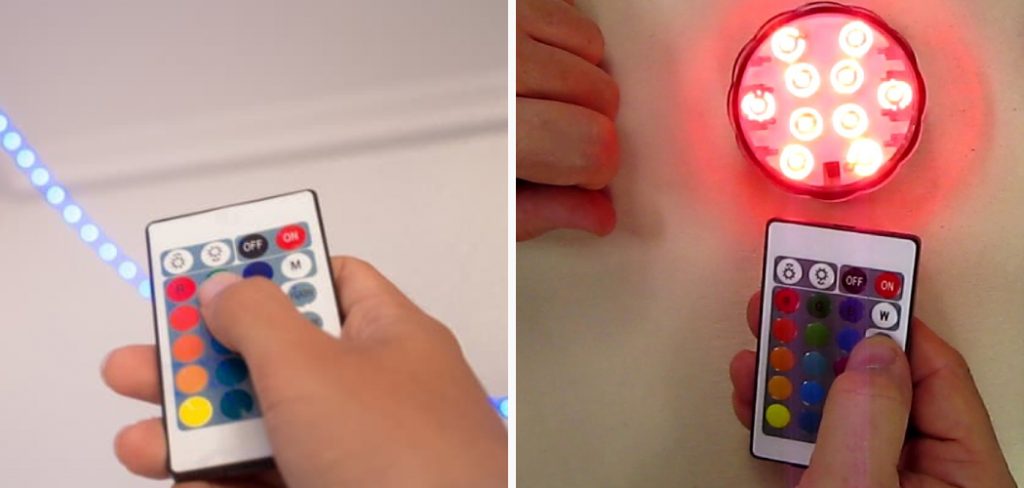
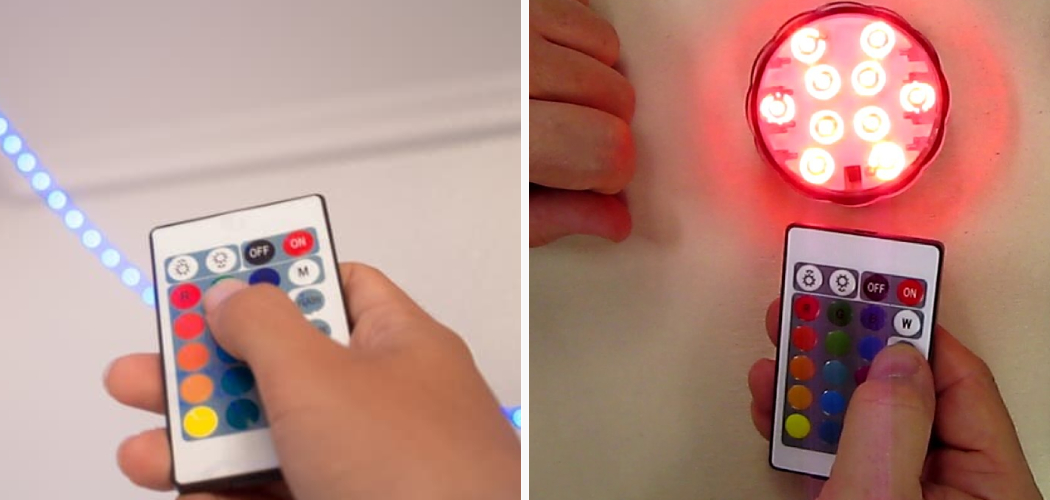
LED lights are a great way to provide an efficient and cost-effective lighting solution for your home. However, if you’ve been using LED light fixtures for some time, it’s possible that the remote control may not work properly. Fortunately, you can fix your LED light remote in several ways without needing to call in a professional, saving you time and money.

Having a LED light remote is a great way to enjoy the convenience of controlling your lighting from wherever you are. However, there may come a time when you find that something is wrong with your remote, and it stops working correctly. Fortunately, if this happens, you can often fix the problem by following some simple steps and troubleshooting techniques. In this blog post, You will learn in detail how to fix your led light remote.
Step-by-Step Processes for How to Fix Your Led Light Remote
Step 1: Inspect the Remote Batteries
Your remote should have two AA batteries. Inspect them for any signs of corrosion or leakage. If either battery is corroded, replace both with new ones and try again. LED lights often require a specific remote control in order to work properly. Confirm that the remote you are using is compatible with your LED lights.
Step 2: Replace the Remote Control if Necessary
If you find that your current remote control is incompatible, consider replacing it with one designed to work with your LED lights. Your remote should be pointed directly at the receiver on your LED lights in order for them to receive the signal.
Step 3: Consider Any Obstacles Between the Remote
Any obstacles between your remote control and your LED lights, such as walls or other obstructions, may be preventing it from working properly. In this case, move the remote closer to the LED lights. If your remote is dirty or debris has built up over the contacts, this can prevent it from functioning correctly. Clean off the contacts with a cotton swab and rubbing alcohol to ensure that they are free of any build-up.

Step 4: Check for Any Malfunctioning Buttons
Inspect the buttons on your remote to make sure that none of them are sticking or malfunctioning. If one or more buttons appear to be stuck, try gently prying them up with a small screwdriver and cleaning out any dirt or debris that may have been preventing the button from working correctly.
Step 5: Reset the Remote
Many LED light remotes have a reset button. If yours does not, you can reset it by removing and replacing the batteries. If none of the above steps have worked, consider using a different remote control.
Step 6: Contact Customer Service for Help
Finally, if all else fails, contact your LED light manufacturer’s customer service department for help troubleshooting your remote. They may be able to provide you with further advice or even send you a replacement remote if needed. Following these steps should enable you to successfully fix your LED light remote and get it working as intended.
Safety Tips for How to Fix Your Led Light Remote

- Always wear protective gear when working with electricity and electronics. This includes safety glasses, rubber-soled shoes, and gloves. Make sure you are not wearing any jewelry or loose clothing that can become entangled in the wires.
- Ensure the power is off before beginning any electrical work. Unplug any cord attached to your remote control or switch off the circuit breaker.
- Read your manual thoroughly and ensure you understand what each part of your remote is used for before attempting any repairs.
- Always remove the batteries from your remote before starting any repairs. This prevents accidental shocks from occurring should a wire accidentally come into contact with electricity during repairs.
- Check for any loose wires or parts that may have come disconnected. If you find one, use a multimeter to ensure the connection is tight and secure before re-attaching it.
- Ensure all connections are properly insulated with electrical tape or heat shrink tubing where possible. This will help to prevent accidental shocks when the remote is being used.
- Check that all parts are functioning correctly before reassembling your remote. If something isn’t working properly, check for any loose connections or wires and check the power supply again to ensure everything is connected properly.
- When you have finished your repairs, test the remote to ensure it is working properly. If you are satisfied with the results, store it in a safe place where it will not be exposed to moisture or extreme temperatures.
Following these safety tips can help to ensure that repairs on Fixing Your Led Light Remote go smoothly and without any accidents.
How Should You Clean Your Led Light Remote?
One of the most important things to do when trying to fix your Led Light Remote is to clean it. A build-up of dust, dirt, and debris can interfere with the remote’s signal transmission, causing it to be less responsive or even unresponsive. To clean your remote:

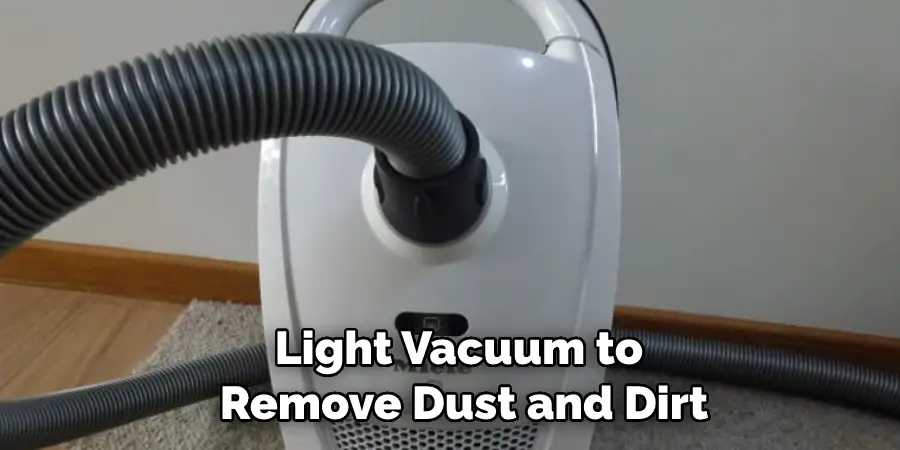
- Use a soft brush or light vacuum to remove dust and dirt. Avoid using harsh cleaning chemicals as they may damage the remote’s sensitive components.
- Remove the batteries from the remote and use a soft, damp cloth to clean all visible surfaces. Be sure to use a lint-free cloth, such as microfiber, so you don’t leave any particles or fibers behind.
- Use a cotton swab dipped in rubbing alcohol to clean the buttons and crevices. This will help remove any residue or oils left behind from handling the remote.
- Allow the remote to air-dry before reinserting the batteries and using it again.
By following these simple steps, you can easily clean your Led Light Remote and ensure that it is functioning correctly. Doing so will also help prolong the life of your remote, ensuring that you get the most out of it for years to come.
How Do You Fix Common Problems With Your Led Light and Its Remote, Such as Dimming or Flickering Lights?
If your led light and its remote are not working properly, there are a few steps you can take to troubleshoot the problem. Here’s how to fix common issues with your led light and its remote. First, try replacing the batteries in your remote. If that doesn’t work, check the connection between the power source and the light to ensure it is securely connected. If necessary, adjust the connections or replace the cables.
If you’re having trouble with dimming or flickering lights, check that the power surge protection device (also known as a voltage regulator) is working properly. It should be able to protect your led light from dangerous levels of power spikes. Replace any blown fuses, and if your light system is more than two years old, consider replacing the voltage regulator as well.
If problems persist, check for interference from other devices like cell phones or televisions that could be causing the issue. If you have a dimmer switch, test it to make sure it’s working correctly. You may need to replace the switch if it’s not working properly. Finally, ensure you are using the right bulbs for your led light and its remote. Different types of bulbs require different wattage requirements, so check the manufacturer’s directions before installation to ensure you are using the correct bulb.
How Do You Program Multiple Led Lights to a Single Remote Control?
If you have multiple LED lights in your home or office, controlling them with a single remote control can be convenient. Unfortunately, programming multiple LED lights to a single remote is not always easy. Fortunately, there are some simple steps that you can take to get all of your lights working together again.
The first step is to ensure all your LED lights are compatible with the same type of remote control. This often means ensuring the brand and model of the remotes match up. Once you have confirmed compatibility, a specific procedure exists for programming each light to the single remote control.

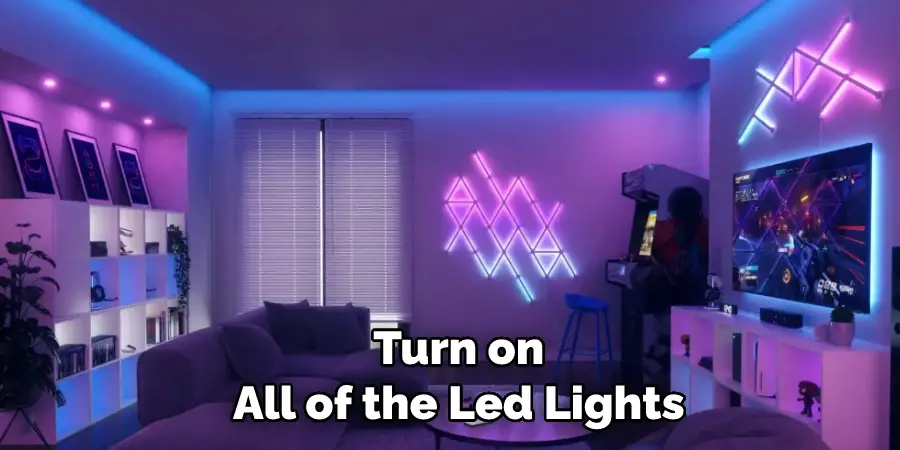
First, turn on all of the LED lights connected to your single remote control. Then, access the programming menu by pressing and holding the button that corresponds to each light. Once you’ve entered the programming menu for each LED light, press and hold down a separate button on the remote control until each LED the light turns off. This process must be repeated for all of the lights connected to your single remote control to program them all.
Conclusion
In conclusion, fixing your Led Light Remote doesn’t have to be a daunting task. It can be done quickly and easily with the right equipment and knowledge. The first step is to identify what type of remote you have, whether it’s infrared or radio frequency-based. After that, try resetting your remote using the manufacturer’s instructions or by replacing the batteries.
Contact a professional to help diagnose and repair your remote if all else fails. With this knowledge at hand, you should be able to get your Led Light Remote back in working condition without too much hassle. I hope this article has been beneficial in learning how to fix your led light remote. Make Sure the precautionary measures are followed chronologically.

