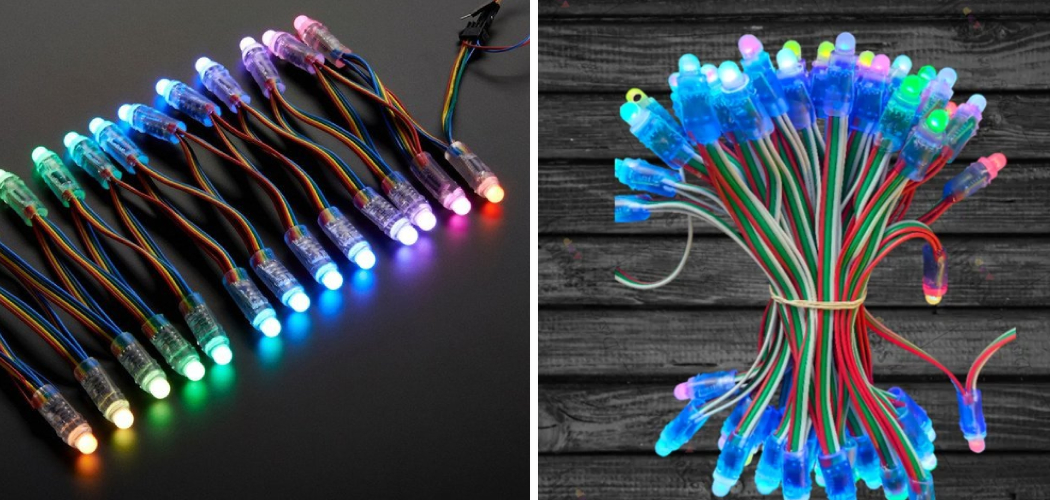
Do you want to create an unforgettable experience with an eye-catching display of lights? Do you have an LED light display that you’re eager to set up? Are you looking for a way to bring your home, party, or business into the twenty-first century with vibrant and eye-catching lighting displays? If so, connecting pixel-led lights is a great way to make all of those dreams come true. Installing a pixel LED light can make all the difference. Not only are they visually captivating, but connecting them is also easier than it sounds.
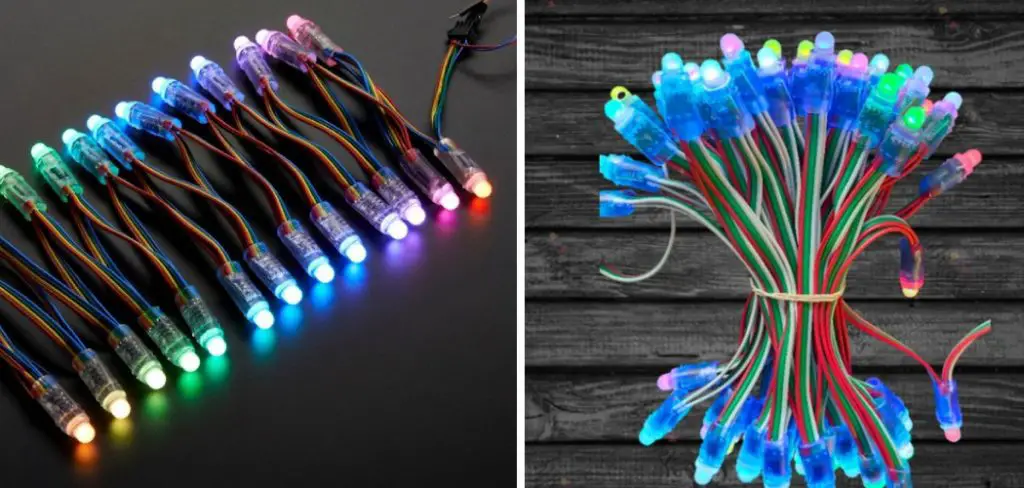
In this blog post, we’ll discuss what pixel-led lights are and how to connect pixel led light in simple steps. So if you’re ready to take the plunge into bringing amazing light displays into your life, read on!
What is Pixel Led Light?
Pixel LED lights are a type of LED light that is made up of individual pixels. Each pixel contains one or more LEDs which can produce up to 16 million colors and multiple shades of white. The lights can be programmed to create dynamic patterns, animations, and videos with the help of software.
In order for your display to work properly, you need to connect your pixel LED lights together. This can be done in several different ways depending on the type of light display you have and the software you are using. It will also depend on how many lights you want to connect.
The Benefits of Having Pixel Led Light
Pixel led lights have so many benefits! They provide an eye-catching display that can be used for both commercial and residential purposes. The lights are also energy efficient and require very little maintenance. With the help of software, you can customize the lights to create dynamic patterns, animations, and videos that will captivate your audience. Plus, they are relatively easy to install, so you don’t have to worry about hiring an expensive electrician.
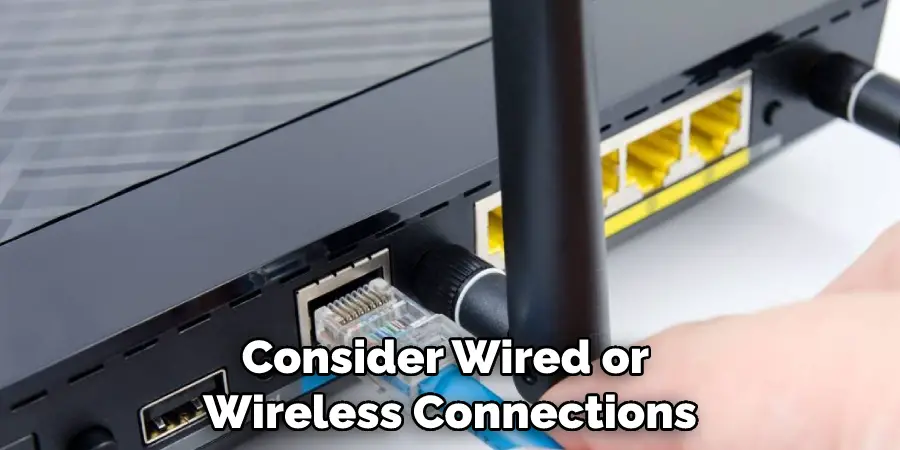
There are several different methods for connecting pixel LED lights depending on your specific needs. You can use a traditional wired connection or a wireless connection such as Bluetooth. Wired connections will require more setup and materials but will provide the most reliable connection. Wireless connections are easier to set up and maintain but may run into interference issues depending on your environment.
Required Items
Before you can connect your pixel LED lights, you need to have the following items:
- Pixel LED lights
- Connector cables
- Power supply
- Computer/laptop
- Software (if needed)
10 Tips on How to Connect Pixel Led Light
1. Choose the Connection
Choose the right type of connection. Consider wired or wireless connections depending on your needs and environment. If you don’t want to deal with cables and wires, then go for a wireless connection.
2. Install the Software
If you are using software to control your lights, make sure it is properly installed before connecting anything. This will help ensure that everything runs smoothly and that there will be no problems down the line.
3. Connect the Lights
Connect your lights to each other using the appropriate cables and connectors. Make sure to check that all connections are secure before continuing. Don’t leave any loose ends!
4. Plug in the Power Supply
Make sure that your power supply is properly plugged into a wall outlet and that all connections are secure. Then plug it into the back of your computer or laptop to provide power to your lights. The power supply will also help regulate the voltage, so your lights don’t get too hot.
5. Test Your Connection
Once everything is connected, it’s time to test it out. Make sure that all of the lights are working properly and that there are no issues with any of the connections you made. The connection should be stable and reliable.
6. Create Patterns
Once you have successfully connected your lights, it’s time to create some patterns! Depending on the software you are using, this can be done either manually or through pre-programmed options. Experiment with different combinations to find something that looks great.
7. Add Animations
Once you have a pattern that you like, you can add animations to make it more interesting. Animations are a great way to make your display even more dynamic and captivating. Animation software is typically user-friendly and easy to understand.
8. Add Music
To really take your display to the next level, add some music! This can be done through digital audio channels or by connecting an external sound system such as speakers. Adding music will make your display even more, fun and entertaining.
9. Finalize the Setup
Once you have everything set up, make sure to test it out again. Make sure that all connections are secure and that the lights are working properly. You should also check the software settings to ensure they are correct.
10. Enjoy!
Now that your display is all set up sit back and enjoy! Show off your work to friends and family for a truly unique experience.
By following these steps, you will be able to easily connect pixel LED lights and create amazing displays that are sure to wow your audience. With the right setup, you can make incredible anima
8 Safety Precautions
1. Wear protective gear when connecting lights. Safety glasses, gloves, long-sleeve shirts, and trousers are essential to protect yourself from sharp edges and small parts that could cause injury.

2. Unplug the power before connecting anything. Electricity can be dangerous if not handled properly. Always ensure that you have unplugged the power before attempting to connect LED lights.
3. Keep your workspace organized. Before you start connecting pixel Led Light, make sure that all of your tools and supplies are easily accessible so you can work quickly and safely. Organized tools and supplies will help to reduce accidents.
4. Read the instructions carefully. Pixel Led Light installations can be complicated, so make sure you take your time and read all of the instructions carefully before beginning the installation process.
5. Test each connection before continuing. Testing each connection is vital to ensure that everything is working properly and safely. It will also save you time in the long run by preventing any potential problems.
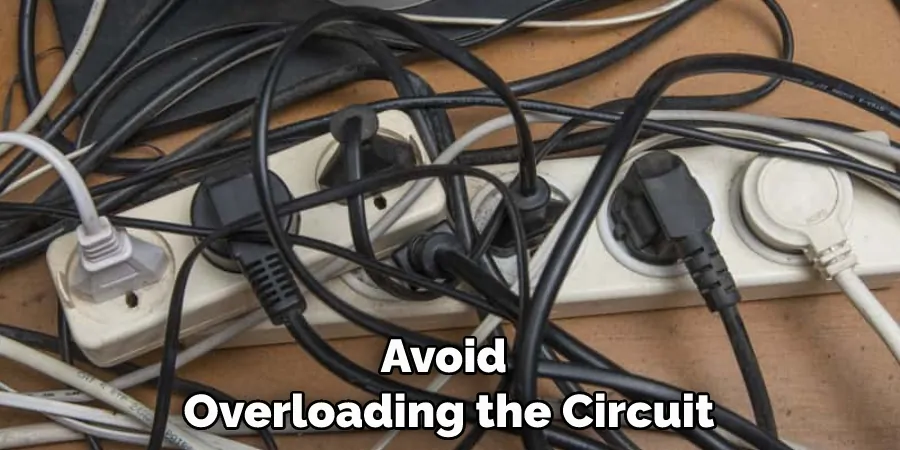
6. Avoid overloading the circuit. Overloading circuits can be extremely dangerous, so make sure that you are not exceeding the maximum number of lights for each circuit. Make sure to consult the manufacturer’s instructions for specifications.
7. Securely fasten the lights in place. The last thing you want is for your lights to come loose and start to swing around, potentially injuring someone or damaging something else. Use appropriate fixings, such as zip ties or adhesive strips, to securely attach each light to its desired position.
8. Be aware of the environment around you. Always be aware of your surroundings and make sure that any wiring or lights are not placed in a way that could pose a hazard to anyone nearby, such as by being close to water or other hazards. Make sure you keep all areas clean and safe for everyone to use.
Frequently Asked Questions
How Much Will It Cost?
The cost of connecting Pixel LED light will depend on the type and size of the lights you choose. Generally, small strips can range from around $20-50, while large sets may cost up to a few hundred dollars. It totally depends on the quality of the lights you choose and what accessories you need to connect them. Choose wisely to find the right lighting option that fits your budget and needs.
What Type Of Connector Do I Need?
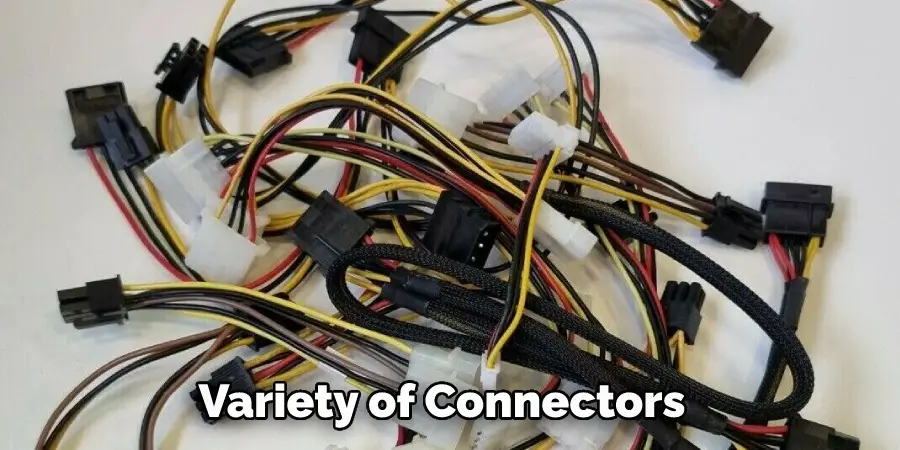
Pixel LED lights usually come with a variety of connectors, including JST, 3-pin, 4-pin, 8-pin, etc. Depending on the type of light you are using, different connectors may be required. Make sure you check the documentation of your lights to ensure that you have the right connector before connecting.
Which Accessories Will I Need?
The type of accessories needed for connecting Pixel LED lights will depend on the type of lights you are using. Typically, a power supply and controller will be required for most pixel LED light strips or matrices. If you are using more complex lighting fixtures, such as RGBW or RGBWW color mixers, you may also need additional accessories like receivers, remote controllers, and DMX connectors.
Conclusion
Connecting your PixelLed Lights is a relatively easy feat, but it takes knowledge and patience to ensure you have properly wired the lights and are maximizing their potential. When done correctly, this type of lighting technology has the potential to create dynamic light displays and can turn any space into a work of art. Through diligence and organization, you’ll be setting up your own dynamic display in no time!
And if you ever find yourself feeling overwhelmed or stumped during set-up, don’t be ashamed to reach out for help – there are plenty of tutorial videos online, as well as experts who are always willing to provide guidance when needed. Don’t let challenging tasks keep you from bringing your vision to life – connect those PixelLed Lights today with this easy guide on how to connect pixel led light for an amazing visual experience!

