Have problems with your headlights? It’s no fun driving around in the dark or during the day with limited visibility due to a headlight issue. Fortunately, an easy fix can get your lights back up and running again in just a few simple steps!
In this blog post on how to fix headlight relay, we’ll discuss how to diagnose and repair a broken headlight relay, which is often the cause of poor lighting on cars and motorcycles. We’ll walk through all of the necessary parts, tools, and techniques needed to tackle this straightforward auto repair job like an expert – even if you’re entirely new to working on vehicles.
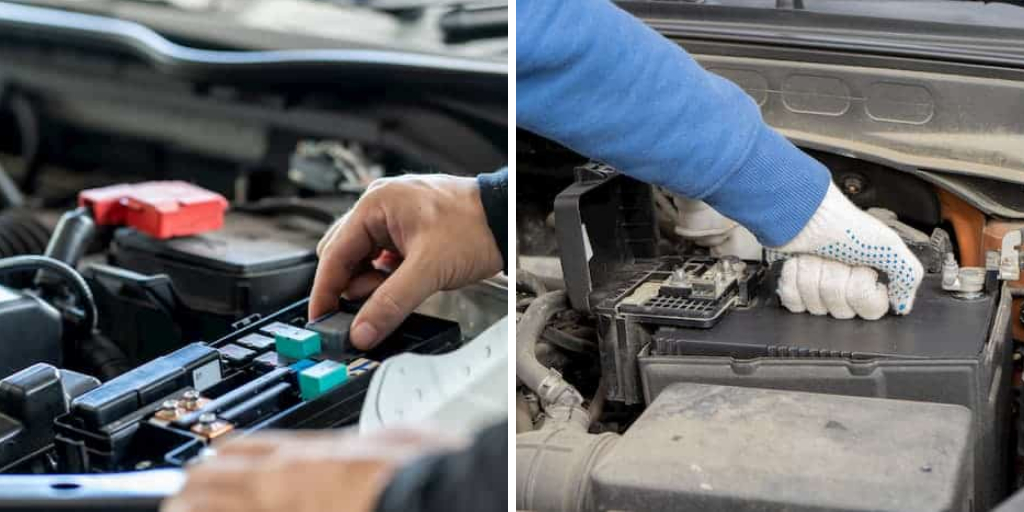
So kick off those shoes, grab some grease-proof gloves, and let’s get started!
What Will You Need?
Before we dive into the step-by-step process, it’s essential to gather all of the necessary supplies for fixing your headlight relay. Here are some things you’ll need to have on hand:
- A replacement headlight relay
- Screwdriver set (both Phillips and flathead)
- Wrench set
- Wire stripper/crimper tool
- Electrical tape or heat shrink tubing
- Multimeter
Once you have all of these tools ready, you can begin to work on your headlight relay.
10 Easy Steps on How to Fix Headlight Relay
Step 1. Locate the Headlight Relay
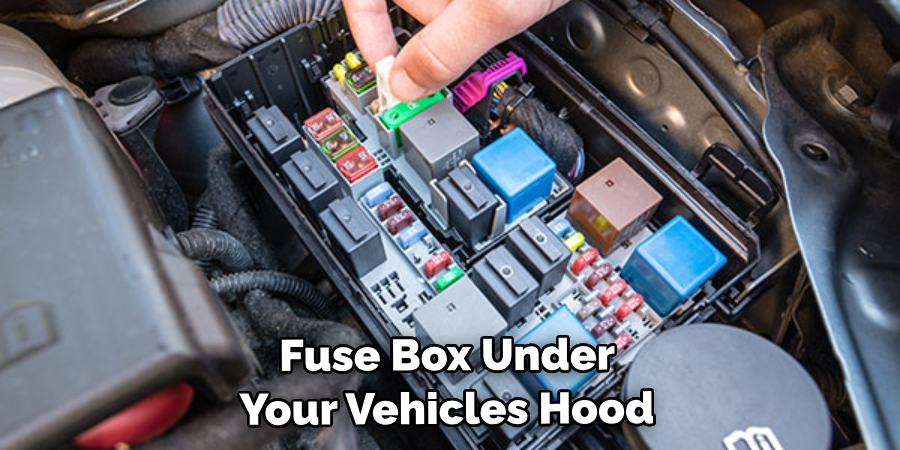
The first step in fixing your headlight relay is locating it. Usually, it’s found in the fuse box under your vehicle’s hood or dashboard. Refer to your vehicle’s manual if you have difficulty finding it. Try to identify the relay that corresponds to your headlights.
Step 2. Inspect the Headlight Relay:
Once you’ve found the headlight relay, inspect it for any visible damage, such as melted or broken wires, corrosion, or burn marks. If everything appears normal, you can move on to the next step. However, it’s best to replace the relay entirely if there is visible damage.
Step 3. Test the Headlight Relay:
To ensure the relay is the problem, you need to test it. Disconnect the relay from the fuse box and set your multimeter to the ohms setting. Connect the multimeter to the relay and check the reading. If the multimeter doesn’t show any reading, your relay might be the problem and needs replacement. If the multimeter shows a reading, the issue could be somewhere else. This step helps confirm if the headlight relay is the cause of the problem.
Step 4. Remove the Damaged Headlight Relay:
After confirming that the relay is the issue, it’s time to remove it. Turn off your vehicle and disconnect the battery before you start. Carelessly unscrew and remove the old or faulty relay from the fuse box using the appropriate screwdriver. Remember to keep track of where each wire was connected to the old relay, as you’ll need to connect the new one in the same manner.
Step 5. Install the New Headlight Relay:
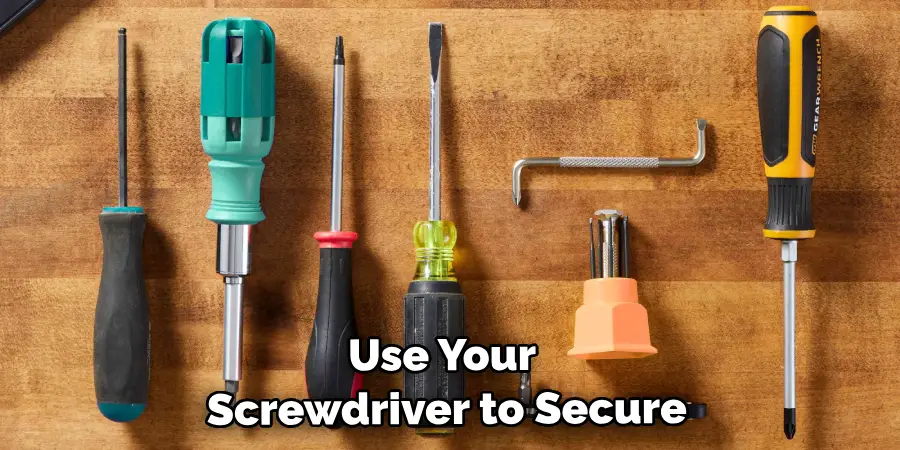
Now that you have removed the damaged relay, it’s time to install the new one. Take your replacement headlight relay and connect it to the appropriate wires in the same pattern as the old one was connected. Use your screwdriver to secure the relay into the fuse box. After installing, double-check to make sure that all wires are correctly connected and secured.
Step 6. Reconnect the Battery and Test the New Relay:
Reconnect the battery after ensuring the new headlight relay is installed correctly, and all the wires are secured. Turn on your vehicle and test the headlights. They should be functioning normally if the relay was the issue. However, if they are still not working correctly, you should consult a professional as the problem may lie elsewhere in the electrical system.
Step 7. Check the Wiring:
If your headlights are still not working correctly after replacing the relay, the problem may be in the wiring. Examine all wires connected to the headlight relay for any signs of damage, fraying, or loose connections. Use your wire stripper/crimper tool to fix damaged wires and ensure all connections are secure. If the cables are severely damaged, you may need to replace them.
Step 8. Test the Headlight Switch:
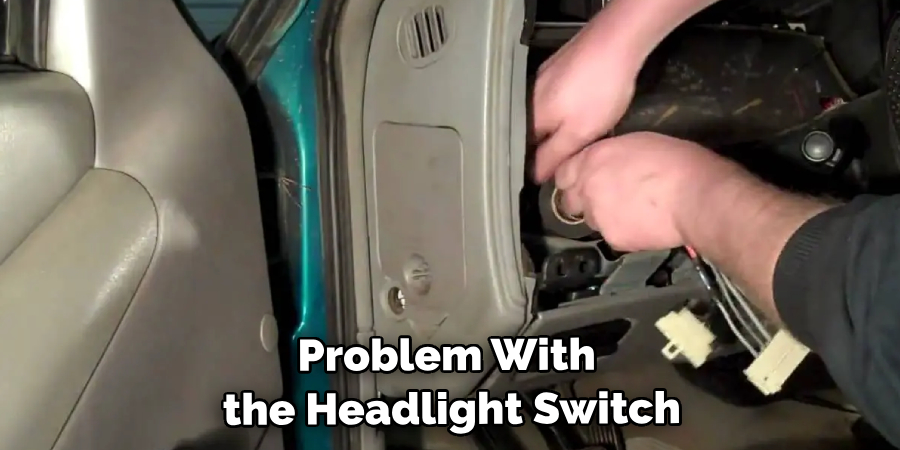
Sometimes, the problem might be with the headlight switch instead of the relay or wiring. To test your headlight switch, you’ll need a test light. Disconnect the switch from the circuit and attach the test light to the terminal. Turn the switch on and off. If the test light doesn’t illuminate when the switch is on, the switch might be the issue and needs to be replaced.
Step 9. Replace the Headlight Switch if Necessary:
If the headlight switch is found to be faulty during testing, it must be replaced. To do this, first disconnect the battery for safety. Then, using a screwdriver, remove the switch from its position in the dashboard or steering column. Be careful not to lose any small parts or screws during this process. Replace the old switch with a new one, ensuring all connections are secure. Reconnect the battery and test the headlights again. If they are functioning properly, then the issue has been resolved. If not, seeking professional help is advisable, as the problem may be more complex than initially anticipated.
Step 10. Seek Professional Help if Necessary:
If, after all these steps, your headlights are still not working correctly, it may be time to seek professional help. Electrical systems in vehicles can be complex, and if the problem is more complex than a faulty relay, switch, or damaged wires, a professional mechanic will have the knowledge and tools to diagnose and fix the issue. Remember, safety is paramount, and your vehicle’s headlights must function correctly to ensure safe driving conditions.
By following these steps, you can quickly fix your headlight relay and have your headlights working like new in no time.
5 Additional Tips and Tricks
Tip 1. Always Disconnect the Battery:
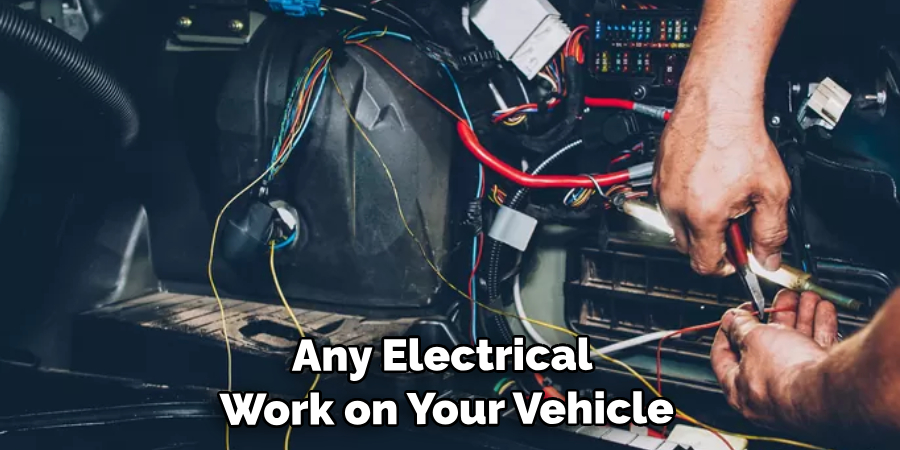
Before beginning any electrical work on your vehicle, always disconnect the battery. This prevents any potential electrical shock and ensures your safety during the process.
Tip 2. Use Quality Parts:
Always opt for quality parts when replacing any parts, such as the relay or the switch. Quality parts may cost more upfront, but they often last longer and perform better, potentially saving you from repeated repairs.
Tip 3. Keep Track of Screws and Small Parts:
During the replacement process, you’ll be dealing with screws and other small parts. Keep a small bowl or magnetic tray handy to prevent them from getting lost.
Tip 4. Take Photos for Reference:
Before disconnecting wires or removing parts, take a few photos with your phone. These can be invaluable references when you’re reconnecting everything.
Tip 5. Regular Maintenance:
Regularly check your vehicle’s electrical system and any visible wiring for signs of wear, damage or corrosion. Early detection of any issues can prevent more severe problems down the line.
With these tips and tricks, you can not only fix your headlight relay but also ensure the longevity of your vehicle’s electrical system.
5 Things You Should Avoid
Avoid 1. Ignoring Warning Signs: Ignoring early warning signs, like dimming or flickering headlights, can lead to more severe issues in the long run. If you observe any changes in your vehicle’s lighting, it’s best to address them immediately.
Avoid 2. Not Wearing Protective Gear: Always wear protective gear, like gloves and safety glasses, when working with your vehicle’s electrical system. Even a minor mishap can lead to severe injuries.
Avoid 3. Forgetting to Disconnect the Battery: Please disconnect the battery before starting any electrical work to avoid electric shock or short-circuiting. Always ensure the battery is disconnected before you begin.
Avoid 4. Using Mismatched or Substandard Parts: Using parts not designed for your vehicle or of poor quality can lead to inefficiency and recurring issues. Always choose parts that are compatible with your car and meet quality standards.
Avoid 5. Skipping Regular Maintenance: Regular maintenance is crucial for your vehicle’s longevity. Refrain from regular checks to avoid minor issues escalating into more significant, costlier problems. Always keep a regular check on your vehicle’s electrical system and wiring.
By avoiding these common mistakes, you can ensure a smoother and safer fixing of your headlight relay.
Will Headlights Work Without a Relay?
The answer is yes, but only for a short time. The headlight relay is a safety mechanism to protect your vehicle’s electrical system from overload. Without the relay, the high amperage drawn by the headlights could damage other components in the system, leading to costly repairs. Additionally, your headlights may flicker or dim with a relay due to an adequate power supply.
As mentioned earlier, a faulty relay can also cause issues with your headlights. So, even though the headlights may work without a relay for a short period, fixing or replacing the relay as soon as possible is essential to ensure proper functioning and prevent any potential damage.
Conclusion
In conclusion, headlight relays are an essential part of your car’s makeup. Without them, you may find yourself in a terrifying situation without any headlights or simply with burnt-out lights. Fixing the problem need not be a dreaded task – replacing the relay is easy to do with the right tools.
Hopefully, the article on how to fix headlight relay has provided you with a comprehensive guide to troubleshoot and fix any issues you may encounter. Safety is crucial when working with electrical systems, so always disconnect the battery and take necessary precautions.
And if you ever find yourself needing more reliable illumination, start by troubleshooting your headlight relays before calling a mechanic! Take on the challenge today and keep those headlights shining brightly at all times.

