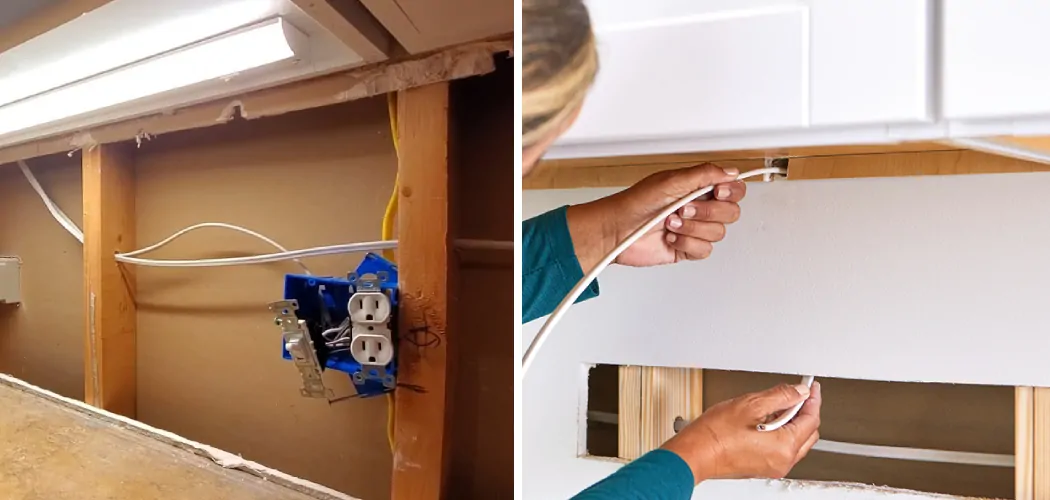
Under cabinet lighting is a fantastic way to add both style and functionality to your kitchen. It not only enhances the aesthetics of your space but also provides valuable task lighting for your countertop activities. Understanding how to wire under cabinet lighting using a diagram is crucial to ensure a safe and efficient installation.
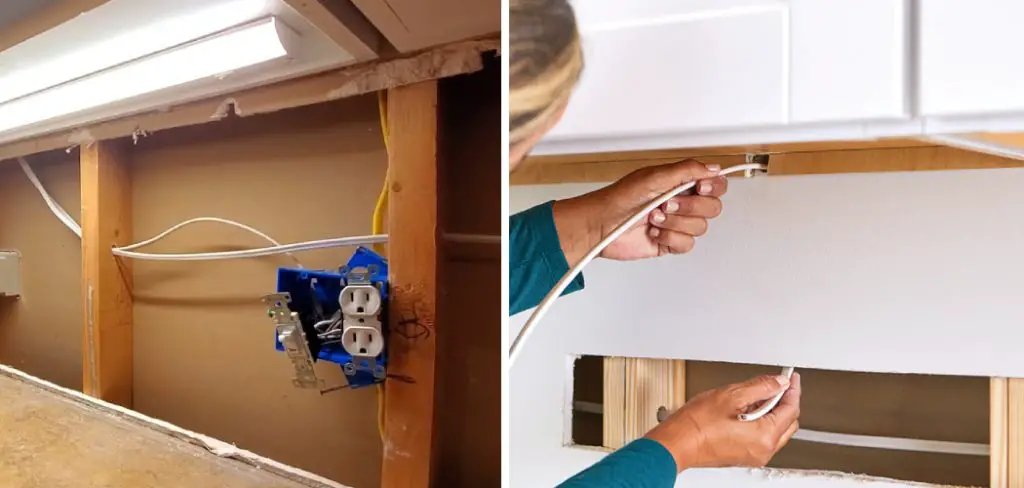
In this guide, we will walk you through the steps of how to wire under cabinet lighting diagram, providing clarity through a diagram. From deciphering the diagram components to making the right connections and ensuring a seamless electrical setup, we’ll cover all the essential aspects. Brighten up your kitchen and elevate its charm with well-placed and properly wired under cabinet lighting.
Importance of Under Cabinet Lighting
Under cabinet lighting is important for both functional and aesthetic purposes. It provides additional illumination to the kitchen workspaces, making it easier to see while cooking or preparing food. This can help prevent accidents and improve overall safety in the kitchen.
Moreover, under cabinet lighting can also enhance the appearance of your kitchen by adding depth and dimension. It can make your cabinets and countertops appear more sleek and modern, creating a visually appealing space.
In addition, under cabinet lighting can also serve as task lighting, providing focused light for specific activities such as reading recipes or chopping vegetables. This makes it an essential feature for those who love to cook and spend a lot of time in the kitchen.
Overall, under cabinet lighting is not just a mere decorative element but also serves practical purposes, making it an important addition to any kitchen.
Types of Under Cabinet Lights
There are various types of under cabinet lights that you can choose from to illuminate your kitchen or workspace. Each type has its own unique features and benefits, allowing you to customize the lighting according to your needs and preferences.
- Puck Lights – These are small, round lights that are typically installed in a series to provide even lighting under the cabinets. They come in different sizes and are easy to install with screws or adhesive.
- Strip Lights – As the name suggests, these lights come in the form of a long strip and can be easily mounted under cabinets. They provide bright and uniform lighting for your countertops.
- Tape Lights – These are similar to strip lights but are more flexible, making them ideal for curved or uneven surfaces. They are also easy to install and provide a soft diffused light.
- Rope Lights – These lights come in the form of a long rope and can be installed using clips or mounting brackets. They provide subtle accent lighting and are perfect for creating ambiance in the kitchen.
- LED Bars – These lights are slim, compact and can be easily hidden under cabinets. They offer energy efficiency and can be dimmed for customizable lighting.
- Battery-Operated Lights – These lights are portable and do not require any electrical wiring, making them perfect for renters or temporary setups.
- Hardwired Lights – These lights are connected directly to your home’s electrical system and provide a permanent lighting solution. They offer the highest level of customization and control with the use of a dimmer switch.
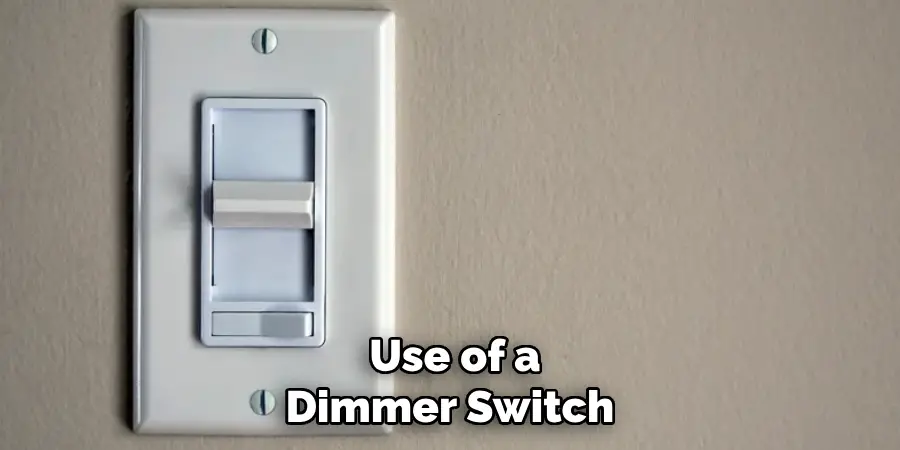
Before deciding on which type of under cabinet lights to install, consider factors such as brightness, energy efficiency, and ease of installation. You can also mix and match different types of lights to achieve the desired lighting effect in your kitchen or workspace.
10 Methods How to Wire under Cabinet Lighting Diagram
1. Gather Your Supplies
Before you begin wiring your under cabinet lighting, it is important to make sure that you have all the necessary supplies. These include a power supply, wires, connectors, junction boxes, and light fixtures. It is also important to read the instructions for your lighting system carefully before beginning the installation process. This will ensure that you have all the necessary tools and materials to complete the project successfully.
2. Turn off the Power
Before beginning any electrical wiring project, it is essential to turn off the power at the circuit breaker or fuse box. This will ensure that you do not shock yourself or cause any damage to your home’s electrical system during the installation process. Once the power is off, use a voltage tester to ensure that no electricity is flowing through the wires.
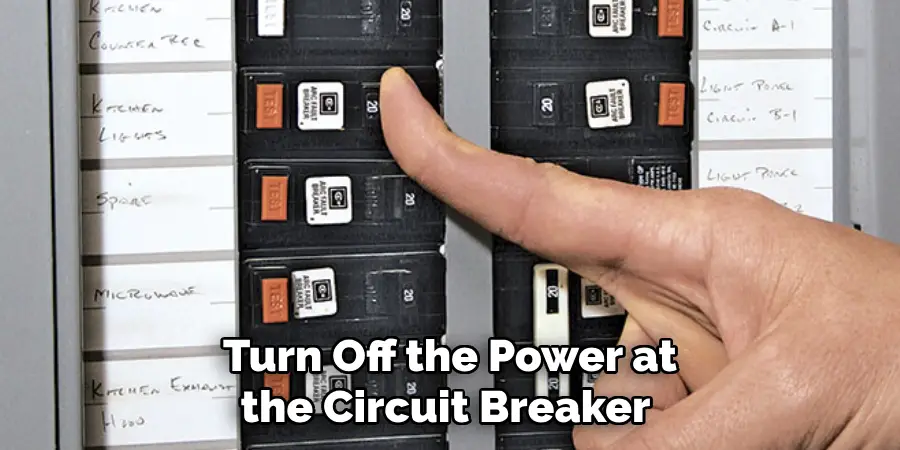
3. Connect the Wires
Once you have gathered all of your supplies and turned off the power, you can begin connecting the wires for your under cabinet lighting system. Start by connecting one end of each wire to its corresponding connector on either side of a junction box. Then connect the other ends of these wires to their respective terminals on each light fixture. Make sure to follow the manufacturer’s instructions for specific wiring configurations.
It is important to pay close attention when connecting wires, as incorrect connections can cause electrical shorts or fires. If you are unsure about any step in the process, it is best to consult a professional electrician for assistance.
4. Install Junction Boxes
After connecting the wires from one fixture to another, it is time to install junction boxes in each corner of your kitchen cabinets where two wires meet up with one another.
These junction boxes provide a secure connection point for multiple sets of wires and are designed to protect against short circuits and other potential hazards associated with electrical wiring projects. You can choose from a variety of junction boxes, including plastic or metal ones, depending on your personal preference and the wiring needs of your under cabinet lighting setup.
5. Mount Light Fixtures
Once all of your junction boxes are installed, it’s time to mount your light fixtures onto each cabinet wall using screws or mounting brackets (depending on what type of fixtures you’ve chosen).
Make sure that all connections are secure before proceeding with the next step in this process! However, before proceeding, it’s important to note that the type of light fixtures you choose will greatly impact the overall look and function of your under cabinet lighting.
6. Connect Power Supply
Now that all of your light fixtures are mounted securely onto their respective walls, it’s time to connect them up with a power supply so they can receive electricity from an outlet nearby or directly from your home’s main power source (depending on how you choose to set up this part of the project). Be sure that all connections between components are secure before moving forward!
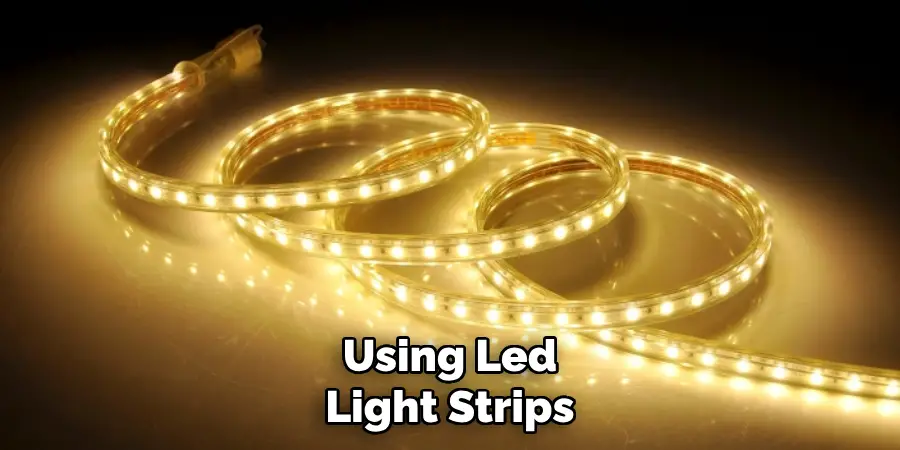
If you are using LED light strips, you will need to connect them together with a soldering iron and wire. Typically, the red wires on the strips are positive and the black wires are negative. If you choose to use puck or tape lights, they usually come with connectors that allow for easy connection without any additional tools required.
7. Test Your System
Once everything has been connected properly and securely, it is now time to test out your new under cabinet lighting system! Simply turn on the power at its source and observe whether or not everything works as expected (i.e., lights come on when they should). If something doesn’t seem right then double-check all connections before attempting any further troubleshooting steps!
8. Secure All Wires
Now that everything has been tested and is working correctly, it is important to make sure that all exposed wires are secured properly so they don’t become loose over time and create potential safety hazards down the line (e.g., electric shock or fire). Use zip ties or other fastening materials as needed in order to keep these wires in place!
9. Install Dimmer Switch
If desired, some people may wish to install a dimmer switch for their under cabinet lighting system in order for them to be able adjust brightness levels as needed throughout different times of day or night (e.g., bright during meal prep but dimmed while entertaining guests). Installing this type of switch requires additional wiring work but can be done relatively easily if one follows manufacturer instructions closely!
10. Enjoy Your New Under Cabinet Lighting System!
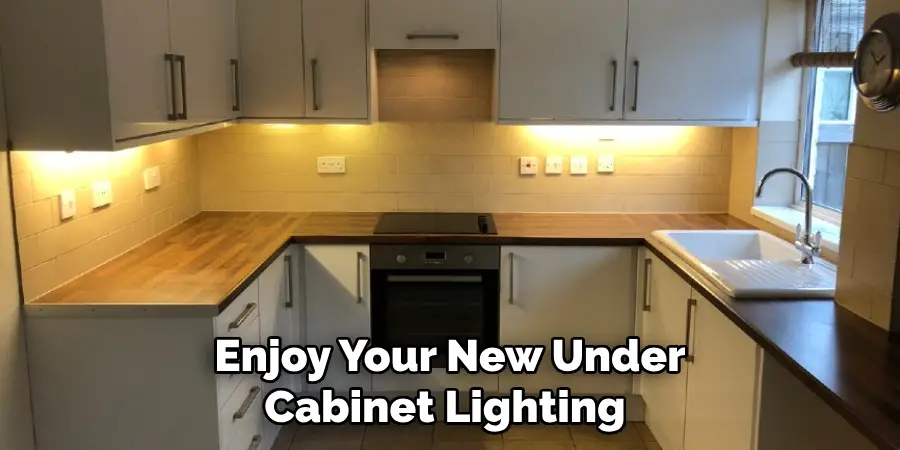
Finally – once everything has been installed correctly and tested out successfully – you can now sit back and enjoy your new under cabinet lighting system! Whether used for task lighting during meal prep or mood lighting while entertaining guests, this upgraded feature will surely add both style and functionality into any kitchen space without breaking too much sweat (or bank)!
Conclusion
Wiring under cabinet lighting is a great way to brighten up the kitchen and make things more organized and enjoyable. Now that you have a better understanding of how to wire under cabinet lighting, you can take the next step and start shopping for new fixtures or bulbs. With the right tools, like those discussed earlier in this post, anyone can successfully complete their own wiring project.
Now that you know how to wire under cabinet lighting diagram, feel free to get started on your project today! You can also hire an experienced contractor if you’re feeling overwhelmed by the idea. No matter which route you decide to take, you now have the knowledge needed to outfit your kitchen with the added layer of brightness it deserves. Good luck!

