A switch loop is a fundamental electrical wiring configuration that allows you to control a light fixture or electrical outlet from multiple switches. Understanding how to wire a switch loop is a vital skill for anyone working with electrical systems. In this guide, we’ll delve into the details of wiring a switch loop, covering the essential steps and precautions needed for a successful installation.
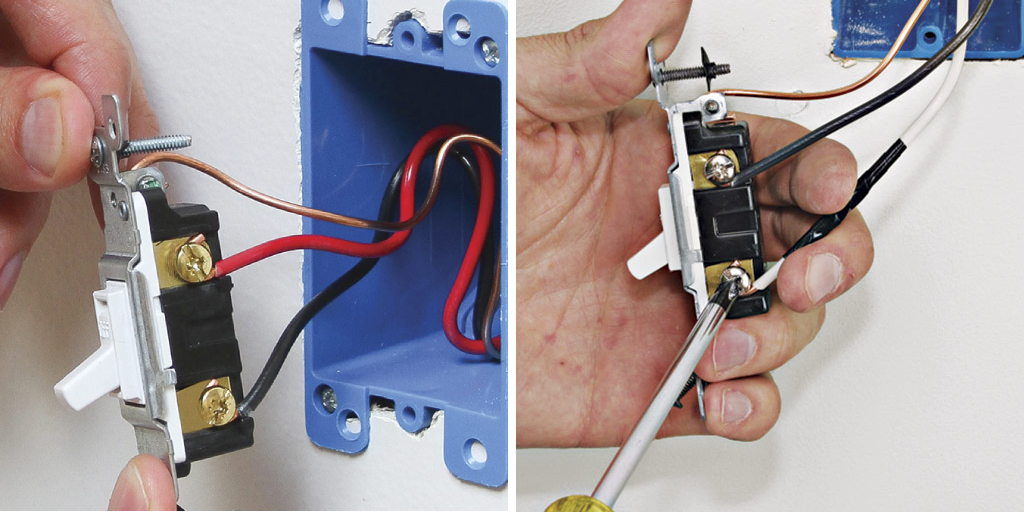
From comprehending the wiring components to correctly connecting the wires and switches, we’ll provide a comprehensive approach to how to wire switch loop. Unlock the potential to control your electrical fixtures efficiently and safely by learning how to wire a switch loop effectively.
What is a Switch Loop
A switch loop, also known as a wiring loop or a light switch loop, is a common electrical wiring technique used to control lighting fixtures from a single location. It involves running two wires between the wall switch and the light fixture instead of the traditional three-wire setup.
How does it work?
In a standard three-wire setup, there are two “traveler” wires that run between the switches and one “hot” wire that runs between the switch and the light fixture. In a switch loop, these three wires are replaced by just two – a hot wire and a switched hot wire.
The hot wire carries power from the source to the switch, while the switched hot wire carries power from the switch to the light fixture. The circuit is completed when the switch is turned on, allowing power to flow through the switched hot wire and illuminate the light fixture.
Importance of Proper Wiring
Wiring is an essential aspect of any electrical installation. Proper wiring ensures safe and efficient functioning of all electrical devices and appliances in a building. One important type of wiring is the switch loop, which is commonly used for lighting fixtures.
Switch loops involve connecting a switch to a light fixture without using a neutral wire. Instead, the hot wire from the power source is connected to the switch, and then another hot wire is connected from the switch to the light fixture. This type of wiring allows for control of the light fixture from a single switch.
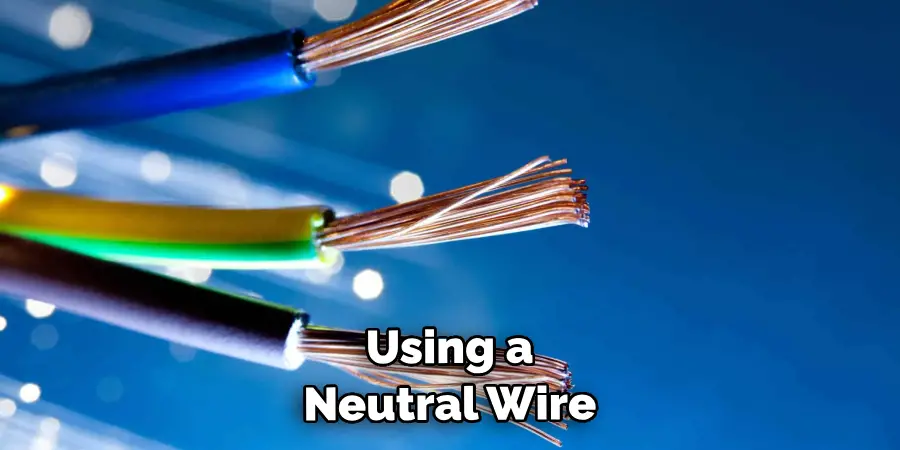
Proper wiring of switch loops is crucial for several reasons:
Safety
Safety should always be the top priority when it comes to electrical installations. Improper wiring can lead to short circuits, fires, and electrocution. With switch loops, it is important to ensure that the hot wire from the power source is connected to the switch and the light fixture is properly grounded.
Compliance with Building Codes
In most countries, there are building codes and regulations in place that specify how electrical installations should be done. These codes are meant to ensure safety and prevent hazards in buildings. Proper wiring of switch loops is required to meet these codes and regulations.
Avoiding Electrical Issues
Improper wiring can lead to a variety of electrical issues, such as flickering lights, tripped breakers, and damaged appliances. This can be costly and inconvenient to fix. By properly wiring switch loops, you can avoid these issues and ensure the smooth functioning of your electrical system.
10 Methods How to Wire Switch Loop
1. Single Pole Switch Loop Method
The single pole switch loop method is one of the most common methods for wiring a light switch. This method involves running a single wire from the power source to the switch and then running another wire from the switch to the light fixture. The advantage of this method is that it allows you to control the light from two separate locations, such as at the top and bottom of a staircase.
2. Three-Way Switch Loop Method
The three-way switch loop method is used when you want to control a light from three different locations, such as at both ends of a hallway and in the middle. This method involves running two wires from the power source to each switch and then connecting all three switches together with an additional wire. This allows you to turn on or off the light from any of the three locations.
3. Four-Way Switch Loop Method
The four-way switch loop method is used when you want to control a light from four different locations, such as at all four corners of a room. This method involves running three wires from the power source to each switch and then connecting all four switches together with an additional wire. This allows you to turn on or off the light from any of the four locations.
4. Multi-Location Switch Loop Method
The multi-location switch loop method is used when you want to control a light from multiple locations, such as in every room of your house or office building. This method involves running multiple wires from the power source to each switch and then connecting all switches together with an additional wire. This allows you to turn on or off the light from any location where there is a switch installed.
5. Fan/Light Combo Switch Loop Method
The fan/light combo switch loop method is used when you have both a fan and a light that need to be controlled by one set of switches, such as in bathrooms or bedrooms with ceiling fans installed above them.
This method involves running two wires from the power source (one for each device) and then connecting them both together with an additional wire before connecting them both to their respective switches so they can both be turned on or off independently of one another.
6. Dimmer Switch Loop Method
The dimmer switch loop method is used when you want to be able to adjust how much light comes out of your fixtures; for example, if you have recessed lighting in your kitchen that needs more brightness depending on what time it is during day or night time hours.
This method involves running two wires from your power source (one for each device) but instead of connecting them directly together like with other methods, they are connected first through a dimmer switch, which will allow you to adjust how bright or dim your lights will be without having to manually adjust each bulb’s wattage individually.
7. Motion Sensor Switch Loop Method
The motion sensor switch loop method is used when you want your lights to automatically turn on whenever someone enters their vicinity, such as in hallways or stairwells where people may not always remember to manually turn on their lights before entering these areas.

This type of setup requires that two separate wires are run between your power source and each motion sensor, along with an extra wire being run between all motion sensors themselves so that they can communicate with one another and work in unison.
8. Timer Switch Loop Method
The timer switch loop method is used when you want your lights to automatically turn on at certain times throughout the day without having to manually flip any switches, such as in rooms where natural sunlight may not always be available during certain times. This type of setup requires that two separate wires are run between your power source and timer, along with an extra wire being run between all timers themselves so that they can communicate with one another and work in unison.
9. Remote Control Switch Loop Method
The remote control switch loop method is used when you want complete wireless control over your lights, such as if they are located far away, where it may not always be possible to reach them physically.
This type of setup requires that two separate wires are run between your power source and a remote receiver, along with an extra wire being run between all receivers themselves so that they can communicate with one another and work in unison.
10. Combination Switch/Outlet Loop Method
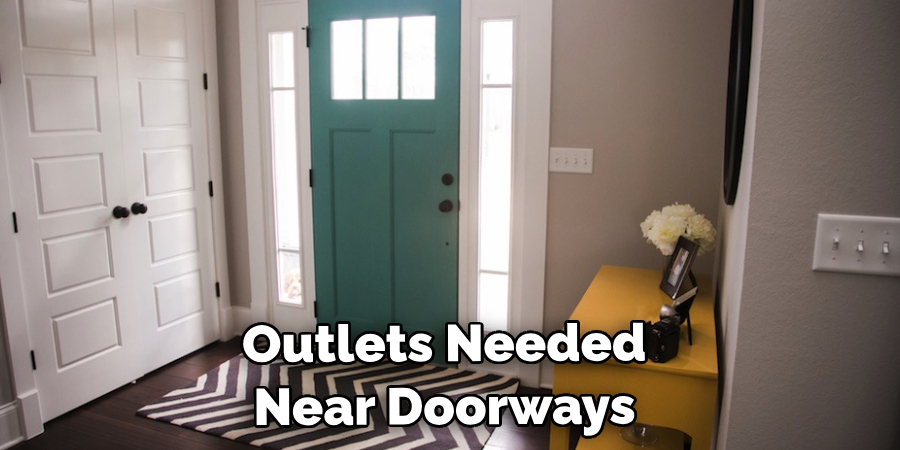
The combination switch/outlet loop method is used when you need both outlets for plugging devices into, along with switches controlling overhead lighting, such as if outlets are needed near doorways while still having the ability to turn off overhead lighting without having to manually reach up high above doorways.
Conclusion
Accounting for wiring a switch loop is fairly simple, as long as all of the necessary steps are followed correctly. Even though wire switches are more expensive than basic on and off switches, they can add immense convenience and style to any space. With a few simple tools, materials, and skills, you can totally transform the feel of your home.
For those looking to take their DIY skills to the next level by learning how to wire switch loop, the following tips should be give you an excellent starting point. By mastering this project, you’ll gain a newfound sense of pride in your electrical abilities and be able to make functional updates around your home without having to hire professionals or break the bank. If you’re feeling daring, why not try your hand at wiring a switch loop today? We guarantee it’s an experience worth trying out!


