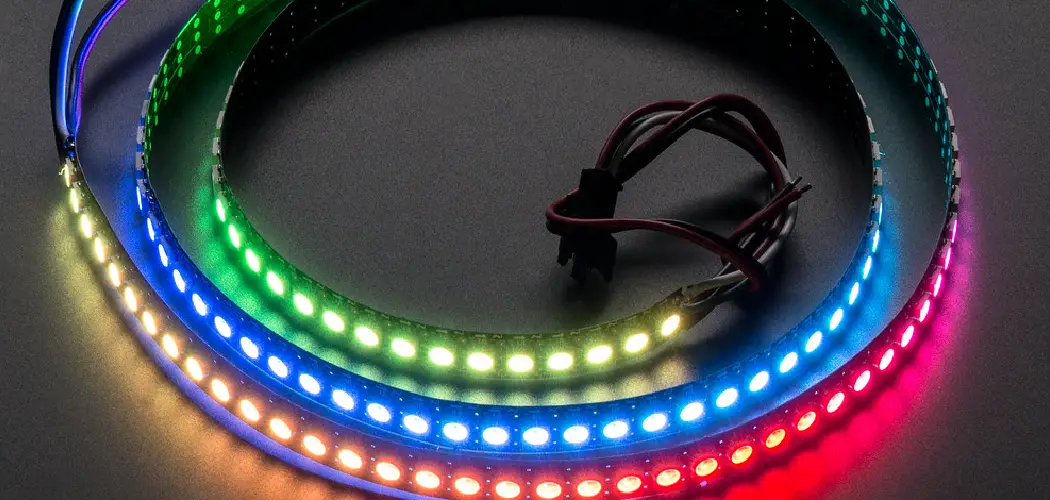
Do you want to light up your life? Are you looking for a quick guide to wiring your RGB LED strip without the need for an external controller? Then you’ve come to the right place! RGB LED strip gives the most variety of lighting options. However, it can be daunting trying to figure out how to wire it without a controller.
In this blog post, we will walk through how to wire up an RGB LED strip without having to buy a dedicated controller. We’ll look at what materials and tools are required, as well as provide step-by-step instructions on how it’s done.
Once completed, you’ll be able to turn on and control your favorite colors with just a few simple steps on how to wire RGB LED strip without controller — no matter whether you want something subtle or bright and bold. Read on for more details!
What is RGB LED Strip Light?
RGB LED strip lights are flexible, multi-colored strips that come with a dedicated power supply and remote. The three main colors—red, green, and blue (RGB)—are combined to mix any color of light you desire. By controlling each LED’s intensity, it’s possible to produce millions of different colors. RGB strips are also energy efficient, long-lasting, and very easy to control.
The Facilities of Having RGB LED Strip Lights
RGB LED strip lights come with a wide range of benefits. These include:
- Ability to create any color you want.
- Easy installation and setup.
- Low power consumption, making them energy efficient.
- Long-lasting LED bulbs that don’t need replacing as often as other lighting fixtures.
- Universal compatibility with most controllers and dimmers.
Materials Needed
- RGB LED strip lights
- Soldering iron and solder
- Wire cutters or scissors
- Wiring diagram (optional)

10 Instructions on How to Wire RGB LED Strip Without Controller
1. Preparation
Start by preparing the strips and all the necessary materials you will need for this project. Gather the LED strip, soldering iron and solder, wire cutters or scissors, and a wiring diagram (if desired). Keep everything nearby, as you will need it throughout the wiring process.
2. Cut the LED Strip
Using your wire cutters or scissors, measure and then cut the LED strip into the desired size and length needed for your project. While cutting, ensure you are only cutting through the designated lines and not in between them.
3. Preparing the Ends of the Strip
Once cut, prepare each end of the LED strip by adding a small piece of solder to both ends, as this will help with connecting and soldering later on. Make sure that all exposed wires have been covered with the solder.
4. Connect the Wires
Now you can start connecting and soldering the appropriate wires to the LED strip ends. Start by stripping a few centimeters of insulation on each end of each wire, then connect them securely to their respective terminals on the LED strip. Make sure all connections are secure and tightly wrapped.
5. Solder the Connections
Using your soldering iron, solder each connection securely to ensure a strong and long-lasting bond between the wires and LED strip ends. This is an important step that will make sure the connections last longer and remain in place while you are wiring up the RGB LED strip.
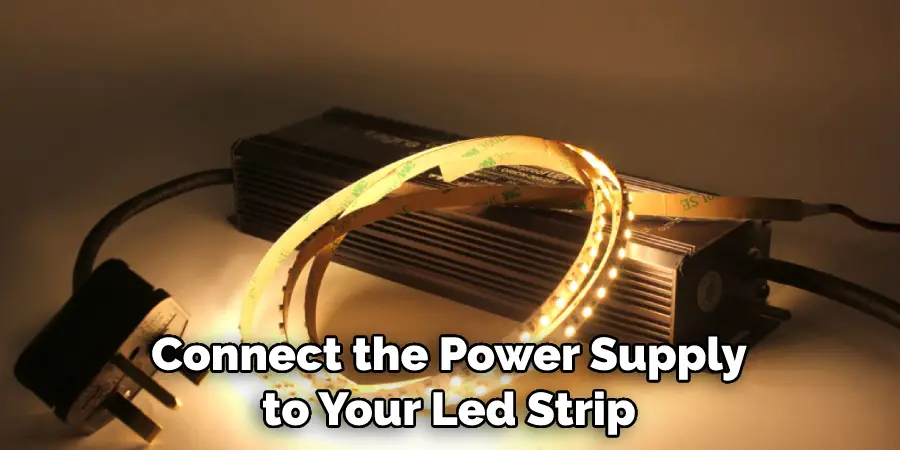
6. Connect the Power Supply
The next step is to connect the power supply to your LED strip and make sure all connections are secure. Make sure that the ground wire (black) is connected properly, as this will provide a steady power source for your lights.
7. Double Check Your Work
Before you turn on your lights, it is important to double-check all connections and make sure everything is securely connected. This will help prevent any potential issues or hazards from arising in the future due to a faulty connection.
8. Test Your RGB LED Strip Lighting
Once everything has been checked and all connections are secure, you can now test your RGB LED strip lighting. If all connections have been made correctly and the power is turned on, you should see your lights begin to illuminate in whatever color or combination of colors you have chosen.
9. Position Your LED Strip
Now that everything has been tested and you know the lights work properly, it’s time to position them in the desired place. Be sure to mount the LED strip securely and away from any areas where it might short-circuit or become damaged due to moisture or heat.
10. Enjoy!
Now you can enjoy your newly wired RGB LED strip lighting and show off all of its amazing colors! Whether you are looking for a decorative addition to your home or are just looking to light up a specific area, you can be sure that your RGB LED strip will serve you well for many years to come.
By following these instructions on how to wire RGB LED strip without controller and taking the time to properly wire and connect your RGB LED strip without using a controller, you can ensure that your lights will provide you with amazing colors and brightness for many years to come.
5 Safety Precautions to Take
1. Before wiring your RGB LED strip, be sure to disconnect the power source. This is a safety precaution that should never be overlooked as it can lead to serious electrical hazards. Be careful not to touch or move any of the wires while they are life.
2. When connecting the LED strip to your power source, you must ensure that it is properly rated for the voltage supplied. An undersized power supply can cause a short circuit and present a fire hazard. Make sure that you follow all safety warnings and do not cut any wires or tamper with the power source in any way.

3. Make sure that you use waterproof connectors when connecting your LED strip to the power source, as this will protect against damage caused by water and moisture. I will protect the life of your LED strip and prevent it from becoming damaged or corroded over time.
4. When connecting the LED strip to the power source, be sure that all connections are tight and secure. Loose connections can cause arcing or sparks, which can be dangerous and potentially damaging. If possible, use electrical tape or heat shrink tubing to keep all connections secure.
5. Always double-check your wiring for any shorts or mistakes before turning on the power supply. Shorts can cause a loss of voltage and render the LED strip useless, so it is important to make sure that you have wired everything correctly. It is also a good idea to use a multimeter to check for any shorts or other abnormalities.
By taking these safety precautions into consideration, you can make sure that your LED strip is safely and properly wired without the use of a controller. It may take a bit of time to understand how to wire an RGB LED strip, but following these steps can help ensure that it is done properly and efficiently.
5 Maintenance Tips
1. Make sure the RGB LED Strip is properly sealed and secured in place. You should also ensure that all the wires are securely attached. It will help to prevent any moisture or dust from entering the strip and causing it to malfunction.
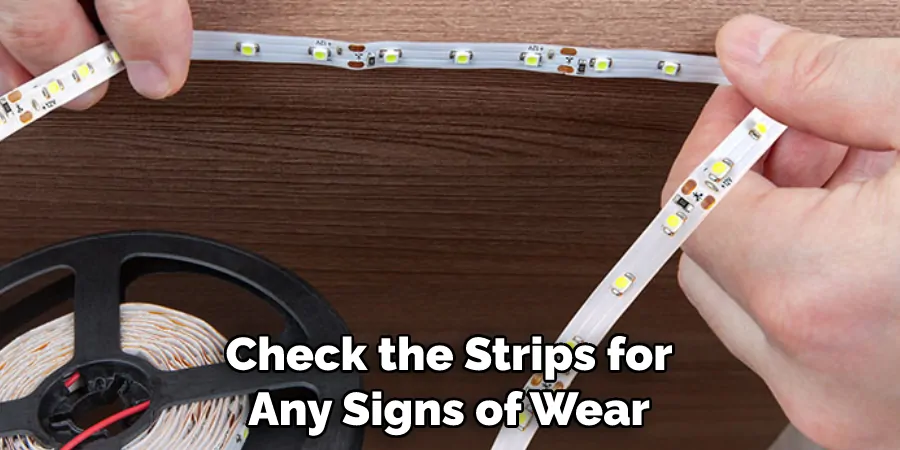
2. Regularly check the strips for any signs of wear and tear, such as frayed wires or broken connectors. Replace these parts as necessary to ensure that your RGB LED Strip will continue to perform well.
3. Once you’ve set up the RGB LED Strip, you should inspect it frequently to make sure that everything is working properly. Make sure all of the lights are at their brightest and that no glitches are occurring.
4. Keep a good supply of spare parts on hand for any necessary repairs or replacements. This includes extra wire, connectors, screws, and other small pieces that may become worn or broken over time.
5. Consider investing in a surge protector to ensure that your RGB LED Strip is safe from sudden power outages and other electrical surges. This will help to protect your investment and keep it working properly for years to come.
By following these 5 maintenance tips, you’ll be able to ensure that your RGB LED Strip continues to function properly and look great. With proper care and maintenance, you can be sure that your strip will continue to provide beautiful lighting for years to come!
Frequently Asked Questions
Can You Connect the USB to RGB LED Strip Lights?
Yes, you can connect USB to RGB LED Strip Lights. You need an adapter that can convert the USB signal into a compatible format for the lights. It will be important to make sure that the correct wattage is used for the adapter.
What Is The Difference Between RGB and Digital LED Strips?
RGB LED strips are made from multiple individual LEDs, whereas digital LED strips have a single chip that controls each of the separate LEDs. RGB LED strips allow you to mix different colors together to create custom lighting effects, while digital LED strips only allow you to control the brightness of individual colors.
What Can I Use RGB LED Strips For?
RGB LED Strips can be used to add color and atmosphere to any space. They are often used in home décor, but they can also be used for stage lighting, architectural lighting, and in businesses for customer attraction. With the right tools, you can create unique lighting effects to highlight your home or business.

How Much Power Does An RGB LED Strip Use?
The power used by an RGB LED strip depends on how long it is and how much current it needs to run at its full brightness. Generally, a 5-meter RGB LED strip will use about 10 Watts of power. Longer strips will require more current and more power.
Are RGB Strips Waterproof?
No, not all strips are waterproof. However, there are some varieties of RGB LEDs that are designed to be used in wet environments and can withstand splashes or even extended submersion in water. Be sure to check the product details before purchasing if you plan on using your RGB LED Strip outdoors or in a wet environment.
Conclusion
Having the right tools and following the correct steps on how to wire RGB LED strip without controller is easier. Whether you’re connecting multiple strips together or creating an electrical circuit in your house, the end result of being able to wire and control a colored light display is sure to be worth it.
Always take extra precautions when working with electricity and lighting, as faulty connections could lead to unintended consequences or even fires. Now that you know how to wire RGB LED strip without a controller, go forth and create something amazing! You will impress yourself with what you can make when you accessorize your space with vibrant LEDs.
It pays to understand the basics of electricity – but there’s no need to become an expert engineer overnight. So get out there and experiment. Today is the day for something brilliant.

