Low voltage landscape lighting is a favored choice for illuminating outdoor spaces, pathways, and gardens, thanks to its safety and energy efficiency. It effectively enhances the beauty and functionality of any outdoor area without the risk associated with high voltage systems. The wiring process for low voltage lighting is relatively straightforward, involving a transformer that converts standard household voltage (120V) to a safer 12V or 24V, making it ideal for residential applications.
When exploring how to wire low voltage landscape lighting, homeowners appreciate its versatility, as it can be customized to suit a wide range of landscaping designs. Furthermore, the ease of installation makes it accessible to DIY enthusiasts looking to improve their outdoor ambiance. Not only does it offer aesthetic appeal, but it also presents long-term cost savings through reduced energy consumption, making it a smart and sustainable choice for exterior lighting needs.
Tools and Materials Needed
To successfully wire low voltage landscape lighting, gather the following tools and materials:
- Low Voltage Lights: Choose from a variety of fixtures such as path lights, spotlights, or accent lights to suit your design.
- Transformer: This crucial component converts standard 120V household power to a safe 12V or 24V for outdoor use. Ensure your transformer has sufficient wattage capacity to support all the lights in your plan.
- Low Voltage Cable: Link the transformer to your lights using an outdoor-rated cable. The cable gauge should match your installation needs, such as opting for a 12-gauge cable for longer distances or higher power loads.
- Wire Connectors/Splice Clips: Essential for securely connecting lights to the main cable.
- Timer or Photocell (optional): These tools can automate your lighting system according to specific times or ambient daylight.
- Shovel or Trenching Tool: Required for burying cables safely underground.
- Voltage Tester: Important for checking the system’s operational safety before use.
Planning the Layout
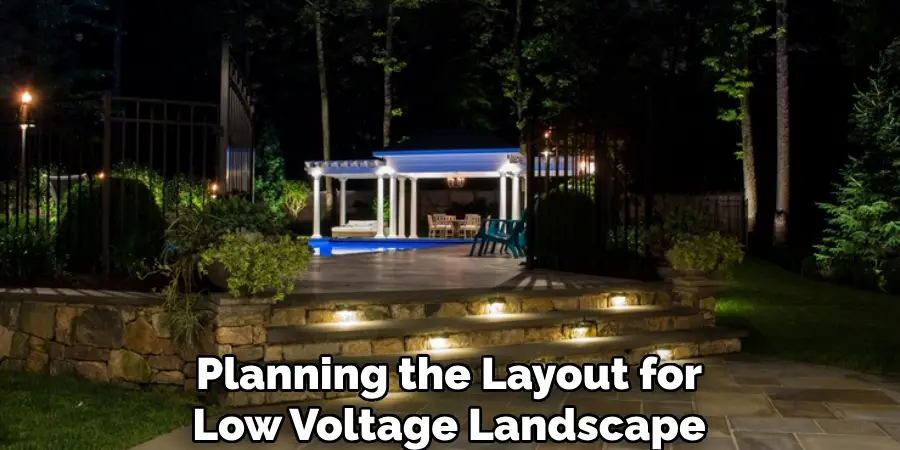
When planning the layout for low voltage landscape lighting, a methodical approach ensures both functionality and aesthetic appeal.
Step 1: Determine the Lighting Needs
Begin by identifying specific areas of your landscape that require illumination, such as pathways, flowerbeds, or prominent trees. Select the appropriate type of light fixture depending on the location and purpose. For instance, path lights are ideal for walkways, providing both safety and visual appeal, while spotlights effectively highlight trees or other architectural features.
Step 2: Calculate Wattage Requirements
Once you’ve determined the number and type of lights needed, calculate the total wattage required for your system. This involves adding up the wattage of each light fixture to ensure it does not exceed 80% of the transformer’s capacity—a safety margin that ensures optimal performance and extends the life of your system. For example, if you have a transformer with a capacity of 200 watts, your total light wattage should not surpass 160 watts. Suppose you intend to install ten pendant lights, each with a wattage of 10 watts; your total required wattage would be 100 watts.
Step 3: Plan Cable Runs and Positioning
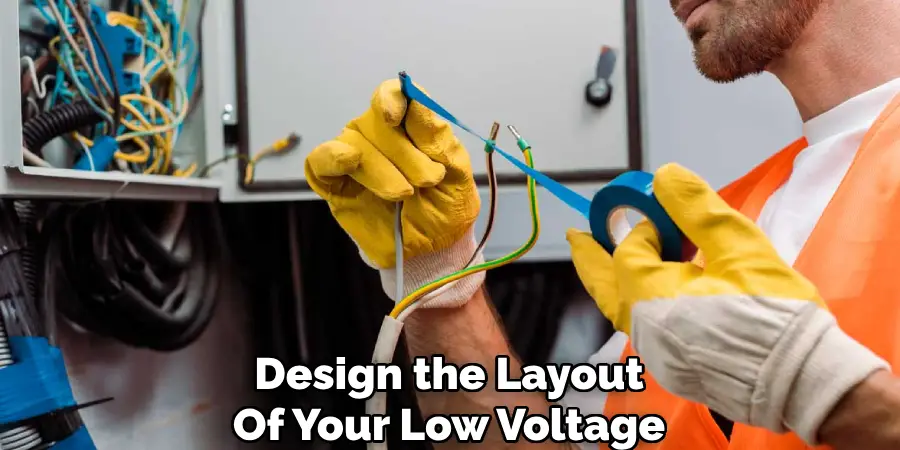
Design the layout of your low voltage cabling with care, mindful of the run length and wattage to prevent voltage drop issues, which can cause more distant lights to appear dimmer. Creating a detailed sketch of where the lights, transformer, and main cable runs will be positioned is essential. Ensure the transformer is situated near an outdoor GFCI outlet for ease of installation and safety. Additionally, plan cable routes to avoid obstruction and ensure they are properly buried for protection.
Choosing the Transformer and Cable
Selecting the Transformer
When selecting a transformer for your low voltage landscape lighting system, the key consideration is the total wattage of the lights you plan to install. A good practice is to choose a transformer that meets your current wattage needs and allows for future expansion. For instance, if your system initially requires 100 watts, opting for a 200-watt transformer provides the extra capacity for additional lights if you decide to enhance your outdoor space later. The transformer’s capacity mustn’t be exceeded to ensure optimal performance and longevity.
Selecting the Right Cable Gauge
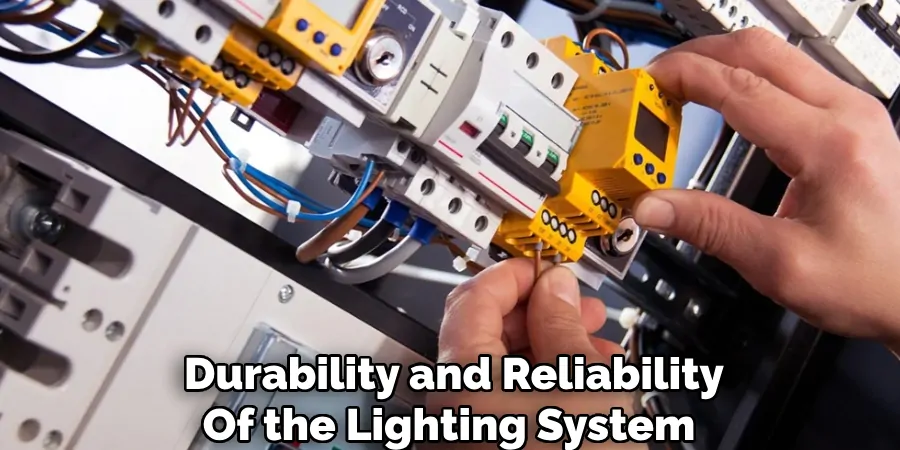
The cable gauge is essential in managing voltage drop, which can cause lights at the end of a long cable run to appear dim. Using a thicker wire (lower gauge number) helps mitigate this issue for long runs or high-wattage systems. A 12-gauge wire is preferable for cable over 100 feet or systems with higher overall wattage requirements. Conversely, a 14-gauge wire can suffice for shorter distances under 100 feet. In all cases, it’s important to use an outdoor-rated, direct-burial cable designed to withstand the elements, ensuring the durability and reliability of the lighting system.
How to Wire Low Voltage Landscape Lighting: Installing the Transformer
Step 1: Mount the Transformer
Begin by choosing the ideal location for your transformer installation, ensuring it is near an outdoor GFCI outlet for easy access to power. Mount the transformer on a wall or any sturdy surface, keeping it at least 12 inches above the ground. This height ensures protection against potential water damage and allows for efficient airflow around the unit, contributing to its longevity. Securely fasten the transformer using appropriate mounting brackets or hardware designed for outdoor use, and verify that it is level and stabilized before proceeding to the next step.
Step 2: Connect the Transformer to the Power
With the transformer securely mounted, plug it into the GFCI outlet. However, you should refrain from turning it on just yet. Consider enhancing your system’s convenience and efficiency by installing a timer or photocell. A timer can be set to operate the lights at specific times, giving you control over when they turn on and off, which is ideal for energy conservation. Alternatively, a photocell can automatically activate the lights based on surrounding light levels, ensuring they turn on at dusk and off at dawn. These optional components provide versatile automation options for your landscape lighting system.
How to Wire Low Voltage Landscape Lighting: Laying Out and Connecting the Cable
Step 1: Lay Out the Cable
Begin by unrolling the low voltage cable along the planned path for your landscape lighting. Ensure the cable extends to each intended light position and leave some slack to accommodate any adjustments needed during installation. This slack is crucial as it ensures flexibility and prevents tension that could lead to cable damage over time.
Step 2: Position the Lights
With the cable laid out, place your light fixtures along the cable’s route. Position the lights strategically to highlight features in your landscape, ensuring they provide optimal illumination. Maintain an even spacing, such as 6-8 feet apart for path lights, to achieve uniform lighting coverage. Adjust the placement as needed to balance aesthetics with functionality, enhancing both safety and visual appeal in your outdoor space.
Step 3: Connecting Lights to the Cable
Using Quick-Connectors: Most low voltage lighting systems include quick-connectors or splice clips designed for convenient installation. These connectors penetrate the cable’s insulation, establishing a secure connection between the light fixture and the cable. To use the quick-connectors, simply clamp them onto the cable and ensure a firm grip is achieved for a reliable electrical connection.
Manual Splicing (if necessary): If your system requires manual splicing, begin by stripping the insulation from the cable at the designated connection points. Use wire nuts or other approved connectors to join the fixture wires to the main cable. These connections must remain waterproof to prevent short circuits or electrical failures. Properly seal each splice with waterproof connectors to maintain system integrity and durability.
Step 4: Bury the Cable
Finally, use a shovel or a trenching tool to bury the cable 3 to 6 inches deep. This step safeguards the cable against physical damage and weather exposure, while keeping your installation discreet and orderly. Ensure you leave a small amount of slack near each light fixture to facilitate any necessary future adjustments or repairs. This foresight in cable management supports the longevity and efficiency of your low voltage landscape lighting system.
Connecting the Cable to the Transformer
Step 1: Strip the Cable Ends
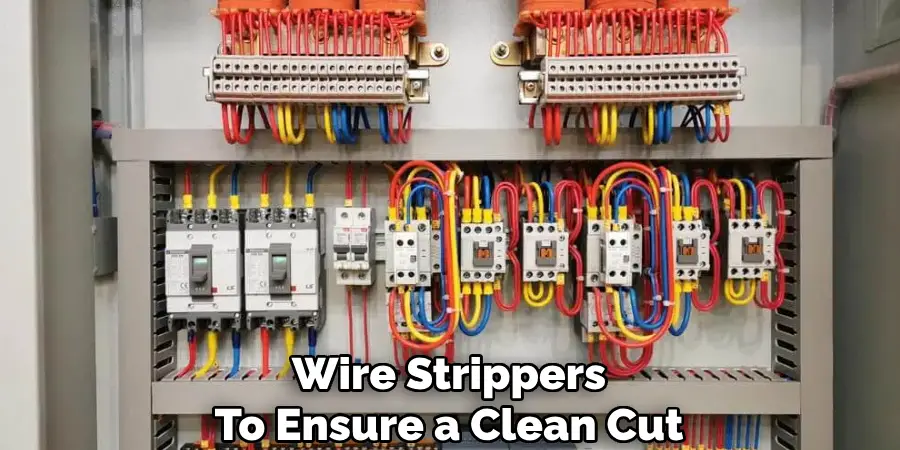
Start by carefully stripping about ½ inch of insulation from each of the two wires at the end of your low voltage cable. Use wire strippers to ensure a clean cut without damaging the internal wires. Properly exposed wire ends are crucial for forming a secure and reliable connection with the transformer.
Step 2: Attach the Cable to the Transformer
With the cable ends prepared, proceed to attach them to the transformer’s terminals. You will typically find these terminals labeled “Common” and either “12V” or “24V,” depending on your system requirements. Connect one wire to the “Common” terminal and the other to either the “12V” or “24V” terminal, ensuring a tight and secure fit. This prevents any risk of loose connections that might cause the lights to flicker or malfunction over time.
Step 3: Test the System
Once the connections are secure, it’s time to turn on the transformer and test your landscape lighting system. Activate the transformer and observe the lights, ensuring that all fixtures illuminate evenly. If any lights appear dim or fail to light up, double-check the connections and inspect the cable path for any anomalies. Adjustments to cable connections or fixture placements may be necessary to achieve optimal lighting. Testing at this stage ensures a fully functional and efficient outdoor lighting system.
Conclusion
Wiring low voltage landscape lighting is a straightforward and efficient process that enhances the beauty and safety of your outdoor spaces. The step-by-step approach ensures both simplicity and functionality, allowing even beginners to execute the installation effortlessly. This system’s inherent flexibility offers extensive customization, making it ideal for expanding or adjusting your lighting design as needed.
Whether you want to add more lights to accommodate landscape changes or modify the layout for seasonal adjustments, understanding “how to wire low voltage landscape lighting” empowers you to take charge of your outdoor ambiance. Regular maintenance is critical to the system’s longevity. It includes checking connections regularly, ensuring they remain secure and weatherproof, and repositioning lights to adapt to seasonal shifts in plant growth or daylight hours. Additionally, as your landscape evolves, consider upgrading the transformer or expanding the cable network to support any new lighting elements you introduce.

