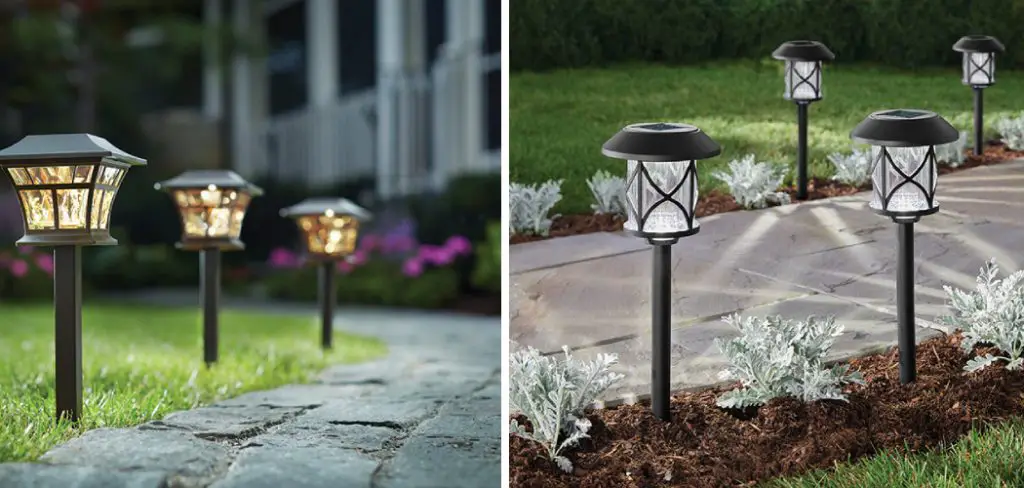
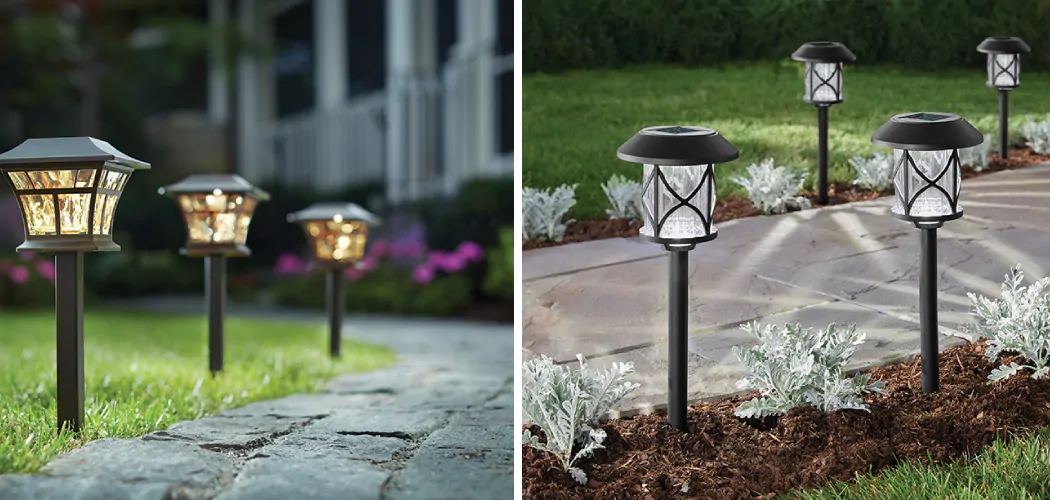
Outdoor lighting is an essential aspect of any home’s exterior design. It not only enhances the aesthetic appeal of your property but also provides safety and security. Landscape lighting can illuminate walkways, highlight architectural features, and create a warm and inviting atmosphere. DIY solutions for landscape lighting can be a cost-effective and rewarding way to enhance your outdoor space.

Landscape lighting adds beauty and functionality to outdoor spaces, highlighting architectural features, pathways, and gardens. However, like any electrical system, landscape lighting may encounter issues over time.
In this guide, we will explore some effective methods of how to fix landscape lighting. By following these troubleshooting steps, you’ll be able to restore your lighting system to its full glory and continue enjoying a well-lit outdoor environment.
Common Problems with Landscape Lighting
Landscape lighting can encounter several issues that can affect its performance and longevity. Some of the most common problems include bulbs burning out quickly, uneven lighting, wiring issues, and water damage.
Bulbs burning out quickly can be caused by several factors, including poor quality bulbs, voltage fluctuations, and excessive heat. Uneven lighting can occur when fixtures are not properly placed or aimed. Wiring issues can cause lights to flicker or not turn on at all. Water damage can occur when fixtures are not properly sealed or when water accumulates around the wiring.
DIY Solutions for Fixing Landscape Lighting
Many landscape lighting issues can be fixed with DIY solutions. Replacing bulbs is a simple and cost-effective solution for bulbs that burn out quickly. Adjusting fixtures can improve uneven lighting, and re-wiring can fix wiring issues. Waterproofing fixtures can prevent water damage and extend the life of your lighting.
Replacing bulbs is a straightforward process that requires matching the bulb type and wattage to the fixture. Adjusting fixtures involves aiming them in the right direction and adjusting the height. Re-wiring can be more complicated and may require some electrical knowledge. Waterproofing fixtures can be done with silicone sealant or waterproof tape.

10 Methods How to Fix Landscape Lighting
Method 1: Check Power Source and Connections
The first step in fixing landscape lighting issues is to check the power source and connections. Ensure that the power supply is intact, and there are no tripped circuit breakers or blown fuses. Examine the wiring connections between the transformer, fixtures, and power source, tightening any loose connections or replacing damaged wires.
Method 2: Inspect and Replace Bulbs
If your landscape lights are not turning on, inspect the bulbs to see if they are burned out. Carefully remove the bulbs from the fixtures and replace them with new ones of the same type and wattage. Ensure that the bulbs are securely seated in the sockets, making proper electrical contact.
Method 3: Clean the Fixtures and Lenses
Dim or flickering landscape lighting may be a result of dirt, debris, or corrosion on the fixtures or lenses. Regularly clean the fixtures and lenses with a soft cloth and a mild cleaning solution. Ensure that the lenses are clear and free from any obstructions that could affect the light output.
Method 4: Adjust Photocells and Timers
Photocells and timers control the operation of landscape lighting based on ambient light conditions or preset schedules. If your lights are not turning on or off as expected, check the settings on the photocells and timers. Adjust them according to your desired lighting requirements or replace them if they are faulty.
Method 5: Test and Reset the Transformer
The transformer is a vital component of the landscape lighting system, stepping down the voltage from the power source to a suitable level for the fixtures. Use a multimeter to test the voltage output of the transformer. If the reading is significantly lower than the expected value, it may indicate a faulty transformer that needs replacement. Additionally, check if the transformer has a reset button and press it to reset the system.
Method 6: Locate and Repair Underground Wiring Issues
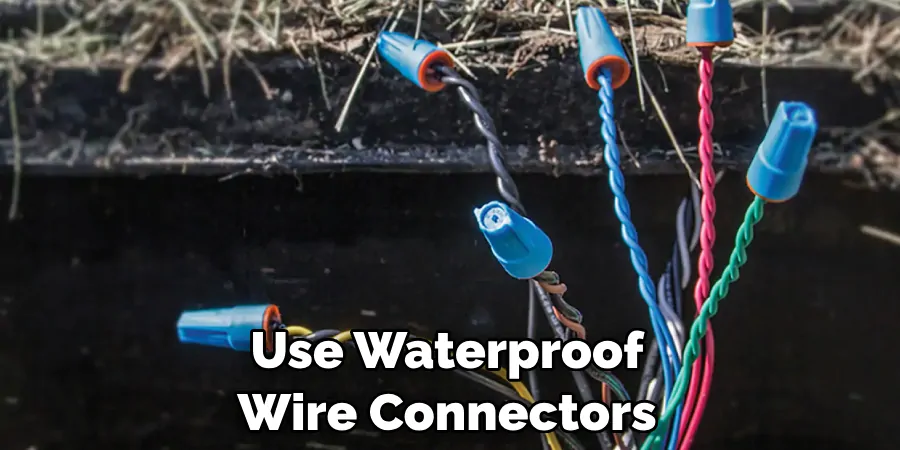
If your landscape lighting system has underground wiring, issues can arise due to damage caused by digging, landscaping, or extreme weather conditions. Inspect the wiring for any visible signs of damage, such as cuts, breaks, or exposed wires. Use waterproof wire connectors and weather-resistant electrical tape to repair any damaged sections.

Method 7: Re-position or Replace Faulty Fixtures
If certain fixtures are not providing adequate illumination or are malfunctioning, consider re-positioning them to achieve better lighting coverage. Adjust the angle and direction of the fixtures to highlight the desired areas. If re-positioning does not solve the issue, the fixtures may be faulty and need to be replaced.
Method 8: Upgrade to LED Lighting
Consider upgrading your landscape lighting system to energy-efficient LED lights. LED lights offer longer lifespan, lower energy consumption, and better durability compared to traditional incandescent or halogen bulbs. Retrofitting your fixtures with LED bulbs can resolve frequent bulb replacements and provide enhanced lighting performance.
Method 9: Consult a Professional Electrician
If you have exhausted the troubleshooting methods mentioned above and are still unable to fix the landscape lighting issues, it may be time to consult a professional electrician. They have the expertise to diagnose complex electrical problems, locate hidden faults, and provide appropriate solutions.
Method 10: Regular Maintenance and Inspection
Preventive maintenance is crucial to keep your landscape lighting system in optimal condition. Regularly inspect the fixtures, wiring, and connections for any signs of wear or damage. Clean the fixtures and lenses to remove dirt and debris. Trim vegetation that may obstruct the light output or pose a risk to the wiring. By performing routine maintenance, you can identify and address potential issues before they escalate into larger problems.
Tips for Properly Installing Landscape Lighting
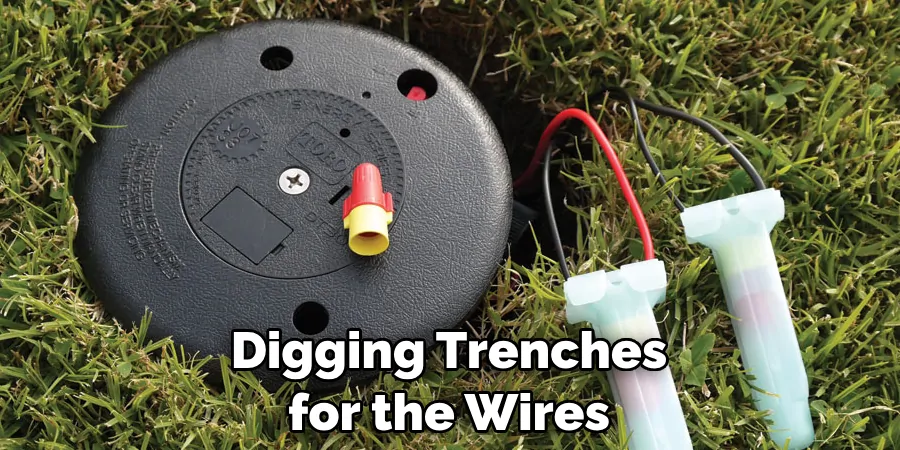
Once you have planned your layout and gathered the necessary tools, it is time to begin installation. Start by digging trenches for the wires and placing the fixtures in their designated spots. Make sure to bury the wires deep enough to avoid damage from lawn mowers or other equipment. Once the fixtures are in place, connect the wires to the power source, making sure to follow all safety guidelines.

Test each fixture to ensure they are working properly and adjust their position as needed. Finally, cover the trenches with soil and mulch to protect the wires and create a seamless look. Regular maintenance, including cleaning and replacing bulbs, will help ensure your landscape lighting continues to perform at its best for years to come.
How to Troubleshoot Electrical Issues with Landscape Lighting
Landscape lighting is a great way to enhance the beauty of your outdoor space, but it can be frustrating when electrical issues arise. Troubleshooting these issues can be a challenging task, but it is essential to ensure that your lighting system is functioning correctly.
One of the first steps in troubleshooting landscape lighting is to test the circuit. This can help determine if the issue is with the wiring or the transformer. If the circuit is functioning correctly, then the issue may be with the transformer. Checking the transformer can help identify if it is the source of the problem.
If the transformer is faulty, it may need to be replaced. On the other hand, if the issue is with the wiring, replacing faulty wiring can fix wiring issues and restore the lighting. It is essential to address any electrical issues with landscape lighting promptly to prevent further damage and ensure that your outdoor space remains safe and beautiful.
Creative Ideas for Enhancing Your Outdoor Lighting Design
When it comes to outdoor lighting design, creativity is key. By thinking outside the box and experimenting with different colors and intensities, you can create a truly unique and dynamic atmosphere in your outdoor space. For example, using warm, soft lighting can create a cozy and inviting ambiance, while bright, colorful lights can add excitement and energy to the environment.
Maintenance and Upkeep for Landscape Lighting
Maintenance and upkeep are essential for the longevity and performance of your landscape lighting. Cleaning fixtures can remove dirt and debris that can affect the light output. Replacing bulbs can ensure that the lighting is at its optimal level. Checking wiring and connections can identify any issues before they become a problem.

Energy-Efficient Options for Landscape Lighting
Energy-efficient options for landscape lighting can save you money on your energy bills and reduce your carbon footprint. LED lighting is a popular option that uses less energy and lasts longer than traditional bulbs. Solar-powered lighting is another option that uses renewable energy and requires no wiring. Timers and motion sensors can also be used to conserve energy by turning off the lighting when it’s not needed.
Final Thoughts
DIY solutions for landscape lighting can be a rewarding and cost-effective way to enhance your outdoor space. Proper installation and maintenance are essential for the performance and longevity of your lighting. Choosing the right type of lighting and incorporating creative ideas can make your outdoor space unique and inviting.
Energy-efficient options can save you money and reduce your environmental impact. With the right tools and knowledge, you can enjoy a beautifully lit outdoor space for years to come. Thanks for reading our blog post on how to fix landscape lighting! We hope you found it helpful and informative. Happy fixing!

