Getting that perfect lighting for your home is now easier than ever with dimmable LED ceiling lights. Installing them yourself may seem like a daunting task, but it doesn’t have to be so intimidating – in fact, we’ll show you how easy it can really be! Whether you’re replacing old incandescent bulbs or installing new bulb fixtures from scratch – there are simple steps you can take to make sure everything runs smoothly and efficiently.

In this post on how to wire dimmable led ceiling lights, our experts will provide tips on connecting wires for a successful installation of dimmable LED ceiling lights. Keep reading and learn the basics of wiring your own light source without having to enlist the help of an electrician!
Things to Consider Before
Before diving into the wiring process, there are a few things you should consider. First and foremost, make sure your dimmable LED ceiling lights are compatible with your home’s electrical system. This may require consulting an electrician or checking the specifications of your light fixtures.
You should also have all the necessary materials and tools on hand before beginning the installation process. This includes wire strippers, wire connectors, a screwdriver, and of course, your dimmable LED ceiling lights.
11 Step-by-step Guidelines on How to Wire Dimmable Led Ceiling Lights
Step 1: Turn Off Power
Safety should always be the top priority when working with electricity. Before starting any wiring process, it is crucial to turn off the power to the area where you will be installing the dimmable LED ceiling lights. This can be done by flipping the corresponding circuit breaker in your home’s electrical panel.
Step 2: Test the Wires
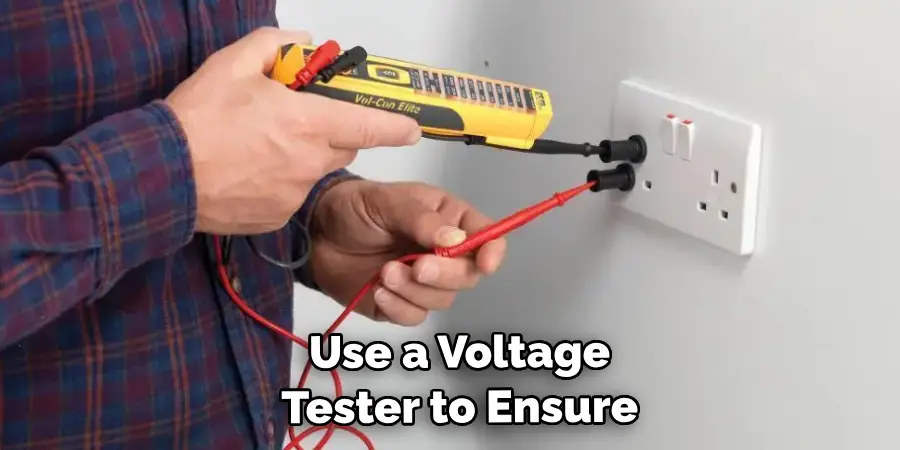
After turning off the power, use a voltage tester to ensure that there is no electricity running through the wires you will be working with. You can do this by touching the tester to the wires and making sure it does not light up or make any noise. It is important to double-check that the power is off before proceeding. But always remember to treat all wires as if they were live, just to be on the safe side.

Step 3: Remove Old Fixture (If Applicable)
If you are replacing an old light fixture, carefully remove it from the ceiling. Make sure to disconnect any wires and set aside all necessary parts for disposal. This step may not apply if you are installing new fixtures. But, it is always a good idea to double-check before starting the wiring process. You don’t want to accidentally damage any existing wiring or fixtures.
Step 4: Preparing the Wires
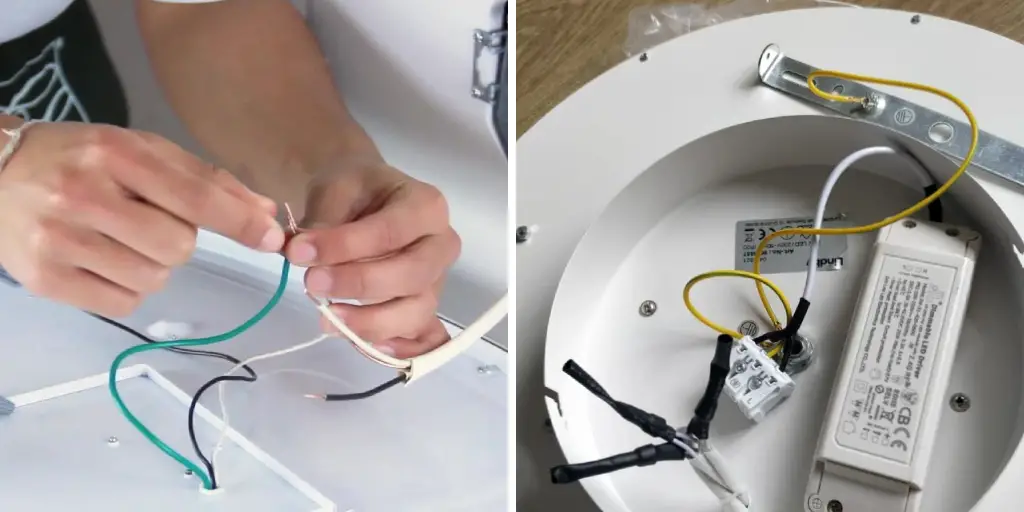
Using wire strippers, carefully strip about ¾ inch of insulation from the end of each wire. This will expose the bare copper wires, which you will use for connecting your dimmable LED ceiling lights. Make sure to twist any loose strands and ensure that the exposed wire is clean and straight. Otherwise, you may experience connection issues later on. You may also need to trim any excess length from the wires for a neater installation.
Step 5: Prepare the Dimmer Switch (Optional)
If your dimmable LED ceiling lights come with a dimmer switch, you will need to prepare it for installation. This may involve removing any existing switches or plates from the wall and attaching the dimmer switch according to manufacturer instructions. It is important to follow these instructions carefully as different dimmer switches may have specific wiring requirements.
Step 6: Identify the Wires
Before connecting any wires, it is essential to identify which wire is which. In a typical setup, there will be three wires – black (hot), white (neutral), and green or bare copper (ground). However, this may vary depending on your home’s electrical system. If you are unsure, it is best to consult an electrician or refer to the specifications of your dimmable LED ceiling lights. But as a general rule, the black wire is usually the hot wire and the white wire is usually the neutral wire.
Step 7: Connect Ground Wires
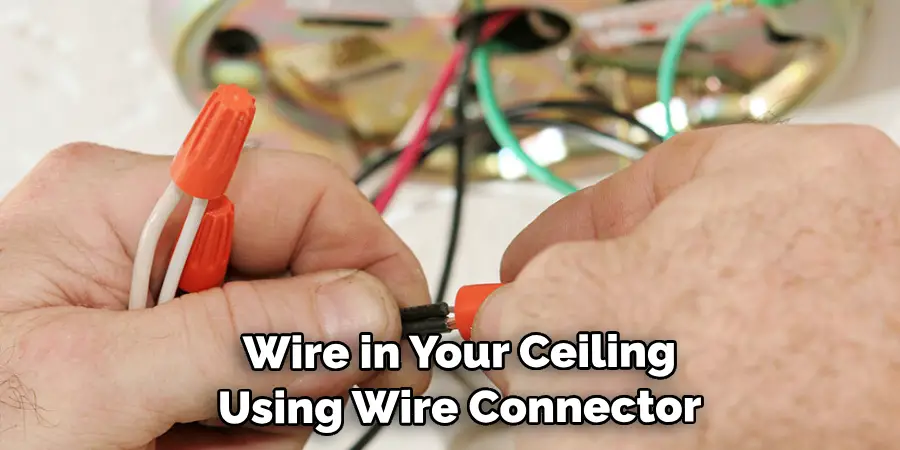
Start by connecting the ground wire from your light fixture to the green or bare copper wire in your ceiling using a wire connector. This will ensure that any excess electricity is safely directed to the ground. If your home does not have a ground wire, you can attach the green or bare copper wire to the electrical box. But, be sure to check local building codes to ensure this is allowed. It is important to never skip this step for safety reasons.
Step 8: Connect Neutral Wires
Next, connect the white wire from your light fixture to the white wire in your ceiling using a wire connector. This will complete the circuit and provide a return path for electricity. It is important to note that some dimmable LED ceiling lights may not have a white wire. In this case, consult the manufacturer’s instructions for proper wiring. You may also need to connect this wire to the neutral terminal on your dimmer switch.

Step 9: Connect Hot Wires
The black wire from your light fixture should be connected to the black (hot) wire in your ceiling using a wire connector. If you are installing a dimmer switch, you will also need to connect this wire to the hot terminal on the switch. This will provide a source of power for your dimmable LED ceiling lights and allow you to control the brightness using the switch.
Although not always necessary, some dimmable LED ceiling lights may also have a red wire that needs to be connected to the hot wire. Again, refer to the manufacturer’s instructions for proper wiring.
Step 10: Test Connections
Before securing all wires in place, it is important to test the connections by turning on the power and using a voltage tester. Make sure that there are no loose or faulty connections before moving on to the next step. Other things to check for include damaged wires, frayed insulation, and any signs of overheating. It is always better to catch and fix any issues before completing the installation.
Step 11: Secure Wires and Install Light Fixture
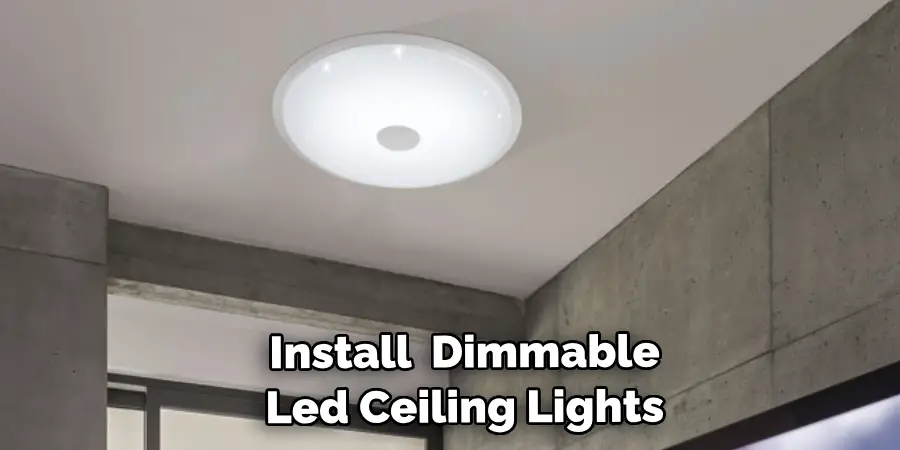
If all connections are secure, carefully tuck the wires into the electrical box. Use wire connectors to join any loose or exposed wires and make sure they cannot come in contact with each other. Once everything is secured, you can install your dimmable LED ceiling lights according to manufacturer instructions. This may involve attaching the light fixture to the electrical box and installing any necessary screws or brackets.

Congratulations, you have successfully learned how to wire dimmable led ceiling lights! Remember to always follow safety precautions when working with electricity and consult a professional if you are unsure about any steps. Enjoy your new energy-efficient and customizable lighting options thanks
Frequently Asked Questions
Q: Can I Install Dimmable Led Ceiling Lights on My Own?
A: Yes, but it is always recommended to consult a professional if you are not confident in your electrical wiring skills. You should also make sure to follow all safety precautions and turn off the power before beginning any installation process.
Q: Do I Need a Dimmer Switch for My Dimmable Led Ceiling Lights?
A: Not necessarily, as some dimmable LED ceiling lights come with built-in dimming capabilities. However, if you want to have more control over the brightness of your lights, a dimmer switch can be useful. Just make sure to choose one that is compatible with your dimmable LED lights.
Q: Can I Install Dimmable Led Ceiling Lights in Any Room?
A: Yes, dimmable LED ceiling lights can be installed in any room as long as the electrical wiring is compatible and there is a suitable location for installation. However, make sure to check the specifications of your light fixtures and consult an electrician if you are unsure about installation in a specific room.
Q: Are Dimmable Led Ceiling Lights More Energy-Efficient?
A: Yes, dimmable LED ceiling lights are more energy-efficient compared to traditional incandescent or fluorescent lighting. They use less power and can last longer, making them a cost-effective and environmentally friendly option for your home. So, they are a great choice for anyone looking to save energy and money on their utility bills. So, why not upgrade your home with dimmable LED ceiling lights today?

Conclusion
Ultimately, wiring dimmable LED ceiling lights can be a fun and rewarding project to take on. With a few simple steps and the right tools, you can have beautiful lighting fixtures hung in your home in no time! Now go out there and grab the supplies you need to get started. And don’t forget to check out our detailed step-by-step guide for wiring dimmable LED ceiling lights if you’re ever feeling stuck or confused. You’ll be glad you did! So what are you waiting for? Get ready to bring some light into your home with this exciting (and reliable!) home improvement project. Thanks for reading this article on how to wire dimmable led ceiling lights.

