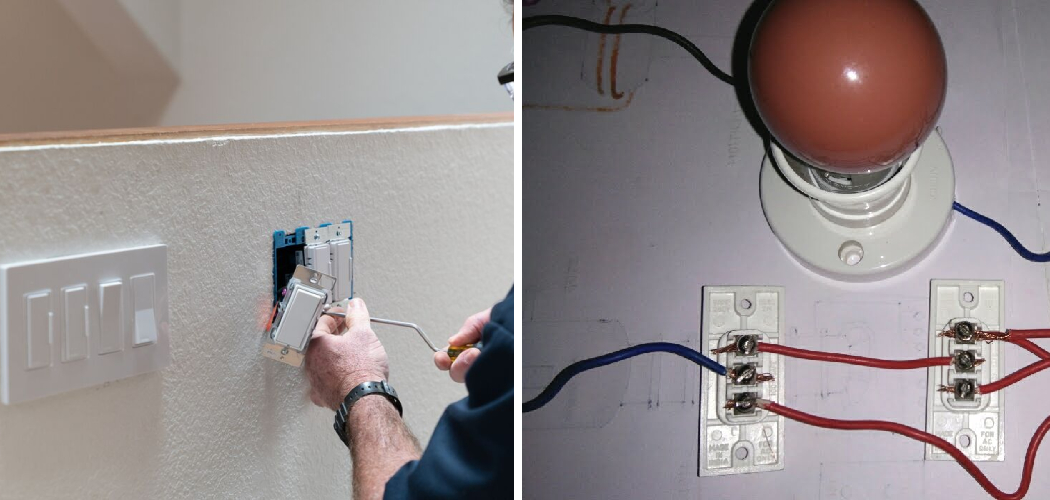
Wiring a three-way switch with multiple lights is a practical and versatile solution that allows you to control a set of lights from multiple locations. Whether you want to illuminate a long hallway, a staircase, or a large room, understanding how to wire a three-way switch is essential.
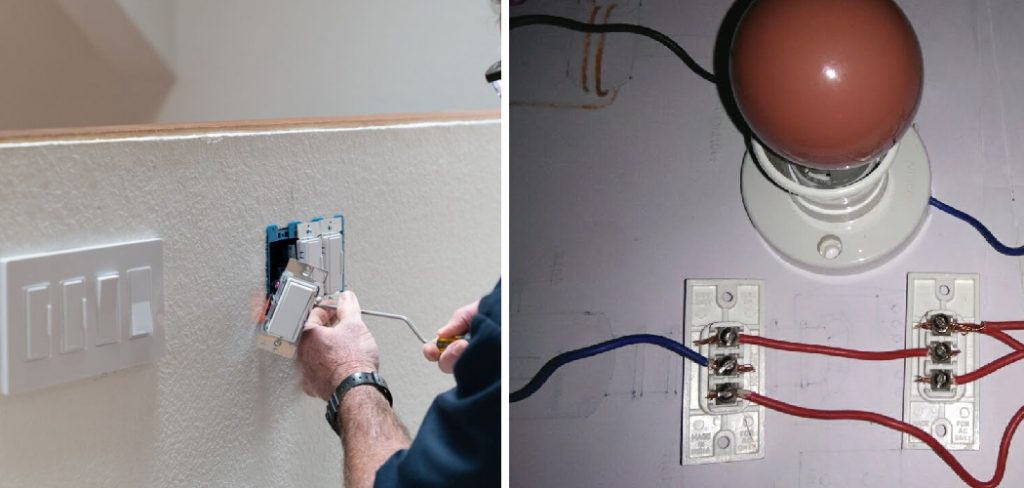
This electrical setup may seem complex at first, but with the right knowledge and guidance, it becomes a manageable task.
By following a step-by-step approach and adhering to electrical safety practices, you can confidently wire a three-way switch with multiple lights. In this article, we will explore the intricacies of how to wire a three way switch with multiple lights, providing you with clear instructions and tips to successfully complete the installation.
So, if you’re ready to enhance your home’s lighting functionality and convenience, let’s delve into the world of three-way switch wiring and empower you to tackle this electrical project with confidence.
Understanding the Basics of Three Way Switches
A three way switch is a type of switch that allows you to control a single light from two different locations. It has three terminals, one common and two traveler terminals. The common terminal is the one that connects to the light fixture, while the traveler terminals are used to connect the switches. When one switch is turned on, it sends power to the light fixture, and when the other switch is turned on, it breaks the connection, turning off the light.
To better understand how three way switches work, imagine a hallway with two switches at either end. When you enter the hallway, you can turn on the light using either switch. If the light is already on, you can turn it off using either switch. This is because the switches are wired in a way that allows them to control the same light from two different locations.
Choosing the Right Wiring Tools and Materials
Before you start wiring your three way switches, you need to have the right tools and materials. Some of the necessary tools include wire strippers, pliers, screwdrivers, and a voltage tester. You will also need electrical wire, a junction box, and three way switches.
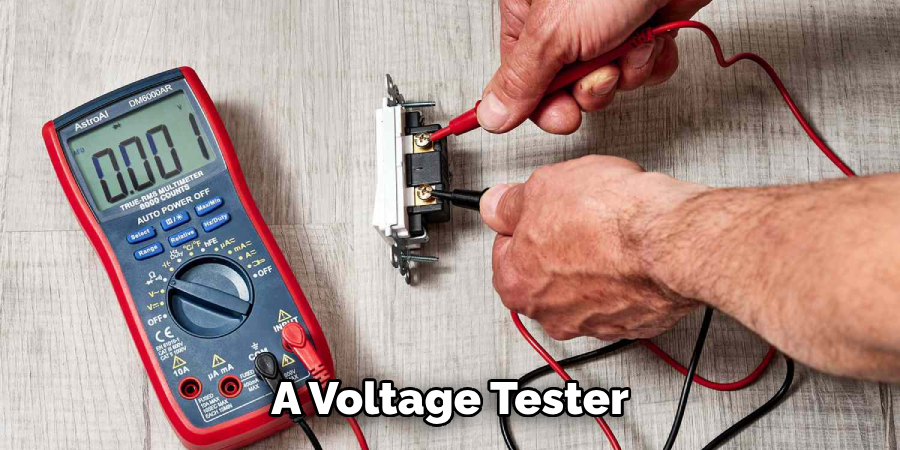
When selecting your tools and materials, it is essential to choose high-quality products that meet safety standards. You should also ensure that you have the right gauge of wire for your project. Using the wrong gauge of wire can lead to electrical problems and even fires.
Planning Your Lighting Layout for Multiple Switches
When planning your lighting layout for multiple switches, there are several factors to consider. These include the size of the room, the location of the switches, and the type of lighting you want to use. You should also consider the number of switches you need and the wiring configuration that will work best for your project.
To create an efficient and effective lighting layout, you should start by drawing a diagram of the room and the switches. This will help you visualize the layout and identify any potential problems. You should also consider the placement of furniture and other objects in the room, as this can affect the placement of the switches.
There are several different lighting layouts you can use, depending on your needs. For example, you can use a single switch to control multiple lights, or you can use multiple switches to control a single light. You can also use dimmer switches to adjust the brightness of the lights, or smart switches to control the lights remotely.
10 Methods on How to Wire a Three Way Switch With Multiple Lights
Method 1: Gather the Necessary Tools and Materials
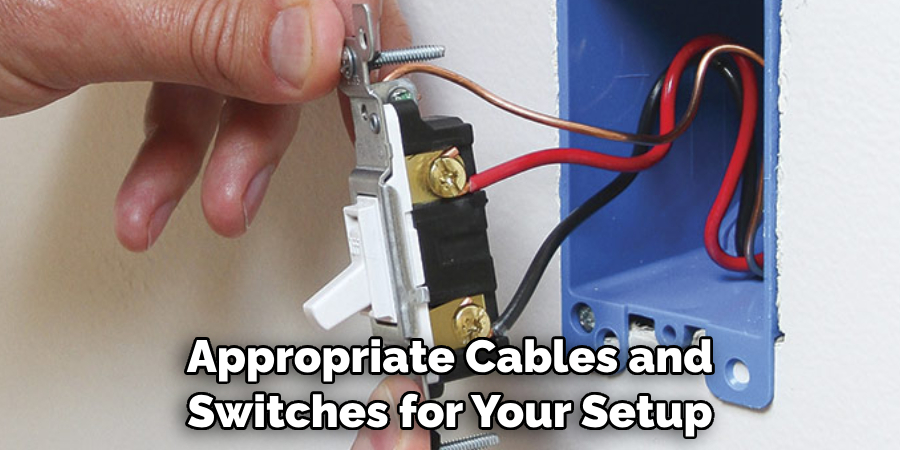
Before you begin the wiring process, gather all the required tools and materials. These may include a voltage tester, wire strippers, electrical tape, wire connectors, a flat head screwdriver, and the appropriate cables and switches for your setup. Ensure that you have a clear understanding of electrical safety and follow all necessary precautions.
Method 2: Familiarize Yourself with the Wiring Diagram
Consult a wiring diagram specific to your three-way switch setup. This diagram illustrates the connections and wire paths required for proper installation. Take the time to study the diagram, identifying the necessary wires and their corresponding terminals on the switches.
Method 3: Turn Off the Power
Before starting any electrical work, turn off the power supply at the circuit breaker. Use a voltage tester to verify that the power is indeed turned off before proceeding. Safety should always be the top priority when working with electrical wiring.
Method 4: Install the Three-Way Switches
Mount the three-way switches in their respective electrical boxes. Connect the grounding wires to the green grounding screws on each switch. Follow the wiring diagram to connect the appropriate wires to the designated terminals on the switches. Use wire connectors to secure the connections.
Method 5: Run the Traveler Wires
The traveler wires connect the two three-way switches. Run a traveler wire between the two switch boxes, ensuring that it is properly secured and protected. Strip the ends of the wires and connect them to the appropriate terminals on the switches.
Method 6: Connect the Power Source
Identify the power source wires in one of the switch boxes. Typically, these include a black (hot) wire, a white (neutral) wire, and a bare copper (ground) wire. Follow the wiring diagram to connect the power source wires to the appropriate terminals on the switch.
Method 7: Wire the Lights
Determine the path and wiring configuration for connecting the lights. Run the necessary cables from the switch boxes to each light fixture, making sure to protect the cables and keep them organized. Strip the ends of the wires and connect them to the corresponding wires in each light fixture.
Method 8: Test the Connections
Before fully securing the switches and closing the electrical boxes, perform a thorough test of the connections. Turn on the power and use a voltage tester to verify that the switches control the lights as intended. Test each switch from both locations to ensure proper functionality.
Method 9: Secure the Wiring
Once the connections have been tested and verified, secure the wiring inside the electrical boxes. Use cable clamps or cable staples to secure the cables in place, preventing any strain on the connections. Neatly fold and tuck the wires into the boxes, ensuring that they are not pinched or damaged.
Method 10: Close the Electrical Boxes and Restore Power
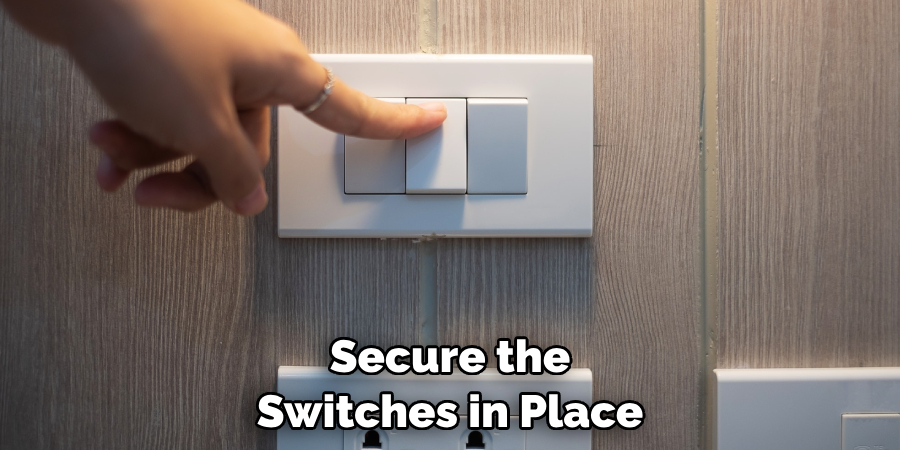
After confirming the proper functioning of the three-way switch setup, carefully close the electrical boxes and secure the switches in place. Double-check that all connections are secure and that there are no exposed wires. Finally, restore power at the circuit breaker and test the switches once more to ensure everything is working correctly.
Testing Your Wiring Connections for Safety
Once you have wired your three way switches, it is crucial to test your connections to ensure that they are safe and working correctly. To test your connections, you can use a voltage tester to check for power in the wires. You should also test the switches to ensure that they are turning the lights on and off correctly.
Testing your wiring connections is an essential step in ensuring that your lighting system is safe and efficient. If you are unsure about how to test your connections, you should consult a professional electrician.
Troubleshooting Common Three Way Switch Problems
Like any electrical system, three way switches can sometimes experience problems. Some of the most common problems include flickering lights, switches that don’t work, and lights that won’t turn off. If you experience any of these problems, there are several troubleshooting steps you can take.
One of the first things you should do is check your wiring connections to ensure that everything is wired correctly. You should also check the switches themselves to ensure that they are functioning correctly. If you are still experiencing problems, you may need to call a professional electrician to diagnose and fix the issue.
Adding Dimmer Switches for Enhanced Lighting Control
Dimmer switches are an excellent addition to any lighting system, as they allow you to adjust the brightness of the lights to suit your needs. To add a dimmer switch to your three way switch system, you will need to replace one of the switches with a dimmer switch.
When selecting a dimmer switch, it is essential to choose one that is compatible with your lighting system. You should also ensure that the switch is rated for the correct wattage of your light bulbs.
Installing Smart Switches for Remote Access and Automation
Smart switches are another great addition to any lighting system, as they allow you to control your lights remotely using your smartphone or voice commands. To install a smart switch, you will need to replace one of the switches in your three way switch system with a smart switch.
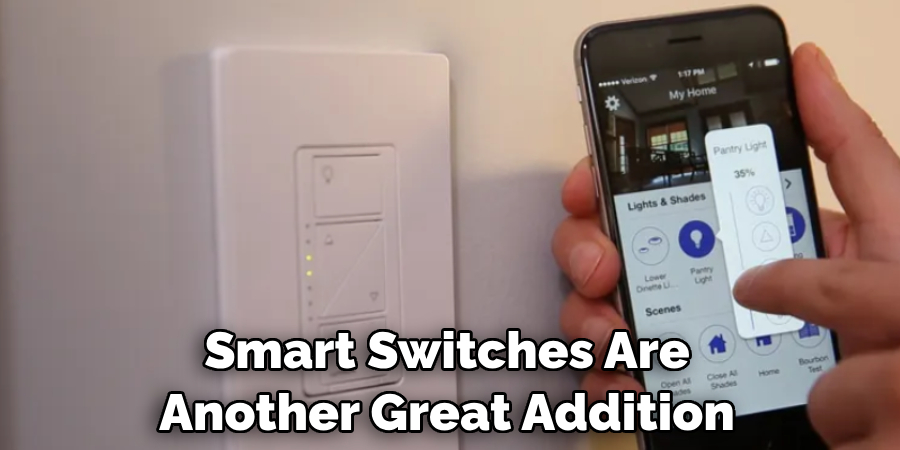
When selecting a smart switch, it is essential to choose one that is compatible with your home automation system. You should also ensure that the switch is rated for the correct wattage of your light bulbs.
Conclusion
In conclusion, three way switches are an excellent choice for controlling multiple lights from different locations. By following the steps outlined in this article, you can wire your three way switches safely and efficiently. You can also enhance your lighting system by adding dimmer switches, smart switches, and LED bulbs.
By maintaining your three way switches regularly, you can ensure that your lighting system is working correctly and efficiently for years to come. Hopefully, this article gave you some helpful tips about how to wire a three way switch with multiple lights successfully, so now that you have the proper knowledge on how to get the job done, why not give it a try today?

