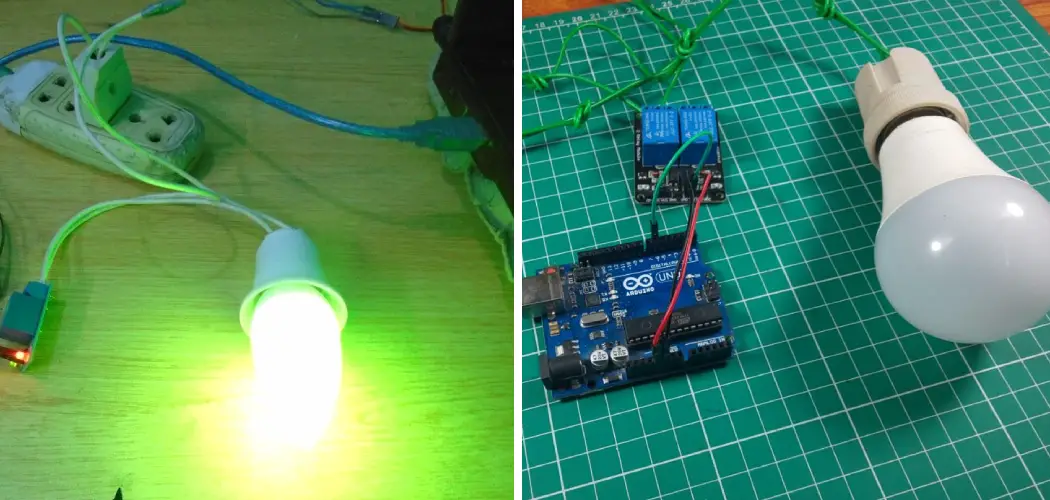
Are you in the process of wiring LED lights and need some guidance? Wiring a relay for your LED lights can seem overwhelming if you’ve never done it before, but worry not! Here, you’ll gain valuable insight into how to select the right type of relay and what supplies are necessary—information that will help make sure your circuit is properly wired and your LED light is safe and secure.
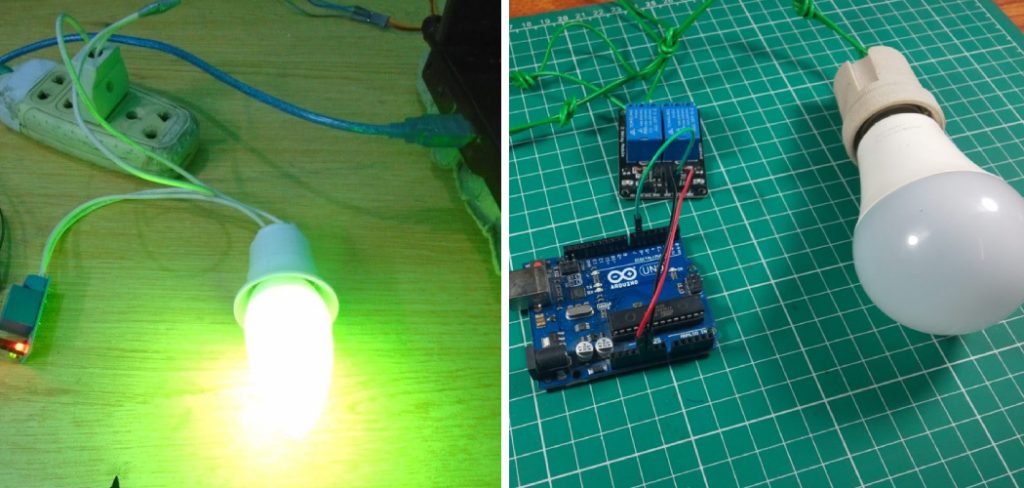
In this blog post, we’ll take you step by step through the entire process of how to wire a relay for LED lights. We’ll make sure that all of your connections are secure and properly grounded so that you can enjoy bright, energy-efficient lighting without having to worry about safety hazards. So get comfortable and follow along as we walk you through this guide on how to successfully wire a relay for LED lights!
Why May You Want to Wire a Relay for LED Lights?
1 . To Control the Power Supply
One of the main reasons you may want to wire a relay for LED lights is to control the power supply. Relays act as switches that can be turned on and off, allowing you to control when your LED lights are powered on or off.
This can be useful in many situations, such as creating an automated lighting system or controlling multiple sets of LED lights from one central point. By wiring a relay, you can easily control your LED lights without having to manually turn them on and off.
2 . To Protect Your LED Lights
Another benefit of wiring a relay for LED lights is that it can help protect your lights from damage. Relays are designed to handle high amounts of current, so by using a relay, you can prevent your LED lights from being damaged by excessive current flow.

This is especially important if you are using high-powered or multiple sets of LED lights, as they may require more power than a standard switch can handle. By wiring a relay, you can ensure that your LED lights will not be damaged and will have a longer lifespan.
3 . To Enable Dimming Functionality
Wiring a relay for LED lights also allows you to enable dimming functionality. By using a relay with a potentiometer or pulse width modulation (PWM) controller, you can adjust the amount of power going to your LED lights and control their brightness level. This is great for creating ambiance or adjusting the lighting in different environments. Without a relay, you would not be able to achieve this level of control over your LED lights.
4 . To Reduce Load on the Switch
Using a relay can also help reduce the load on the switch that controls your LED lights. By using a relay, the switch only needs to send a small current to activate the relay, rather than having to handle the full load of powering the LED lights. This can help prolong the lifespan of your switch and prevent it from wearing out prematurely.
How to Wire a Relay for LED Lights in 5 Easy Steps
Step 1: Gather the Necessary Materials
Before you begin wiring your relay for LED lights, make sure you have all the necessary materials on hand. This includes:
- A 12-volt DC automotive relay
- An inline fuse holder and fuse (sized according to your specific LED light setup)
- Wire strippers and crimpers
- Electrical tape or heat shrink tubing
- 18-gauge or 16-gauge wire (depending on the distance between your LED lights and power source)
Step 2: Understand the Wiring Diagram
Before you start connecting wires, make sure you understand the wiring diagram for your specific relay. Each relay may have slightly different wiring requirements, so it’s important to refer to the manufacturer’s instructions.
Step 3: Connect the Power Wires
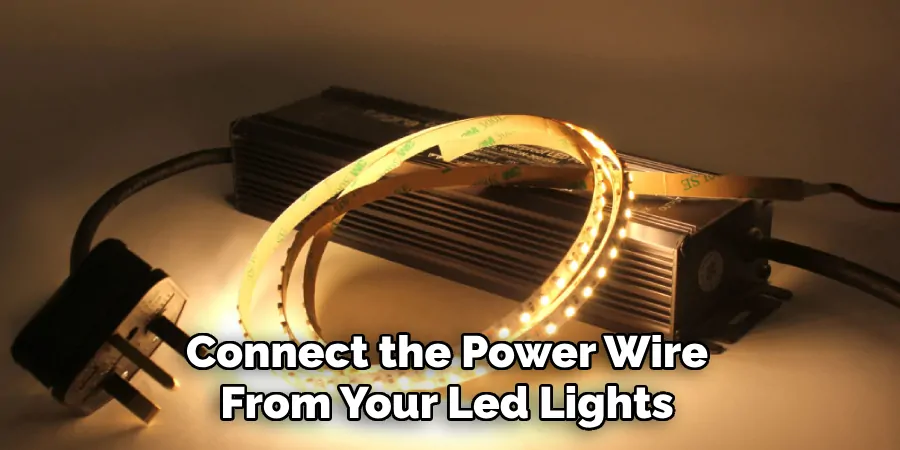
First, connect the power wire from your LED lights to the “power” or “switched” terminal on the relay. This will be marked as either 86 or 85 on most relays. Next, take a separate piece of wire and connect one end to the positive (+) battery terminal and the other end to the remaining terminal on the relay (marked as either 30 or 87).
Step 4: Connect the Control Wires
Now it’s time to connect the control wires. These are the wires that will activate your relay and turn your LED lights on and off. One wire from your switch or toggle should go to the other “switched” terminal on the relay (86 or 85). The other control wire from your switch should go to a ground connection on the vehicle.
Step 5: Test and Secure Everything
Once all the wires are connected, it’s important to test everything before securing them in place. Turn on your vehicle’s ignition and flip the switch for your LED lights. If they turn on, you’ve successfully wired your relay for LED lights! Now, make sure all the connections are secure, and use electrical tape or heat shrink tubing to protect and insulate any exposed wires.
Additional Tips for Wiring Your Relay
1 . Choosing the Right Relay
When choosing a relay for your LED lights, it’s important to consider the voltage and current requirements of your lights. Make sure to choose a relay with a suitable switching capacity that can handle the load from your LED lights.
2 . Proper Insulation
When wiring your relay, make sure to use proper insulation materials such as heat shrink tubing or electrical tape to prevent any potential short circuits. This is especially important when working with high voltage and current.
3 . Grounding
Proper grounding is essential for the safe functioning of your LED lights and relay. Make sure to connect the ground wire from your power supply to both the relay and LED lights. Also, ensure that the ground wire is securely connected to a metal surface for maximum conductivity.
4 . Secure Connections
It’s crucial to make sure that all connections are secure and tight when wiring your relay. Loose connections can cause issues such as flickering lights or even damage to the relay itself. Use wire crimps or soldering for a more reliable connection.
Frequently Asked Question
What Precautions Should I Take When Wiring a Relay for LED Lights?
When wiring a relay for LED lights, there are a few precautions you should keep in mind to ensure safety and proper functioning. Some of these include:
- Make sure the power source is turned off before starting any wiring work.
- Use the appropriate wire size based on the current rating of your LED lights and the relay.
- Double-check all connections to ensure they are secure and properly connected. Loose connections can lead to malfunctioning or even damage to the LED lights.
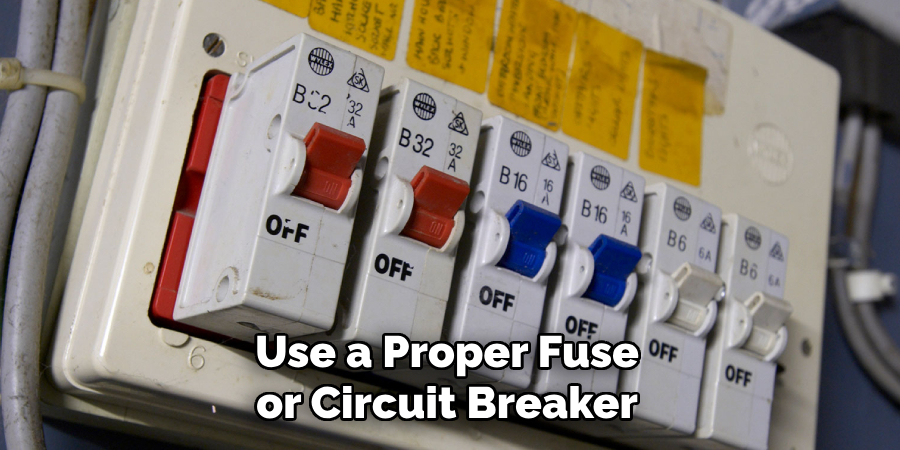
- Use a proper fuse or circuit breaker in the power supply line to protect against any overload or short circuit.
- Follow the wiring diagram provided by the manufacturer for your specific relay model.
- If using multiple relays, make sure to properly label and organize the wiring to avoid confusion or mistakes.
How Do I Know Which Relay to Use for My LED Lights?
Choosing the right relay for your LED lights depends on various factors such as the voltage and current rating of the lights, as well as the type of circuit you are using. It is important to properly match the relay specifications with those of your LED lights to ensure safe and efficient operation. Consult with a professional or refer to the manufacturer’s guidelines for guidance on selecting the appropriate relay.
Can I Wire Multiple LED Lights to One Relay?
Yes, it is possible to wire multiple LED lights to one relay as long as the total current drawn by all the lights combined does not exceed the relay’s current rating. However, it is recommended to use a separate relay for each set of lights to ensure better control and avoid overloading the circuit.
What Are Some Common Mistakes to Avoid When Wiring a Relay for LED Lights?
Some common mistakes to avoid when wiring a relay for LED lights include:
- Using an insufficient wire size that cannot handle the current of the lights and relay.
- Not properly securing or covering exposed wires, can lead to short circuits or electrocution.
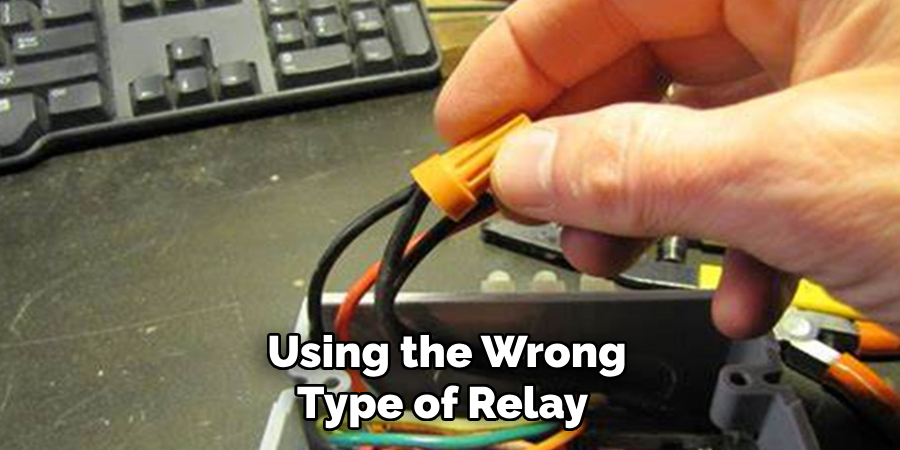
- Using the wrong type of relay for your specific LED lights or circuit.
- Not following the manufacturer’s instructions or wiring diagram.
To avoid these mistakes, always double-check your connections and consult with a professional if needed.
Conclusion
As you can see, wiring a relay for LED lights is an easy process that will allow you to get good lighting levels with minimal power drawn from your car’s electrical system. With the proper components and wiring steps, you can make sure that your LED lights are bright and efficient.
However, even if you are experienced, it is always best to follow the manufacturer’s installation instructions carefully and enlist the help of a qualified auto electrician when appropriate.
With just these few tips on how to wire a relay for LED lights, you should be able to wire up a relay for your LED lights in no time. So don’t wait any longer; go ahead and start wiring up those LED lights now!

