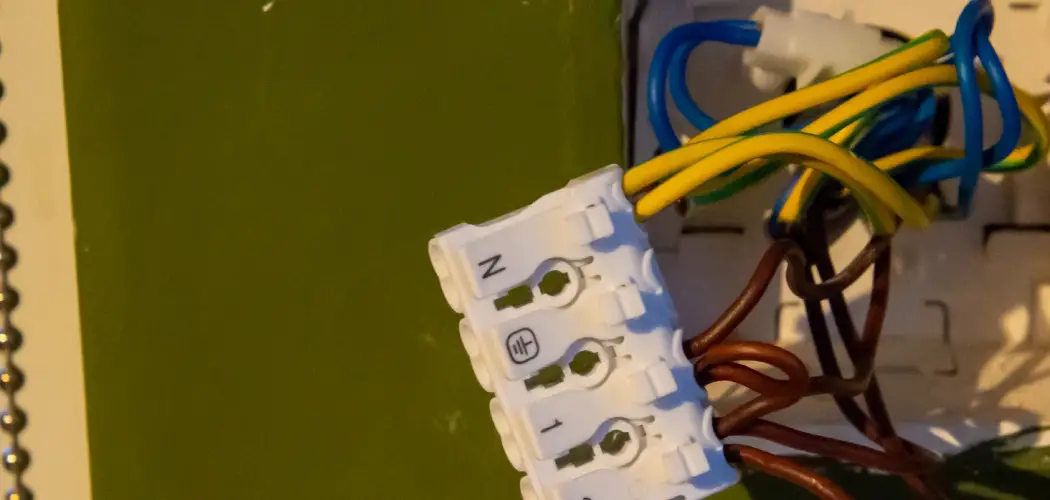
Are you looking to wire a light fixture without a ground wire? While it’s not the most common scenario, many older homes and fixtures still lack a grounding wire.
How to wire a light with no ground can be a challenging task, especially for those unfamiliar with electrical systems. Ground wires provide an additional safety measure by offering a path for electrical current to disperse in case of a fault. However, a ground wire may not be present in older homes or specific installations. This guide will walk you through the steps to safely and effectively wire a light fixture without a ground wire.
By following these instructions, you can complete the installation while minimizing potential risks. Always remember that safety is paramount, and when in doubt, consult with a licensed electrician.
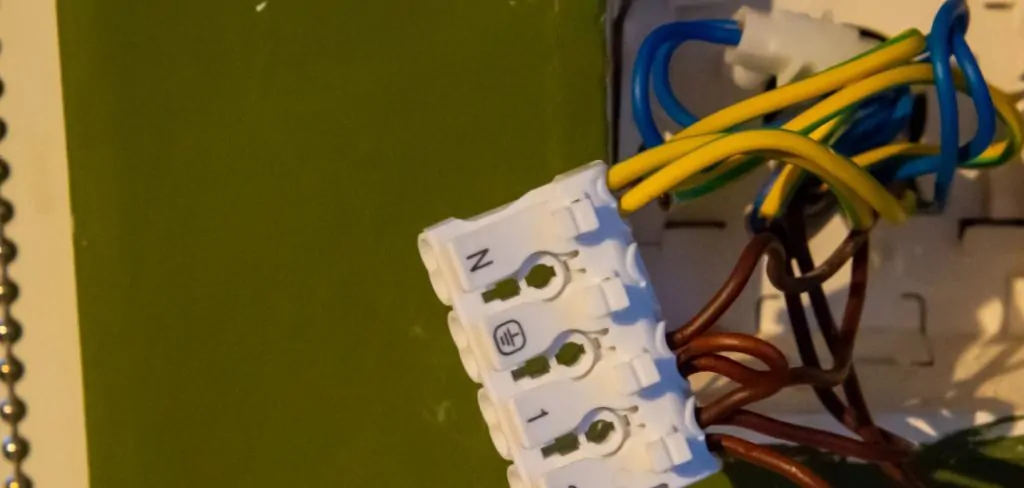
What Will You Need?
Gather all the necessary tools and materials before starting to wire a light with no ground. Here’s a list of what you’ll need:
- Light fixture
- Wire cutters/strippers
- Electrical tape
- Screwdriver
- Grounding clip (optional)
It’s also essential to ensure your power source is turned off before beginning any electrical work. Use a voltage tester to confirm that no current is running through the wires.
9 Easy Steps on How to Wire a Light With No Ground
Step 1. Turn Off the Power:
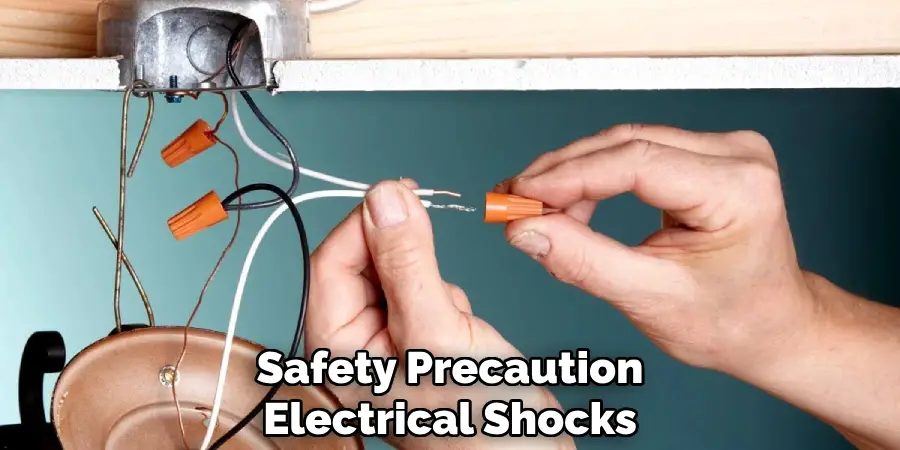
One of the most critical steps for any electrical project is ensuring that the power is turned off in the area where you’ll be working. This safety precaution helps prevent electrical shocks and accidents.
Begin by locating your home’s main electrical panel. Typically, this will be found in a basement, garage, or utility room. Once at the panel, identify the circuit breaker that supplies power to the light fixture you are about to work on. Flip the switch to the ‘off’ position.
However, turning off a breaker isn’t enough to guarantee your safety. Use a voltage tester to double-check that there is no electrical current. Place the tester probes on the wires or outlet terminals where you’ll be connecting the light fixture. A reading of zero volts confirms that it is safe to proceed. If you’re unsure which circuit breaker controls the specific area or if the panel lacks clear labeling, consult a professional or consider using a circuit breaker finder tool.
Step 2. Prepare the Light Fixture:
With the power safely turned off, it’s time to prepare your light fixture for installation. Begin by unpacking the light fixture and laying out all its components. Remove any protective packaging or caps from the wires attached to the fixture if applicable.
Identify the wires on the fixture, typically distinguished by color: the black wire is the hot wire, the white wire is neutral, and if there is a green or copper wire, it is for grounding. Focus on the hot and neutral wires since you are working without a ground wire. Carefully strip about half an inch of insulation from the ends of the black and white wires using wire strippers. This exposed wire will allow a secure connection when attaching the fixture to your home’s wiring.
Step 3. Check the Junction Box:
Before connecting the fixture, inspect the junction box where the wiring is located. Ensure that it’s in good condition and securely mounted. Check that there are no loose wires or visible damage. If your junction box is metal, you can use a grounding clip to ground the light fixture, even if there’s no ground wire from the building circuitry. This provides an additional layer of safety.
Just attach the clip to the box and then to the ground screw on the light fixture. However, this step is optional if the box is non-metallic or if additional grounding isn’t feasible. Make sure to confirm that all connections you’ll be working with are accessible and neatly organized. A well-maintained junction box helps prevent future electrical issues and ensures the longevity of the newly installed light fixture.
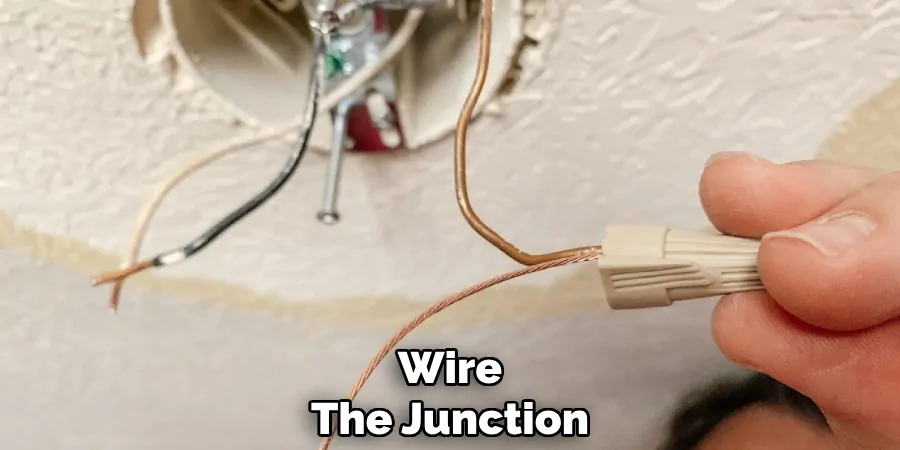
Step 4. Connect the Wiring:
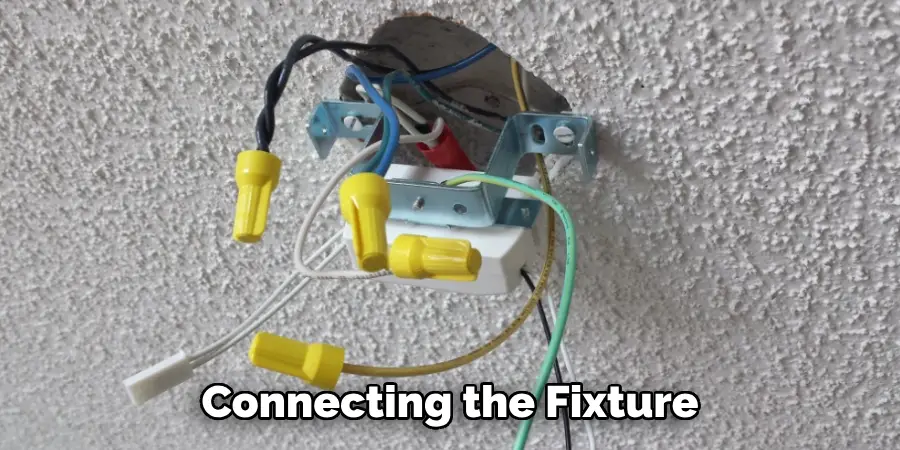
You can begin connecting the wires once the light fixture and junction box are prepared. Start by taking the black (hot) wire from the junction box and the black wire from the light fixture. Twist the ends together clockwise, ensuring they are securely connected. Afterward, use a wire connector or nut to cover the twisted wires, providing an extra layer of protection and preventing them from unraveling.
Next, repeat the same process with the white (neutral) wires from the junction box and the fixture. Like the hot wires, these should be twisted together and capped with a wire connector. Make sure all connections are tight and well-insulated. Double-check that there are no exposed wires, which could result in a short circuit or malfunction. If you have chosen to use a grounding clip and your junction box is metal, attach the green or copper ground wire from the fixture to the grounding clip or ground screw.
Step 5. Secure the Light Fixture:
After successfully connecting the wires, it’s time to mount and secure the light fixture to the junction box. Carefully tuck the connected wires into the box, ensuring there is enough space to accommodate the fixture’s base. Align the fixture with the mounting holes on the junction box and use the provided screws to affix it securely. Make sure the fixture is level and firmly attached to prevent any wobbling or instability. If the fixture includes a decorative cover or shade, follow the manufacturer’s instructions to attach it properly. Once the fixture is in place, give it a gentle test wiggle to check for any loose connections or hardware.
Step 6. Restore Power and Test the Light Fixture:
Once the light fixture is securely in place, you can turn the power back on. Return to the main electrical panel and flip the circuit breaker switch back to the ‘on’ position for the circuit you turned off earlier. With the power restored, it’s time to test the newly installed light fixture to ensure everything functions correctly.
Turn on the light switch that controls the fixture and observe whether it illuminates properly. If the light does not turn on, switch off the power again and recheck all the connections to ensure they are secure and correctly made. It’s also a good idea to check if the light bulb is correctly installed and functional. If issues persist, consider consulting a professional electrician for further evaluation.
Step 7. Perform a Final Inspection:
With the light fixture successfully tested and functioning, conducting a final inspection is essential to ensure everything is in order. Examine the installation closely, making sure all screws are tightened, the fixture is aligned correctly, and there are no visible wires exposed.
Double-check the switch operation and confirm that the fixture operates as intended. This step is also an opportunity to tidy up any excess wiring inside the junction box to avoid potential issues. Maintaining neat and organized wiring promotes efficient operation and reduces the risk of future electrical problems. Finally, make a mental note or document any adjustments that need to be addressed or monitored over time. A comprehensive final inspection guarantees that the fixture is both safe and visually appealing, ready to light up the space effectively.
Step 8. Perform Routine Maintenance:
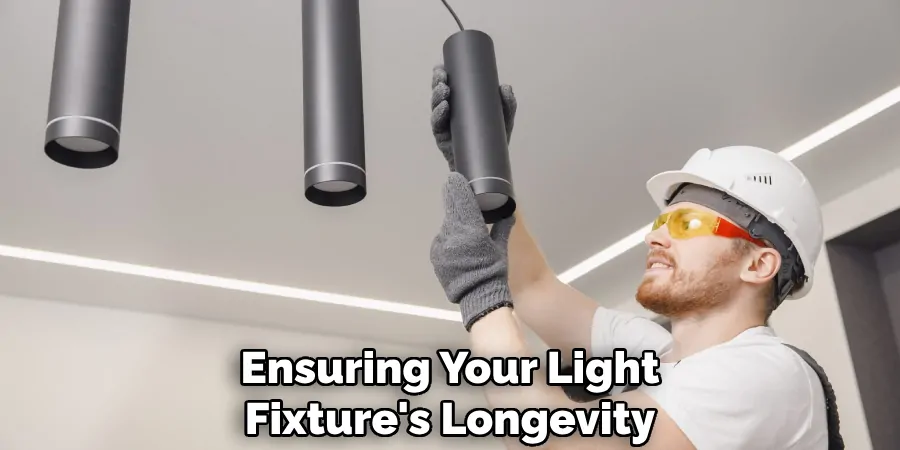
Regular maintenance is critical to ensuring your light fixture’s longevity and optimal performance. Periodically dust the fixture and its components to prevent the accumulation of dirt that could affect its functionality and appearance. If your light fixture has removable parts like shades or covers, clean them gently using appropriate cleaning solutions or methods as per the manufacturer’s guidelines.
Additionally, check the fixture’s mounting and connections during maintenance to confirm that nothing has come loose. Replace any burnt-out bulbs promptly and ensure the light switch and wiring remain in good condition. Staying proactive with these simple maintenance steps will help keep your light fixture in peak condition, providing reliable and consistent illumination.
Step 9. Troubleshooting Common Issues:
Even with careful installation and maintenance, light fixtures occasionally present problems requiring troubleshooting. Start by identifying the nature of the issue, whether it’s a flickering bulb, a light that won’t turn on, or unusual noises from the fixture. If the light flickers, try tightening the bulb or replacing it to eliminate the possibility of a faulty bulb. Double-check the power source for a fixture that won’t turn on, ensuring the circuit breaker hasn’t tripped, and the switch is working properly. Unusual noises such as buzzing might indicate a loose connection; inspect the wiring to ensure everything is secure. Remember to switch off the power before investigating to ensure safety in all troubleshooting scenarios.
Following these steps, you can successfully install and maintain a light fixture for long-term use. Remember always to prioritize safety and consult a professional electrician if you encounter any difficulties or complex issues during installation or maintenance.
Conclusion
How to wire a light with no ground may seem daunting, but by following these steps carefully, it can be achieved safely and effectively. It’s important to understand that the absence of a ground wire necessitates meticulous attention to other safety measures, such as ensuring proper insulation of all wire connections and using non-metallic junction boxes when possible.
This guide emphasizes securing all connections and reinforcing areas that could become problematic without grounding. Always check local electrical codes to confirm compliance and remember that consulting a professional electrician is advisable when unsure about any aspect of the installation.
Ultimately, by prioritizing safety and adhering to these step-by-step instructions, you can confidently wire a light fixture without a ground wire, ensuring both functionality and peace of mind.

