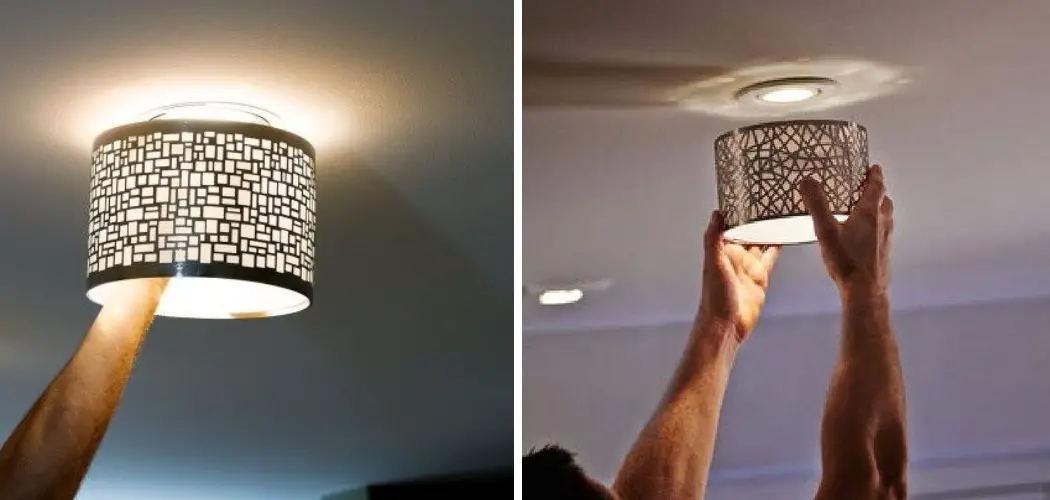
Do you have an outdated or tired-looking room in your home? Don’t want to undertake a major renovation? Updating the recessed lighting in your home may be just the solution you need. With some patience, planning and effort, you can make significant changes to the atmosphere of any space with simple updates to the lighting.
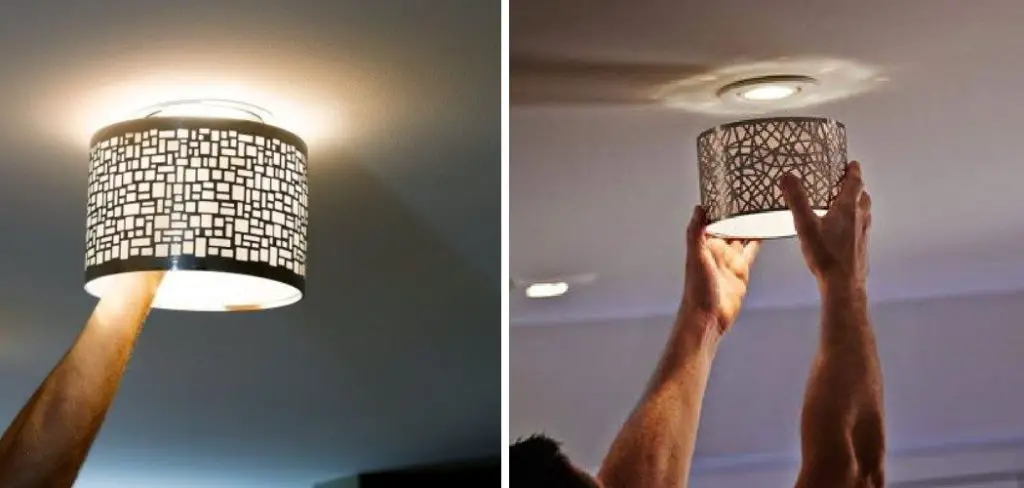
In this blog post, we will provide straightforward guidance on how to update recessed lighting – from finding inspiring ideas that suit your home style and budget to installation advice and tips for learning about energy-efficient bulbs. Whether you’re looking for subtle changes or completely updating your living spaces, read on for all the help you need.
Why Should You Update Recessed Lighting?
Recessed lighting is an excellent choice for most interior spaces. It provides a clean and modern look, without the bulkiness of traditional fixtures that can take up valuable ceiling space. Plus, recessed lights are versatile, able to be used as accent or task lighting in any room.
But over time, your once functional recessed lighting may become outdated and stale. Maybe you’ve redecorated your room, but the lighting no longer complements your new style. Or perhaps technology has advanced since you installed your recessed lights, leaving them inefficient and wasting energy.
Updating the recessed lighting in your home is a great way to bring a fresh look to any room without breaking the bank on a major remodel. By making simple changes like upgrading the bulbs or replacing the trim, you can enhance the ambiance and functionality of your space.
Needed Materials
Given below is a comprehensive list of materials that you may require to update your recessed lighting:
- Recessed Lighting Trim
- Light Bulbs
- Screwdriver
- Stepladder
- Wire Cutters
- Voltage Tester
- Wire Connector
10 Step-by-step Guides on How to Update Recessed Lighting
Step 1: Choose Your Desired Style
Before you begin, decide on the style and design of your new recessed lighting. This step is essential as it will help you select the right trim, bulbs, and any additional accessories needed. If your new lighting will be the same size as your previous recessed lights, you can skip this step. Otherwise, use a measuring tape to determine the new dimensions.
Step 2: Turn Off The Power
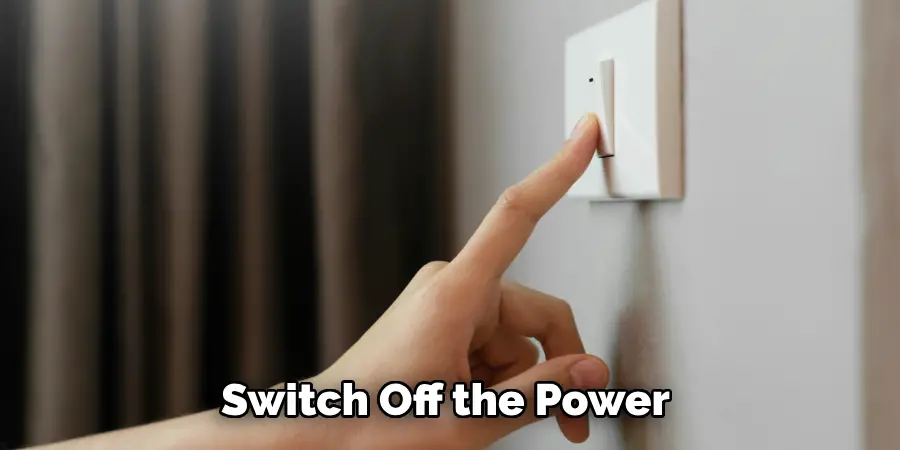
Safety first! Before beginning any work, switch off the power to the room where you will be updating your recessed lighting. This step is crucial to avoid electrocution and other accidents. It is best to turn off the power at the electrical panel and use a voltage tester to ensure no electricity is flowing. You can also cover the panel with a piece of tape to prevent someone from accidentally turning it back on.
Step 3: Remove The Old Recessed Lighting
Using a screwdriver, remove the trim and any bulbs from your old recessed lighting. Then, disconnect the wiring from the light fixture. Take care not to touch any exposed wires as they may still be live. It is best to use wire cutters to avoid any accidents. This step may be a bit messy, so have a vacuum nearby to clean up any debris or dust.
Step 4: Remove The Old Housing
Once the trim is removed, you can remove the old housing using your screwdriver. Be careful when removing it as it may contain insulation that can fall out and make a mess. It is a good idea to wear gloves and a mask for this step. But if you’re using LED retrofit kits, you can skip this step.
Step 5: Install The New Housing
If your previous housing was damaged or outdated, now is the time to install a new one. Follow the instructions provided with the new housing and use a screwdriver to secure it in place. It is crucial to ensure that the new housing is compatible with your existing wiring.
Step 6: Connect The Wiring
Using wire connectors, connect the wires from your new housing to the existing electrical wires in your ceiling. It is essential to match the colors of the wires and twist them together firmly. You can also use electrical tape for added security. But if you have any doubts, it is best to consult a professional electrician. If you’re using LED retrofit kits, you can skip this step.
Step 7: Install The Trim
Once the new housing is connected, it’s time to add the trim. Simply place the trim over the housing and twist it clockwise until it’s secure. If you want to change the look of your recessed lighting, now is the time to do so by selecting a different style or color. This step is where you can get creative and make your recessed lighting stand out.
Step 8: Install The Bulbs
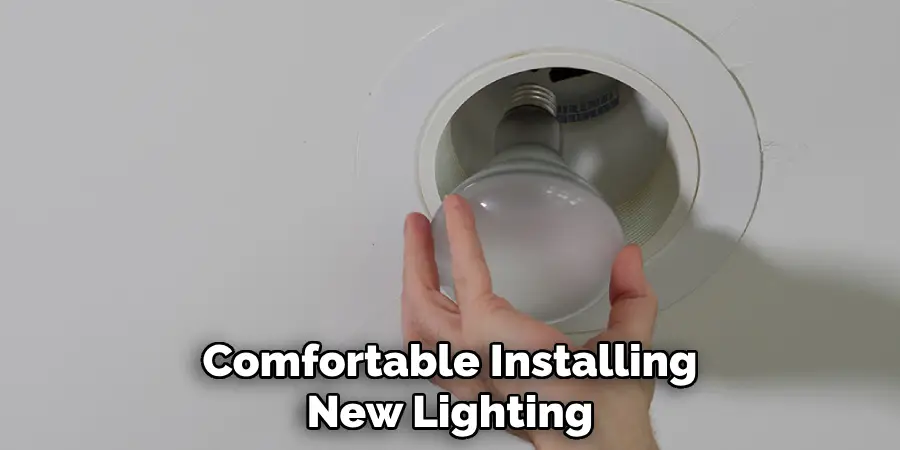
Screw in the bulbs, making sure they are compatible with the housing and trim you have selected. If you’re using LED retrofit kits, this step is not necessary as they come with built-in bulbs.
This is also a good time to make sure you’re using energy-efficient bulbs, as they can save you money on your electricity bill in the long run. However, make sure to handle the bulbs with care and avoid touching the glass to prevent any damage.
Step 9: Turn On The Power
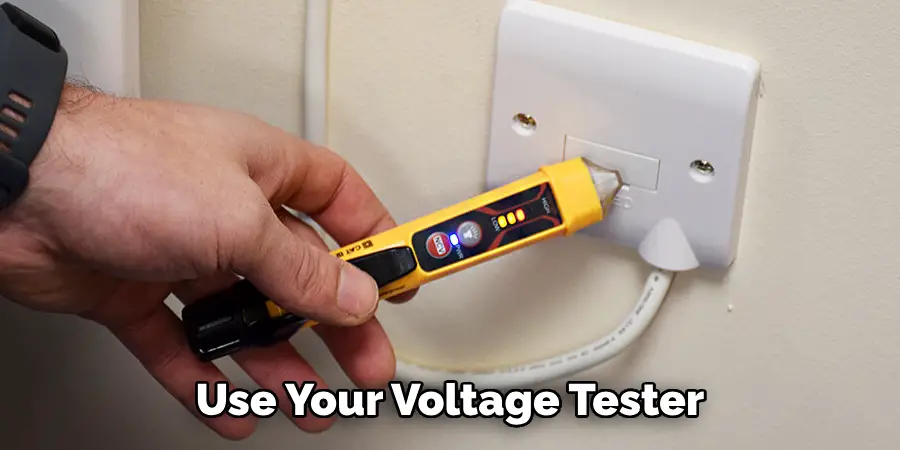
Once everything is installed, you can turn the power back on at your electrical panel. Use your voltage tester to ensure that electricity is flowing correctly. If all looks good, you’re ready for the final step! You can also use this time to test your new recessed lighting and make sure everything is working correctly. It’s always better to be safe than sorry.
Step 10: Enjoy Your Newly Updated Recessed Lighting!
Sit back, relax and take in the new ambiance of your updated recessed lighting. You’ll notice a significant difference in how your room looks and feels with just a few simple changes. And best of all, you can enjoy energy-efficient lighting without sacrificing style or functionality.
Keep in mind that updating your recessed lighting is a straightforward process, but if you’re unsure or uncomfortable working with electricity, it’s always best to seek professional help. With these easy steps on how to update recessed lighting and a little bit of creativity, you can transform your space into a well-lit and stylish haven. So, go ahead and update your recessed lighting today!
How Much Could It Cost?
The cost of updating recessed lighting depends on various factors such as the type of bulbs, housing, and trim you choose. On average, updating one recessed light can cost anywhere between $20 to $100. LED retrofit kits may cost slightly more upfront but can save you money in the long run due to their energy efficiency.
It’s always a good idea to do your research and compare prices before making any purchases. Additionally, if you’re not comfortable installing new lighting yourself, hiring a professional electrician can cost anywhere from $100 to $300 per recessed light. However, their expertise and guarantee of a job well done may be worth the extra cost for some individuals.
Frequently Asked Questions
Q1: Can I Install Recessed Lighting in a Room With No Existing Fixtures?
A1: Yes, you can, but it may require additional steps such as installing new wiring and creating holes in the ceiling for the housing. It’s best to consult a professional electrician for these types of installations.
Q2: Are There Any Safety Precautions I Should Take When Installing Recessed Lighting?
A2: Absolutely. Always turn off the power before beginning any work and use a voltage tester to ensure no electricity is flowing. Wear gloves and a mask when handling old housing or insulation, and be careful not to touch any exposed wires. It’s also essential to follow the instructions provided with your new housing and trim to ensure proper installation.
Q3: Do I Need a Special Dimmer Switch for My LED Retrofit Kits?
A3: Yes, it’s best to use dimmer switches specifically designed for LED lights as traditional ones may not be compatible and can cause flickering or buzzing. Be sure to read the packaging or consult a professional for guidance on which dimmer switch to use.
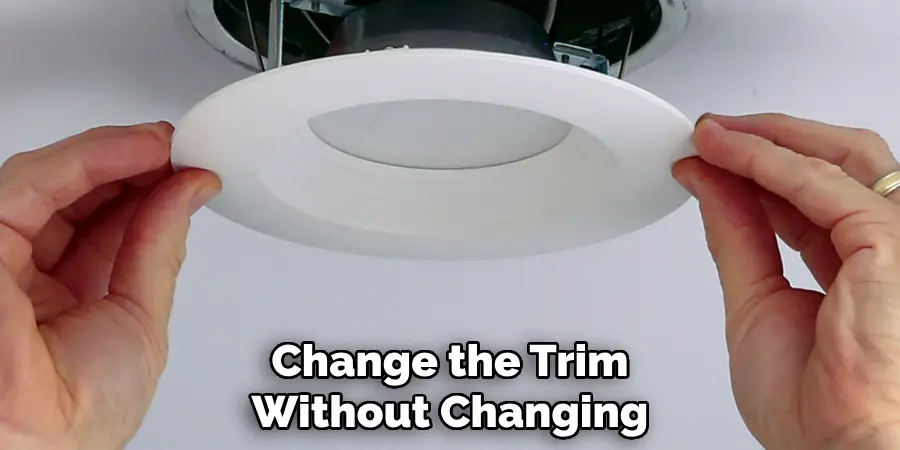
Q4: Can I Change the Trim Without Changing the Housing?
A4: Yes, you can easily change the trim without changing the housing as long as they are compatible. This is a great way to update the look of your recessed lighting without having to replace everything.
Conclusion
Thank you for reading our blog on how to update recessed lighting! Not only can this update give your space a brand-new look, but it’s also relatively simple to do. From the type of recessed light to choose,
knowing what tools and materials you need as well as understanding the steps involved in installing them – you have been guided every step of the way. Going through this process will undoubtedly leave you with a space that looks amazing and provides a sense of accomplishment!
When updating your recessed lights, keep safety first and turn off all power sources before making any changes — once you have completed your updates, enjoy the beautiful new lighting effects in your home.

