Are you tired of struggling to fix your Christmas lights every holiday season? The most common issue with broken lights is a blown fuse. This may seem like an impossible task, but with the right tools and knowledge, you can easily test your Christmas light fuses using a multimeter.
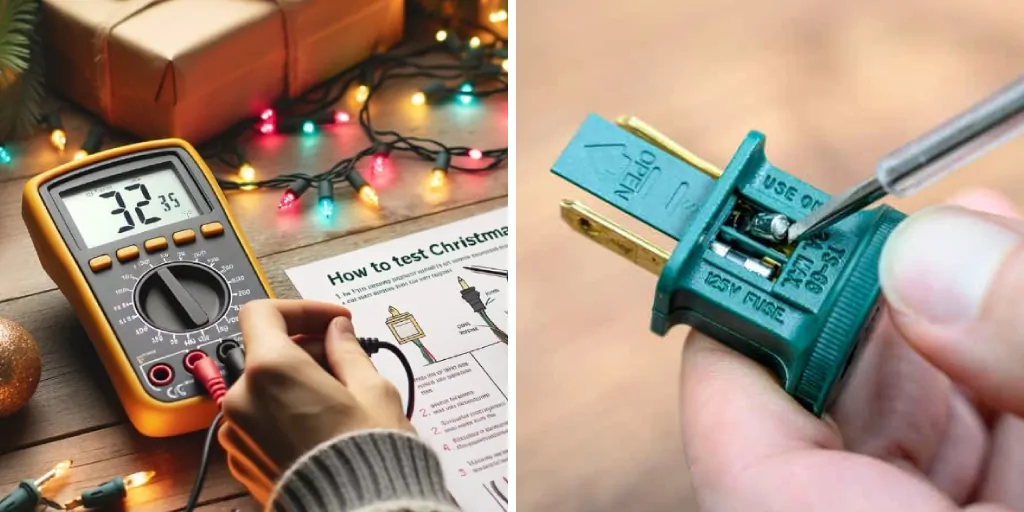
Before you despair over a life void of twinkling fairy lights, take heart – we’ll show you how to use a multimeter to test for a blown fuse so you can get back to what really matters: singing carols and eating way too much eggnog! In this guide, we’ll explain the basics of reading an ohmmeter, teach you how to identify signs that indicate a broken fuse and provide advice on finding necessary replacements.
Read on to find out how to test christmas light fuse with multimeter and save yourself from the holiday headache.
Is It the Fuse?
Before you start testing, it’s essential to identify whether or not a blown fuse is the root of your lighting issues. The job of a Christmas light fuse is to protect the lights from surges in electricity or other forms of damage that would cause harm to your home and family. When a fuse blows, it breaks the circuit between you and potential electrical danger.
If one bulb is out, likely, the entire strand will not light. Start by checking if that bulb is tightly screwed in and if there are any broken filaments. If the problem persists, it’s time to test the fuse with a multimeter.
Overall, testing the christmas light fuse with a multimeter is simple. It’s a much quicker and more accessible alternative to manually checking each bulb for issues.
What Will You Need?
To complete this task, you will need the following materials:
- A multimeter
- New fuses (if necessary)
- A small screwdriver
Once you have gathered these materials, you can start testing your Christmas light fuses.
10 Easy Steps on How to Test Christmas Light Fuse With Multimeter
Step 1: Prepare the Multimeter
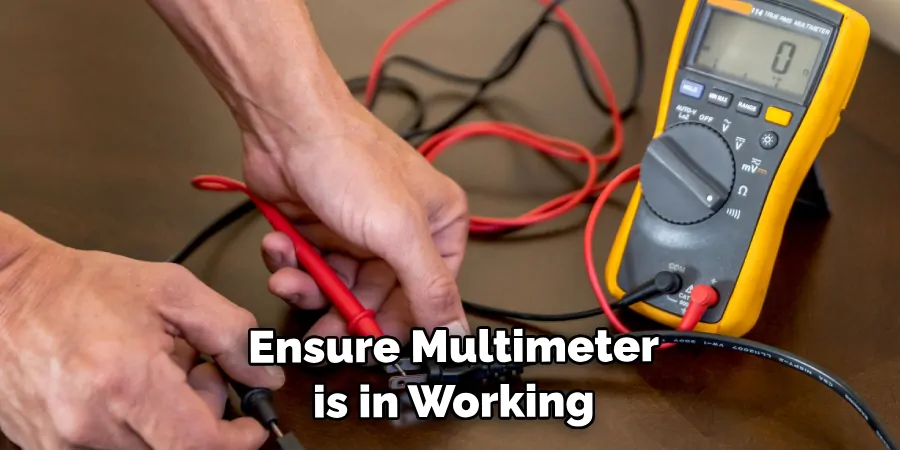
Begin by setting up your multimeter. Ensure that it is in good working condition and that the batteries are fully charged. Turn the multimeter on and set it to continuity mode (often represented by a wave or diode symbol on the dial). This mode checks whether a circuit is complete by sending a very low-power signal through the circuit.
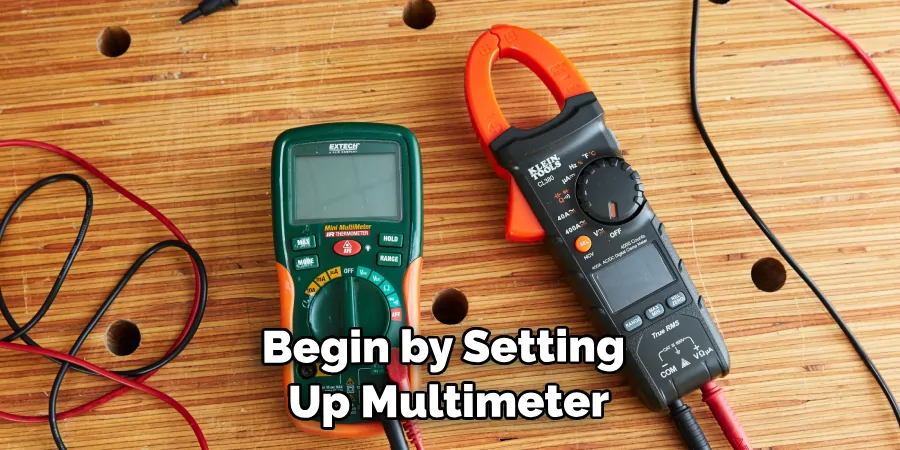
If there is no resistance in the circuit, the multimeter will beep, indicating the fuse is in good condition. If you don’t hear a beep, the fuse may be blown. Once the multimeter is set up, we can move on to testing
Step 2: Check for Continuity
After preparing the multimeter, the next step is to check for continuity. This is a simple test that verifies if current can flow between two points in a circuit. To do this, touch the multimeter probes to each end of the fuse. If the multimeter displays a value between the 200 and 1000 ohms range, it means there is continuity, and the fuse is good.
If you get a reading of “OL” (over limit), or no value at all, this indicates the fuse is blown and needs to be replaced.
Step 3: Locate the Fuse
Next, locate the fuse on your Christmas lights. Most fuse boxes are on the plug and can be opened with a small screwdriver. Carefully open the box, and you will find miniature glass tube fuses. If you have more than one fuse, test them one by one. Be sure to replace the cover of the fuse box before moving to the next step.
Step 4: Test the Fuse
With the multimeter set to continuity mode, hold one of the multimeter’s probes to one end of the fuse and the other probe to the other end. Be sure the probes are not touching each other. The fuse is in good condition if the multimeter beeps or shows a reading between 200 and 1000 ohms.
If there is no beep or the reading shows “OL” (over limit), the fuse is blown and must be replaced. Remember to test all the fuses in the set of Christmas lights, as more than one may be blown.
Step 5: Replace the Fuse
If the fuse is blown, it needs to be replaced. To do this, carefully remove the blown fuse from the slot in the plug. Note the size and type of the fuse, and purchase a matching replacement from a hardware or electronics store. Once you have the new fuse, simply insert it into the empty slot in the plug.
Ensure the fuse is securely in place before turning on the lights. Test the Christmas lights to see if they now work. If the lights still don’t turn on, there may be other issues at play, such as wiring problems or multiple blown fuses. Repeat the testing and replacement process as necessary.
Step 6: Reassemble and Test
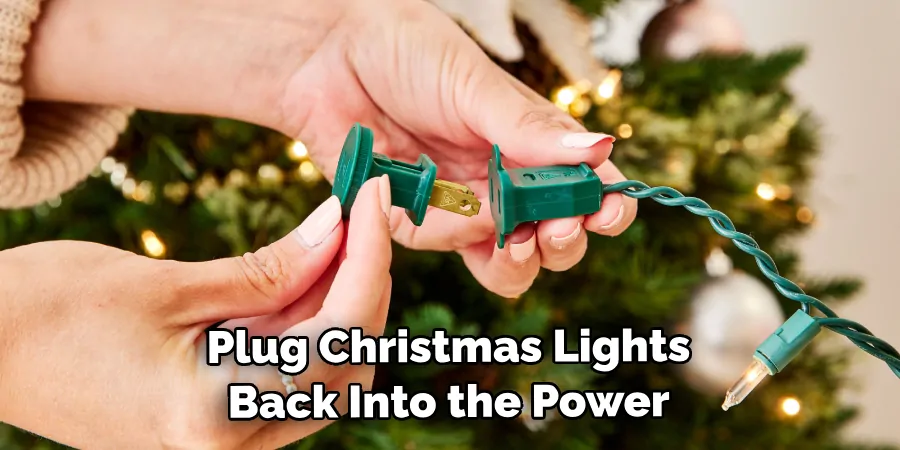
After securely inserting the new fuse, carefully reassemble the plug, ensuring everything fits neatly. Once done, plug your Christmas lights back into the power source. If your lights turn on, the problem was a blown fuse, and you have successfully fixed it! If your lights still don’t work, you may need to test and replace other fuses, or there may be another light problem that needs diagnosing.
Step 7: Additional Troubleshooting
If your Christmas lights still don’t work after testing and replacing the fuses, the issue likely lies elsewhere. Additional problems could include broken bulbs or damaged wiring. To check for these issues, inspect your lights in a well-lit area and look for any visible signs of damage. If you find any, you may need to replace the entire strand or get professional help.
Step 8: Double-Check All Components
Although the fuse is a common culprit, sometimes the issue might be with the bulbs or the wiring. To ensure these components are functioning correctly, you can use your multimeter to test them as well. Remove each bulb individually and check the contacts with your multimeter.
The bulb may need replacing if you do not get a reading close to zero. For the wiring, check for any visible signs of wear, tearing, or burning. If you find any damaged wiring, replacing the entire set of Christmas lights might be safer and more efficient.
Step 9: Safety Precautions
Always remember that safety comes first. When dealing with electrical components such as Christmas lights, there’s always the risk of shock or fire. Always unplug your lights before inspecting or working on them to avoid potential hazards.
If you’re unsure about something, consulting with a professional electrician or technician is always better. Never attempt to repair damaged wiring yourself, as this could lead to serious harm. It’s better to replace an entire set of Christmas lights than risk a possible fire.
Step 10: Enjoy Your Lights
Once you have successfully tested and replaced the fuse, bulbs, or wiring, it should be time to enjoy your Christmas lights finally. Plug them in and bask in the warm, festive glow that fills your space. By learning how to test Christmas light fuse with a multimeter, you not only gain a new skill, but also ensure the magic and charm of the holiday season remains undimmed. Remember, maintaining your Christmas lights can prolong their function and save you money in the long run.

By following these simple steps, you can easily troubleshoot and fix any issues with your Christmas lights and continue spreading the holiday cheer for many more seasons.
5 Additional Tips and Tricks
- Safety First: Before testing the Christmas light fuse with a multimeter, ensure you’ve unplugged the lights from the power source. This step is crucial for your safety.
- Fuse Removal: Open the fuse case with a small, flat screwdriver. Be gentle to avoid damaging the fuse or the case.
- Use the Multimeter in Continuity Mode: To test the fuse, set your multimeter to continuity mode. This setting will send an electric current through the fuse and detect if there is a break in the circuit.
- Checking for Shorts: Sometimes, Christmas lights can have short circuits caused by damaged wires or bulbs. To check for shorts, set your multimeter to ohm mode and touch the probes to each end of the fuse. If there is a low resistance reading, it means there is a short circuit.
- Replacement: If your fuse is blown, replace it with a new one of the same rating. Always replace fuses one at a time to make sure their order is clear. Keep spare fuses on hand for quick replacement.
By following these additional tips and tricks, you can ensure a safe and successful testing process for your Christmas light fuse with a multimeter.
5 Things You Should Avoid
- Avoid Testing Without Unplugging: Never attempt to test the Christmas light fuse with the multimeter while the lights are still connected to the power source. This can lead to electric shock.
- Avoid Using a Damaged Multimeter: Ensure your multimeter is in working condition before you start the testing process. Using a faulty or damaged multimeter can give inaccurate results.
- Avoid Forceful Removal of the Fuse: Be gentle while removing the fuse from the case. Using excessive force may damage the fuse or the case.
- Avoid Using Different Fuse Ratings: Always replace a blown fuse with a new one of the same rating. Using a fuse of a different rating can cause the lights to malfunction or even pose a fire hazard.
- Avoid Ignoring a Short Circuit: If you detect a short circuit, do not ignore it. Short circuits can lead to severe issues such as fires. Always fix the issue or consult with a professional.
Avoiding these points can ensure a safe and successful process when testing your Christmas light fuse with a multimeter.
What is the Voltage of Christmas Lights?
The voltage of Christmas lights can vary depending on the type and size of the lights. Traditional incandescent Christmas lights typically use 120 volts, while LED lights use lower voltages ranging from 2-36 volts. It is essential to know the voltage of your Christmas lights before testing their fuse with a multimeter.
Additionally, it is essential to note that using a multimeter on lights with higher voltages can be dangerous and should be avoided. Always consult the manufacturer’s instructions or a professional if you need clarification on the voltage of your Christmas lights.
Knowing your Christmas lights’ voltage is crucial for safety and accurate testing with a multimeter. So, make sure to double-check before beginning the testing process.
What Kind of Fuse Do Christmas Lights Use?
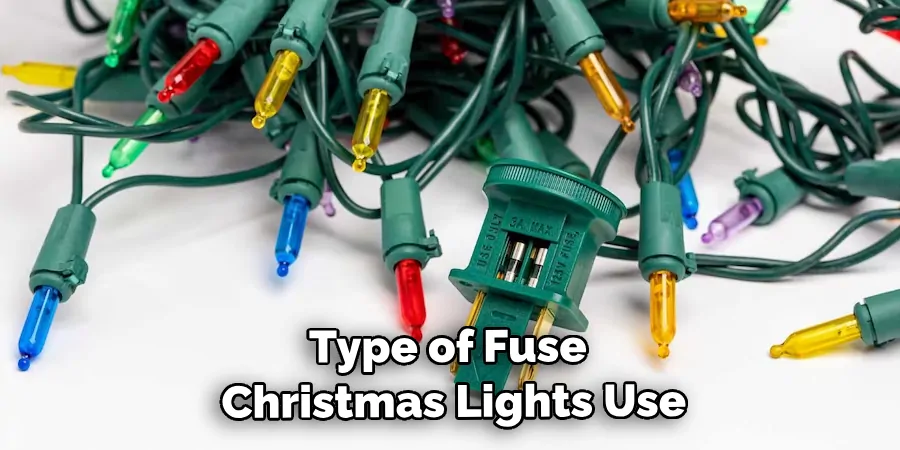
Christmas lights typically use a small, cylindrical glass fuse with a thin metal filament inside. These fuses come in various ratings, such as 3A, 5A, and 10A. The higher the rating, the more current it can handle before blowing.
It is important to note that different types of Christmas lights may use different fuses. For example, LED lights may use a different type of fuse than traditional incandescent lights. Always check the manufacturer’s instructions or consult a professional if you need clarification on the type of fuse your Christmas lights use.
Conclusion
In conclusion, how to test christmas light fuse with multimeter is a relatively simple task that requires minimal effort and skill. The most important consideration when tackling this job is to make sure you do it safely and properly.
Be sure to unplug the Christmas lights before getting started and be mindful of any potential hazards that may arise from electricity in the environment. With the right tools, the necessary safety protocols observed, and a bit of patience, you can get your Christmas lights twinkling merrily once again in no time!
Hopefully, this document has provided all the information and tips you need to successfully test your Christmas light fuse with a multimeter. So don’t delay – grab your multimeter today, roll up your sleeves and get ready to tackle that holiday light repair job right away! Happy testing and happy holidays!
You Can Check It Out to Hide Outdoor Christmas Light Cords

